In this guide, we will configure LDAP client to use LDAP authentication mechanism for login access. This guide has been tested on Ubuntu 16.04 and Debian 8 servers. Also, this guide should work on other Ubuntu and Debian distributions.
Assuming that you have a working LDAP server,
READ: Step by step guide to setup OpenLDAP Server on CentOS 7 / RHEL 7
READ: Step by step guide to setup OpenLDAP Server on Ubuntu 16.04 / Debian 8
Install LDAP Client:
Install the necessary LDAP client packages.
$ sudo apt-get update
$ sudo apt-get -y install libnss-ldap libpam-ldap ldap-utils nscd
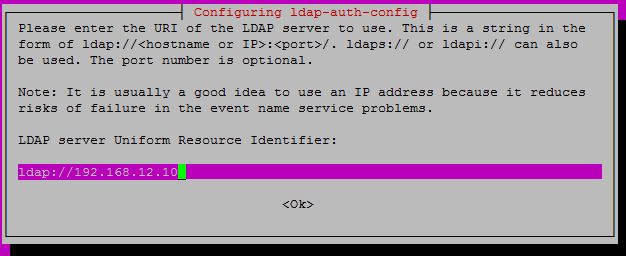
During the installation, the package installer will ask you a variety of questions. Enter the values according to your environment.
On the first screen, enter the LDAP server details. Replace “192.168.12.10” with your LDAP server’s IP address or hostname.
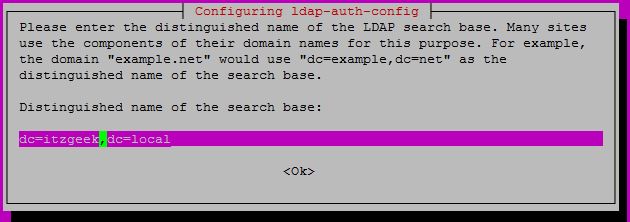
Now, enter the DN (Domain Name) of the LDAP search base. In my case, it is dc=itzgeek,dc=local.
Choose the LDAP version to use; your LDAP server should support this version. My LDAP server supports v3 protocol.

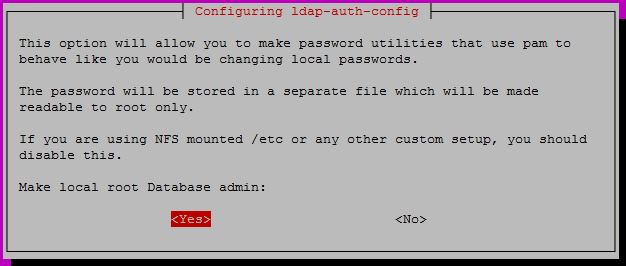
It is up to you to decide whether the LDAP administrative account can act as a local root. In my case, I have no issues to have LDAP admin become the root of a local machine.
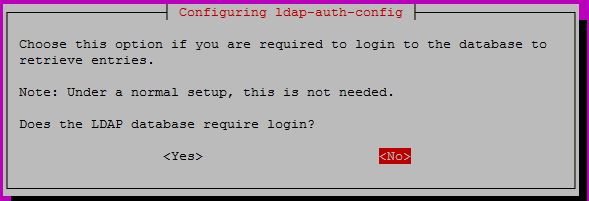
Select No to the following prompt.
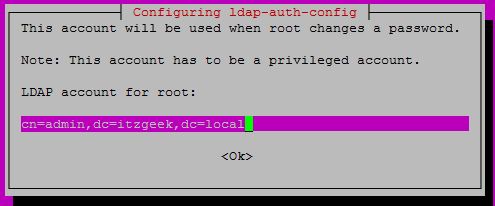
Enter the LDAP administrative account details.
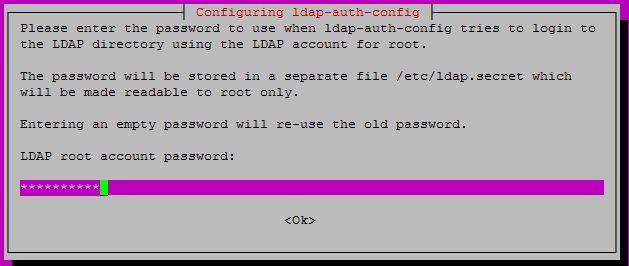
Enter the password of LDAP administrative account.
Configure authentication:
The installer does the most of the configurations based on our inputs given in the previous section. But, there are still some changes required for LDAP authentication to work.
Configure nsswitch.conf to work with LDAP.
$ sudo vi /etc/nsswitch.conf
Update the below lines shown like below.
passwd:         compat ldap
group:          compat ldap
shadow:         compat ldap
Optional: If you want the home directory of the user to be created automatically, then do as follow.
$ sudo vi /etc/pam.d/common-session
Add below line in the above file.
session required pam_mkhomedir.so skel=/etc/skel umask=077
Restart the nscd service.
$ sudo service nscd restart
Verify LDAP Login:
Use the getent command to get the LDAP entries from the LDAP server.
$ getent passwd ldapuser

ldapuser:x:9999:100:Test LdapUser:/home/ldapuser:/bin/bash
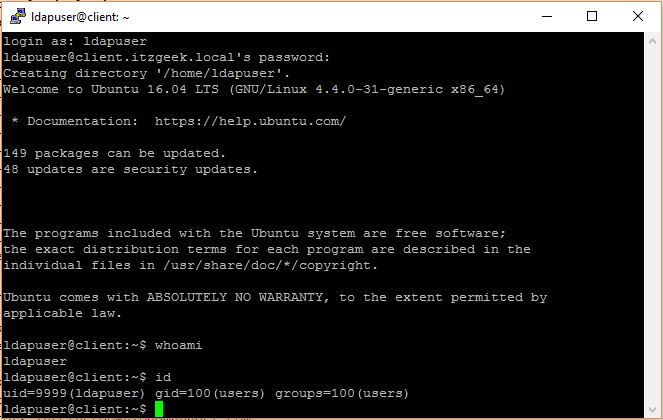
Screenshot:

To verify the LDAP, log in using the LDAP user “ldapuser” on the client machine.
That’s All.