Upgrade/Migrate VMware ESX / ESXi 4.* To ESXi 5.0 – Interactive Upgrade using the CD/DVD
 VMware has recently released VMware ESXi 5.0. VMware is replaced the ESX with ESXi and the biggest change (between ESX and ESXi) is the architecture.
VMware ESX Architecture:
In the original ESX architecture, the virtualization kernel (referred to as the vmkernel) is augmented with a management partition known as the console operating system (also known as COS or service console). The primary purpose of the Console OS is to provide a management interface into the host. Various VMware management agents are deployed in the Console OS, along with other infrastructure service agents (e.g. name service, time service, logging, etc). In this architecture, many customers deploy other agents from 3rd parties to provide particular functionality, such as hardware monitoring and system management. Furthermore, individual admin users log into the Console OS to run configuration and diagnostic commands and scripts.
VMware ESXi Architecture:
In the ESXi architecture, the Console OS has been removed and all of the VMware agents run directly on the vmkernel. Infrastructure services are provided natively through modules included with the vmkernel. Other authorized 3rd party modules , such as hardware drivers and hardware monitoring components, can run in vmkernel as well. Only modules that have been digitally signed by VMware are allowed on the system, creating a tightly locked-down architecture. Preventing arbitrary code from running on the ESXi host greatly improves the security of the system.
For more information on differences or new features of ESXi 5.0 please go to the VMware website for more information.
Methods of Upgrade:
There are three suppoted method of upgrading VMware ESXi from 4.* to ESXi 5.0 .
1. Interactive upgrade from CD, DVD, or USB drive.
2. vSphere Update Manager.
3. Scripted upgrade.
Here i am using the Interactive upgrade from CD, DVD, or USB drive.
Requirements:
The only requirements here are to go to the VMware website and download the VMware ESXi 5.0 Hypervisor ISO and the VMware vSphere 5.0 Client, you will need a VMware account for this if you don’t already have one.
Upgrade / Migration Procedure:
The first thing we have to prepare the host server for the upgrade, Now log into host server through the vSphere Client, and shut down all running VMs, after that put the ESXi 5.0 DVD into your host server and reboot the host. Make sure the host server is set to boot up off your CD/DVD drive or select it from a boot menu. The installer will load the required files and then boot the installation.
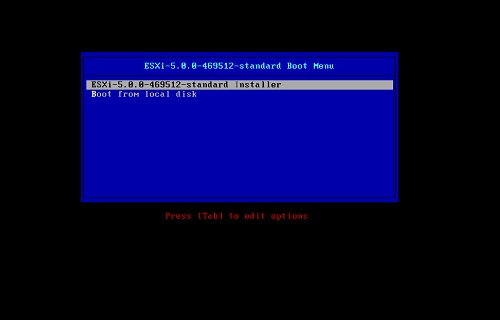
Step 1: Select first option to install ESXi 5.0 and Hit Enter.
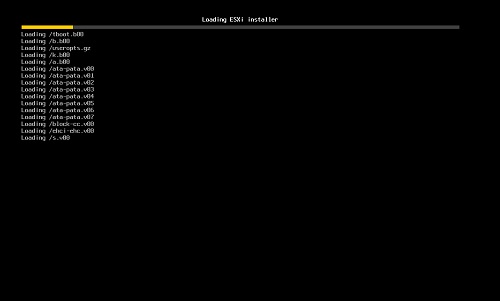
It will start to loading the ESXi installer.
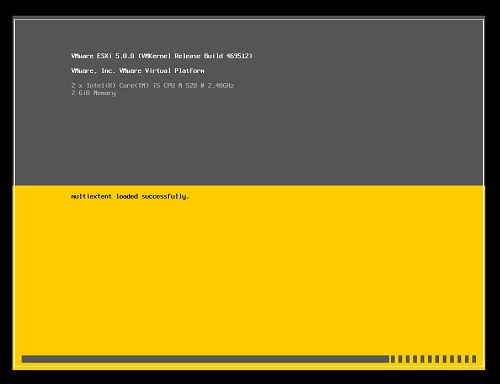
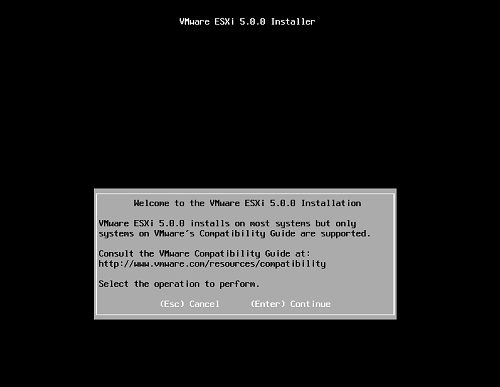
Step 2: Enter to continue.
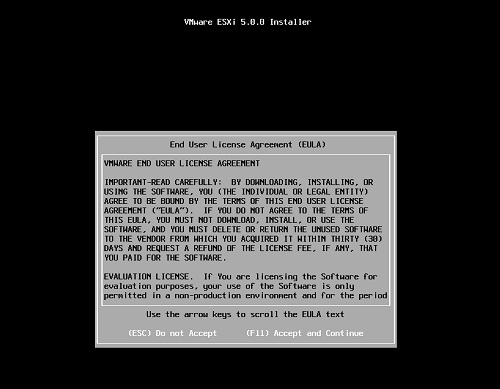
Step 3: Press F11 for accepting the License Agreement and continue to install.
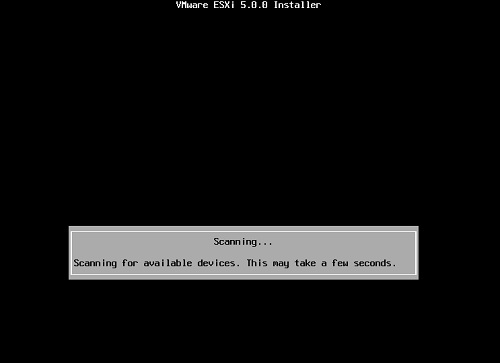
It scans for the attached storage devices.
Step 4: Once scanned. It will list the available storage. Select the drive and hit Enter to install or upgrade.
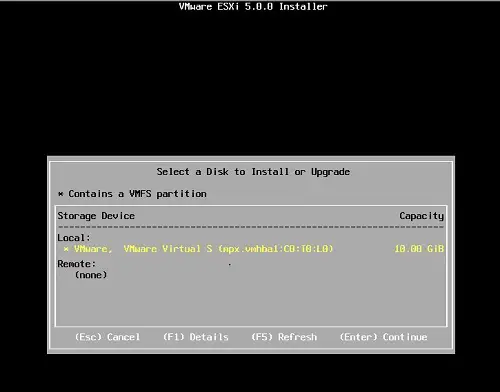
If you hit Enter, it will start to gather the information about the selected drive. it will look for the previously installed ESXi.
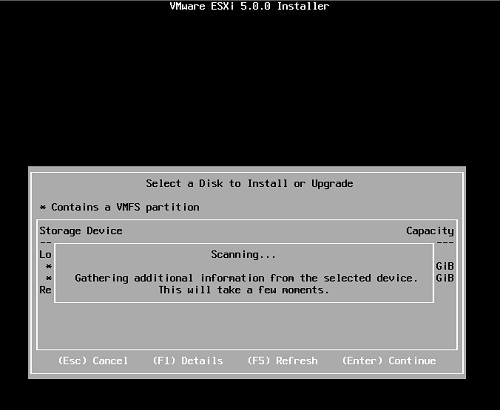
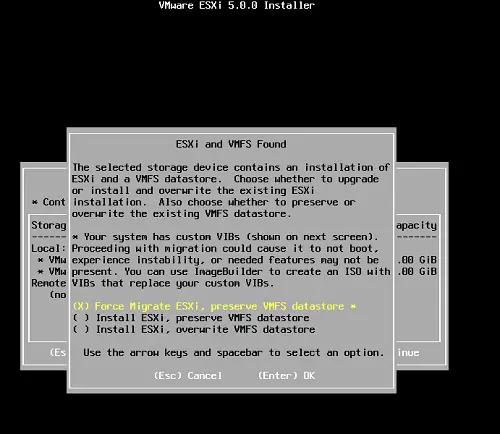
Step 5: Once it gathered the information about the drive. If previous ESXi installation found, it will pop out and shows 3 options for migrating the VMware ESXi.
Force Migrate ESXi, Preserve VMFS Datastore: This will upgrade/migrate the VMware ESXi and keep your VMFS Datastores intact, so your VMs will be preserved if things go wrong.
Install ESXi, Preserve VMFS Datastore: This will install a fresh copy of ESXi 5.0 and it keeps VMFS datastores intact, this will erase all custom configurations, it’s a clean slate basically and you will have to re-add your VMs back to your inventory once you have reconfigured your host server.
Install ESXi, Overwrite VMFS Datastore: This will install a clean copy of ESXi 5.0 and overwrite your current datastores – you will LOOSE all information on that datastore.
For this Tutorial i am going to select Force Migrate ESXi because i am attempting an upgrade and i want the configuration to stay. Hit Enter to continue.
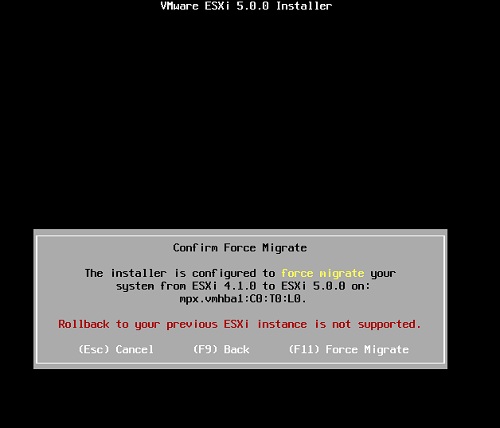
Step 6: Confirm the Force Migration/Upgrade by pressing F11.
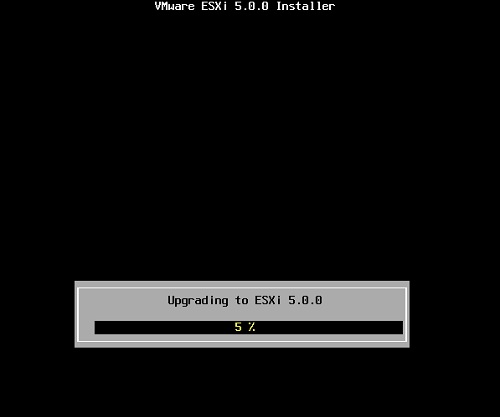
Once done, it will start to upgrade the VMware ESXi. The upgrade time dpend on your Server.
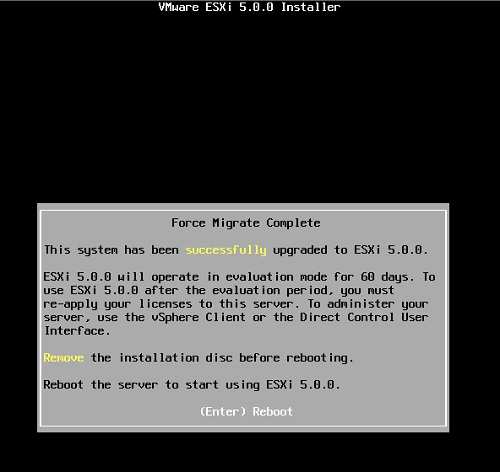
Step 7: Once Upgrade is completed. Hit Enter to reboot host server. it will also warn you that your installation has gone back to a trial verison; you must enter your ESXi 5.0 license key that you got from VMware once you log in with the vSphere Client.
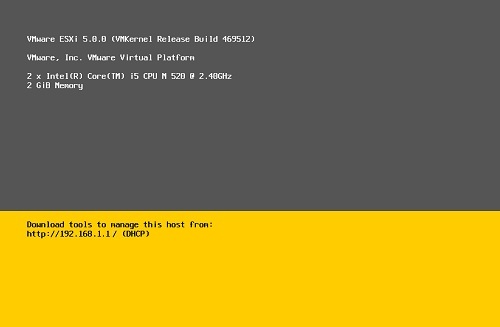
That’s it, you’re done, Remember to upgrade your VM’s hardware and VMware Tools installations.
