How to install Fedora 16 (Verne) – Step by Step Screenshots
 Fedora is the open source operating system from the Fedora Project sponsored by Red Hat. Here is the Step by Step tutorial for installing Fedora 16 (Verne) on PC. This is the clean installation of operating system. Before installing OS backup your data from the hard drive.
Download the Fedora Live CD from the Fedora-Project. Burn it on CD using your favourite burner. Make the PC to boot first from CD/DVD ROM
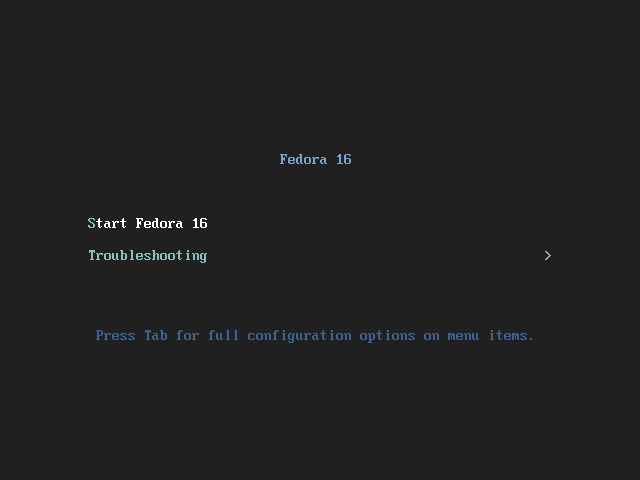
Step 1: Select Start Fedora 16 from the boot screen.
CD will start to initialize the installation.
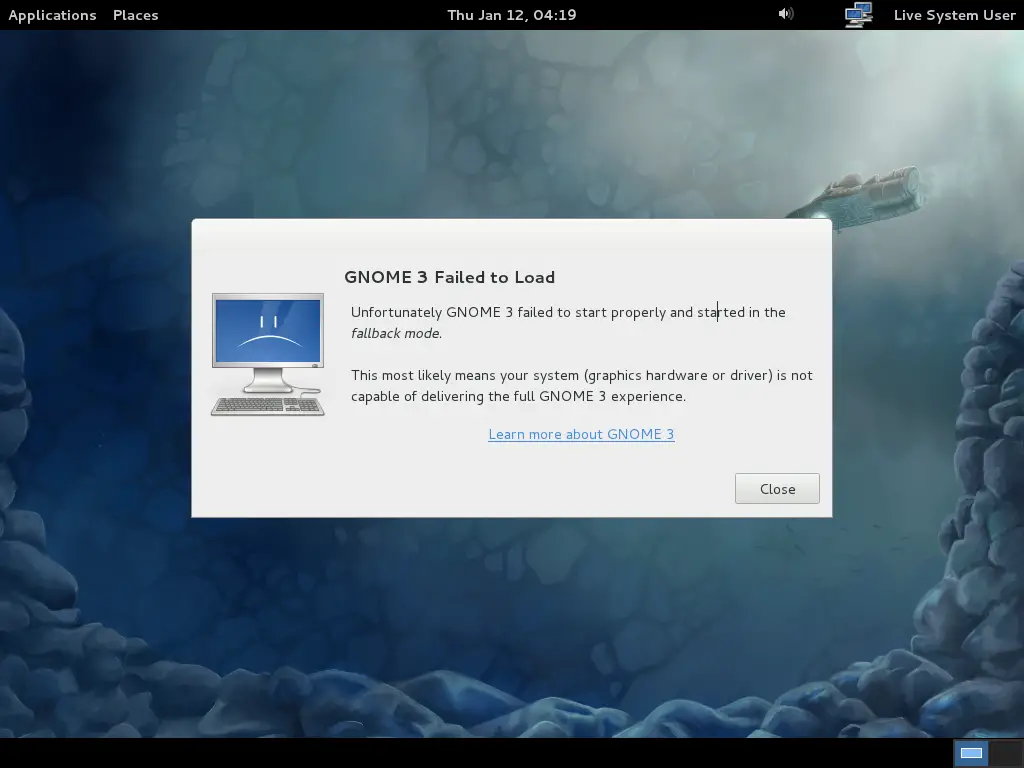
You will get the GNOME 3 failed to load error due to the driver for the display not yet installed.
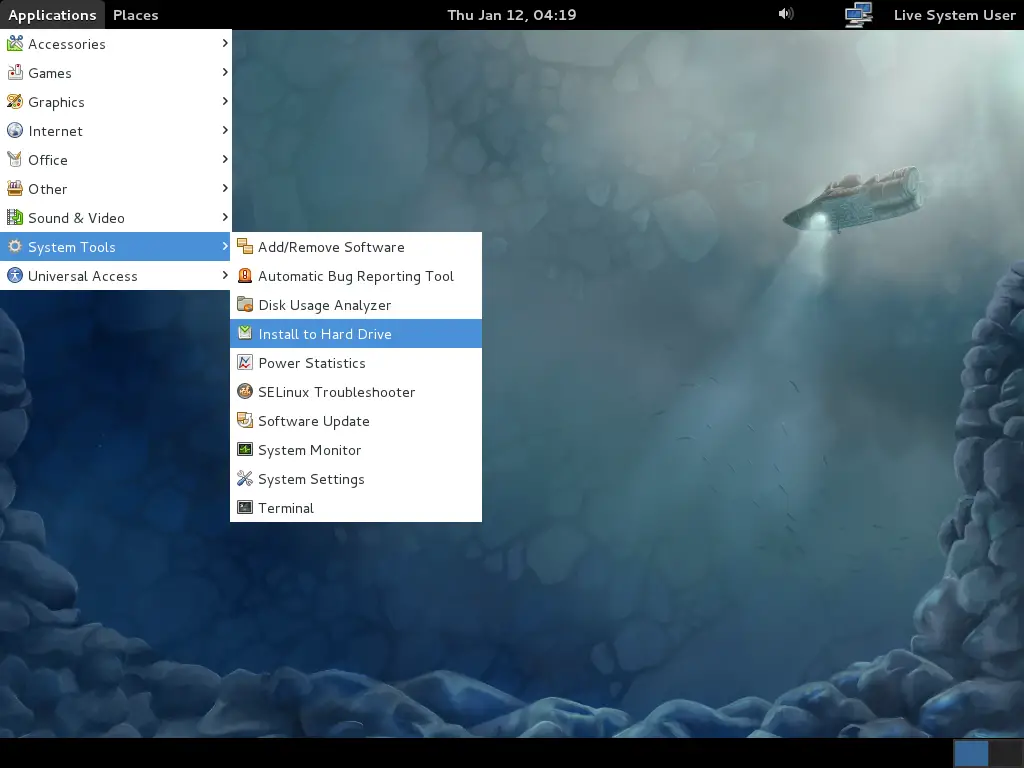
Step 2: Start the Installation from Application —–> System Tools ——> Install to Hard Drive.
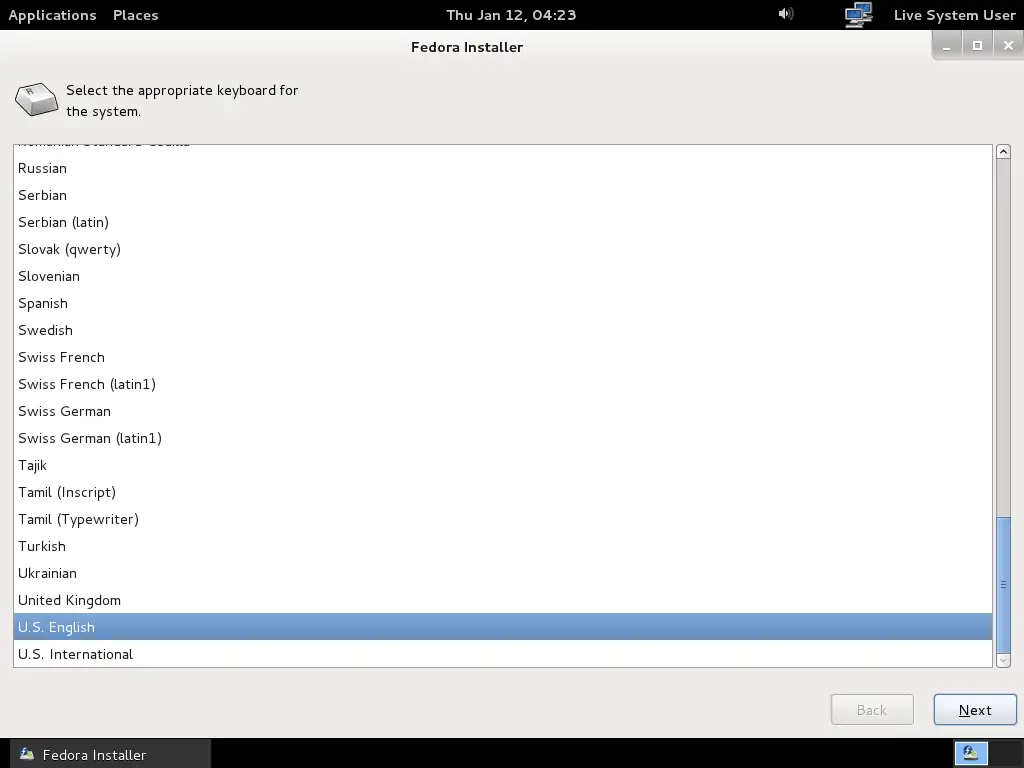
Step 3: Select the Keyboard type and click Next.
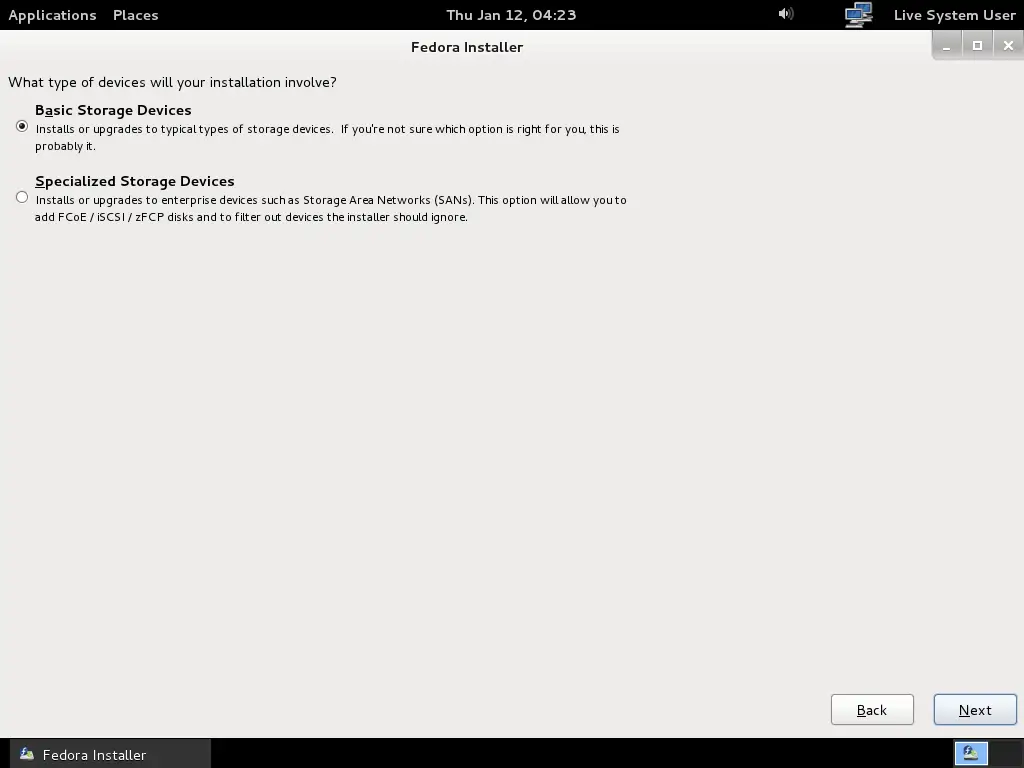
Step 4: Select the installation device type and click Next. Recommended to use basic storage device for PC.
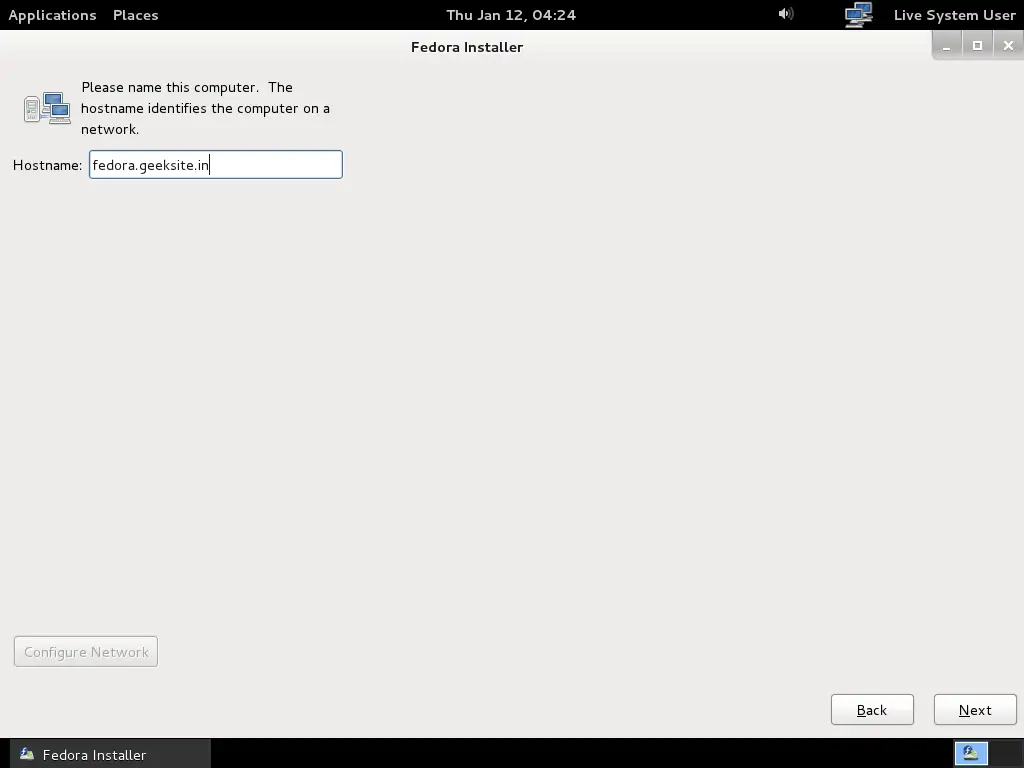
Step 5: Type the Host Name and click Next.
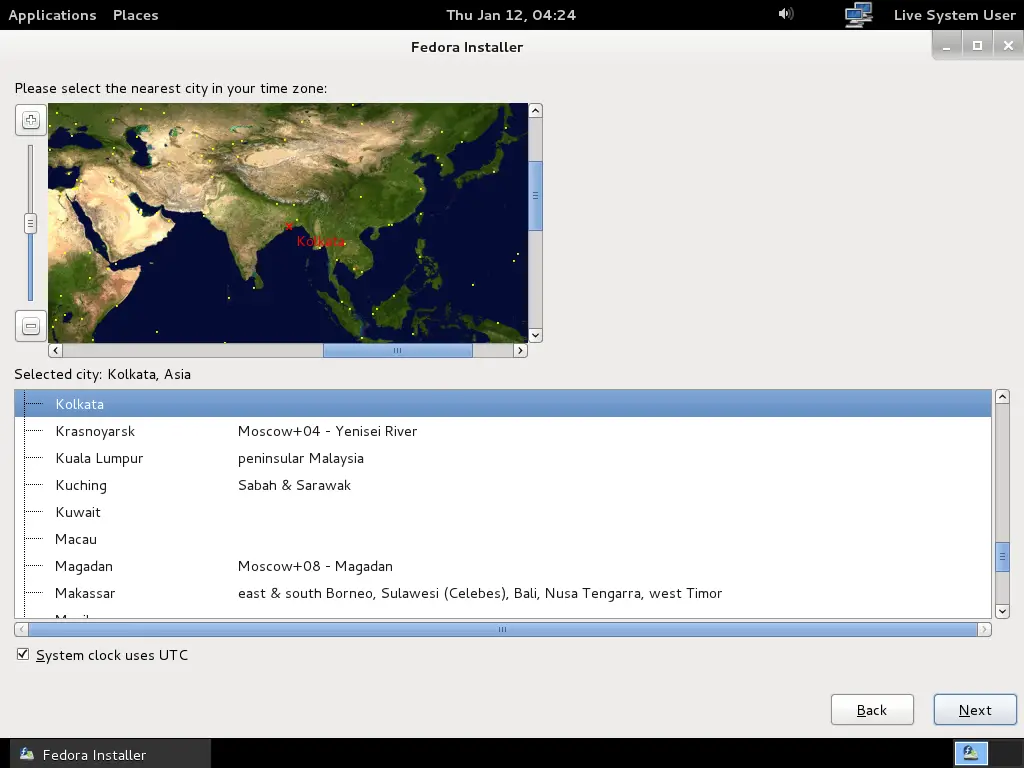
Step 6: Select your Time Zone and click Next.
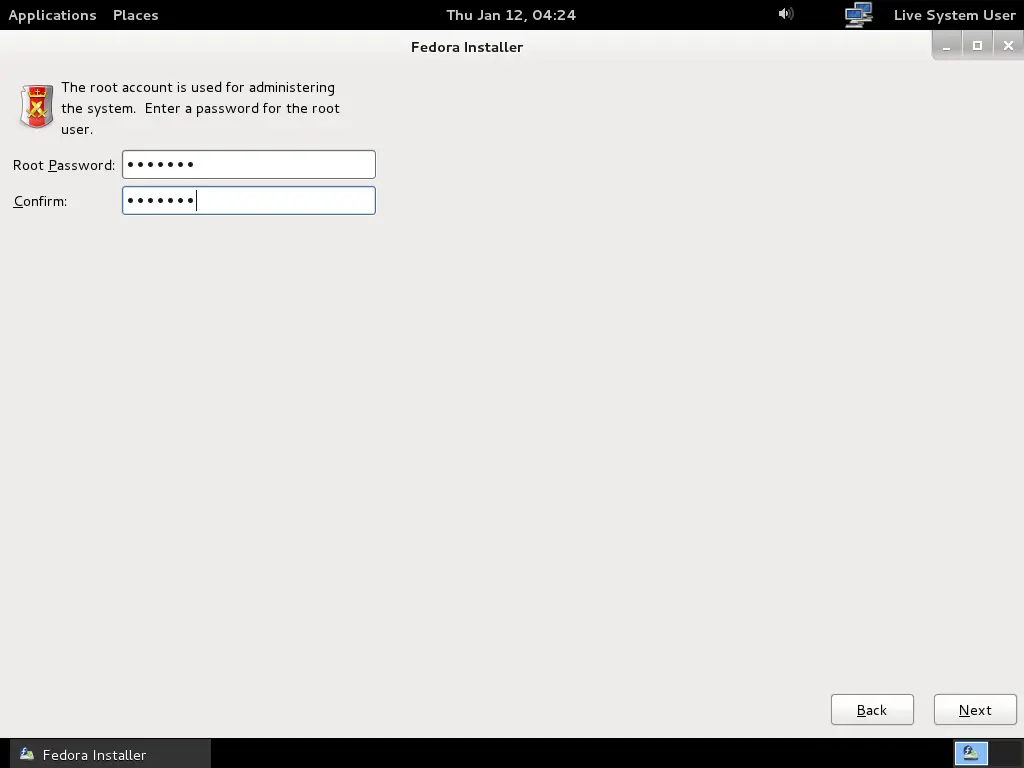
Step 7: Enter the password for root account and click Next.
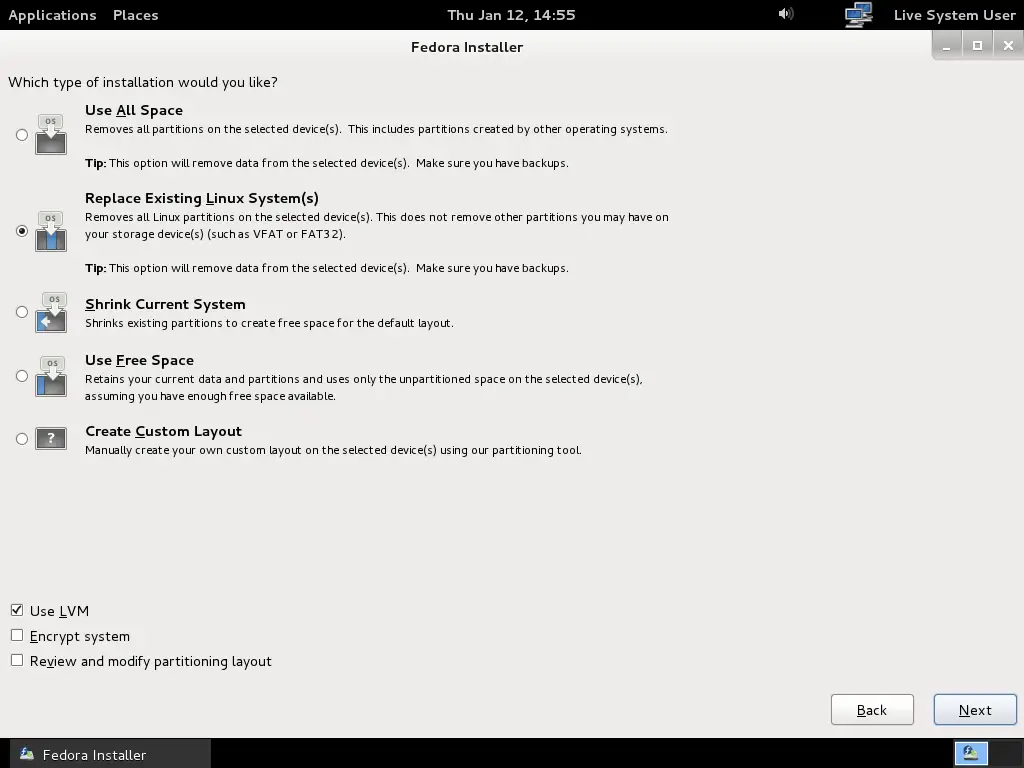
Step 8: Select your installation type and click Next. Here i used blank hard drive, before doing please make sure that you have taken backup of your data.
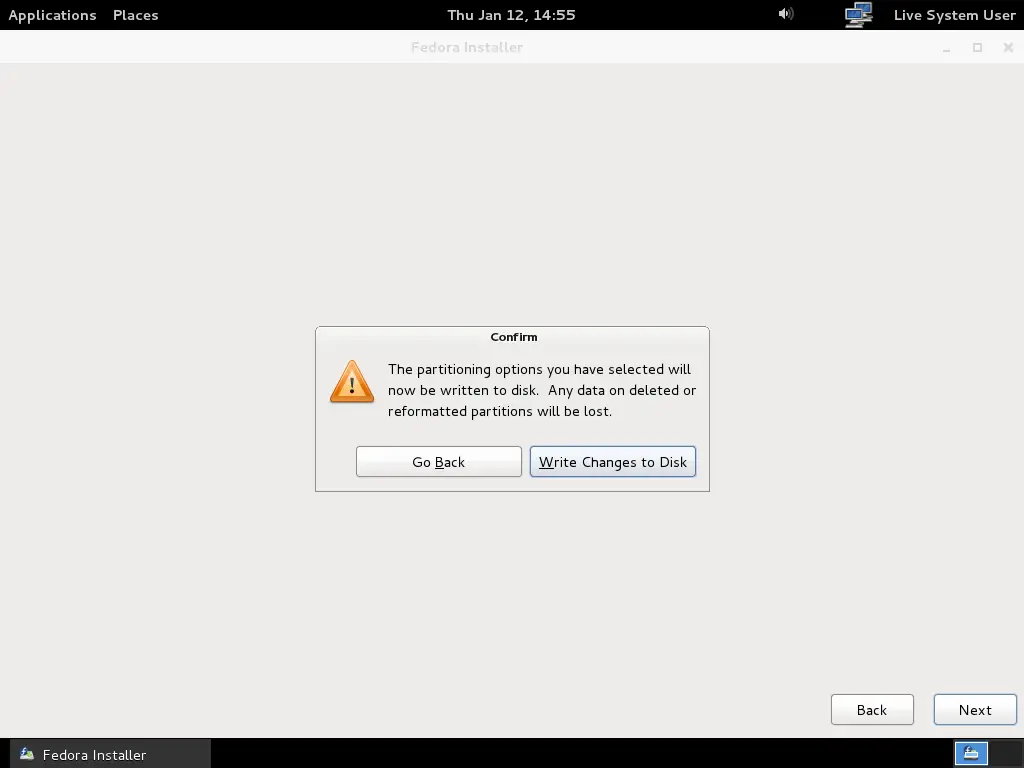
Step 9: Confirm the installation.
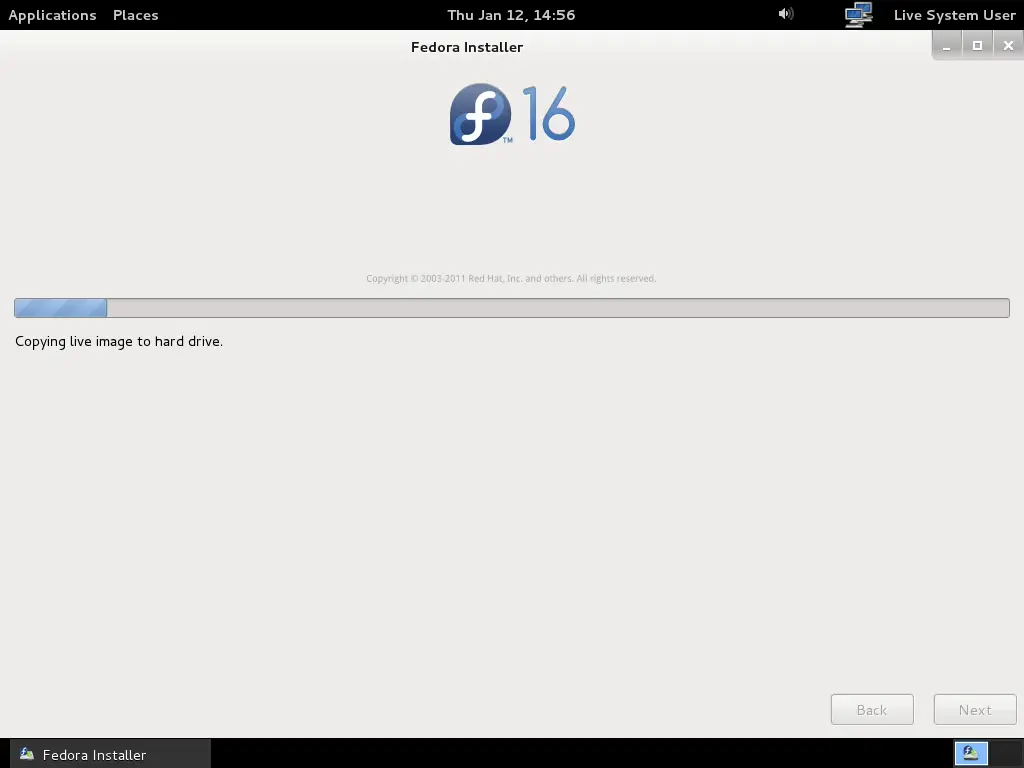
Step 10: Once confirmed, fedora 16 will start to install on hard drive.
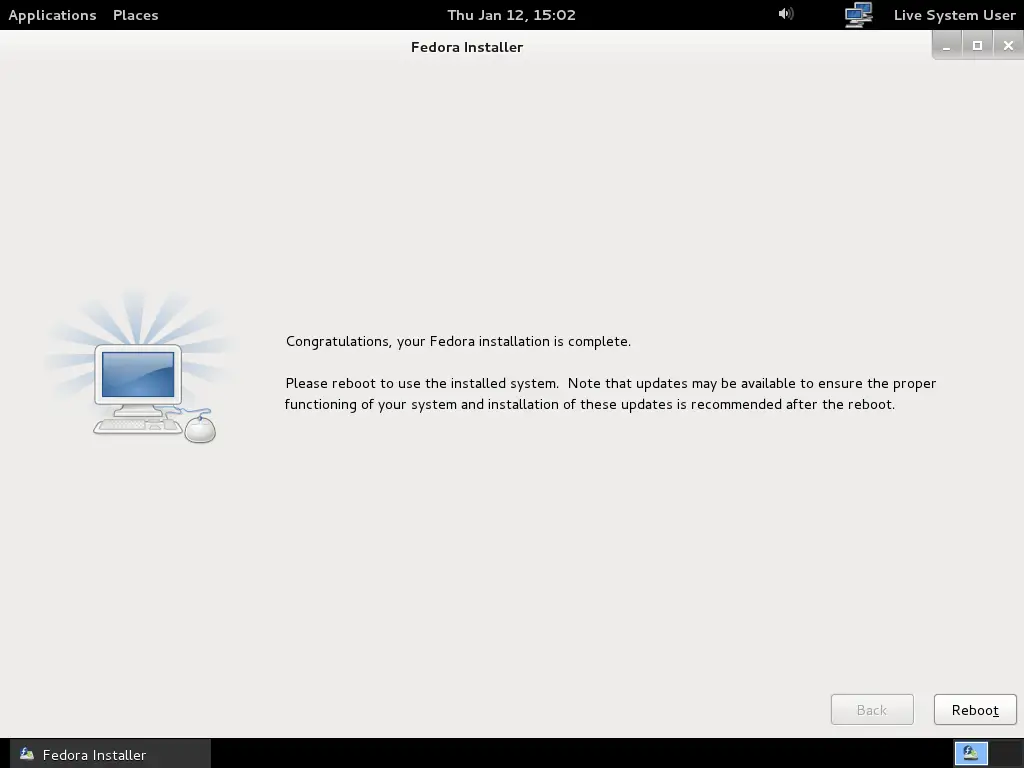
Step 11: Reboot to complete the installation.
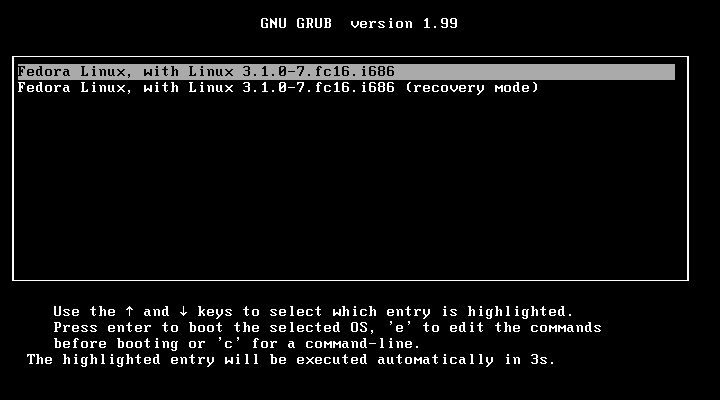
Step 12: Once rebooted, select the fedora from the GRUB menu.
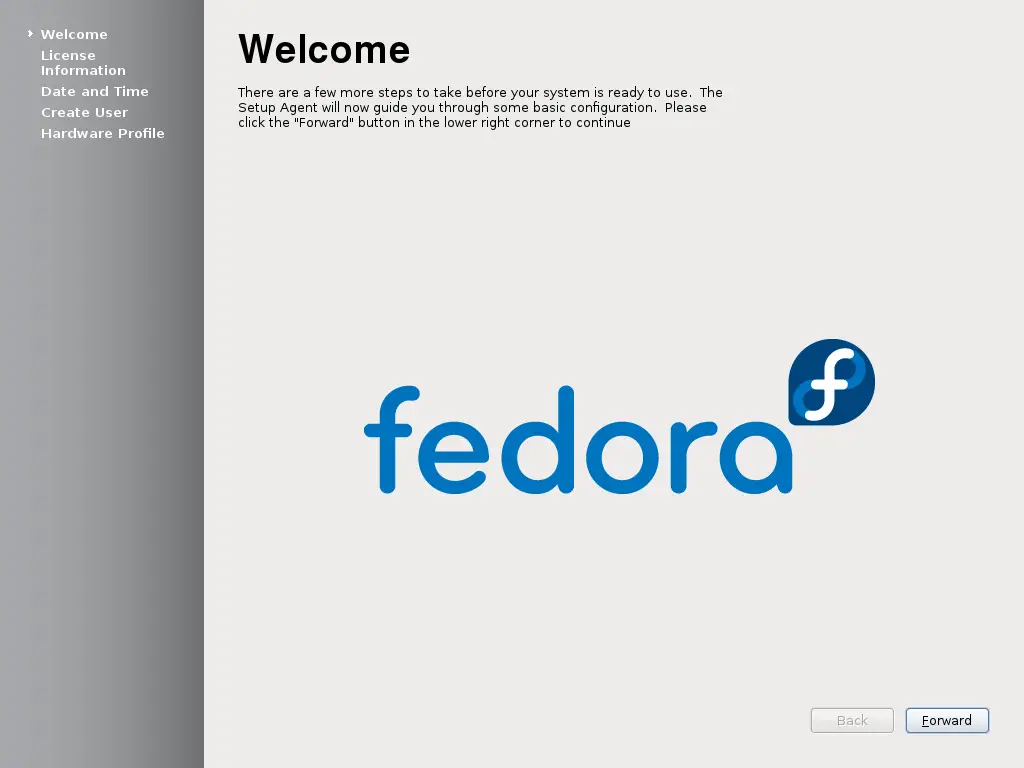
Step 13: Click Forward on the Welcome screen.
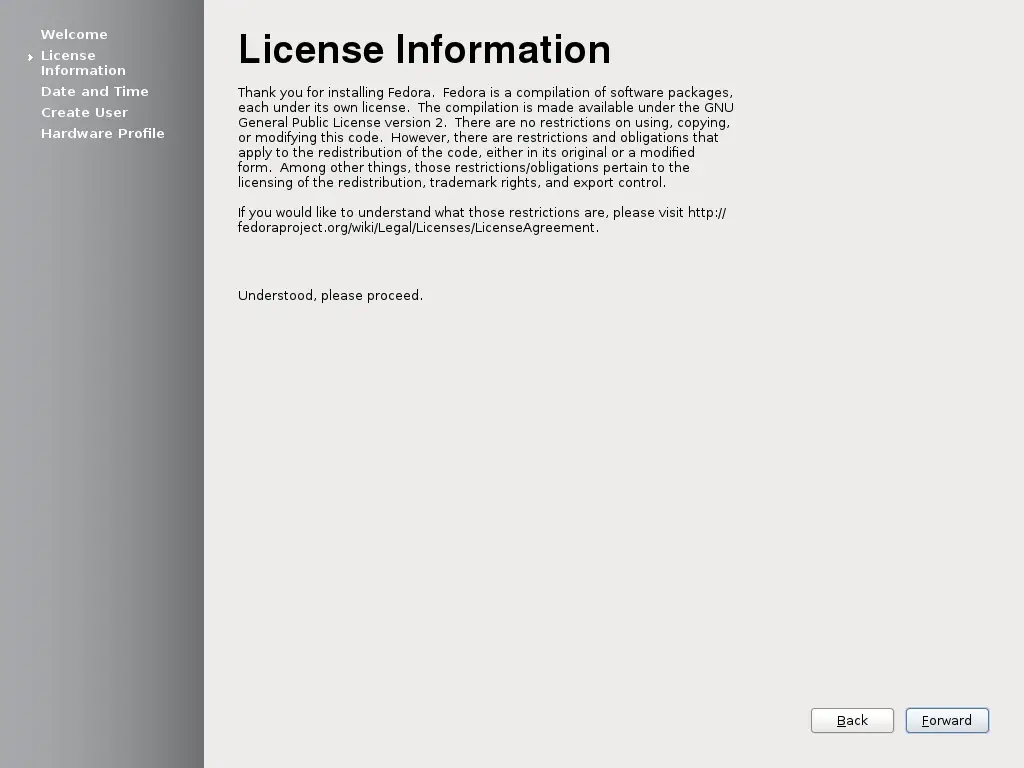
Step 14: Click Forward on License Screen.
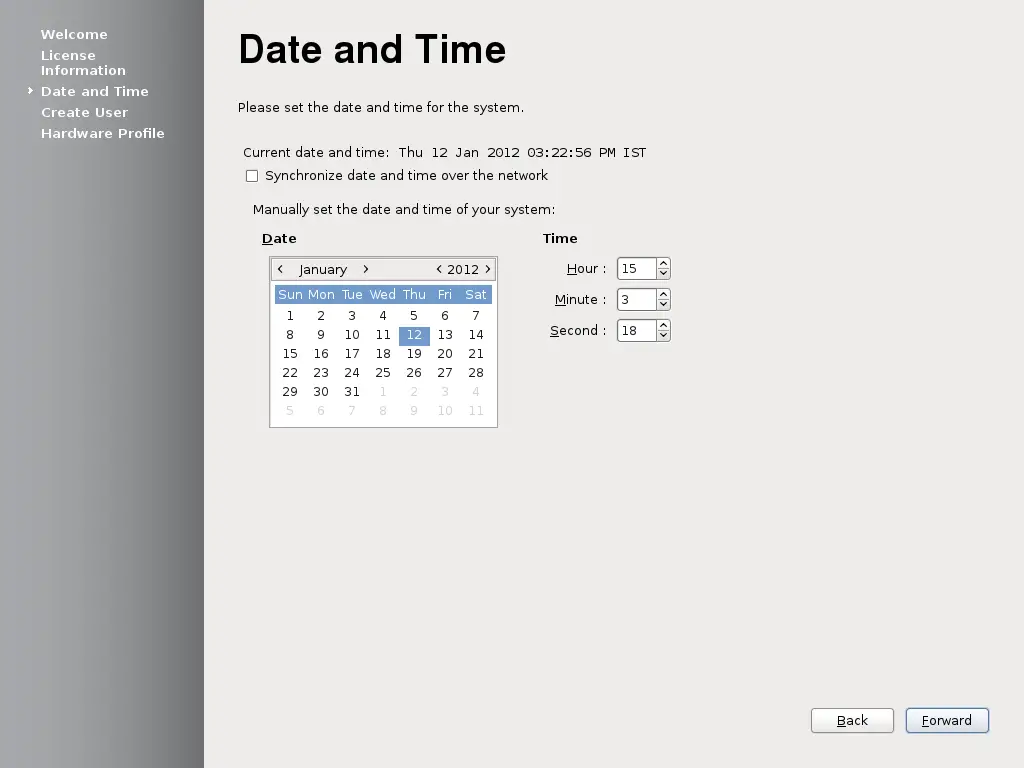
Step 15: Check you Time and Date settings and click Forward.
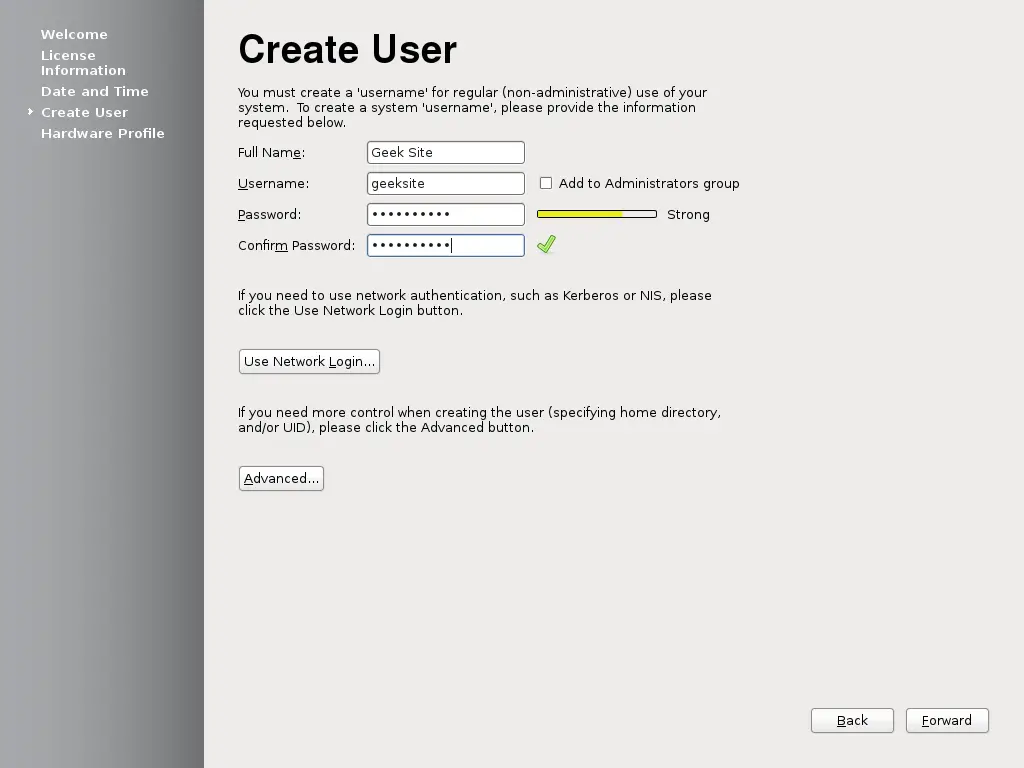
Step 16: Fill the information on the Create User screen.
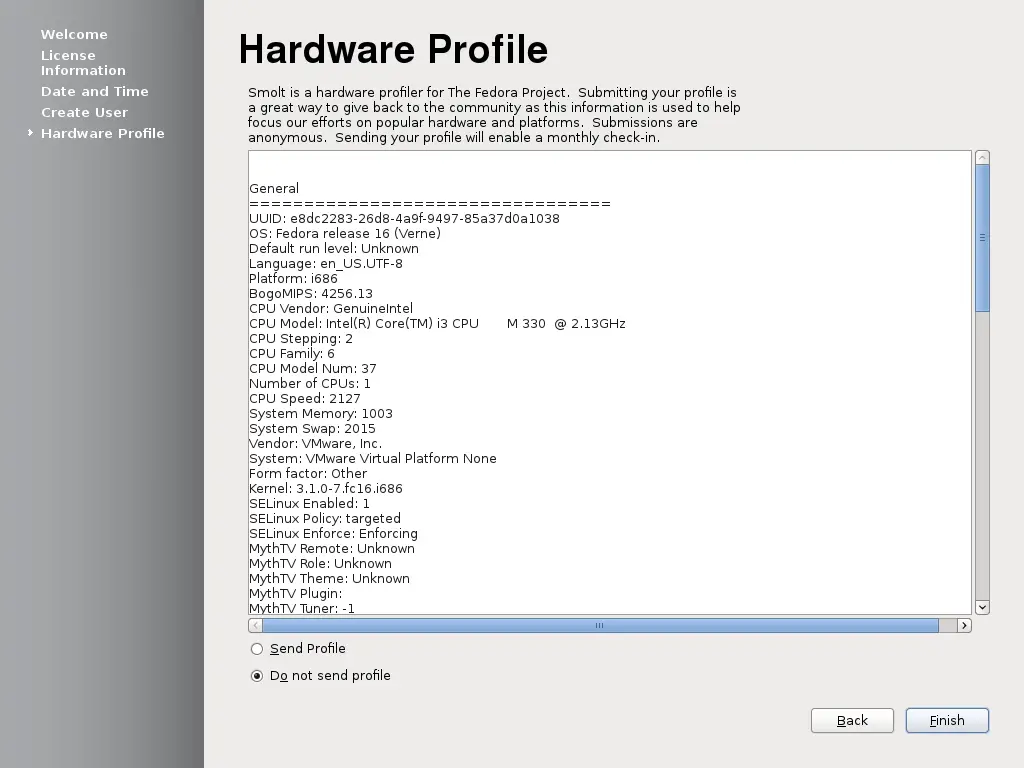
Step 17: Click on Finish.
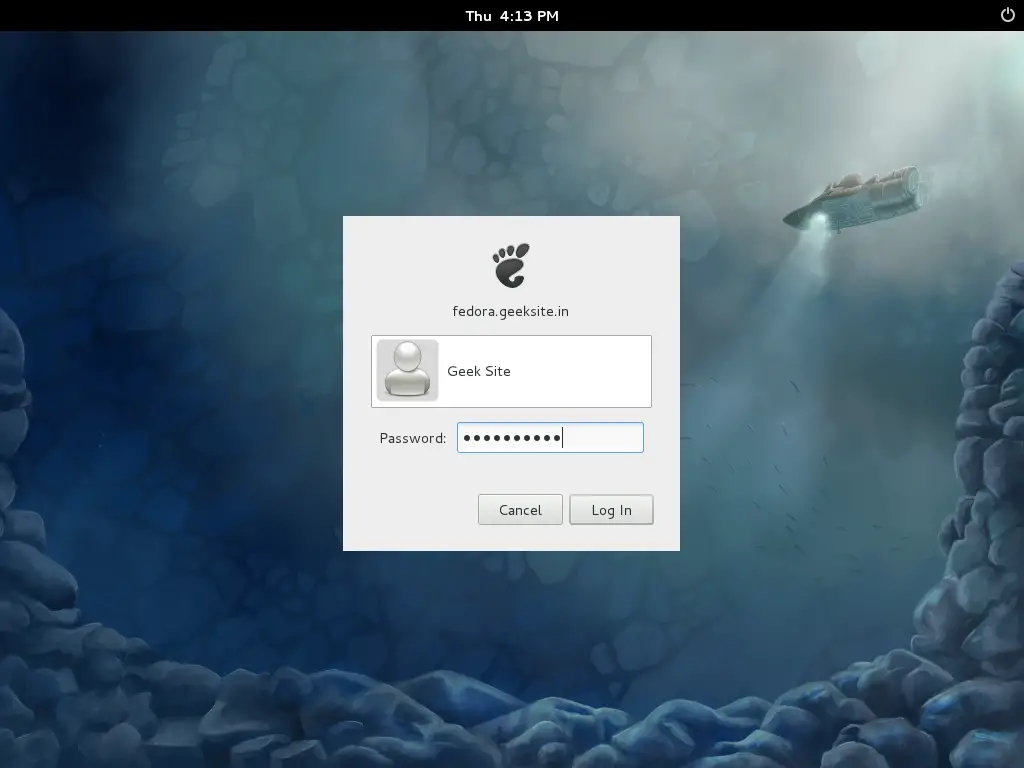
Type Password to Login.
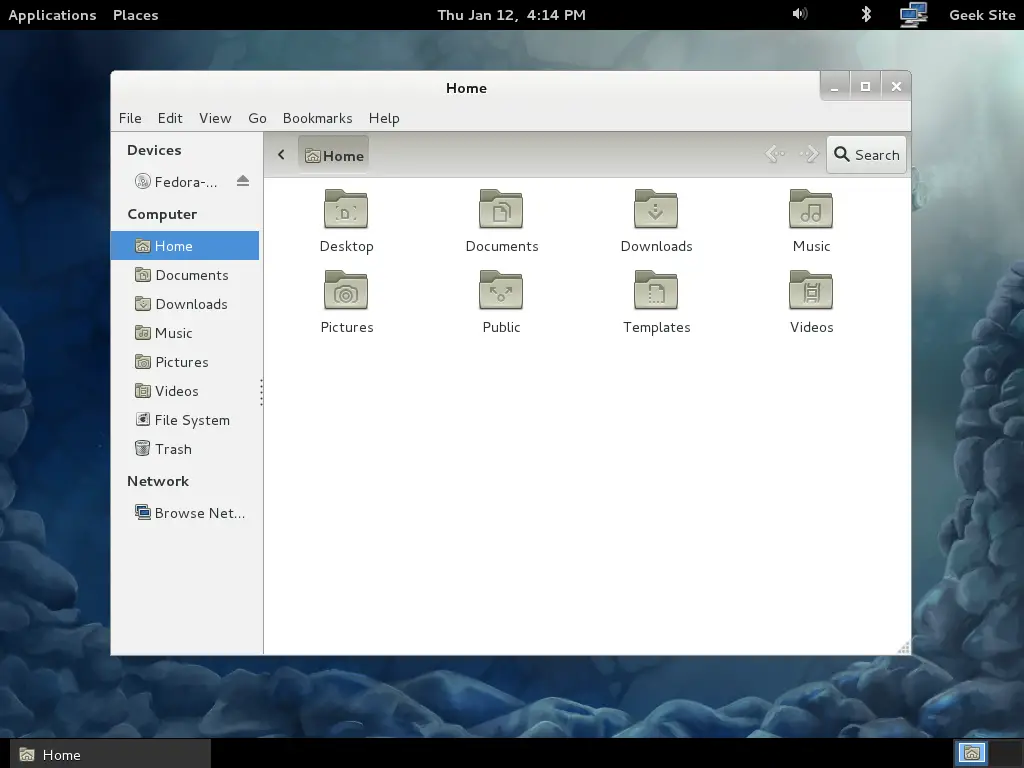
Now you Desktop of Fedora 16(Verne).
That’s All!. Now you can start to work with your favourite Fedora 16.

