How to Install NetBeans IDE 7.1 on Fedora 16 / Fedora 15
 NetBeans offers platform framework for Java desktop applications, and an integrated development environment (IDE) for developing with Java, JavaScript, PHP, Python (no longer supported after NetBeans 7), Groovy, C, C++, Scala, Clojure and others. This is available for Windows, Linux, Mac and Solaris operating system. NetBeans IDE 7.1 introduces support for JavaFX 2.0 by enabling the full compile/debug/profile development cycle for JavaFX 2.0 applications. The release also provides significant Swing GUI Builder enhancements, CSS3 support, and tools for visual debugging of Swing and JavaFX user interfaces. Additional highlights include Git support integrated into the IDE, new PHP debugging features, various JavaEE and Maven improvements, and more.
New Features in NetBeans IDE 7.1:
- Support for JavaFX 2.0
- New Visual debugger.
- Support for CSS3.
- Cluster and Instance deployment support for GlassFish.
- Improved PHP debugging.
- Integrated Git support.
Here is the tutorial about installing NetBeans IDE 7.1 on Fedora 16 / Fedora 15.
Install Sun Java6:
NetBeans requires having the Java VM installed on machine; either Sun Java 6 or OpenJDK should be installed on machine. Install it by using the following command with root privilege.
[root@geeksite~/]# yum -y install java-1.6.0-openjdk-devel
Download NetBeans IDE 7.1:
Go to the download page of NetBeans 7.1; Select the package as per your requirement or select whole package. Here i used whole package for demonstration.
Install NetBeans IDE 7.1:
Step 1: Open Terminal (Applications —> System Tools —> Terminal) and switch to root user.
[raj@geeksite~/]$ su
Step 2: Go to Download directory
[root@geeksite~/]# cd ~/Downloads
Step 3: Make the package executable.
[root@geeksite~/]# chmod 755 netbeans-7.1-ml-linux.sh
Step 4: Install the downloaded package.
[root@geeksite~/]# ./netbeans-7.1-ml-linux.sh
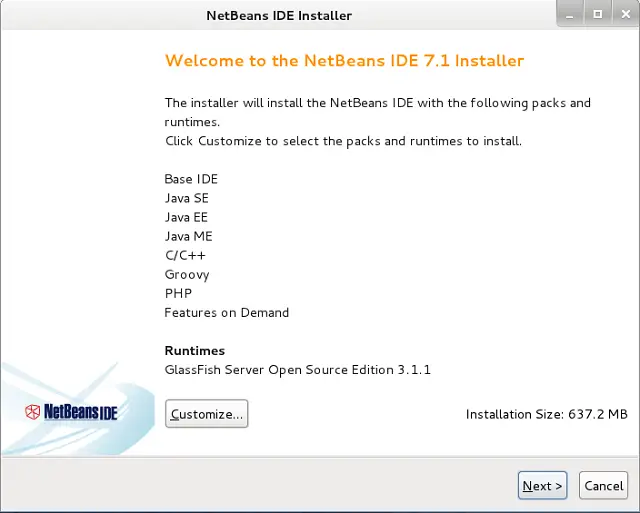
Step 5: The package will start the graphical installer, click next or customize the installation packages.
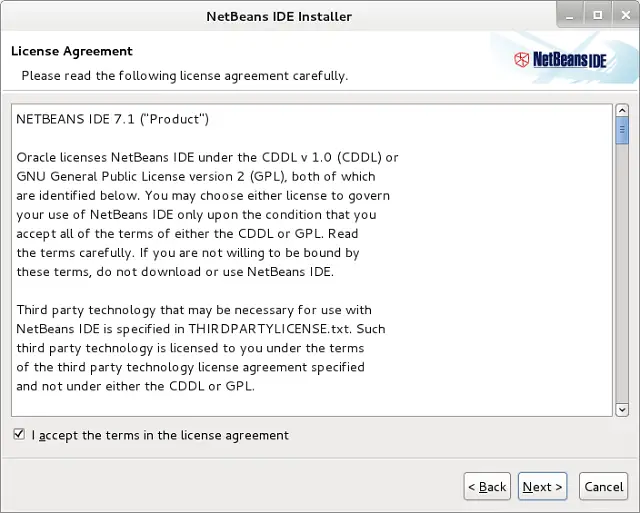
Step 6: Accept License agreement.
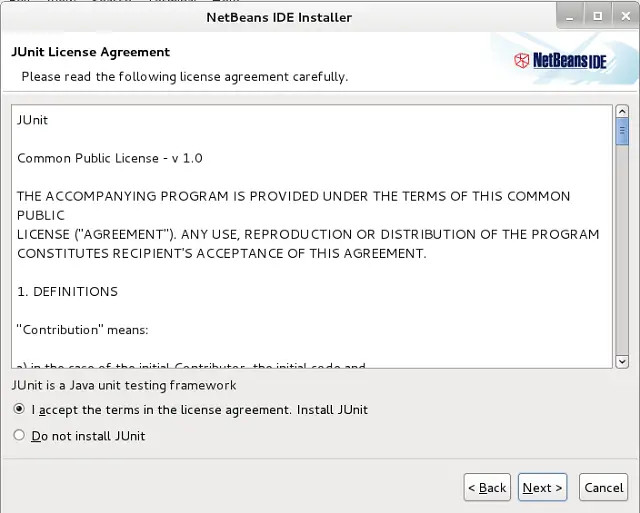
Step 7: Accept the license agreement to install JUnit.
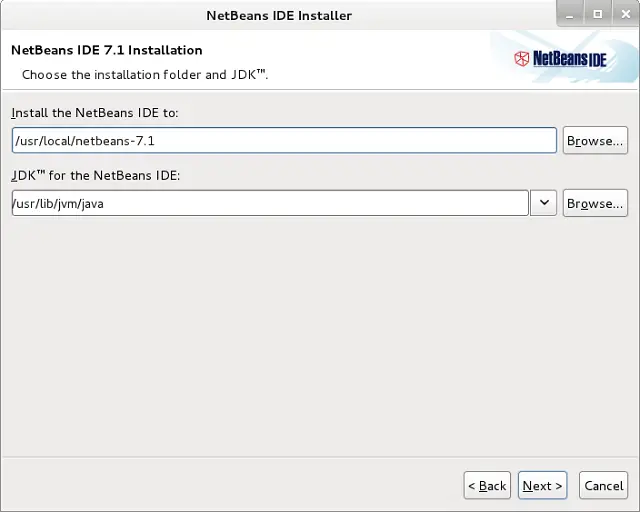
Step 8: Choose the location for installing NetBeans IDE 7.1 and the location of JDK installed on your machine.
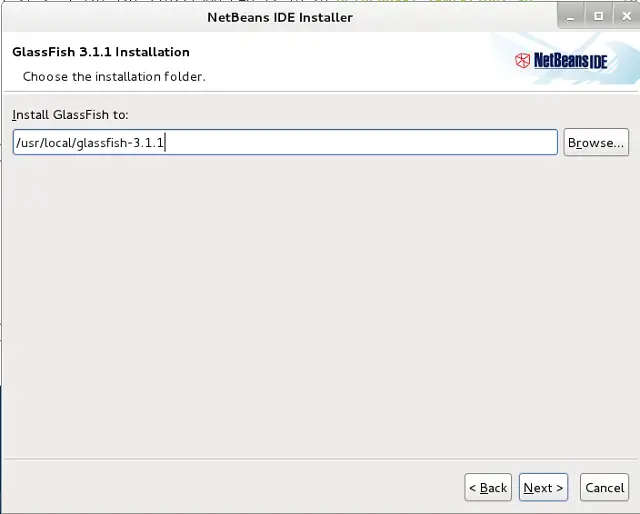
Step 9: Choose the location for installing GlassFish Server.
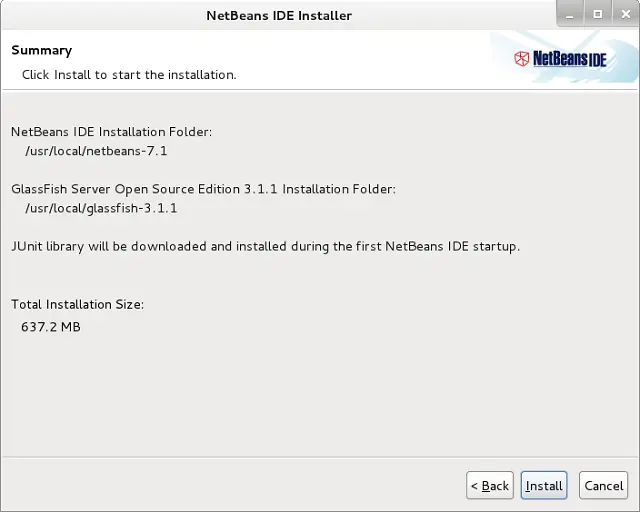
Step 10: Click on Install to begin installation.
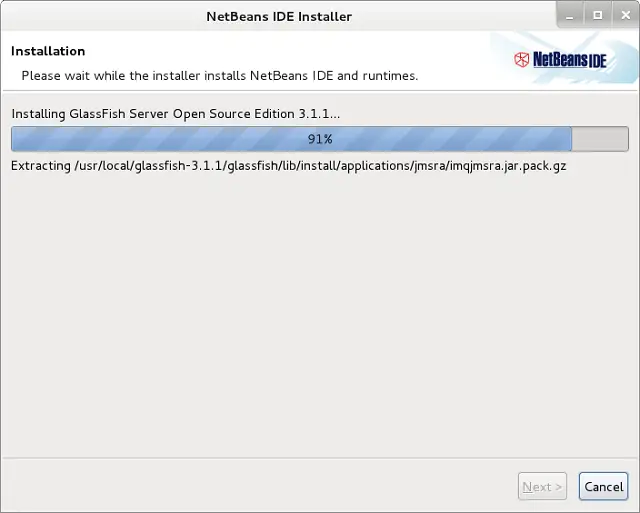
Installation is running.
Step 11: Click on Finish.
Start NetBeans IDE 7.1:
Start Netbeans (Applications —> Programming —> NetBeans IDE 7.1).
Or from the installed directory.
[root@geeksite~/]# /usr/local/netbeans-7.1/bin/netbeans
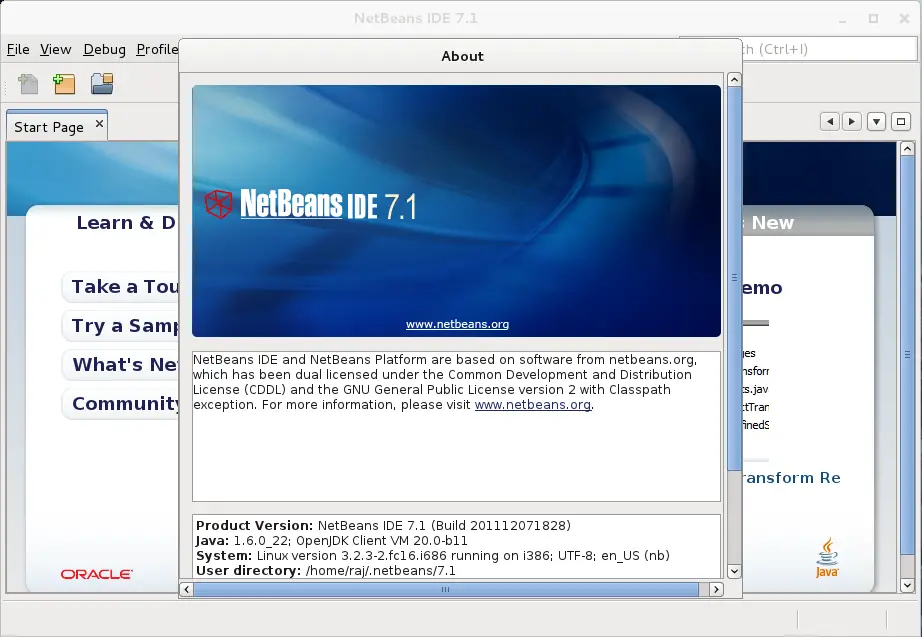
You will get home of NetBeans IDE 7.1, confirm the installed version by going to Help —> About.
That’s all.

