Install Zend Framework on Fedora 16 “Verne”
 Zend Framework is an open source, object oriented web application framework for PHP 5. Zend Framework is often called a ‘component library’, because it has many loosely coupled components that you can use more or less independently. But Zend Framework also provides an advanced Model-View-Controller (MVC) implementation that can be used to establish a basic structure for your Zend Framework applications.
Features:
Zend Framework features include:
- All components are fully object-oriented PHP 5 and are E_STRICT compliant
- Use-at-will architecture with loosely coupled components and minimal interdependencies
- Extensible MVC implementation supporting layouts and PHP-based templates by default
- Support for multiple database systems and vendors, including MariaDB, MySQL, Oracle, IBM DB2, Microsoft SQL Server, PostgreSQL, SQLite, and Informix Dynamic Server
- Email composition and delivery, retrieval via mbox, Maildir, POP3 and IMAP4
- Flexible caching sub-system with support for many types of backends, such as memory or a file system.
Install LAMP:
Zend Framework can be tested by creating test project; it should be placed under the document root of your web server. Web server might be Apache, Nginx and Lighttpd; for easy understanding i used Apache as web server. Here is the Step by Step guide to install LAMP server on Fedora 16 .
Open Terminal ( Application —-> System Tools —-> Terminal).
Switch to root user.
[raj@geeksite~]$ su
Install Zend Framework:
[root@geeksite ~]# yum install php-ZendFramework
Confirm the installed version.
[root@geeksite geeksite]# zf show version
Zend Framework Version: 1.11.11
Testing Zend project:
In Apache /var/www/html is the default document root, so i am going to create test project on /var/www/html, go to the default document root of web server.
[root@geeksite www]# cd /var/www/html
Create the test project called geeksite.
[root@geeksite html]# zf create project geeksite
Creating project at /var/www/html/geeksite
Note: This command created a web project, for more information setting up your VHOST, please see docs/README
Testing Note: PHPUnit was not found in your include_path, therefore no testing actions will be created.
You should get the above message after hitting Enter; if you get any error message included in above message, you required to install PHPUnit. Install PHPUnit by issuing the following command.
[root@geeksite www]# yum install php-pear-PHPUnit
Optional:
Now we need to have the Zend Library files in the library directory under the created project (By default it’s empty). go to the library directory.
[root@geeksite geeksite]# cd geeksite/library/
SymLink is the better option than copying the library files to library directory; because the library files will get update when we are installing the latest Zend Framework.
[root@geeksite library]# ln -s /usr/share/php/Zend .
Tree view of your project directory.
[root@geeksite geeksite]# tree

.
├── application
│   ├── Bootstrap.php
│   ├── configs
│   │   └── application.ini
│   ├── controllers
│   │   ├── ErrorController.php
│   │   └── IndexController.php
│   ├── models
│   └── views
│   ├── helpers
│   └── scripts
│   ├── error
│   │   └── error.phtml
│   └── index
│   └── index.phtml
├── docs
│   └── README.txt
├── library
├── public
│   └── index.php
└── tests
├── application
│   └── controllers
│   └── IndexControllerTest.php
├── bootstrap.php
├── library
└── phpunit.xml

16 directories, 11 files
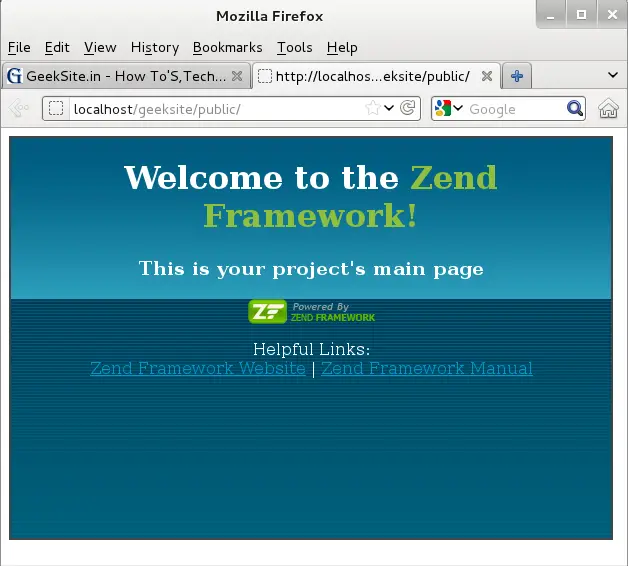
Open up a web browser and navigate to http://localhost/geeksite/public. Screen Shot of Test Project in Fedora 16.

That’s all!
