ONLYOFFICE is a free,multifunctional, web-based office suite that enables you to store and co-edit documents, manage projects, view email and customer relations at one place. It is developed for small and mid-size companies for an effective platform for business operations. ONLYOFFICE is current available in 21 languages, comprising viewers and editors for texts, spreadsheets and presentations, fully compatible with Office Open XML formats: .docx, .xlsx, .pptx and enabling collaborative editing in real-time.
Features:
- Document Editor
- Spreadsheet Editor
- Presentation Editor
- Documents application for iOS
- Collaborative editing
- Hieroglyph support
- Support for all the popular formats: DOC, DOCX, TXT, ODT, RTF, ODP, EPUB, ODS, XLS, XLSX, CSV, PPTX, HTML
Integrating it with Community Server you will be able to:
- view and edit files stored on Drive, Box, Dropbox, OneDrive, OwnCloud connected to ONLYOFFICE;
- share files;
- embed documents on a website;
- manage access rights to documents.
Flavours:
ONLYOFFICE comes in two flavour,
- ONLYOFFICE Free Edition, released in GNU Affero General Public License v.3.
- ONLYOFFICE Enterprise Edition (Supported commercially by ONLYOFFICE).
System requirements:
- RAM: 2 GB or more
- CPU: 2 Core or better
- Swap file: at least 2 GB
- HDD: at least 40 GB of free space
- Distributive: Ubuntu 12.04 or later
- Docker: version 1.4.1 or later (If you are installing ONLYOFFICE on Docker)
Install ONLYOFFICE:
ONLYOFFICE can be installed in two ways,
1. Install ONLYOFFICE using Docker,
2. Install ONLYOFFICE using Repository.
Install ONLYOFFICE using Docker:
This docker installation will help you to set up full featured collaborative suite, instead of just document editor. You can also check what are all included in this suite here.
Before going ahead, you must install docker on your system. You can also go through steps to install docker on Ubuntu here.
Install phython-pip, it requires for installing docker-compose.
sudo apt-get install python-pip
Install docker-compose.
pip install -U docker-compose
Check version.
sudo docker-compose -v
docker-compose version: 1.4.0
Run following command to download latest docker images from official registry.
wget https://raw.githubusercontent.com/ONLYOFFICE/Docker-CommunityServer/master/docker-compose.yml

sudo docker-compose up -d
Excerpt of output.
Starting root_documentserver_1...
Starting root_mailserver_1...
Pulling communityserver (onlyoffice/communityserver:latest)...
latest: Pulling from onlyoffice/communityserver
Once it is downloaded, docker instance will be started automatically. Run the following command to check the status of images.
 docker ps

CONTAINER ID        IMAGE                        COMMAND                  CREATED             STATUS              PORTS                                                                                NAMES
4a664a15561e        onlyoffice/communityserver   "/bin/sh -c 'bash -C "   3 minutes ago       Up 2 minutes        443/tcp, 0.0.0.0:80->80/tcp, 5222/tcp                                                root_communityserver_1
77ec008a9971        onlyoffice/mailserver        "/bin/sh -c 'export C"   33 minutes ago      Up 10 minutes       0.0.0.0:25->25/tcp, 0.0.0.0:143->143/tcp, 3306/tcp, 0.0.0.0:587->587/tcp, 8081/tcp   root_mailserver_1
79c982ecf672        onlyoffice/documentserver    "/bin/sh -c 'bash -C "   46 minutes ago      Up 10 minutes       80/tcp, 443/tcp                                                                      root_documentserver_1
Access ONLYOFFICE Web console:
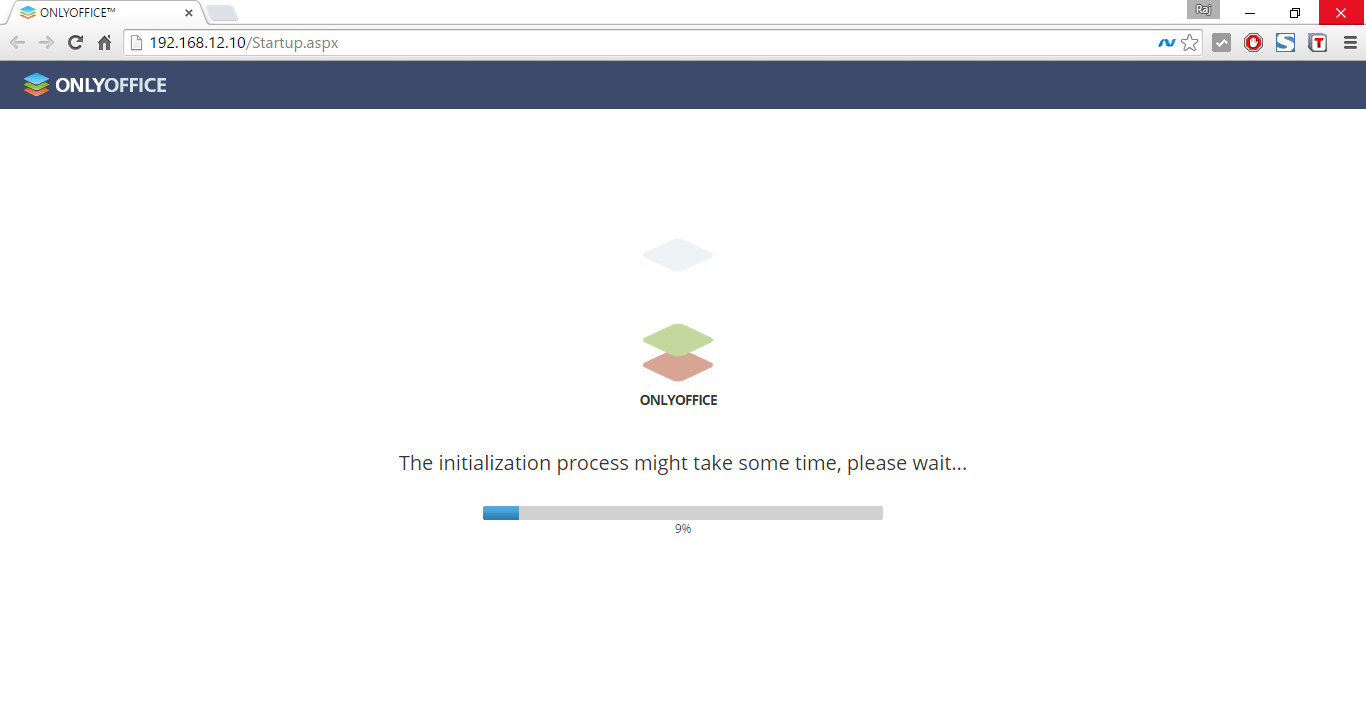
Open up a web browser and navigate to (http://ip-add-ress) address of your server. Please wait for few minutes to get ONLYOFFICE initialized.
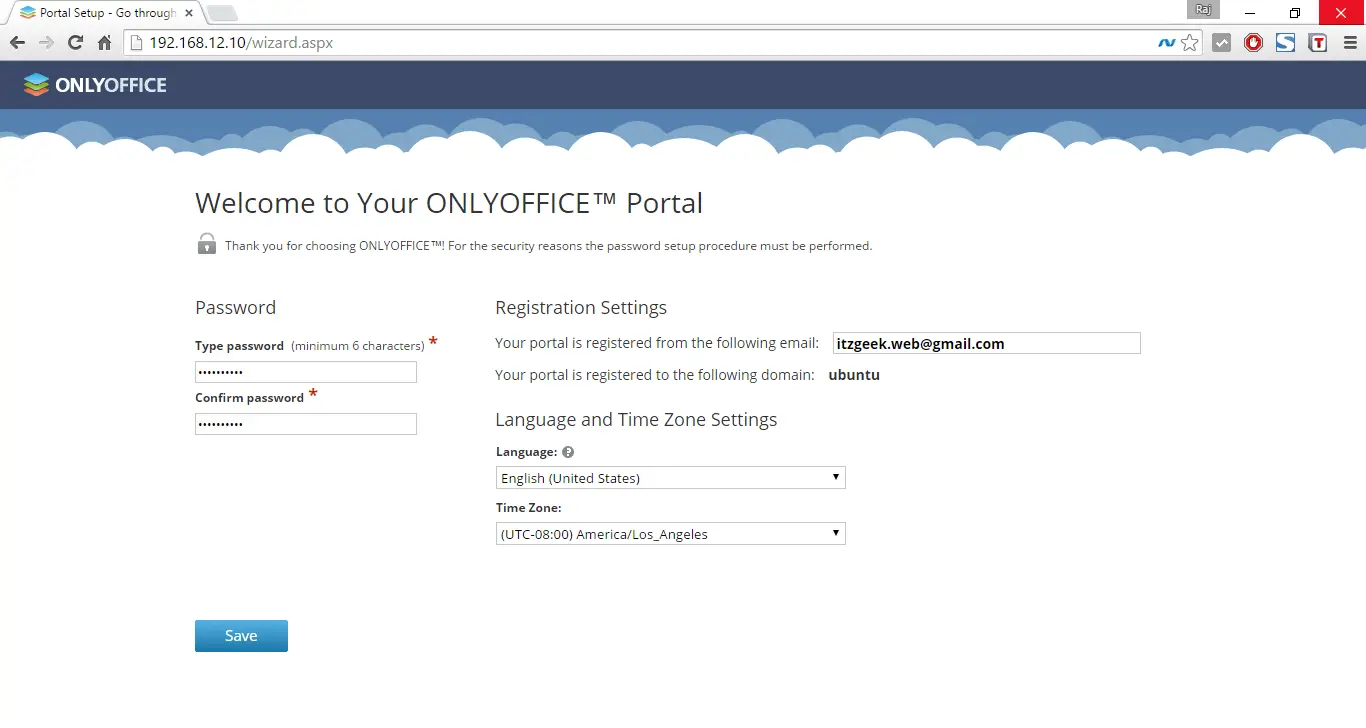
Fill up your details, along with password for portal.
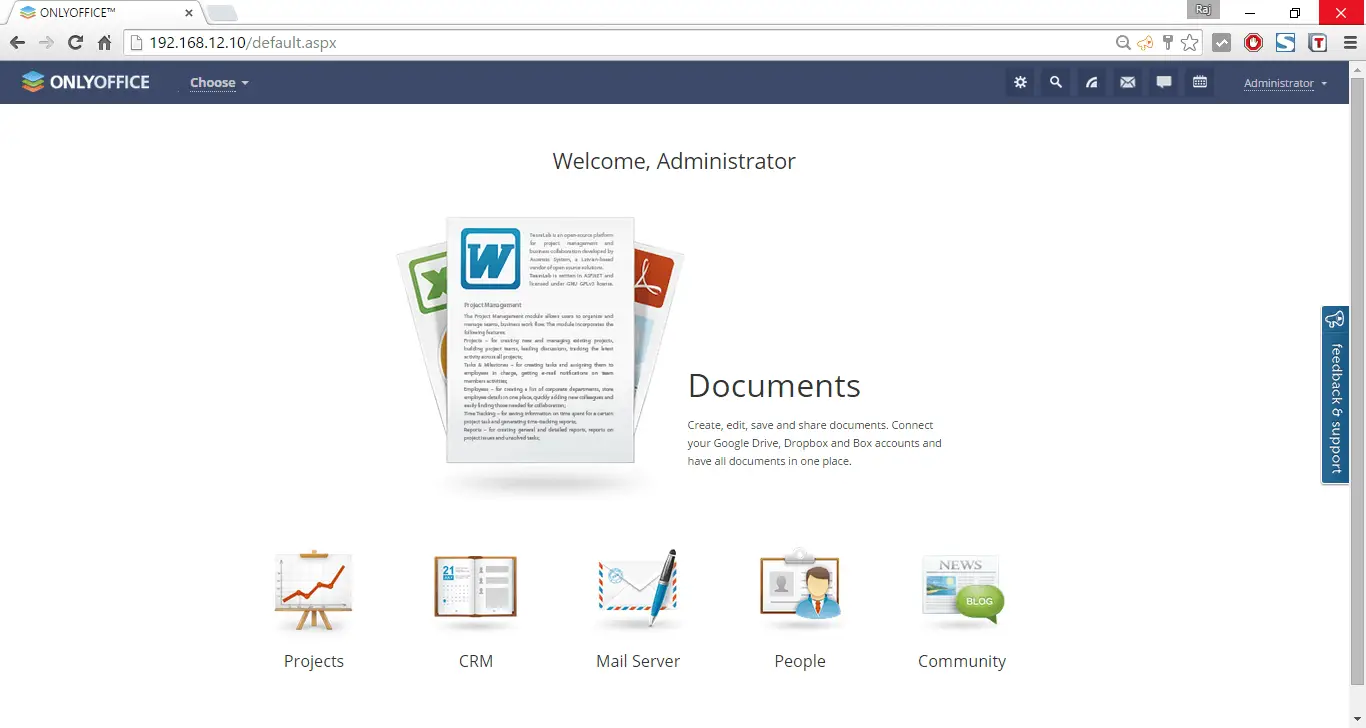
You will get below home page, click on respective modules. For example, if you click on Documents, you will be taken to Documents section.
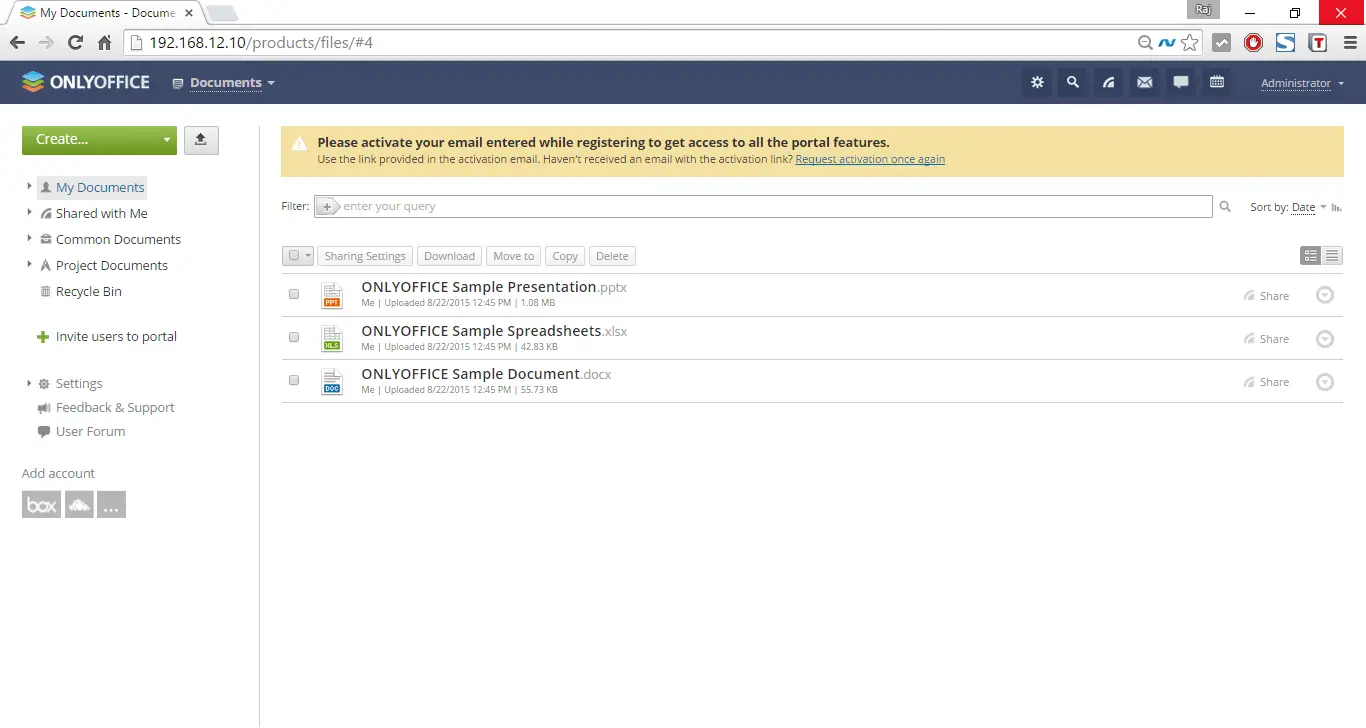
Here you can upload, create and edit the files. Also, you can connect your Google Drive, Dropbox and Box accounts and have all documents in one place.
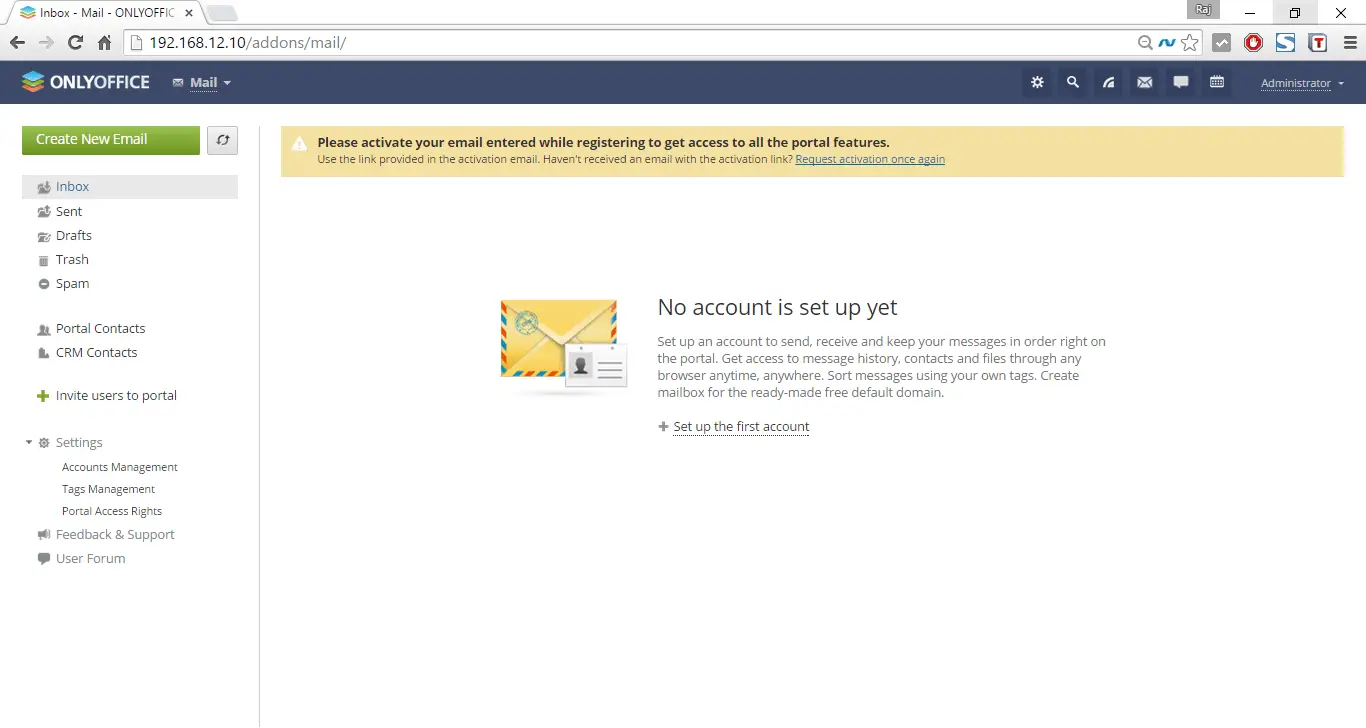
Please note that you must activate your email entered while registering to get access to all the portal features.
For demo, i clicked on “ONLYOFFICE Sample Document.docx”; it took me to document editing page. The following screen shot shows how document editor will look like.

Spreadsheet editor;

Other than document editing, you can setup the CRM, Mail server, create, manage projects and people’s etc.
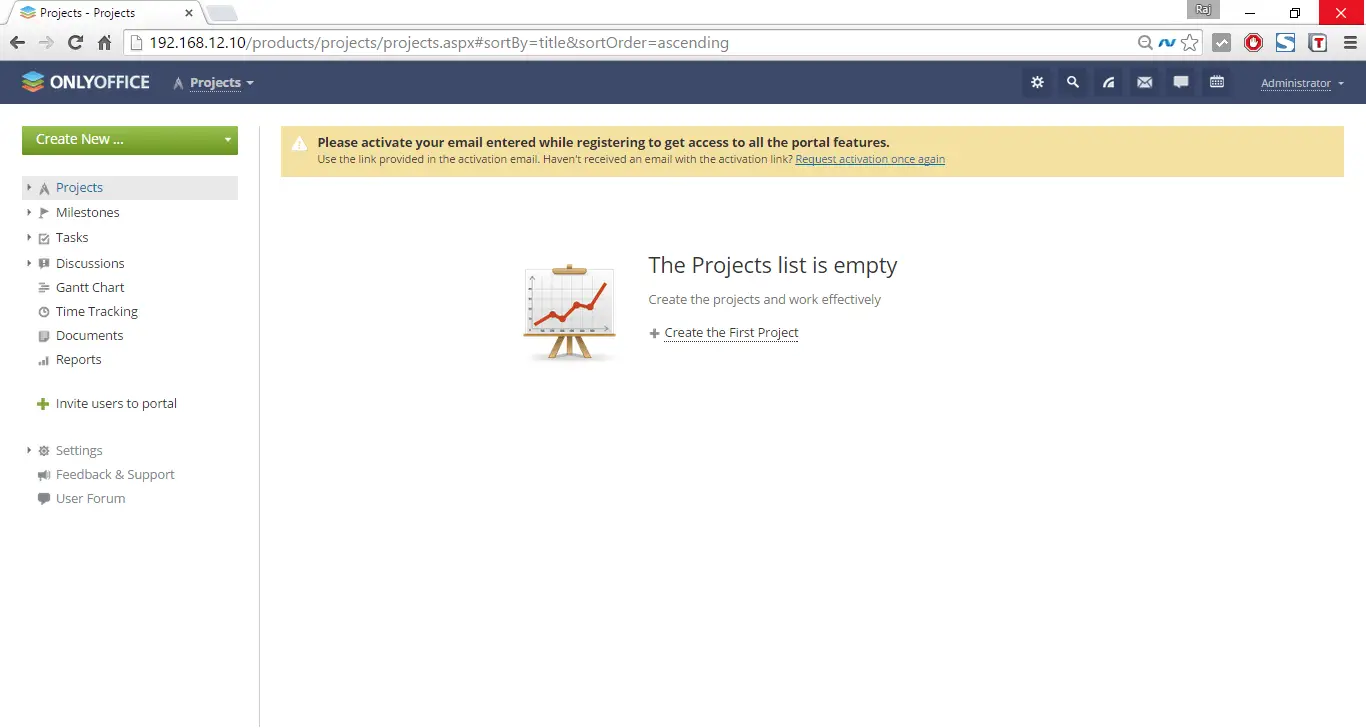
Projects:
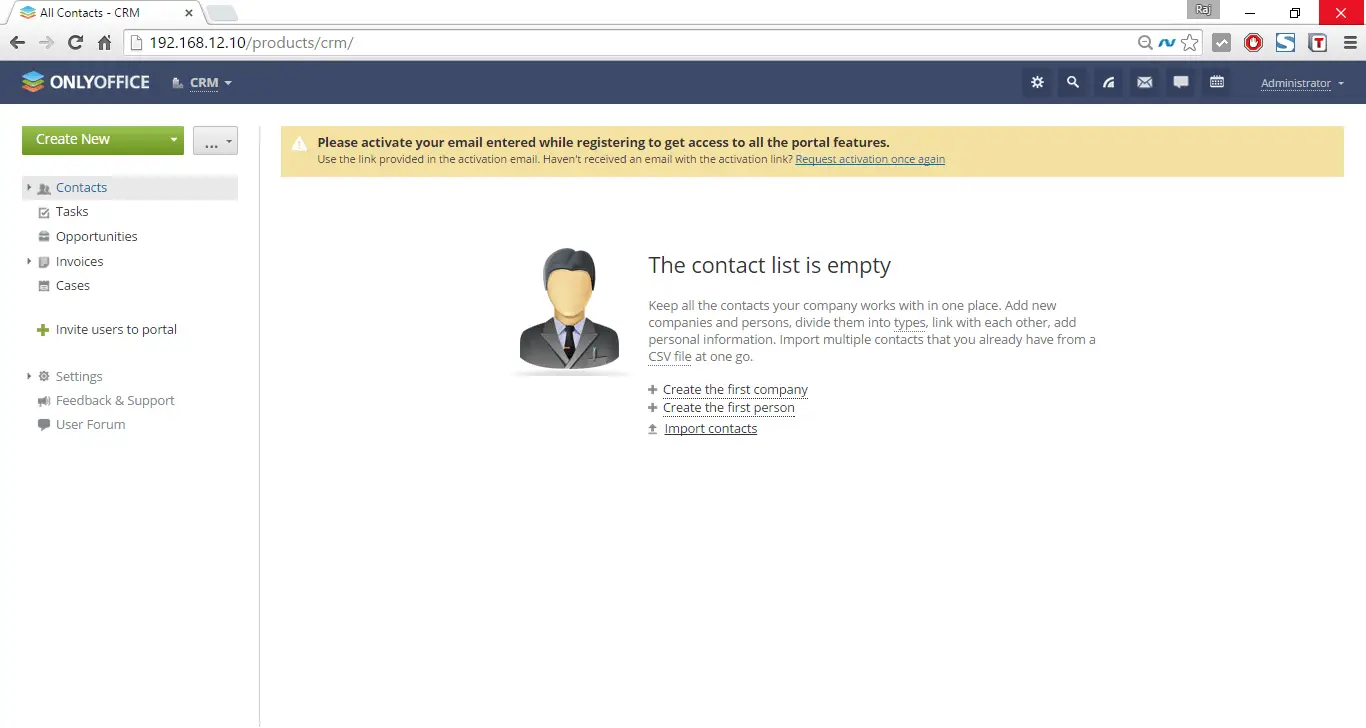
CRM:
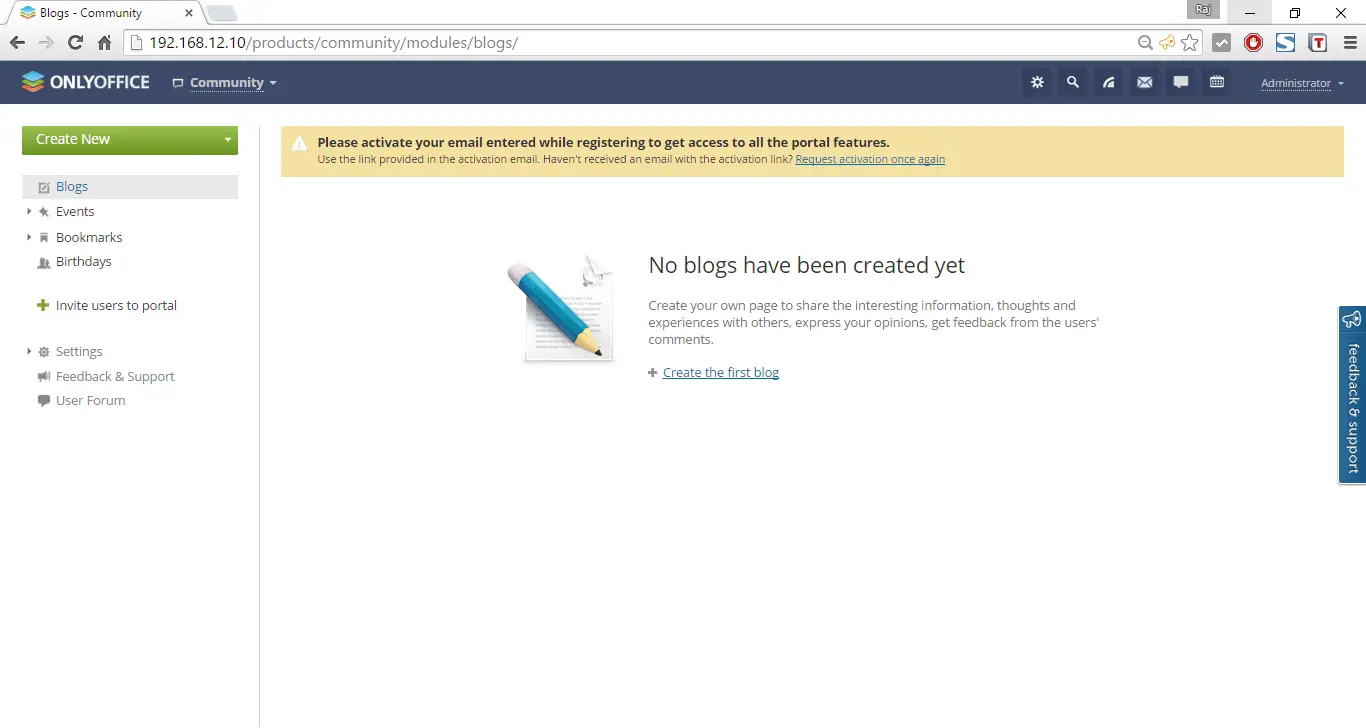
Community:
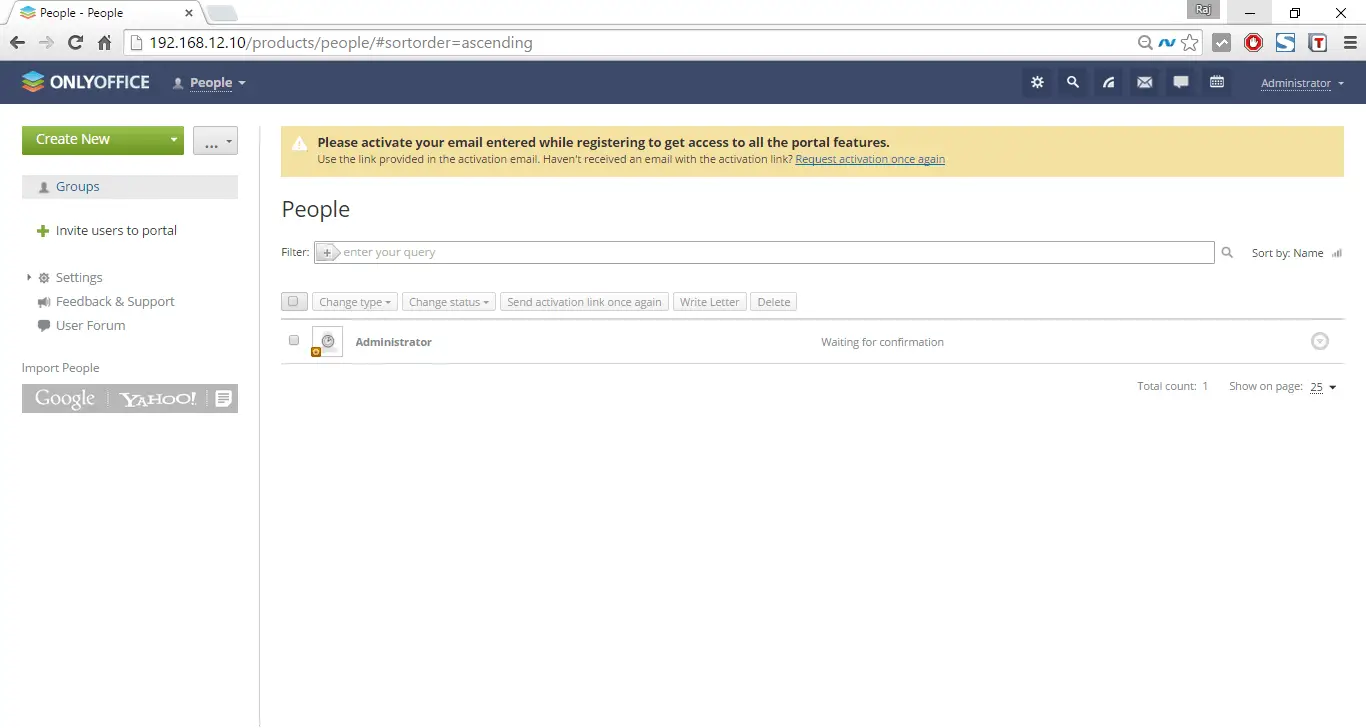
People:
Mail:
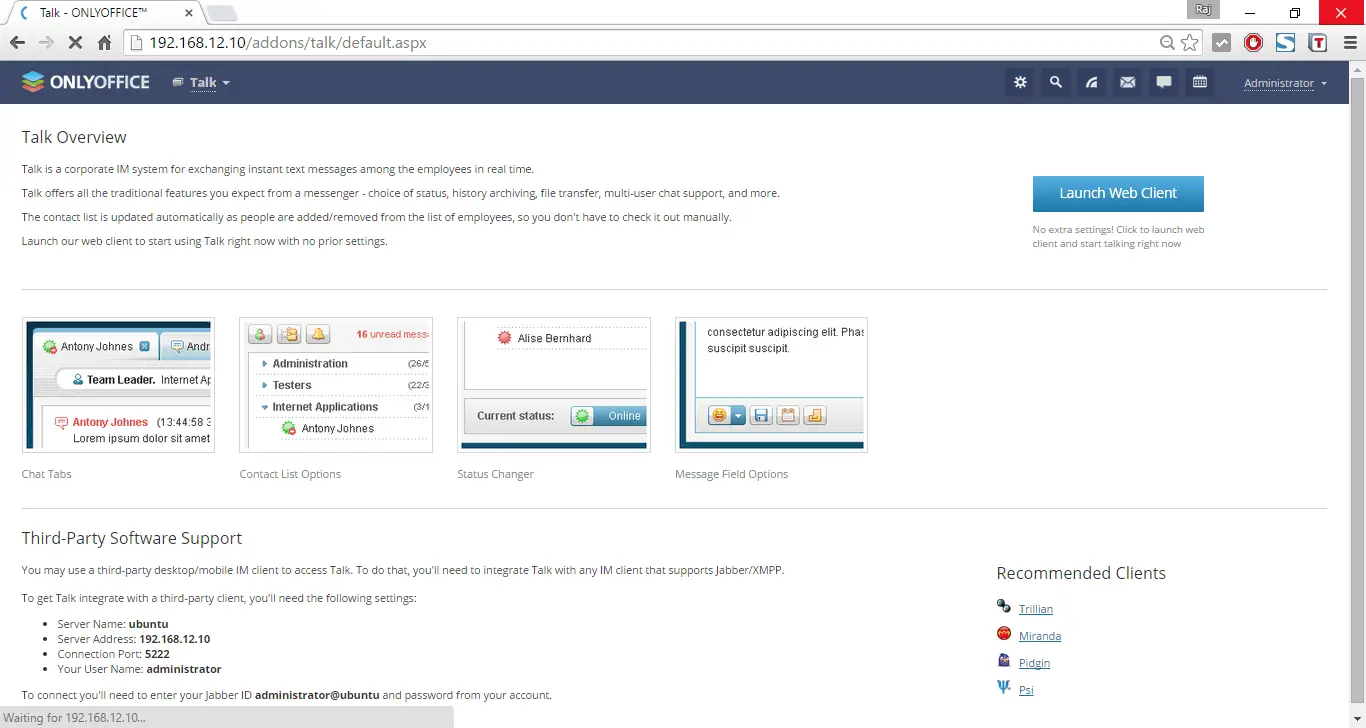
Talk:
Calender:
This is full featured collaborative suite runs on top of Docker, you can also set this up using repository.
Install ONLYOFFICE using Repository:
To install ONLYOFFICE from the official repository, you will need to download ONLYOFFICE GPG signing key:
sudo wget http://download.onlyoffice.com/repo/onlyoffice.key
And add it to the system:
sudo apt-key add onlyoffice.key
Add ONLYOFFICE repository to /etc/apt/sources.list file. Open this file using any available text editor.
sudo nano /etc/apt/sources.list
Add the following entry
deb http://download.onlyoffice.com/repo/debian squeeze main
Add repository to get up-to-date libstdc++6 package versions:
sudo add-apt-repository ppa:ubuntu-toolchain-r/test
Update repository:
sudo apt-get update
Install ONLYOFFICE from the repository execute the following command:
sudo apt-get install onlyoffice-documentserver
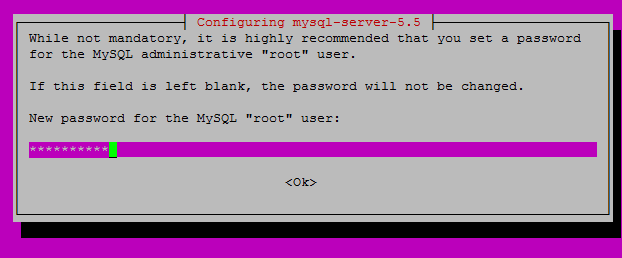
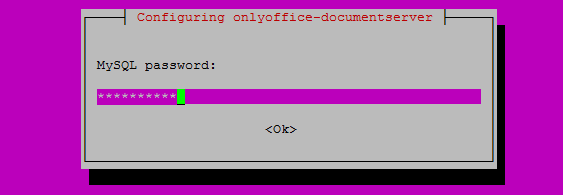
During installation, you will be asked to setup MySQL root user password.
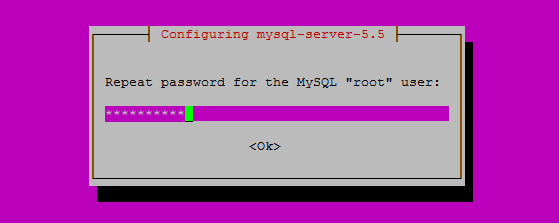
Re-enter the password.
Enter password for ONLYOFFICE Document server database.
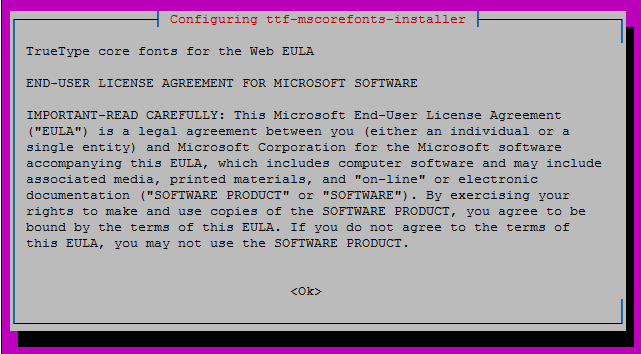
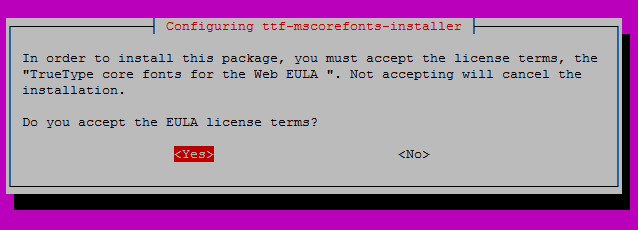
Accept the license agreement of MS fonts.
That’s it. ONLYOFFICE has been installed.
Access ONLYOFFICE Web console:
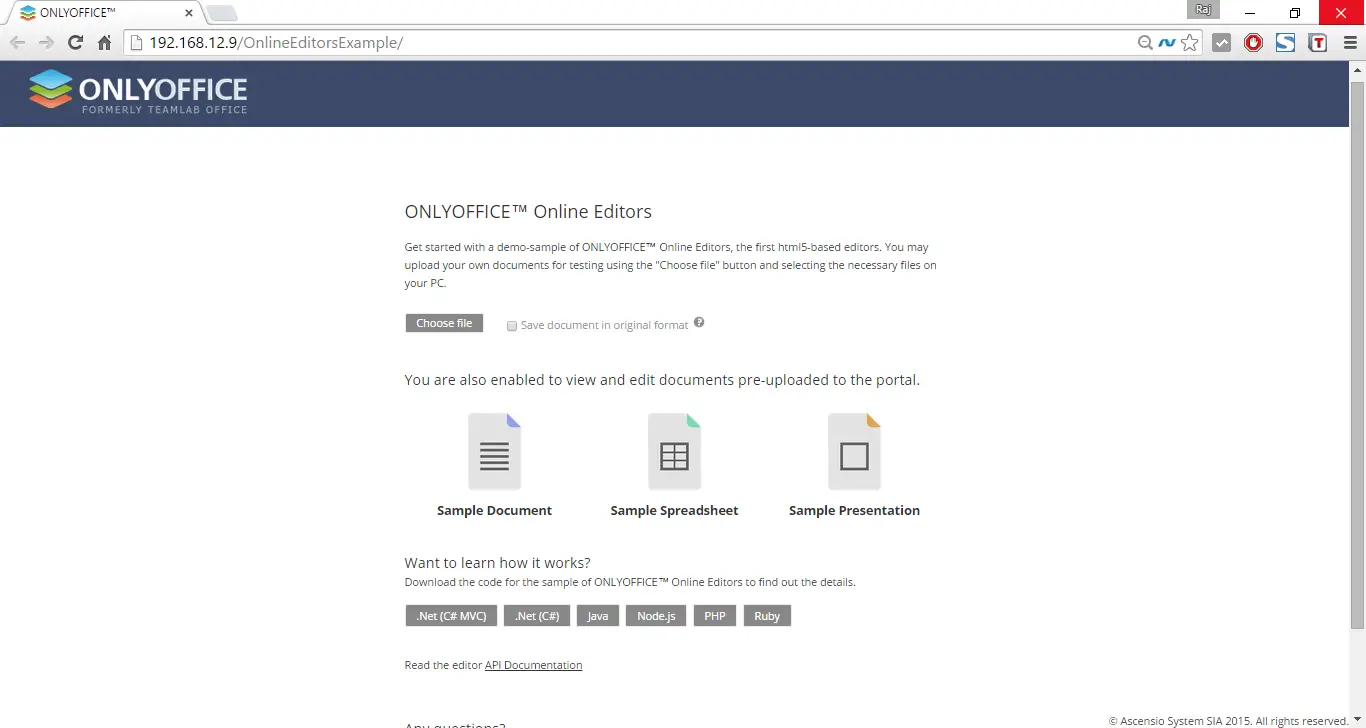
Open up your web browser and navigate to http://ip-add-ress/. You should see the following screen.
Now, you can start using the Document server. From now you can use the ONLYOFFICE online editors to create, edit, view, and delete word documents, excel sheets, and presentation files etc.
ONLYOFFICE can be easily integrated into your website or cloud application via API provided. So you get a chance to provide users with the most advanced online document editors for text docs, spreadsheets and presentations.
To upload a new document, click “Choose file” button and select the files on your PC.
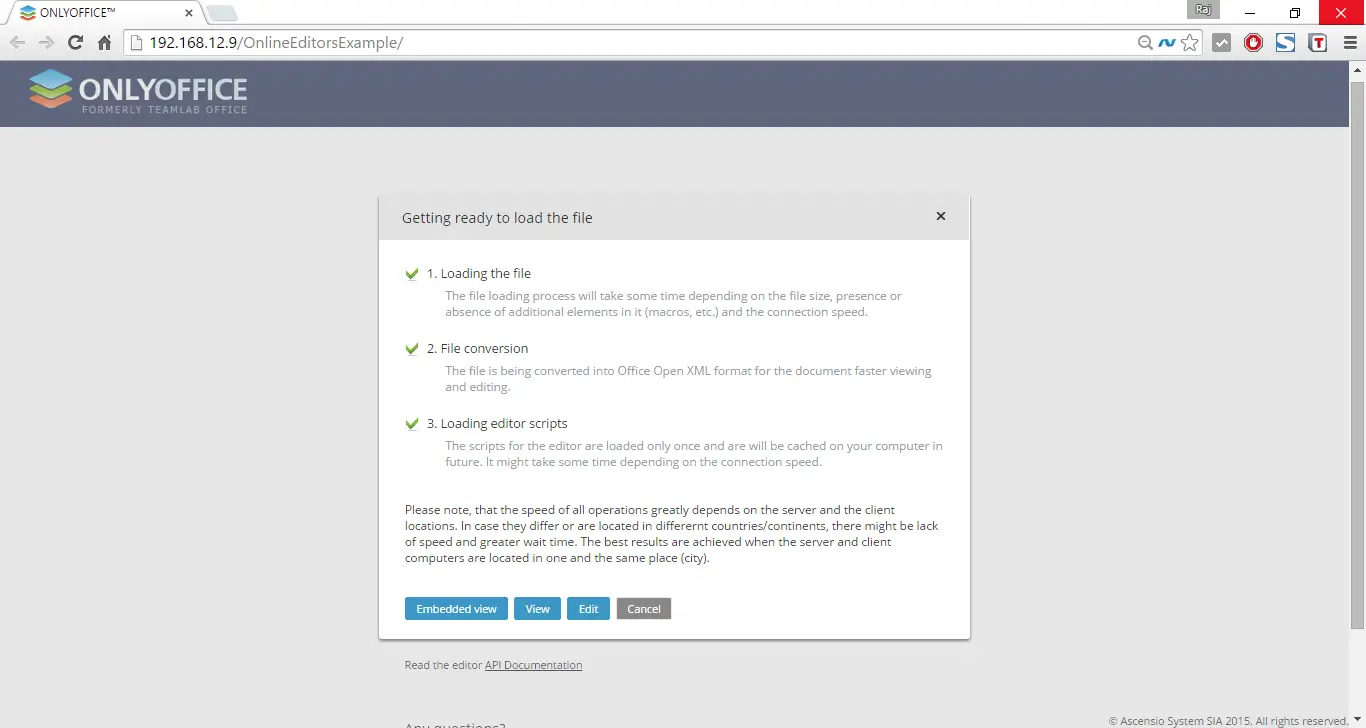
Now, you can view or edit the uploaded document. The following screen shows how document editor looks like.
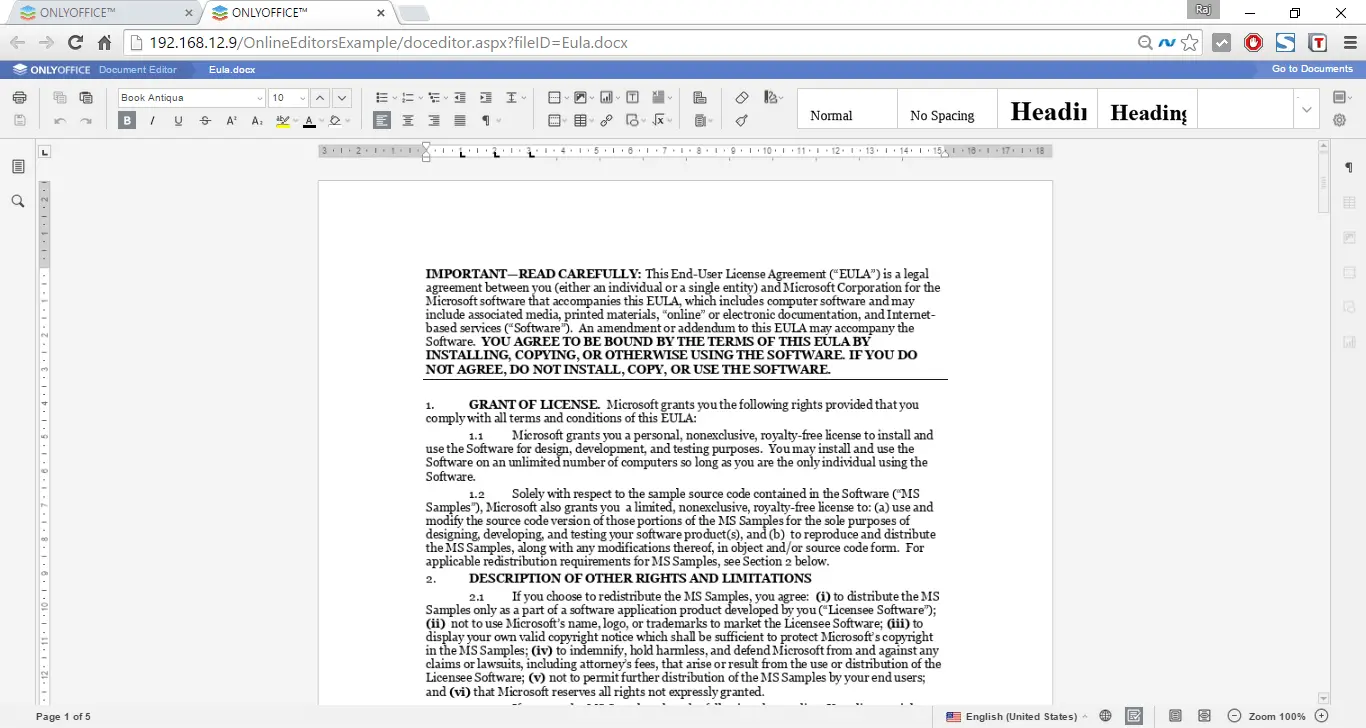
To edit the document, click the Edit button in the web console, make the changes and click the save button.
Also, you can integrate the Document server with collaborative system to get a full featured collaborative suite like we set up using the docker. For more details about installing ONLYOFFICE Community Server integrated with Document and Mail Servers, refer the official documentation page.