Enable Telnet in Windows 8 | Telnet on Windows 8
 As already you know Windows 8 Developer Preview has been released on Nov 2011 for public, it came with lots of feature but they removed some of the feature by default on Windows 8 to make it secure. Telnet is the such one feature disabled by default in Windows 8. If you want to know whether telnet enabled or not by typing “Telnet “ip address””, if you got any error saying that command not recognized or Windows can not find bhla bhla bhla that means Telnet is disabled.
Here is the simple instruction to enable Telnet on Windows 8.
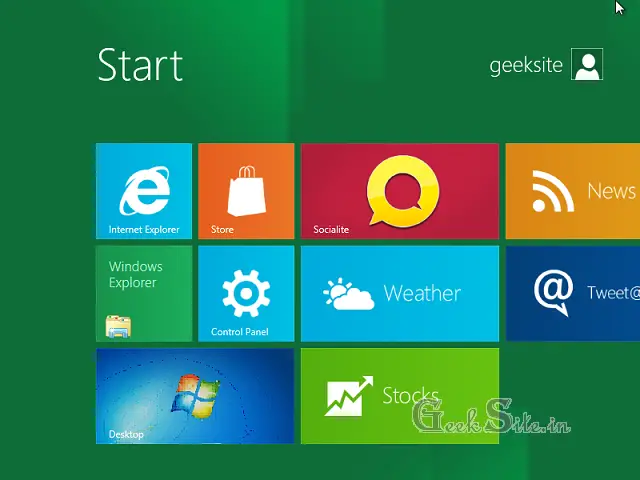
Step 1: Click on control panel in Metro Start.
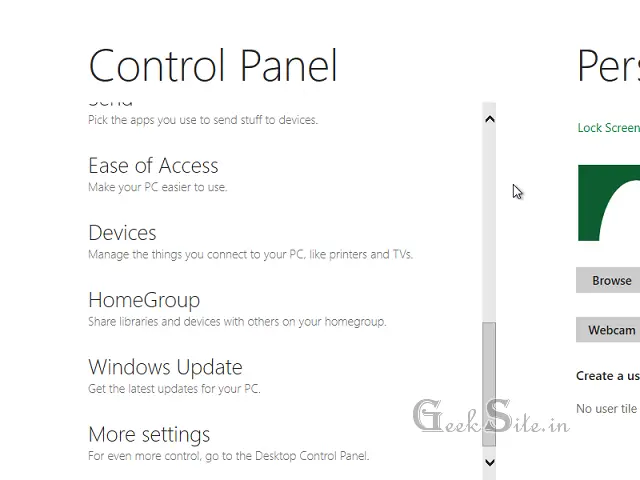
Step 2: Scroll down and click on More Settings,
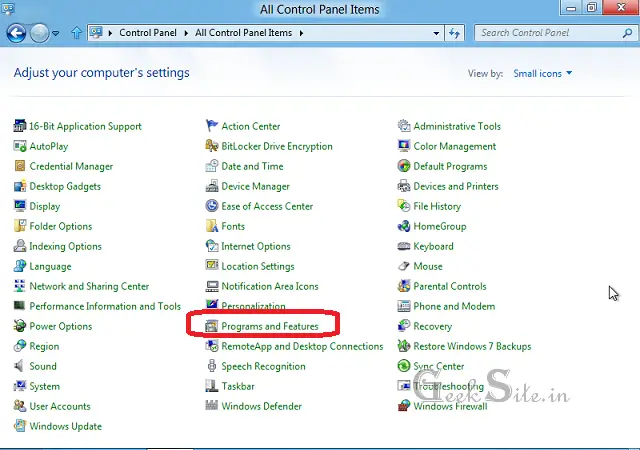
Step 3: Select View by: Small Icons in top right corner and Open Programs and Features.
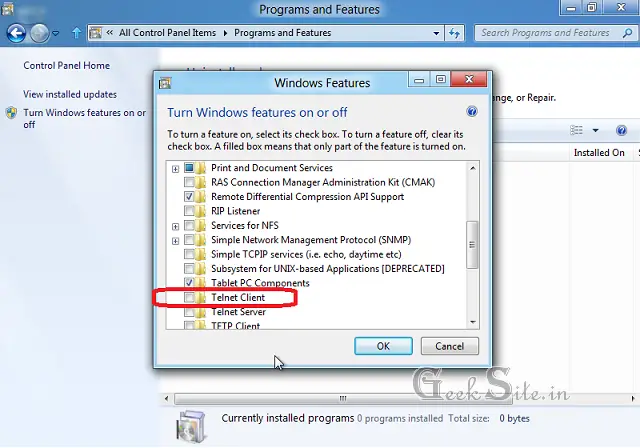
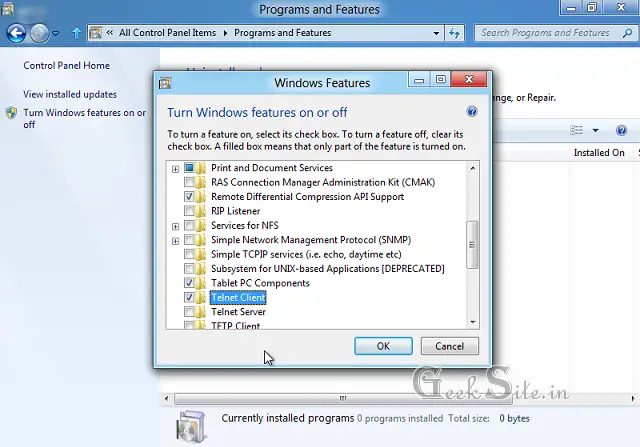
Step 4: Click on Turn Windows features on or off.
Step 5: Scroll down and find Telnet client.
Step 6: To enable Telnet, Select Telnet client and click OK.
Windows will start to install Telnet client, it take some few minutes. it doesn’t require any restart. Once installed, you can start to connect server using Telnet client.

