Install Windows 8 on Oracle Virtual Box | Install Windows 8 on Virtual Machine
 Here is the brief tutorial on installing Windows 8 on Oracle VirtualBox. It is better to install Windows 8 virtually before installing on the PC.
Any way this is only developer preview not retail version, so install on Oracle VirtualBox and try the features virtually. To download Windows 8 Developer Preview Click HERE. Here i used 32 bit of Windows 8 Developer preview.
Windows 8 System Requirements:
- 1 gigahertz (GHz) or faster 32-bit (x86) or 64-bit (x64) processor
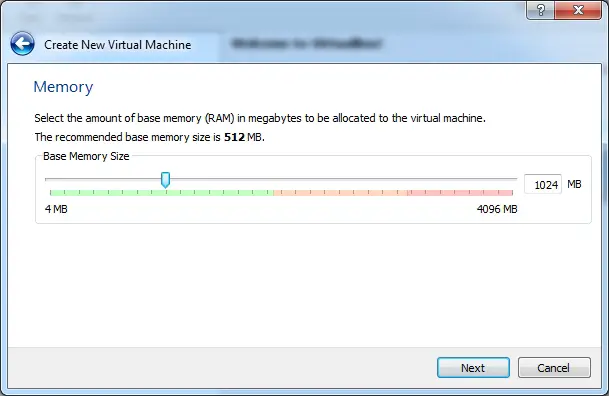
- 1 gigabyte (GB) RAM (32-bit) or 2 GB RAM (64-bit)
- 16 GB available hard disk space (32-bit) or 20 GB (64-bit)
- DirectX 9 graphics device with WDDM 1.0 or higher driver
- Taking advantage of touch input requires a screen that supports multi-touch
And also microsoft warns.
The software is provided as is, and you bear the risk of using it. It may not be stable, operate correctly or work the way the final version of the software will. It should not be used in a production environment. The features and functionality in the prerelease software may not appear in the final version. Some product features and functionality may require advanced or additional hardware, or installation of other software.
Here i used Oracle VirtualBox 4.1, I am going diretcly to steps to follow for installing Windows 8 on Oracle VirtualBox.
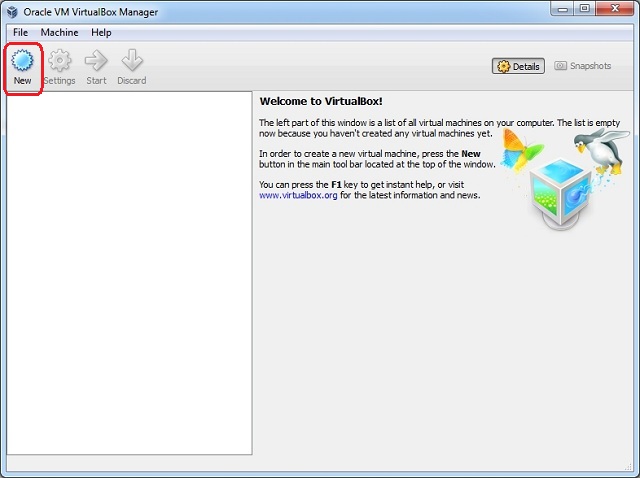
Step 1: Open Oracle Virtual VirtualBox, Click on New from the main window.
Step 2: Click Next on the New Virtual Machine Wizard.
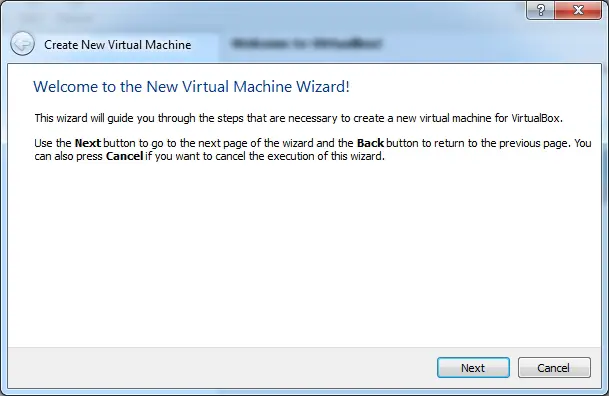
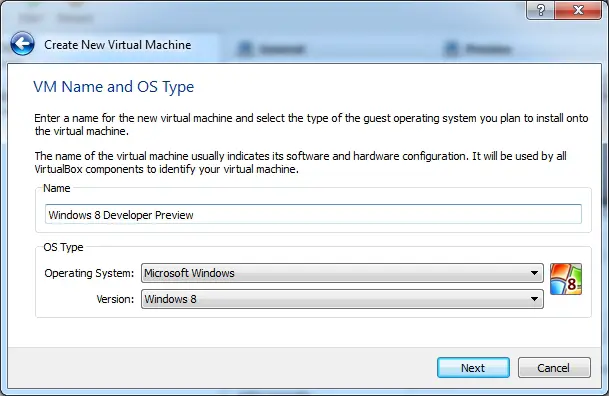
Step 3: Type the Name for the Virtual Machine. Select the Operating System = Windows and Version = Windows 8, click Next.
Step 4: Select the amount of memory that you want to allocate to VM. See Windows 8 requirements above.
Step 5: Select the Virtual hard disk to be used as boot hard disk. Here you can create a new hard disk or add an existing hard disk. As this is new installation so i selected create new hard disk. Once selected click Next.
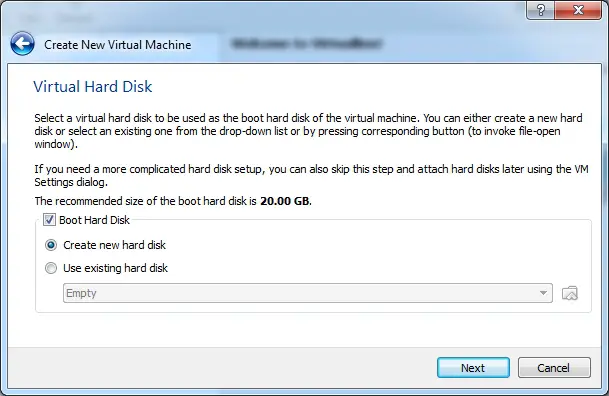
Step 6: In the next window, you need to select the type of virtual hard disk that to be created.
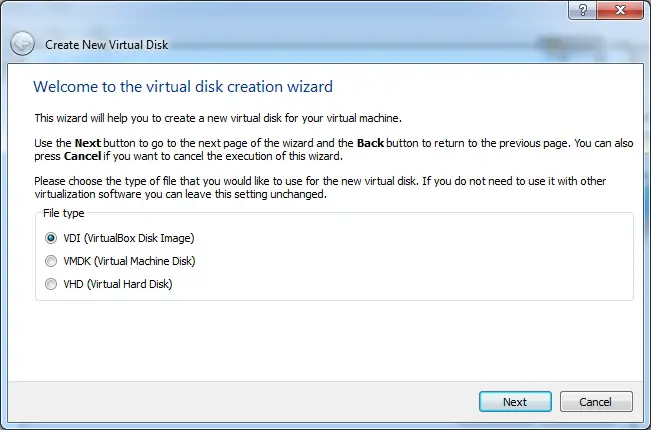
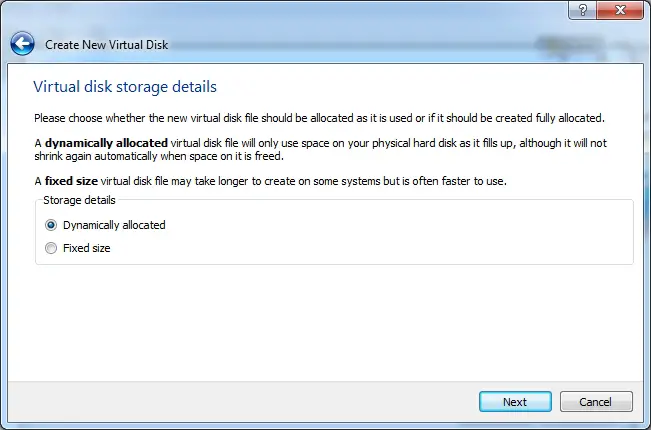
Step 7: Select the way of allocating the hard disk size, it is better to allocate dynamically.
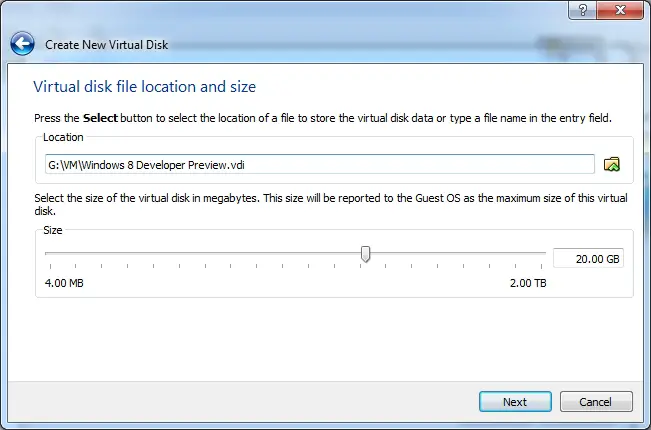
Step 8: Select the location files to store virtual hard disk and select the size of hard disk.
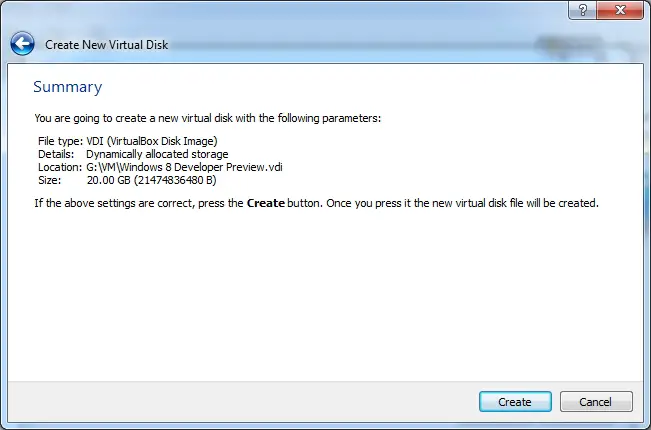
Step 9: Click on Create in the summary window.
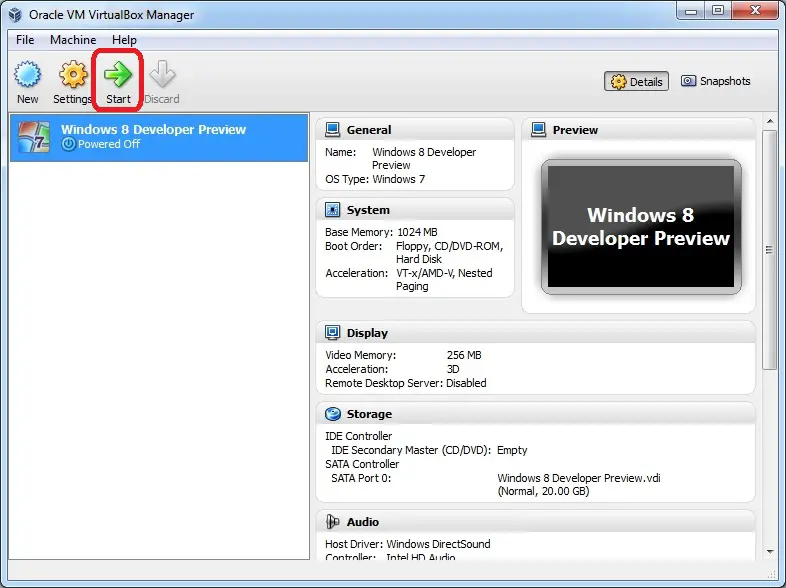
Step 10: Now you can see the new VM created and it’s in powered off mode. Click on Start from the bar.
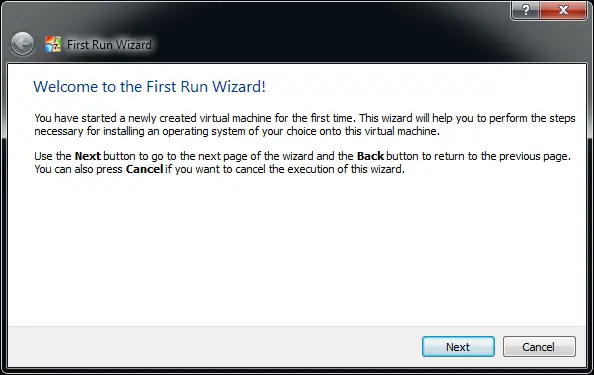
Step 12: After the start it will open up a new window called “First Run Wizard”. Click Next.
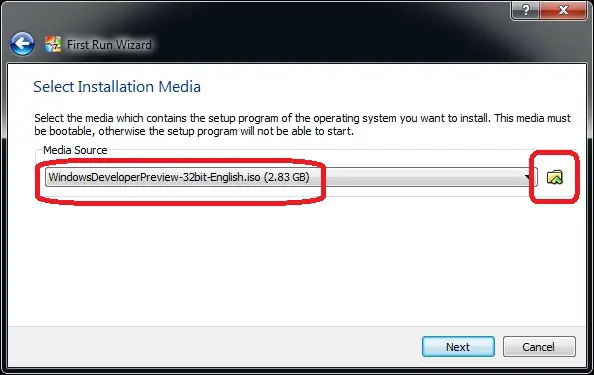
Step 13: Browse for the installation media and select the Windows 8 Developer Preview ISO image. Click Next.
Step 14: Click Start on the Summary window.
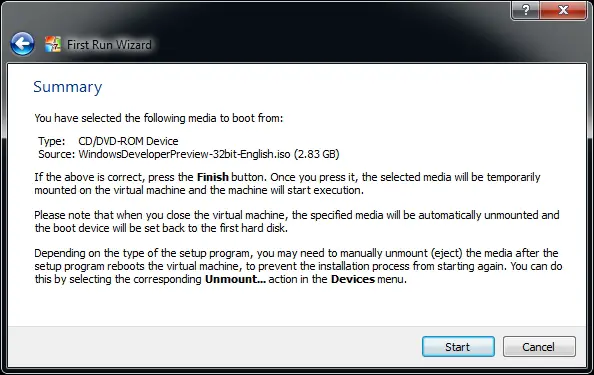
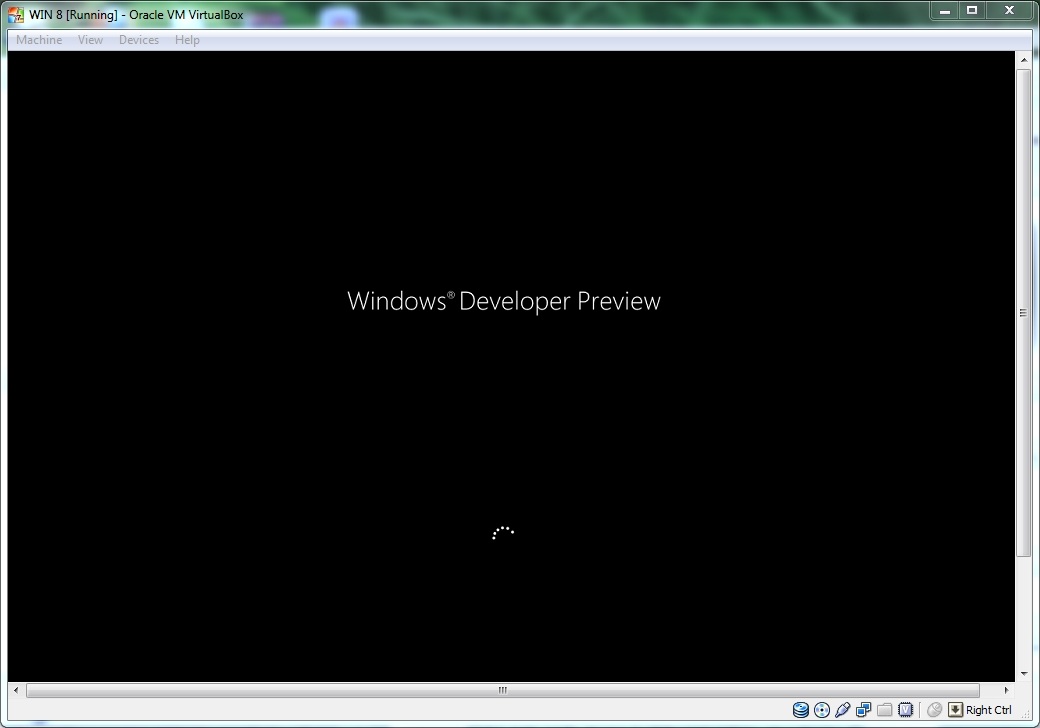
That’s all!. Now the Windows 8 installation will start autmatically.
The installation of Widnows 8 is same as the Windows 8 installation on PC.

