ONLYOFFICE is an open source application that allows you to create your private office. It offers you a set of tools to store and co-edit documents, manage projects, emails and customer relations all at one place.
ONLYOFFICE comprises 3 servers: Community Server, Mail Server, and Document Server. It comes in two flavors. The open source version ‑ ONLYOFFICE Community Edition ‑ is distributed under AGPL v.3. The commercial version ‑ ONLYOFFICE Enterprise Edition ‑ is also available.
Last week developers have updated ONLYOFFICE Community Server and ONLYOFFICE Document Server.
What’s new:
ONLYOFFICE Community Server 9.0.0:
- Integration with DocuSign to digitally sign your documents.
- Integration with Twilio to make calls.
- New document management options:
- Use short links generated automatically to share documents;
- Restore the previous version of your document from the Version History panel;
- Change the common document owner.
- New project management options:
- Redesigned Projects Tasks and Discussions sections;
- More navigation options;
- Possibility to copy tasks and subtasks.
ONLYOFFICE Document Server 4.3:
- View, add and edit footnotes.
- Undo latest actions in Fast co-editing mode.
- Make use of border styles, new formulas, and Paste Special added to Spreadsheet Editor.
Besides, more languages were added for the spellchecker.
Install ONLYOFFICE:
ONLYOFFICE is a cross-platform solution. You can install it on Linux or Windows machine. To install it on Linux, follow the step by step instructions here.
Install ONLYOFFICE on Windows:
To install ONLYOFFICE on a Windows machine, you will need to download the latest version of the installation file available at SourceForge – ONLYOFFICE_Community_Edition_Win-install.(version number).exe. It will install Community Server and Document Server on a single machine. If you need Mail Server as well, you can install it separately on a Linux machine and connect to your web office following the instructions from the official website.
Once downloaded, double-click the .exe file and follow the ONLYOFFICE Community Edition Setup Wizard instructions:
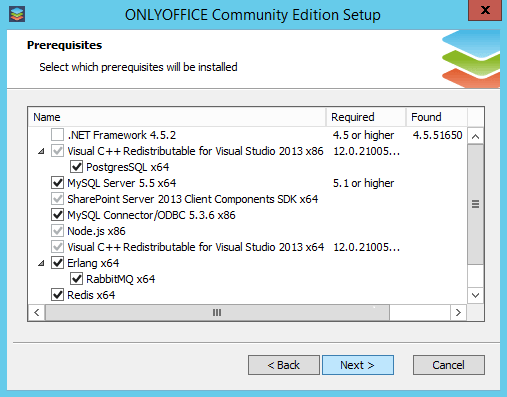
Step 1. Install prerequisites required to run ONLYOFFICE Community Edition.
Step 2. Install ONLYOFFICE Community Edition.

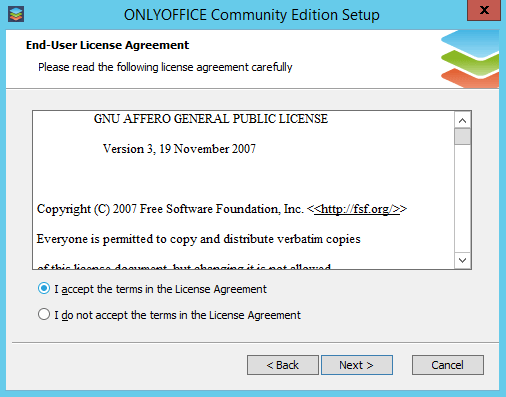
– Read the license and check the I accept the terms in the License Agreement option if you agree with them.
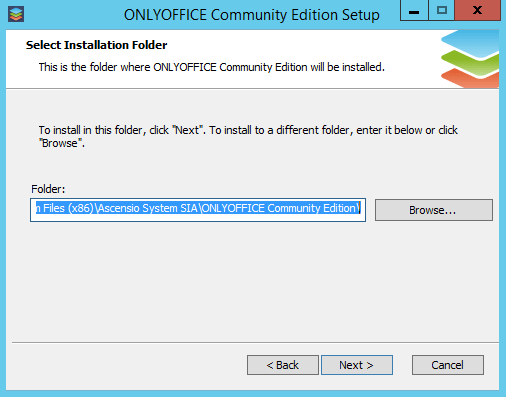
– Change the default installation folder, if needed.
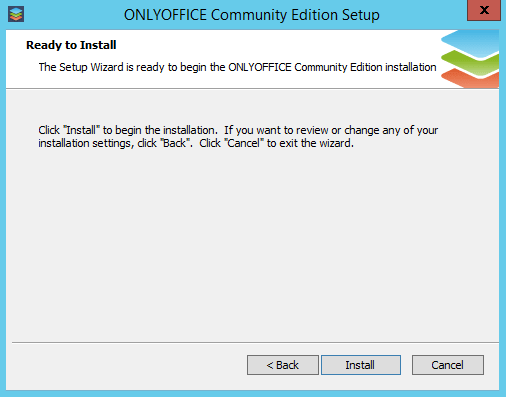
– Start the ONLYOFFICE Community Edition installation process. It may take several minutes.
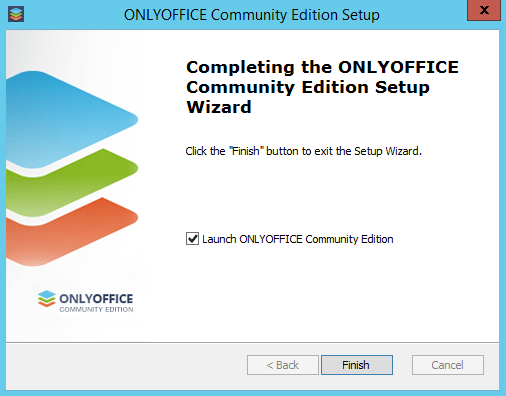
Step 3. Once completed, run ONLYOFFICE Community Edition by clicking the Finish button.
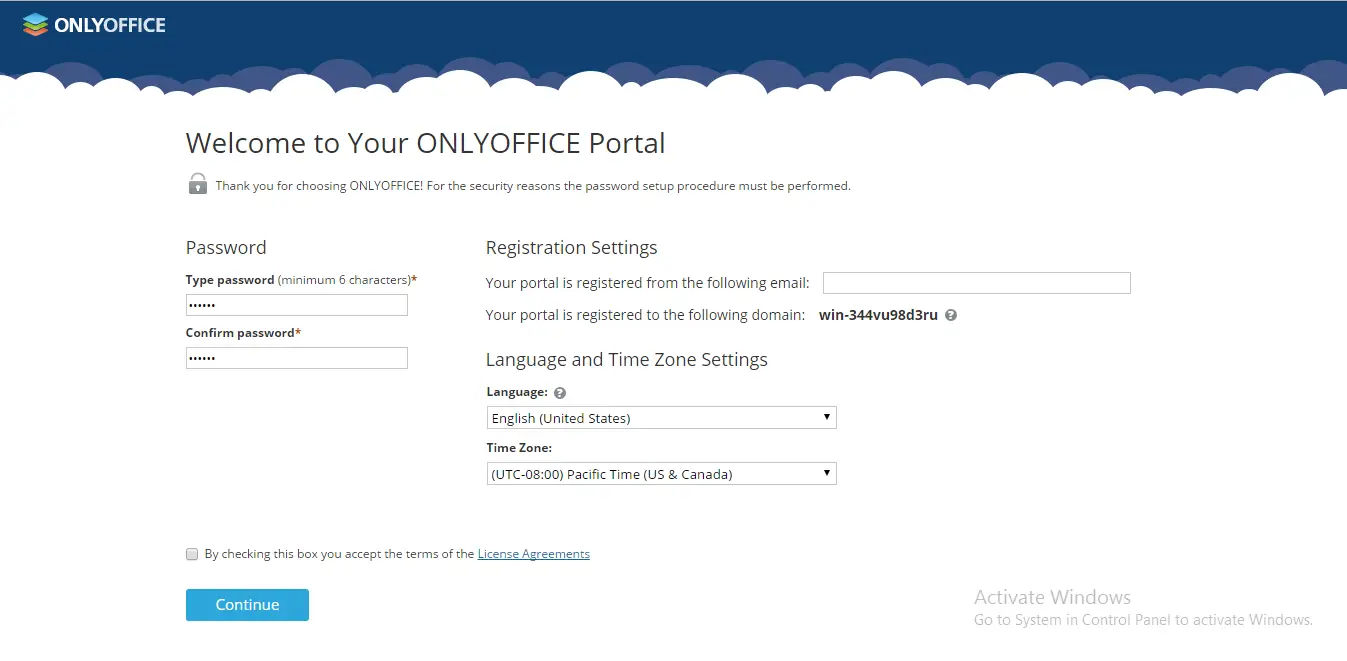
The Welcome page of your web office will be opened. Type your password and confirm it. Specify your email address to use it to access your web office the next time. You can also select an interface language and set up the time zone. Finally, accept the license terms by checking the corresponding box and click Continue.
That’s all. Now you can start working in your web office and invite your co-workers.