The web office is a great way to work and collaborate with your team having a choice about where and when to work. This tutorial describes how to build a private web office with Nextcloud and ONLYOFFICE to manage, edit and collaborate the documents in real time. Both open source and self-hosted these tools provide advanced security features to keep your documents private.
3 ways to install
There are several ways to make your web office up and running.
- Install Nextcloud standalone
- Use Docker compose to install Nextcloud integrated with ONLYOFFICE all at once.
- Use Univention app appliances to install VM that contains Univention Corporate Server, Nextcloud and ONLYOFFICE.
1. Install Nextcloud standalone
Install Nextcloud standalone and then install and connect ONLYOFFICE to it. The instructions are available here.
2. Install Nextcloud and ONLYOFFICE with Docker compose
This type of installation is quick and effortless, so you can use it to try Nextcloud with ONLYOFFICE for the first time.
Before you start the installation of Nextcloud and ONLYOFFICE, make sure you have Docker and Docker Compose installed on your machine.
To begin the installation process, download the latest version of the docker-onlyoffice-nextcloud repository using the following commands:
git clone --recursive https://github.com/ONLYOFFICE/docker-onlyoffice-nextcloud

cd docker-onlyoffice-nextcloud

git submodule update --remote
Run Docker Compose:
docker-compose up -d
Now you can access Nextcloud entering the web server address when it is deployed in your browser address bar. When you first access it, the setup wizard will appear and ask you to choose an administrator account and password. Create it and go back to the downloaded folder.
Run the set_configuration.sh script:
bash set_configuration.sh
Then restart the page.
3. Install Nextcloud and ONLYOFFICE with Univention app
Univention apps are VirtualBox or VMware images that include the apps – Nextcloud and ONLYOFFICE – and Univention Corporate Server. All the components are automatically configured: no manual steps by the administrator are needed.
Step 1. Download the appropriate VM
You can choose between VMware, VirtualBox, VMware ESX, and KVM images for ONLYOFFICE-Nexctloud. Before you download VM, make sure you have the hypervisor installed for the chosen virtual machine VMware Workstation Player or VirtualBox (follow the documentation for detailed installation guide).
Step 2. Import the appliance
For VMware, Workstation Player unzip the downloaded VMware appliance file, choose the Open a Virtual Machine option, select the subfolder of the extracted files, and open the UCS-Demo-Image.vmx file, then click the Power On button to power up / start the virtual machine and run the pre-installed UCS system.
For VirtualBox, open the hypervisor, open the File menu, select the Import Appliance option, accept the software license agreement, confirm the settings and start the import.
Step 3. Install the application
Once the image is successfully imported, start the VM. Go through the booting process following the steps of the installation wizard.
- Adjust the correct timezone, keyboard layouts, and other parameters selecting the nearest city from the list of the available ones.
- Specify the network settings for the system. Obtain your IP address automatically or specify it manually.
- Select your domain settings: join into an existing UCS or Microsoft Active Directory domain, or set up the new one choosing Manage users and permissions directly on this system option.
- Fill in your account information: Company name, Admin email address for activating ONLYOFFICE, and a new password.
- Specify the full domain name for the system and the LDAP base.
Finally, review your settings and click the Configure System button to start the configuration process.
Once everything is configured, your web office is ready for work.
Start working with your documents
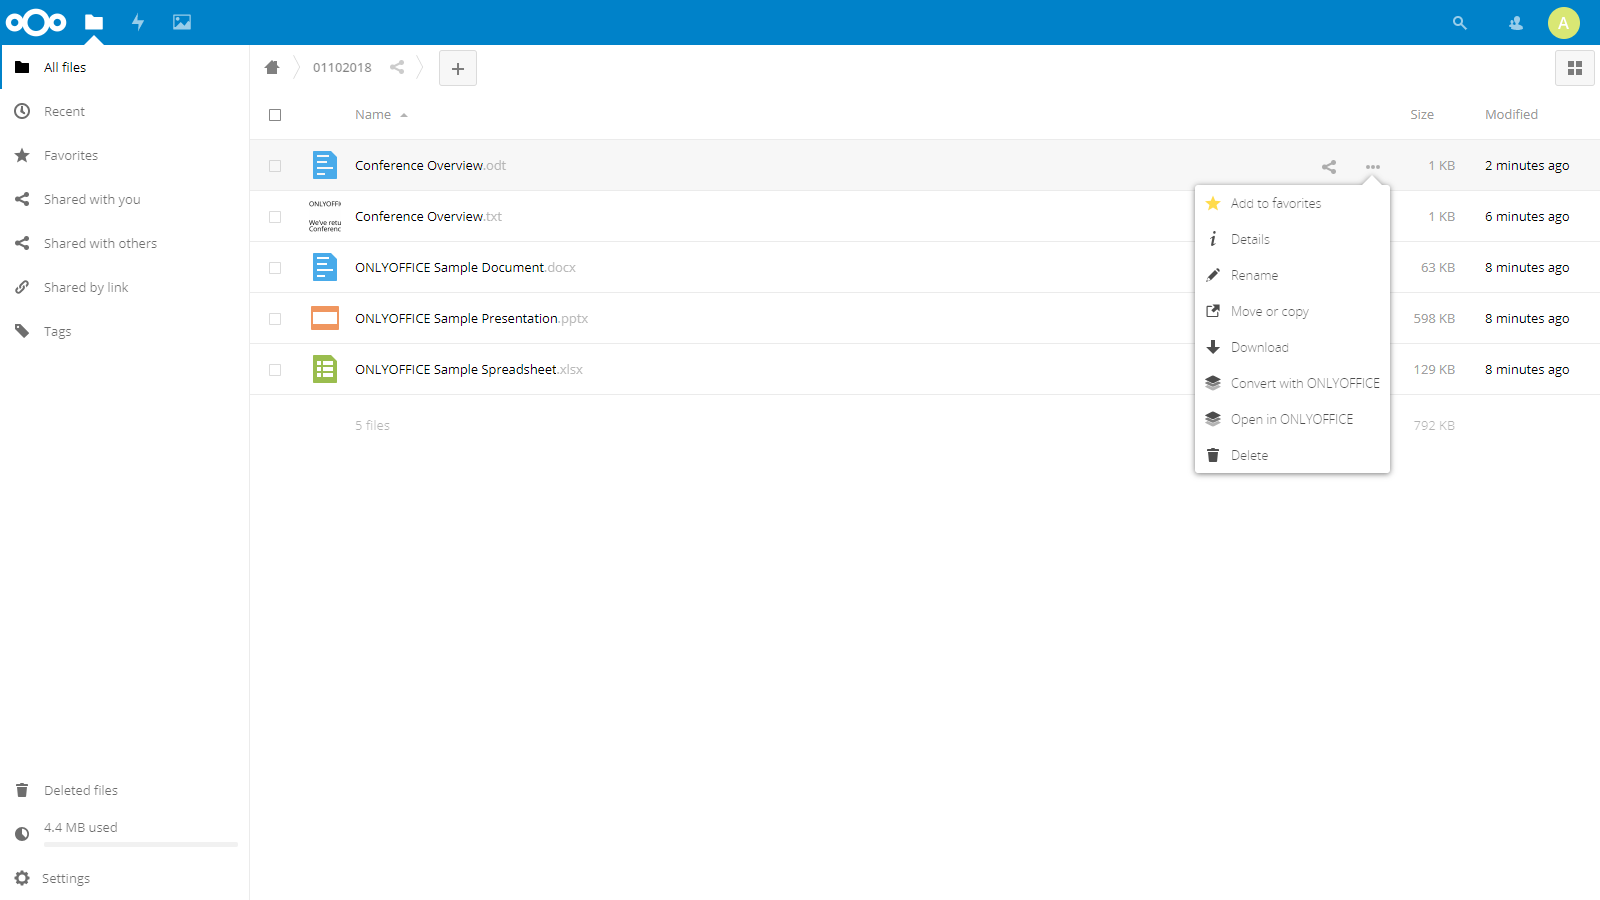
To create a document, spreadsheet or presentation, just click the + button at the top of the Nextcloud web interface and select an appropriate file type.
To start editing the existing text documents, spreadsheets or presentations, use the Open in ONLYOFFICE option appeared in the file menu.
That’s All.