Cockpit is a free, web-based server manager for Linux operating systems. With Cockpit, a system admin can perform tasks such as managing storage, Users, containers, network configuration, inspecting logs and so on.
Cockpit is released under the LGPL v2.1+, and it is available for Redhat, CentOS, Debian, Ubuntu, Atomic, and Arch Linux.
This guide helps you to install Cockpit on Ubuntu 18.04.
Features
- Modify the network settings
- Easily manage the user accounts
- With the use of sosreport, it can collect system configuration and diagnostic information
- Connect and Manage multiple systems from a single Cockpit session
- Gathers system performance using Performance Co-Pilot framework and displays it in a graph.
- Manage the containers via Docker
- Provides web-based shell in a terminal
Install Cockpit on Ubuntu 18.04
apt command to install it.sudo apt update
Install the Cockpit package.
sudo apt -y install cockpit
Start and Enable the Cockpit.
sudo systemctl start cockpit.socket
sudo systemctl enable cockpit.socket
Working with Cockpit
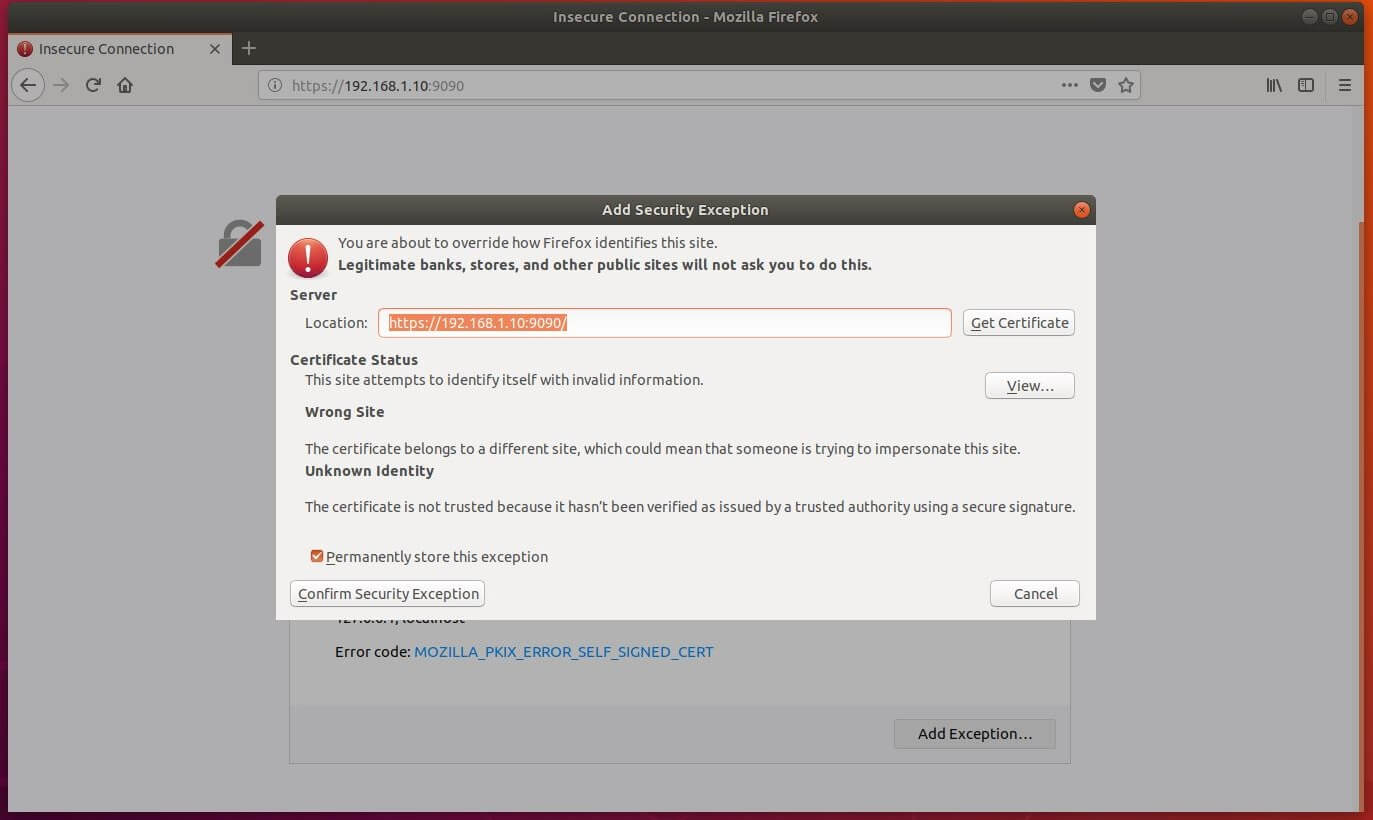
Once you start the Cockpit service, it will start listening on port 9090. Now, open up your browser and navigate it to below URL.
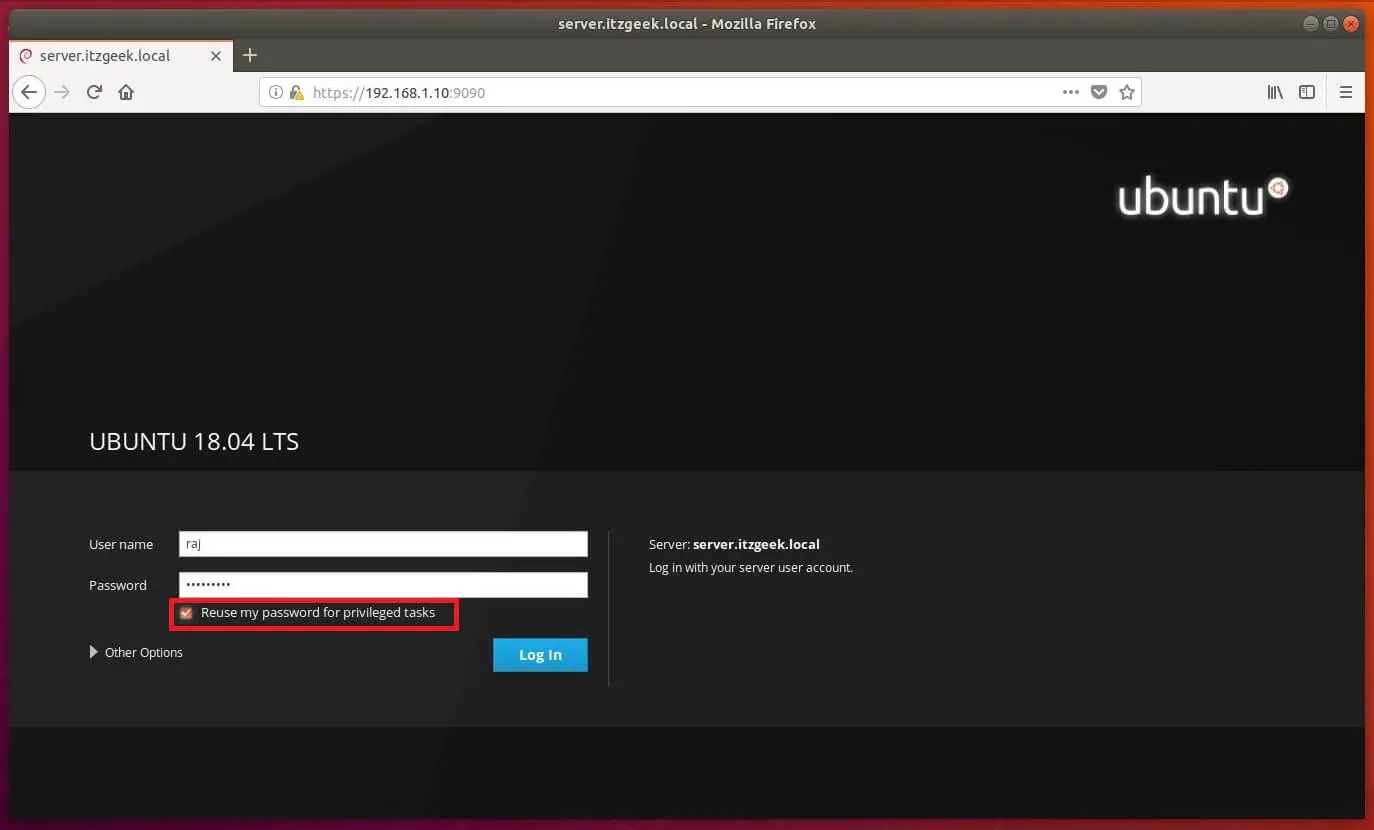
Log in with your local user account. In my case it is raj.
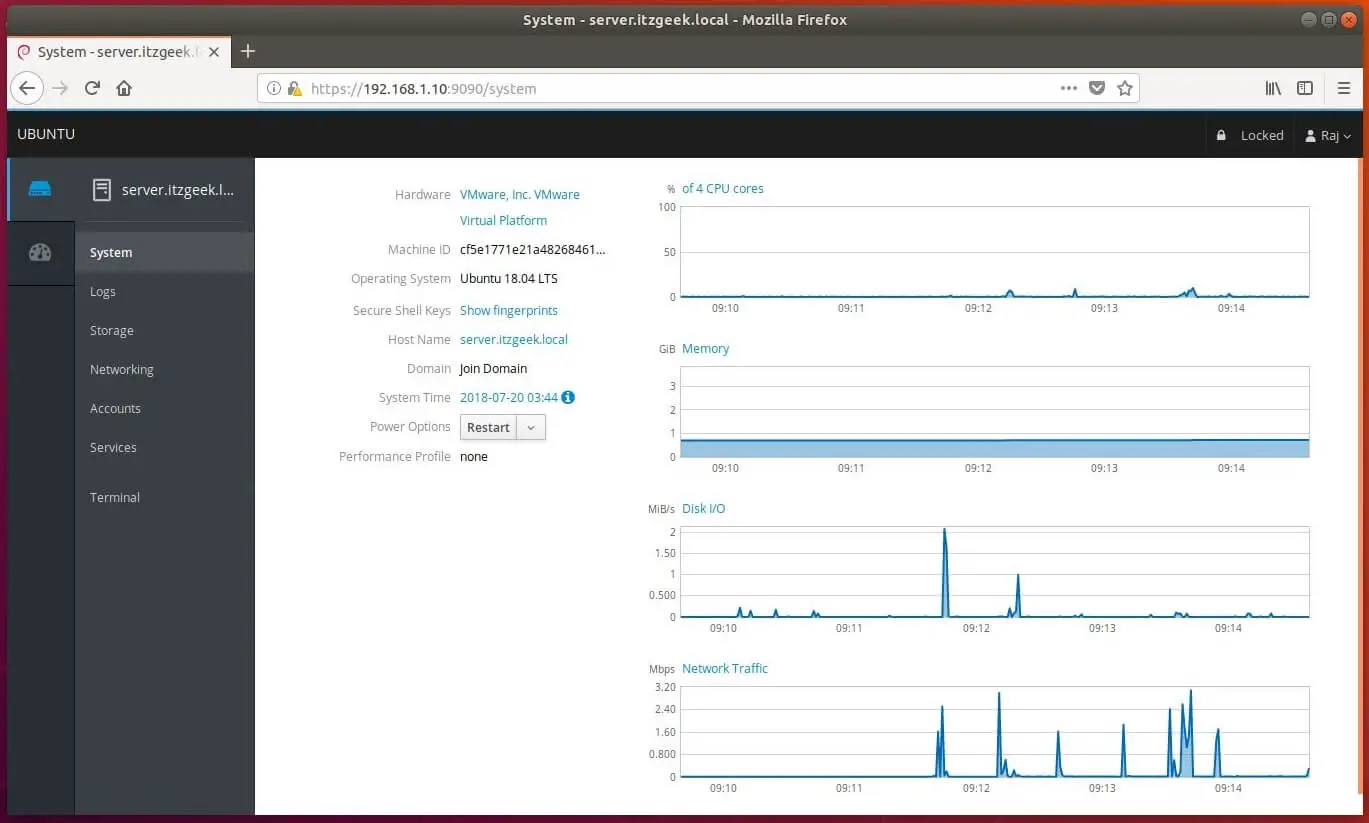
Once you have logged in into Cockpit, you will be taken to the system overview page where you can see a detailed overview and performance graphs of the selected system.
Troubleshoot your system’s problem by having a look at the system logs.
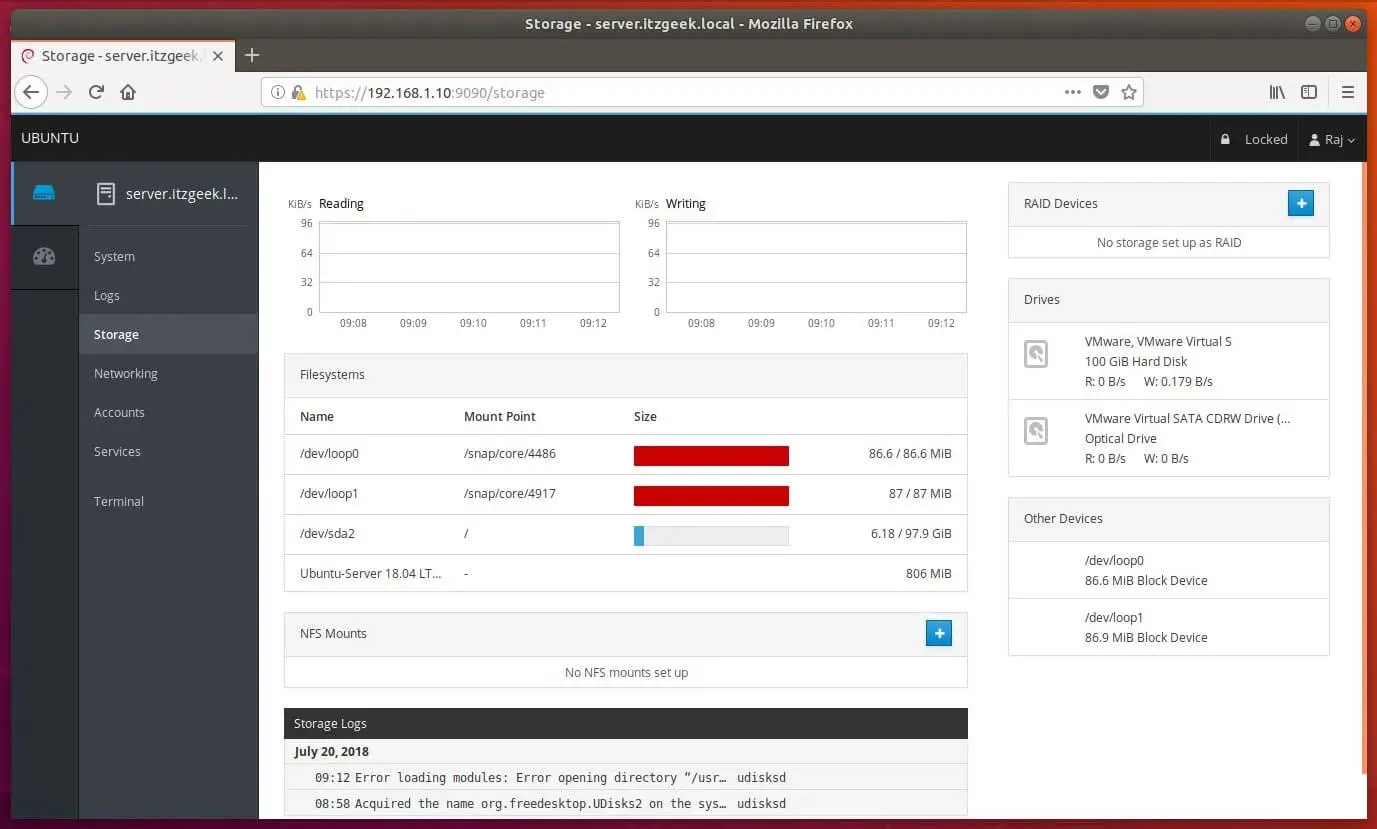
You can view the storage information by clicking the Storage.
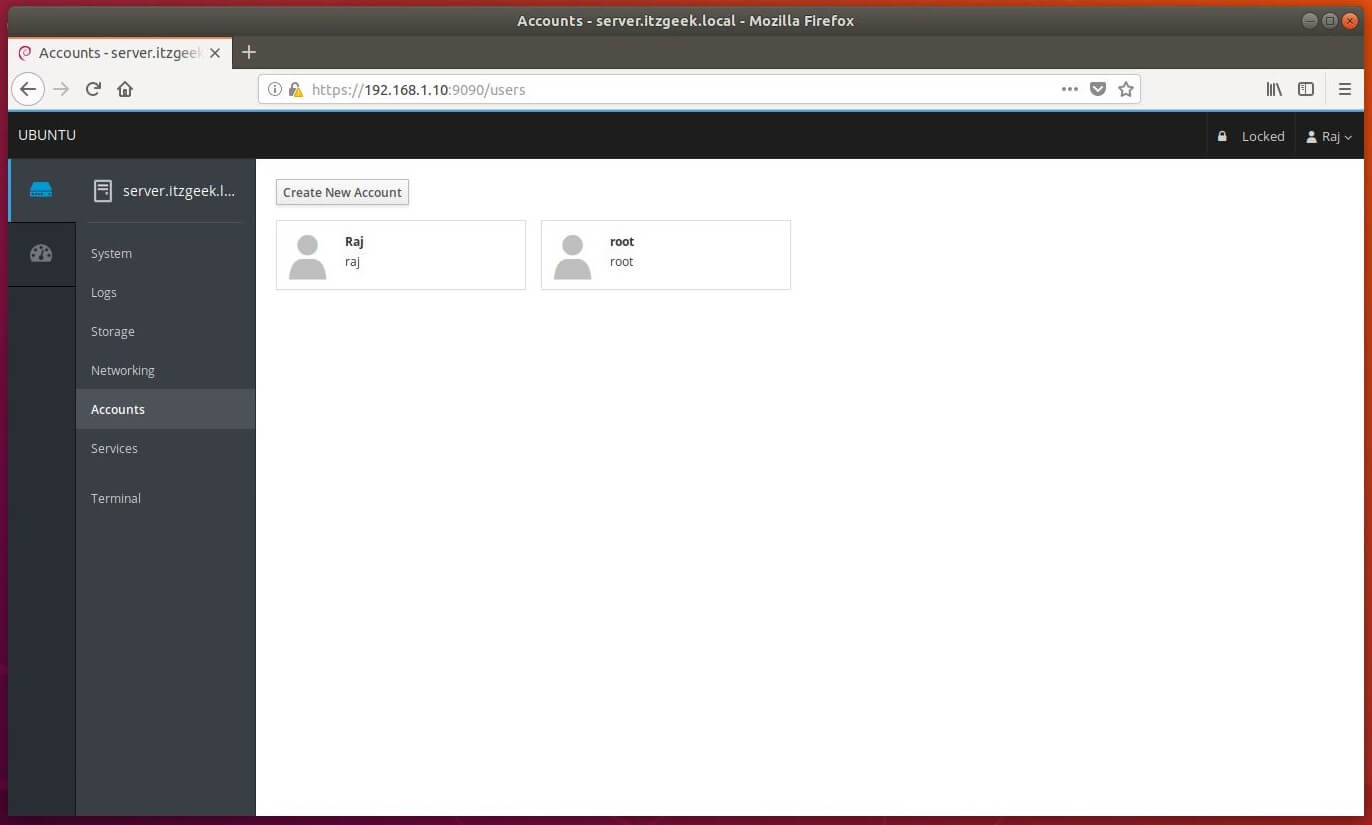
Manage the system users by going to Accounts.
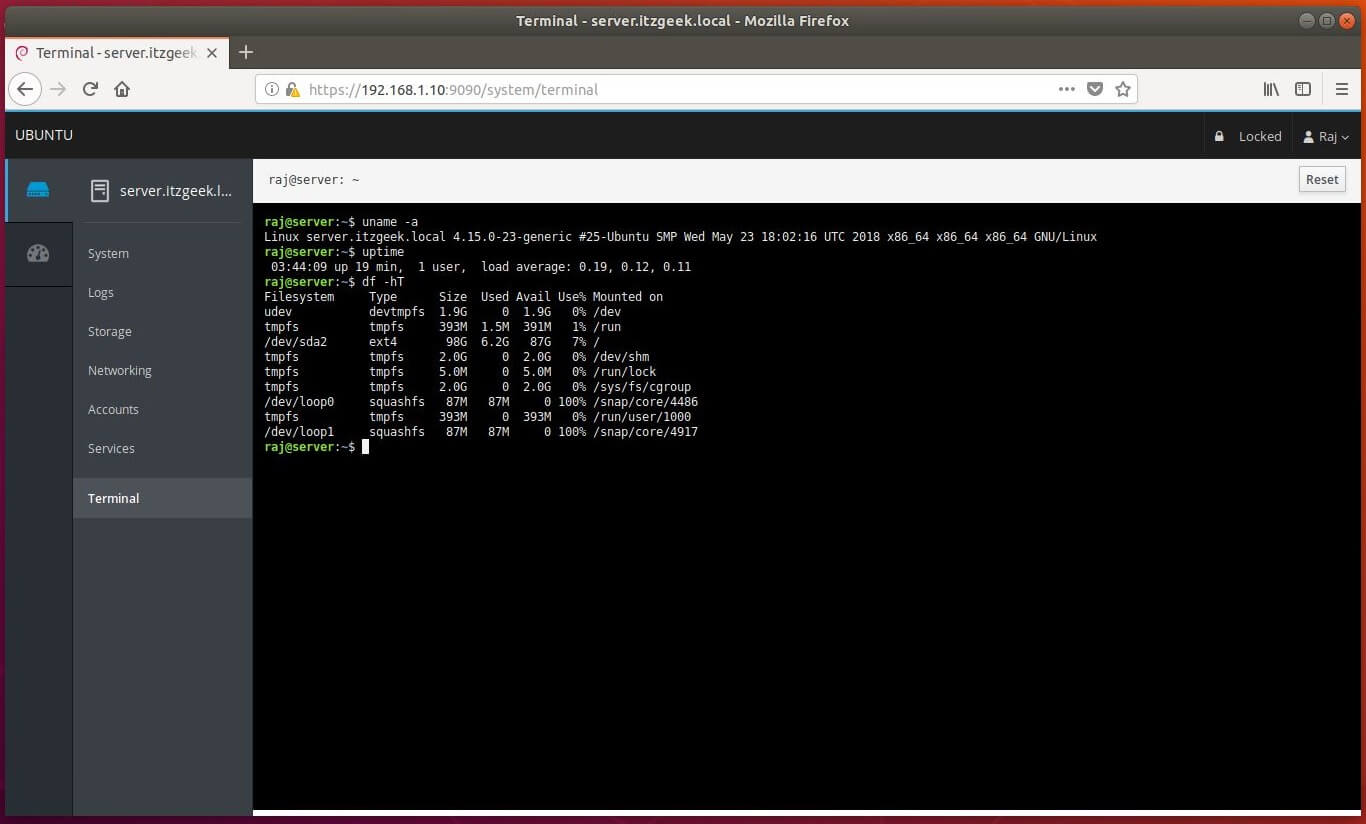
You can also take the terminal console of a machine by going to Terminal.
Manage Multiple Servers with Cockpit
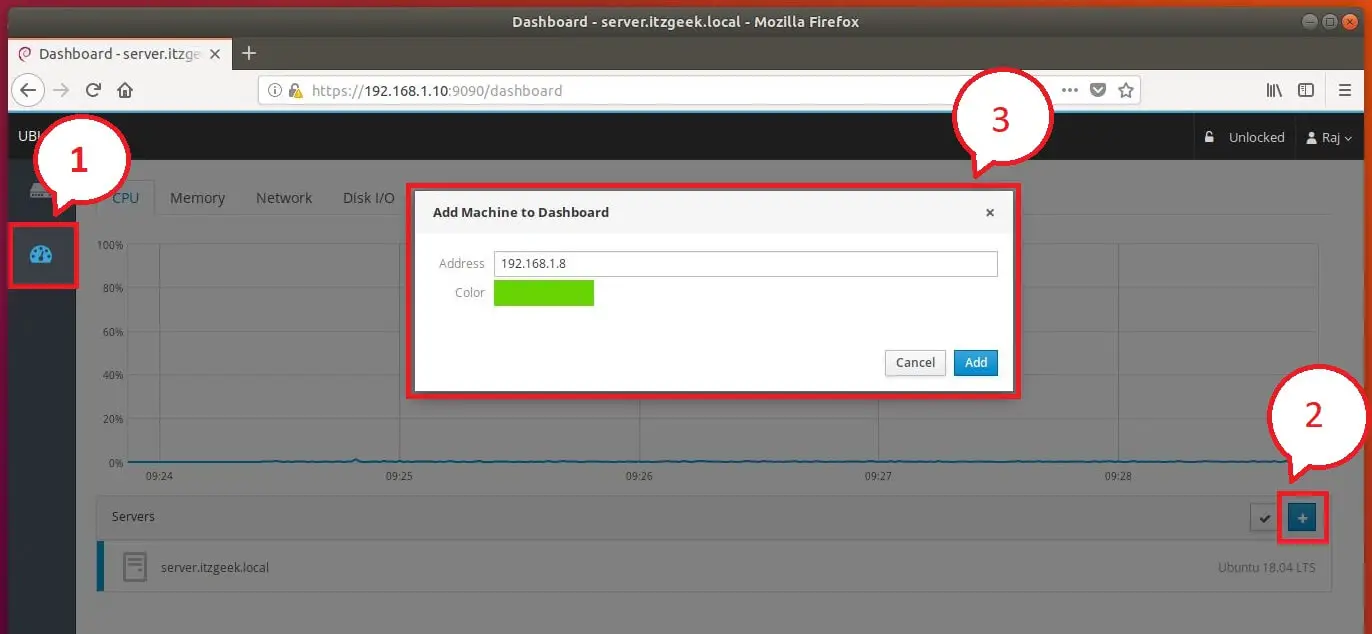
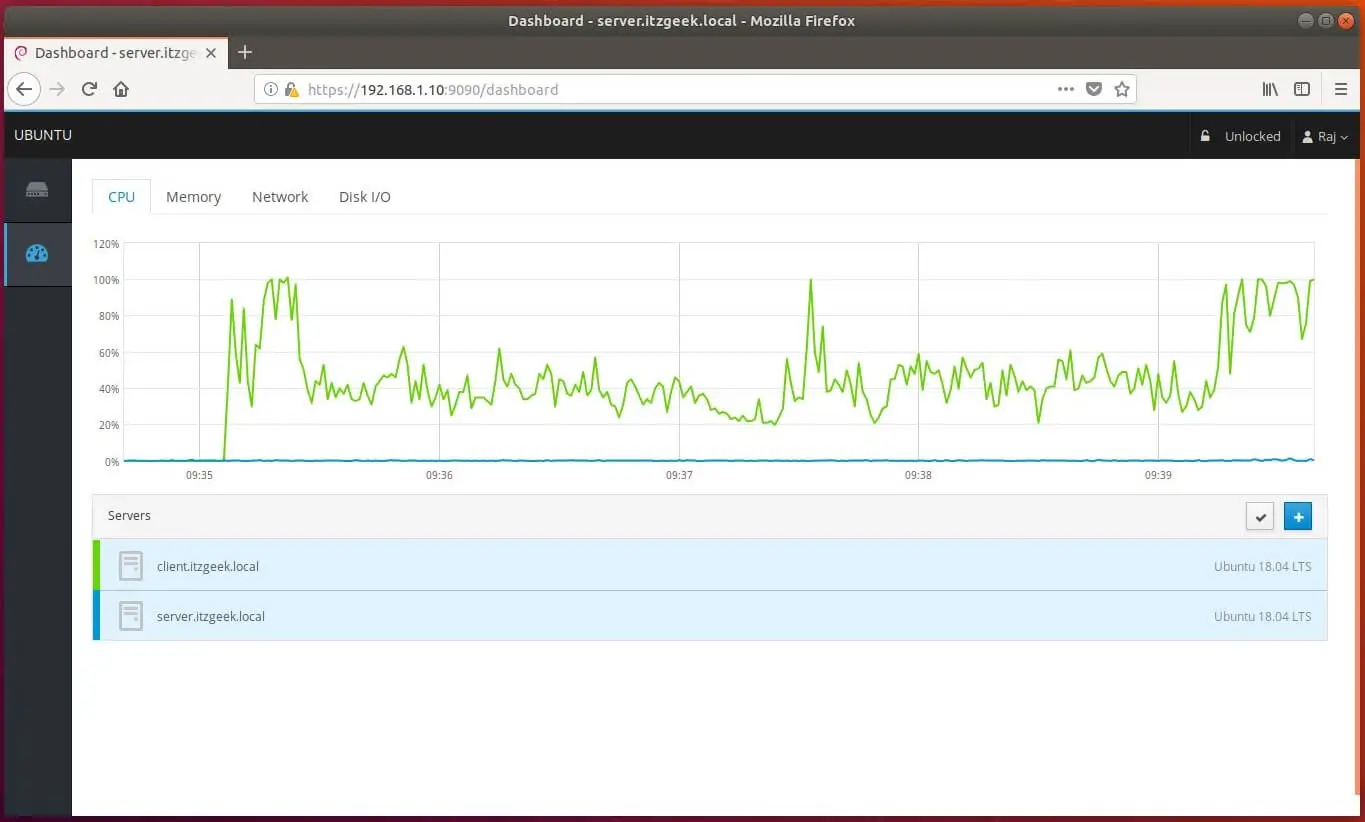
If you have multiple servers and want to manage them in a single Cockpit session, then click on Dashboard and click on Plus sign icon and add them one by one.
Below screenshot shows that two machines are attached to this Cockpit session
server.itzgeek.local (Ubuntu 18.04 – Local Machine)
client.itzgeek.local (Ubuntu 18.04 – Remote Machine)
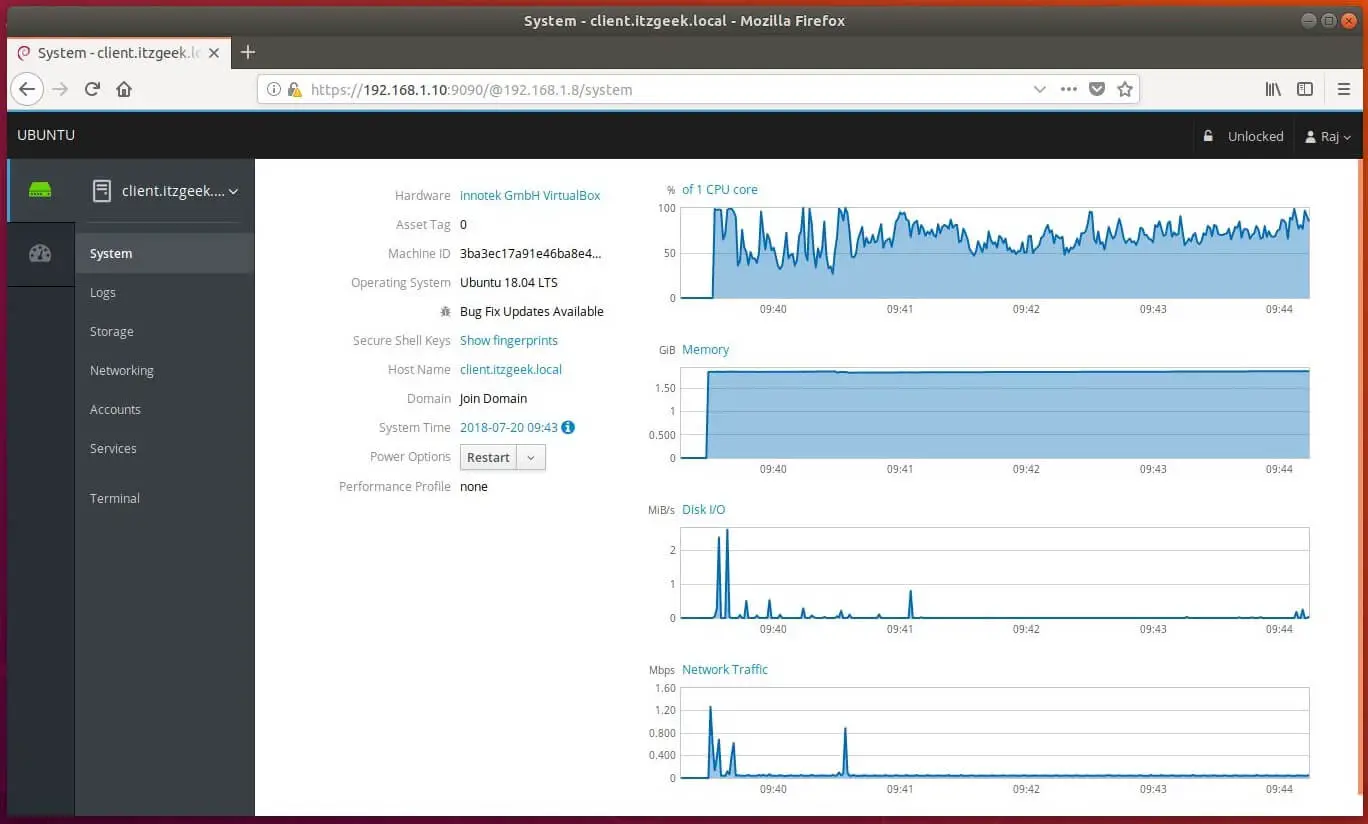
The below screenshot shows the detailed information of a remote system.
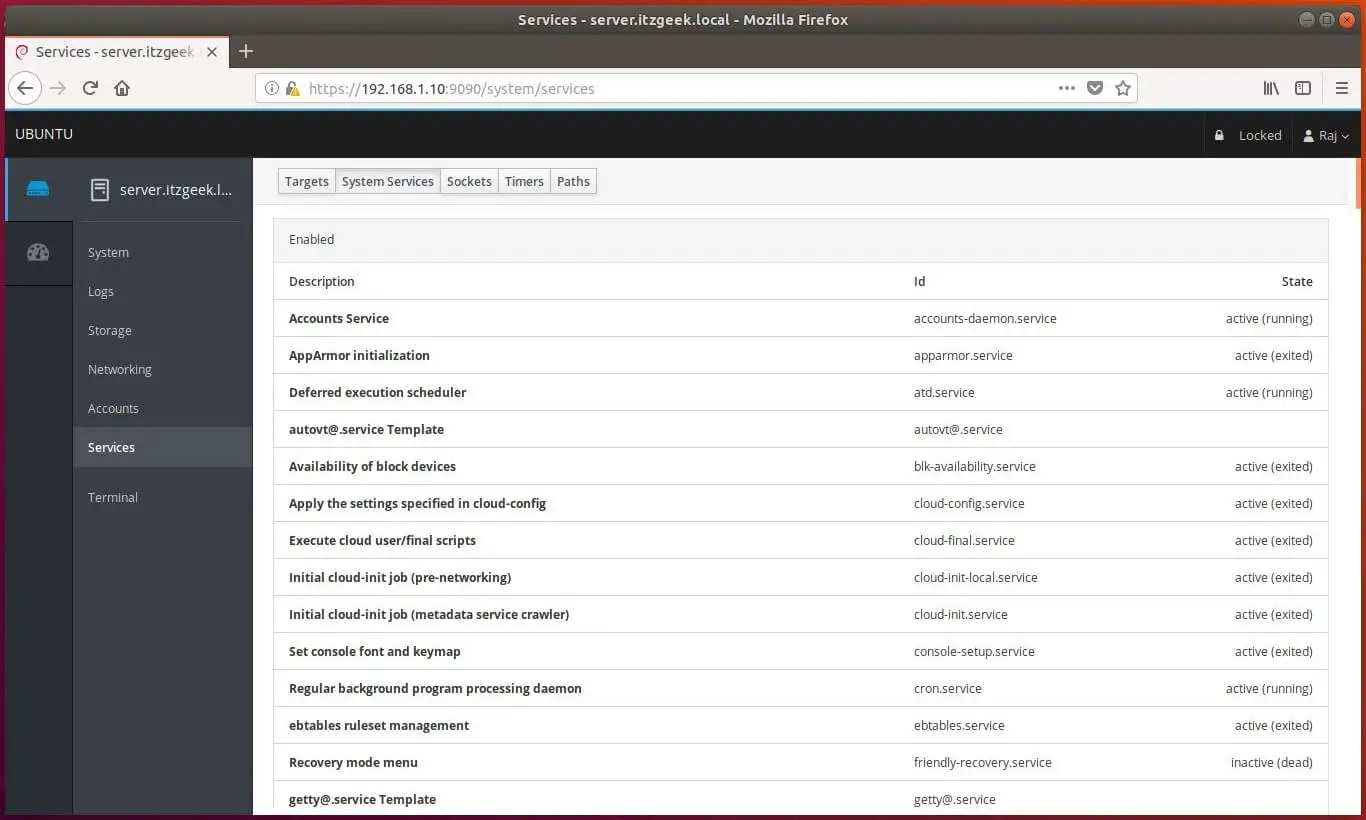
That’s All.