Graylog is an open-source log management tool that helps you to store and analyze any machine logs centrally. Graylog set up consists of three components Graylog server, Elasticsearch, and MongoDB.
Here, we will see how to install Graylog on Ubuntu 20.04.
Install Java
Graylog set up requires Java version 8 or higher. You can use either OpenJDK or Oracle JDK on your machine to proceed further.
READ: How To Install Oracle Java on Ubuntu 20.04
Here, I will use OpenJDK 11.
sudo apt update

sudo apt install -y apt-transport-https openjdk-11-jre-headless uuid-runtime pwgen curl dirmngr
Verify the Java version post installing OpenJDK.
java -version
Output:
openjdk version "11.0.8" 2020-07-14
OpenJDK Runtime Environment (build 11.0.8+10-post-Ubuntu-0ubuntu120.04)
OpenJDK 64-Bit Server VM (build 11.0.8+10-post-Ubuntu-0ubuntu120.04, mixed mode, sharing)
Install Elasticsearch
Elasticsearch store logs coming from external sources and offers real-time distributed search and analytics with the RESTful web interface.
Download and install the GPG signing key.
wget -qO - https://artifacts.elastic.co/GPG-KEY-elasticsearch | sudo apt-key add -
Set up the Elasticsearch repository on your system by running the below command.
echo "deb https://artifacts.elastic.co/packages/oss-6.x/apt stable main" | sudo tee -a /etc/apt/sources.list.d/elastic-6.x.list
Update the repository cache and then install the Elasticsearch package.
sudo apt update

sudo apt install -y elasticsearch-oss
Edit the Elasticsearch configuration file to set the cluster name for Graylog set up.
sudo nano /etc/elasticsearch/elasticsearch.yml
Set the cluster name as graylog, as shown below.
cluster.name: graylog
Then, uncomment the below line.
action.auto_create_index: false
Start the Elasticsearch service to read the new configurations.
sudo systemctl daemon-reload

sudo systemctl start elasticsearch

sudo systemctl enable elasticsearch
Wait at least a minute to let the Elasticsearch get fully started.
Elastisearch should be now listening on port 9200. Use the curl command to check the Elasticsearch’s response.
curl -X GET https://localhost:9200
Output:
Ensure the output has the cluster name, graylog.
{
  "name" : "vQklpl4",
  "cluster_name" : "graylog",
  "cluster_uuid" : "jLztxJoOROK-XuZkoKJr6A",
  "version" : {
    "number" : "6.8.11",
    "build_flavor" : "oss",
    "build_type" : "deb",
    "build_hash" : "00bf386",
    "build_date" : "2020-07-09T19:08:08.940669Z",
    "build_snapshot" : false,
    "lucene_version" : "7.7.3",
    "minimum_wire_compatibility_version" : "5.6.0",
    "minimum_index_compatibility_version" : "5.0.0"
  },
  "tagline" : "You Know, for Search"
}
Install MongoDB
MongoDB acts as a database for storing Graylog’s configuration. Graylog requires MongoDB v3.6, 4.0 or 4.2.
Unfortunately, MongoDB official repository doesn’t have the required MongoDB versions for Ubuntu 20.04. So, we will install MongoDB v3.6 from the Ubuntu base repository.
sudo apt update

sudo apt install -y mongodb-server
Start the MongoDB and enable it on the system start-up.
sudo systemctl start mongodb

sudo systemctl enable mongodb
Install Graylog Server
Graylog Server reads data from Elasticsearch for search queries comes from users and then displays it for them through the Graylog web interface.
Download and install the Graylog 3.3 repository configuration package.
wget https://packages.graylog2.org/repo/packages/graylog-3.3-repository_latest.deb

sudo dpkg -i graylog-3.3-repository_latest.deb
Update the repository cache.
sudo apt update
Install the Graylog server using the following command.
sudo apt install -y graylog-server
You must set a secret to secure the user passwords. Use the pwgen command to generate the secret.
pwgen -N 1 -s 96
Output:
HRy1WNsMQIWF228SsbdQCnCsTBL7wVez28UsZXI8PXqStx5DQe3PAmtpm8PNm6g8K44fVFNo4c7Bvp4WCOyxGiSXvdhOXl8w
Edit the server.conf file.
sudo nano /etc/graylog/server/server.conf
Then, place the secret like below.
password_secret = HRy1WNsMQIWF228SsbdQCnCsTBL7wVez28UsZXI8PXqStx5DQe3PAmtpm8PNm6g8K44fVFNo4c7Bvp4WCOyxGiSXvdhOXl8w
Now, generate a hash (sha256) password for the root user (not to be confused with the system user, the root user of graylog is admin).
You will need this password to login to the Graylog web interface. Admin’s password can’t be changed using the web interface. So, you must edit this variable to set.
Replace password with the choice of your password.
echo -n password | sha256sum
Output:
5e884898da28047151d0e56f8dc6292773603d0d6aabbdd62a11ef721d1542d8
Edit the server.conf file again.
sudo nano /etc/graylog/server/server.conf
Then, place the hash password, as shown below.
root_password_sha2 = 5e884898da28047151d0e56f8dc6292773603d0d6aabbdd62a11ef721d1542d8
Setup Graylog web interface
From version Graylog 2.x, the web interface is being served directly by the Graylog server. Enable the Graylog web interface by editing the server.conf file.
sudo nano /etc/graylog/server/server.conf
Update the below entry with your system IP address by which you will access the Graylog web interface.
http_bind_address = 192.168.0.10:9000
http_external_uri = https://public_ip:9000/
Start and enable the Graylog service.
sudo systemctl daemon-reload

sudo systemctl start graylog-server

sudo systemctl enable graylog-server
Keep looking Graylog server startup logs. This log will be useful for you to troubleshoot Graylog in case of any issues.
sudo tail -f /var/log/graylog-server/server.log
On the successful start of the Graylog server, you should get the following message in the log file.
2020-08-03T16:03:06.326-04:00 INFO [ServerBootstrap] Graylog server up and running.
Access Graylog
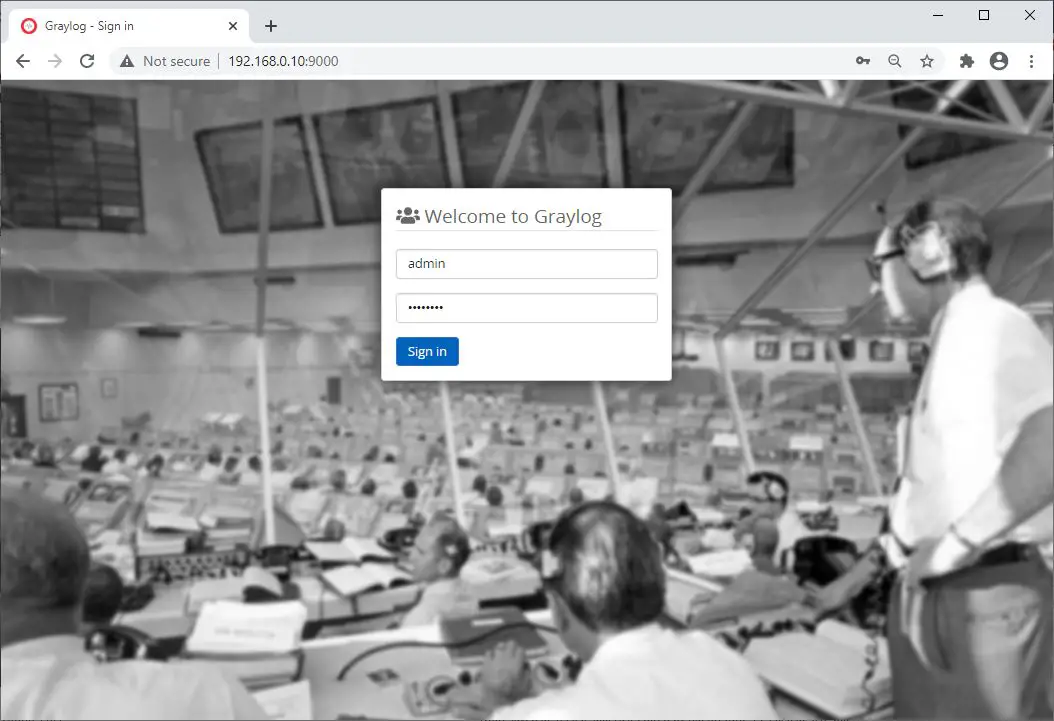
The Graylog web interface will now be listening on port 9000. Open your browser and point it to.
Log in with username admin and the password you configured at root_password_sha2 on server.conf file.
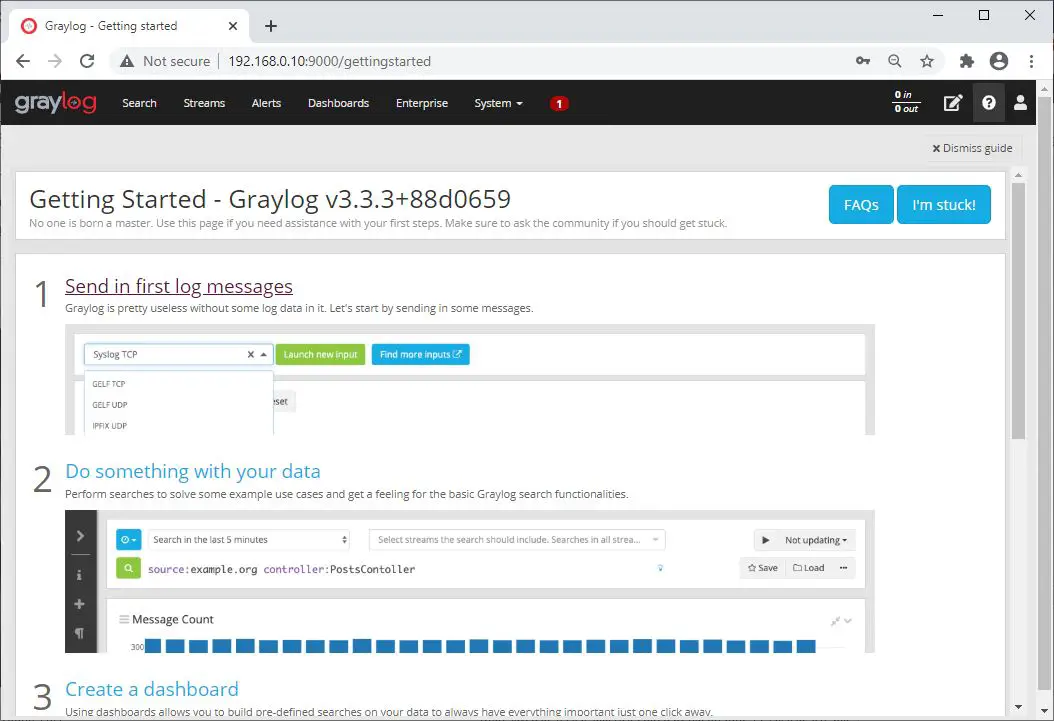
Once you logged in, you would see the getting started page.
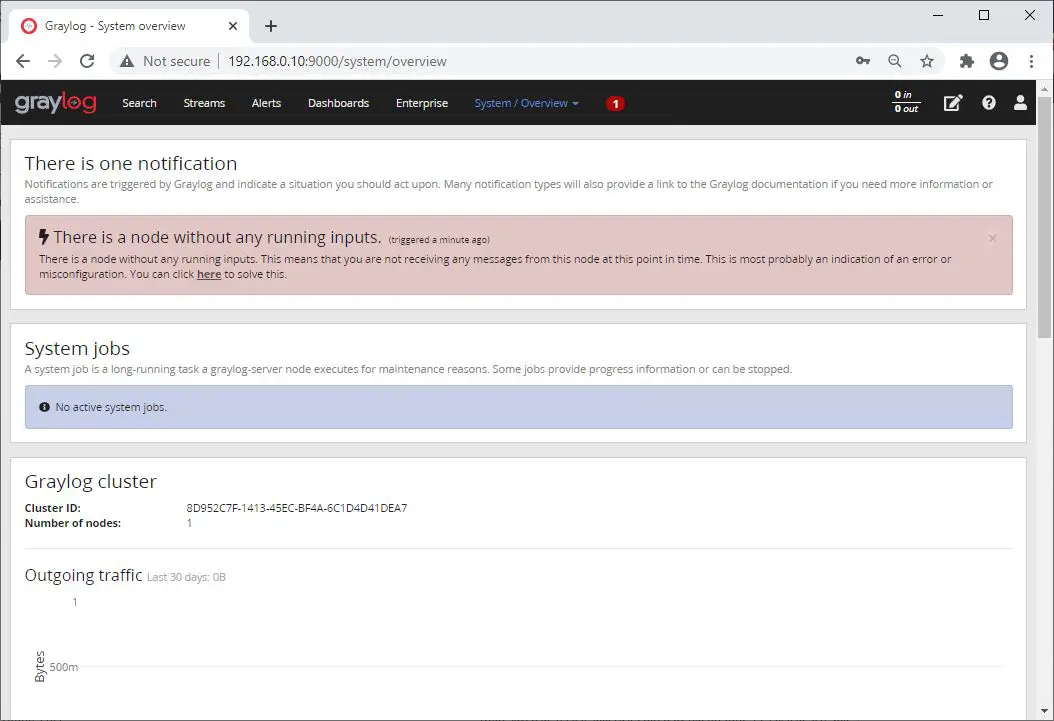
Click on System >> Overview to know the status of the Graylog server.
Create Graylog Input
In the next article, we will see how to configure Graylog to receive Rsyslog logs from external sources.
Conclusion
You have successfully installed Graylog 3.0 on Ubuntu 20.04. As a further read, you can try configuring Nginx or Apache as a reverse proxy and set up HTTPS for the Graylog web interface.