PHP Server Monitor is an opensource web-based monitoring tool that checks whether your websites, services, and servers are up. It comes with a web interface where you can manage your services and websites. Also, you can manage users for each server/service with a mobile number and email address.
This guide helps you to install PHP Server Monitor on Ubuntu 16.04 / Debian 9 / CentOS 7.
Features
- Monitor services and websites.
- Alert over an Email and SMS.
- Uptime and latency history graphs.
- User authentication with 2 levels (administrator and regular user).
- Logs of connection errors, outgoing emails, and text messages.
- Schedule cron to check your servers automatically.
Requirements
To install PHP Server Monitor, your system must meet the below requirements.
- PHP 5.3.7+
- PHP packages: cURL, MySQL
- MySQL Database
Install PHP Server Monitor
Prerequisites
As said in the requirements, PHP Server Monitor requires PHP 5.3.7+. However, in Ubuntu 16.04 and Debian 9, you would only get PHP 7 in their repository. So, install PHP 5.6 using the steps given in the below link.
READ: Install PHP 5.6 on Ubuntu 16.04 & Debian 9
Go and install the below packages to meet the requirements of PHP Server Monitor.
### Ubuntu 16.04 / Debian 9 ###

$ sudo apt-get update

$ sudo apt-get install -y apache2 mariadb-server php5.6 php5.6-curl php5.6-mysql php5..6-cli php5.6-xml wget

### CentOS 7 / RHEL 7 ###

# yum install -y httpd mariadb-server php php-curl php-cli php-mysql php-pdo wget php-xml wget

# systemctl start  mariadb

# systemctl start  httpd

# systemctl enable mariadb

# systemctl enable httpd
Create Database
If you are accessing the MariaDB for the first time, then here is the tutorial on Securing MariaDB.
Login to MariaDB server.
mysql -u root -p
Create a database for the PHP Server Monitor installation.
create database phpmonitordb;
Grant the permission to the new user on the PHP Server Monitor database.
grant all on phpmonitordb.* to 'phpmonitoruser'@'localhost' identified by 'phpmonitorpassword';
Exit from MariaDB shell.
flush privileges;
exit
Configure PHP Server Monitor
Go to apache root directory and download the latest version of PHP Server Monitor package. At the time of writing, the version is v3.2.0.
### Ubuntu 16.04 / Debian 9 ###

$ cd /var/www/html
$ sudo wget https://downloads.sourceforge.net/project/phpservermon/phpservermon/phpservermon-3.2.0.tar.gz

### CentOS 7 / RHEL 7 ###

# cd /var/www/html
# wget https://downloads.sourceforge.net/project/phpservermon/phpservermon/phpservermon-3.2.0.tar.gz
Extract the downloaed file and rename it.
### Ubuntu 16.04 / Debian 9 ###

$ sudo tar -zxvf phpservermon-3.2.0.tar.gz
$ sudo  mv phpservermon-3.2.0 phpservermon

### CentOS 7 / RHEL 7 ###

# tar -zxvf phpservermon-3.2.0.tar.gz
# mv phpservermon-3.2.0 phpservermon
Update the timezone in the php.ini file.
### Ubuntu 16.04 / Debian 9 ###

$ sudo vi /etc/php/5.6/apache2/php.ini

### CentOS 7 / RHEL 7 ###

# vi /etc/php.ini
Set the timezone something like this. Change America/New_York with your time zone. More time zone here.
date.timezone = America/New_York
Create a config.php in the phpservermon directory.
### Ubuntu 16.04 / Debian 9 ###

$ sudo vi /var/www/html/phpservermon/config.php

### CentOS 7 / RHEL 7 ###

# vi /var/www/html/phpservermon/config.php
Paste the below content into the file.
<?php
define('PSM_DB_PREFIX', 'monitor_');
define('PSM_DB_USER', 'phpmonitoruser');
define('PSM_DB_PASS', 'phpmonitorpassword');
define('PSM_DB_NAME', 'phpmonitordb');
define('PSM_DB_HOST', 'localhost');
define('PSM_DB_PORT', '3306');
define('PSM_DEBUG', true);
Change ownership of the directory.
### Ubuntu 16.04 / Debian 9 ###

$ sudo chown -R www-data:www-data /var/www/html/phpservermon

### Ubuntu 16.04 / Debian 9 ###

# chown -R apache:apache /var/www/html/phpservermon
Restart the Apache service.
### Ubuntu 16.04 / Debian 9 ###

$ sudo systemctl restart apache2

### CentOS 7 / RHEL 7 ###

# systemctl restart httpd
Firewall (CentOS / RHEL)
Configure the firewall to allow HTTP traffic so that we can access the PHP Server Monitor from external machines.
### FirewallD ###

# firewall-cmd --permanent --add-service=http
# firewall-cmd --reload

### IPTables ###

# iptables -I INPUT -m tcp -p tcp --dport 80 -j ACCEPT
# service iptables save
Setup PHP Server Monitor
Open up your web browser and point to the URL
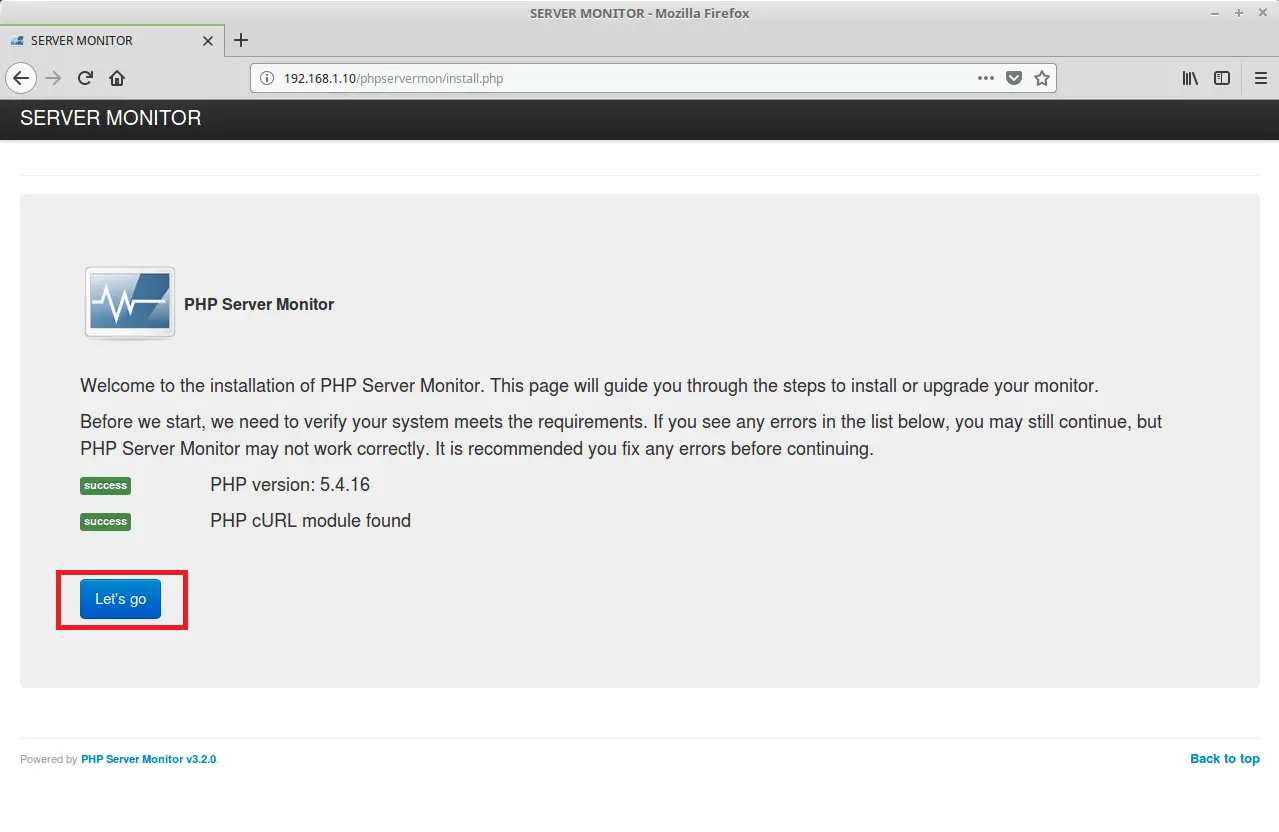
Fill up the details such as username, password, and email for the PHP Server Monitor installation and then click the Install button to begin the installation.
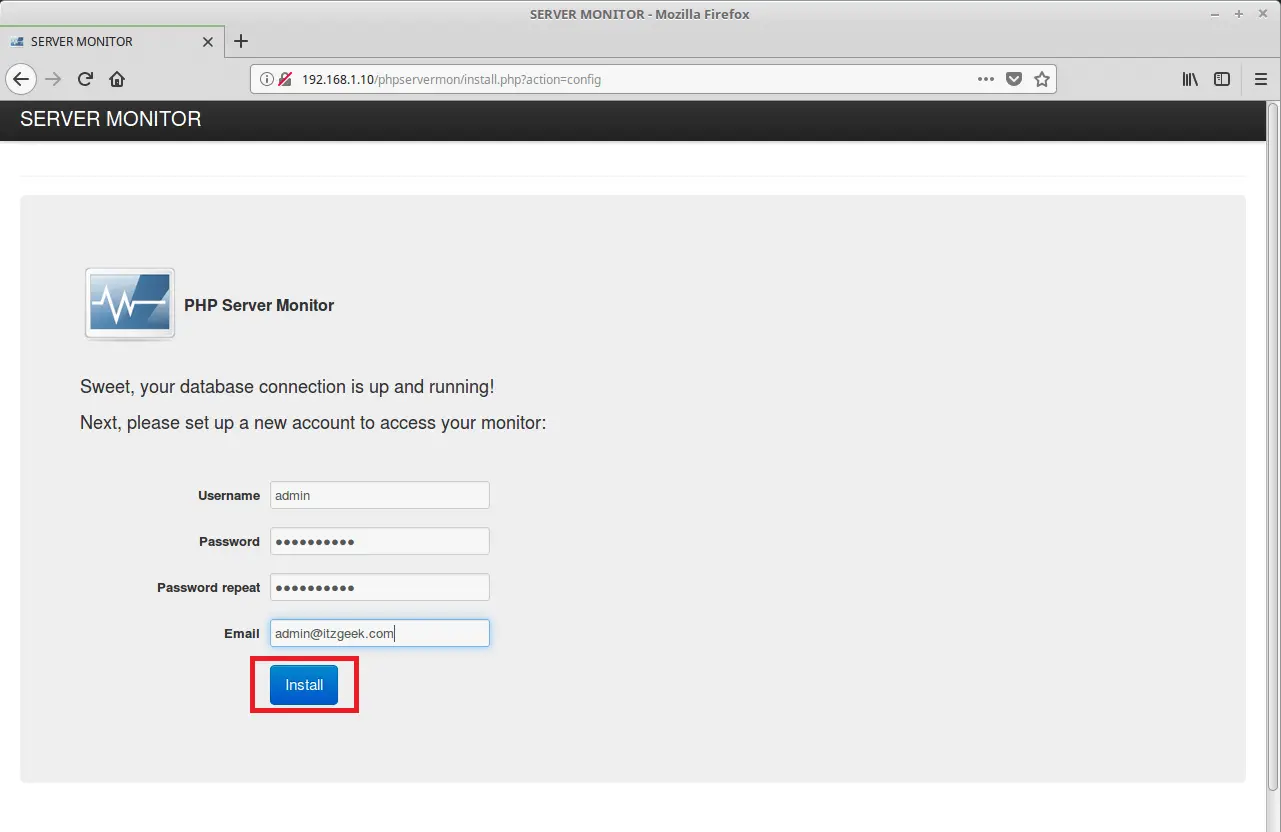
Please check for any errors on this installation page. If there are no errors, then we are good to go.
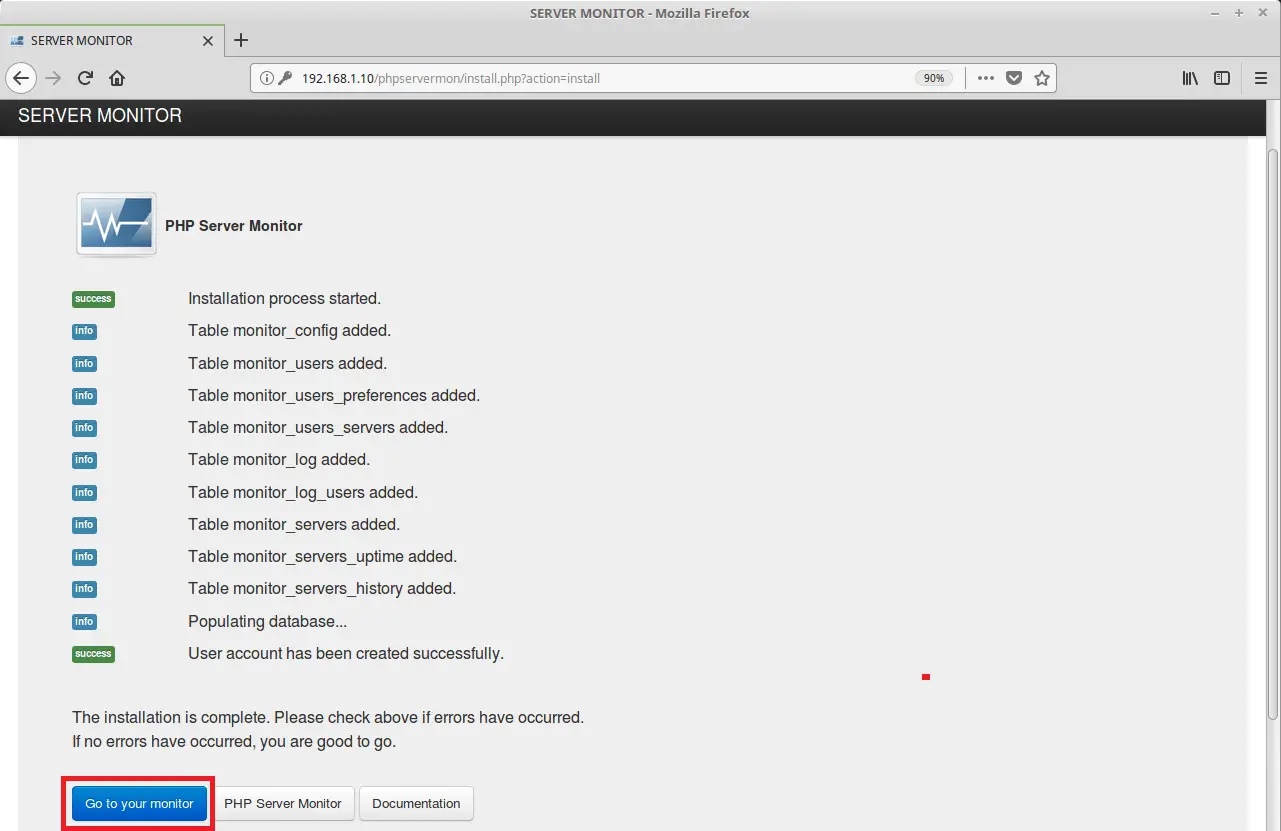
Click the Go to your monitor to access the PHP Server Monitor dashboard.
Access PHP Server Monitor
Login with username and password that we created earlier.
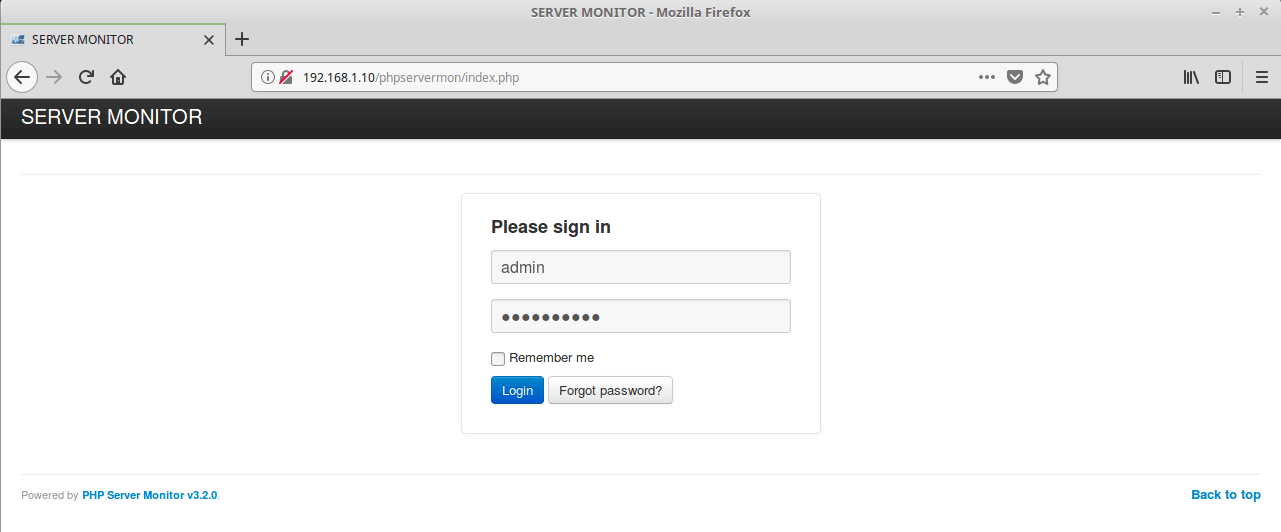
PHP Server Monitor Dashboard:
We will now monitor the service by going to Servers >> Add new.
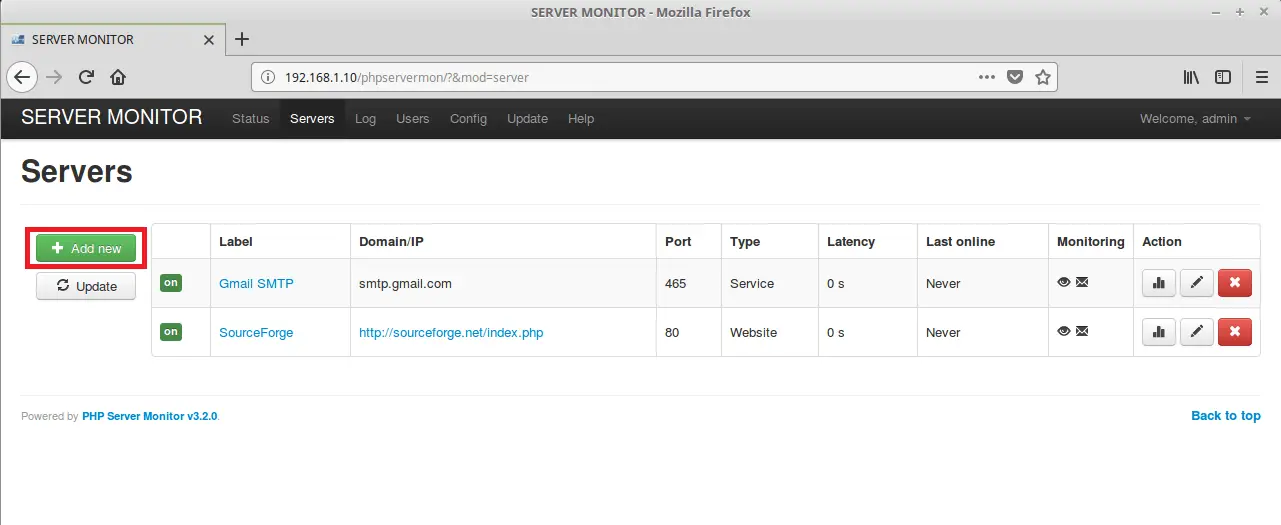
Fill up your server information on this page and click Save. For a demo, we will monitor the HTTPS service.
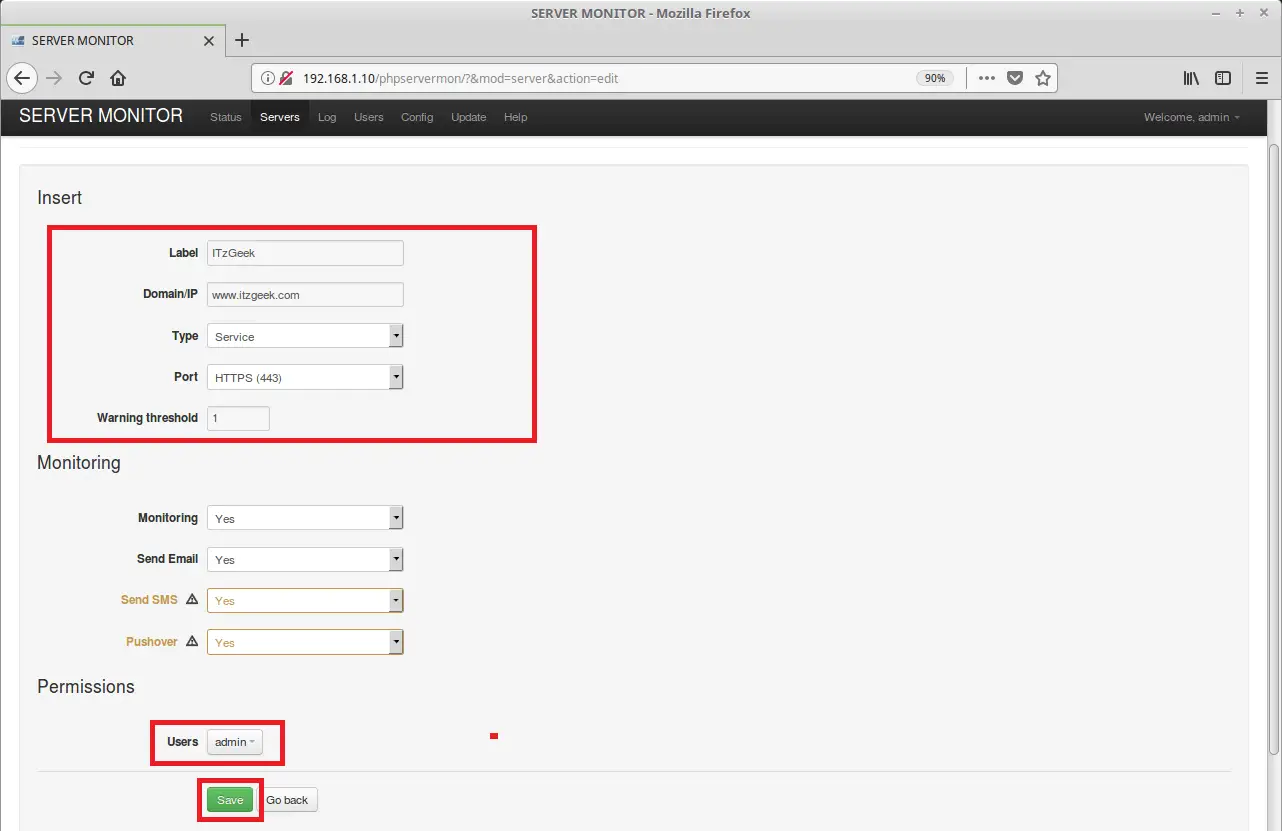
Now, the new check has been added to PHP Server Monitor. If you see the below screenshot, none of the services were checked for Last online and Latency. Click on Update to get the status of services.
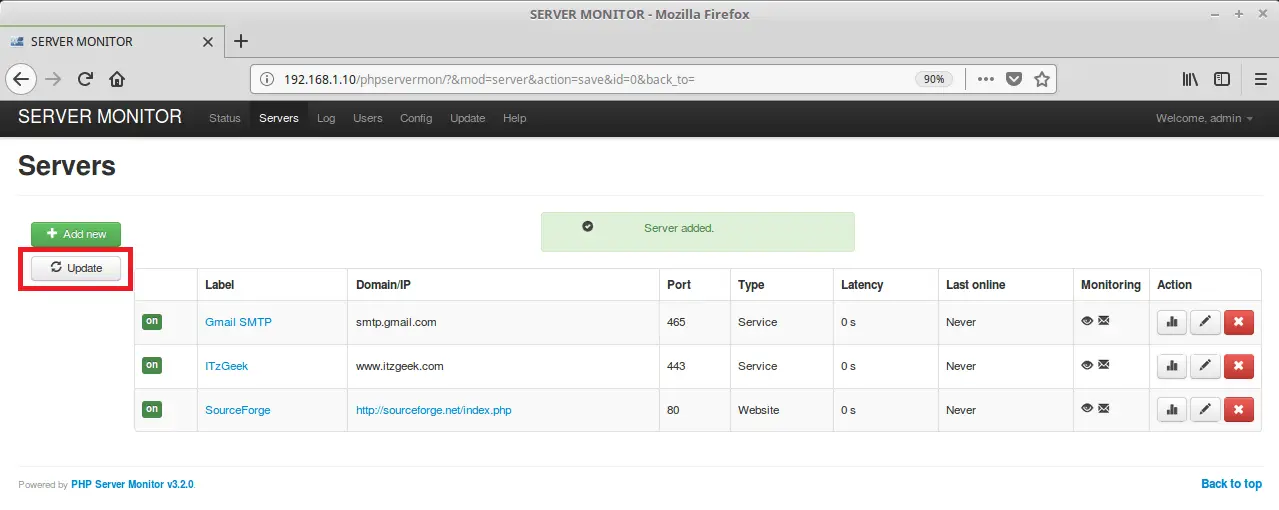
Now, you should get the Last online and Latency information about all services including your service.
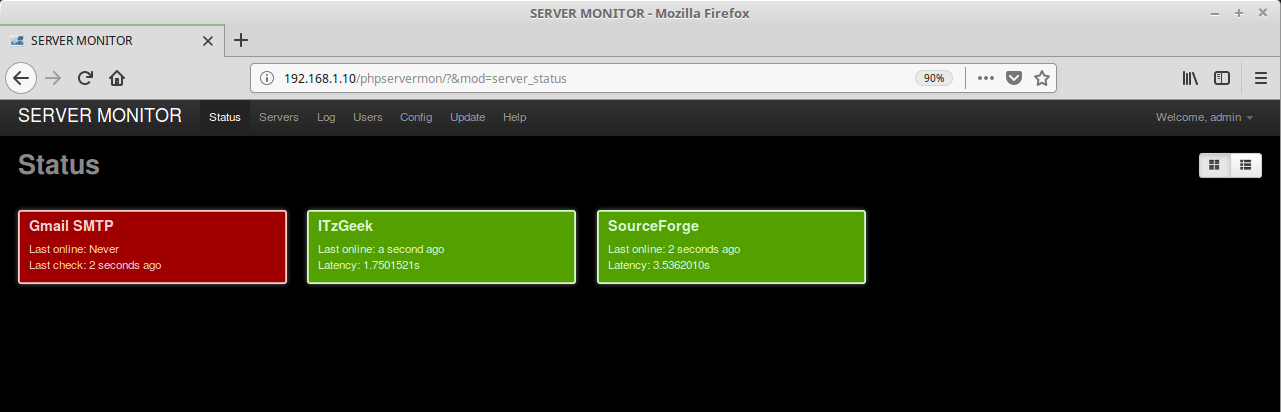
You can also get the history of Latency and uptime information by clicking any service.
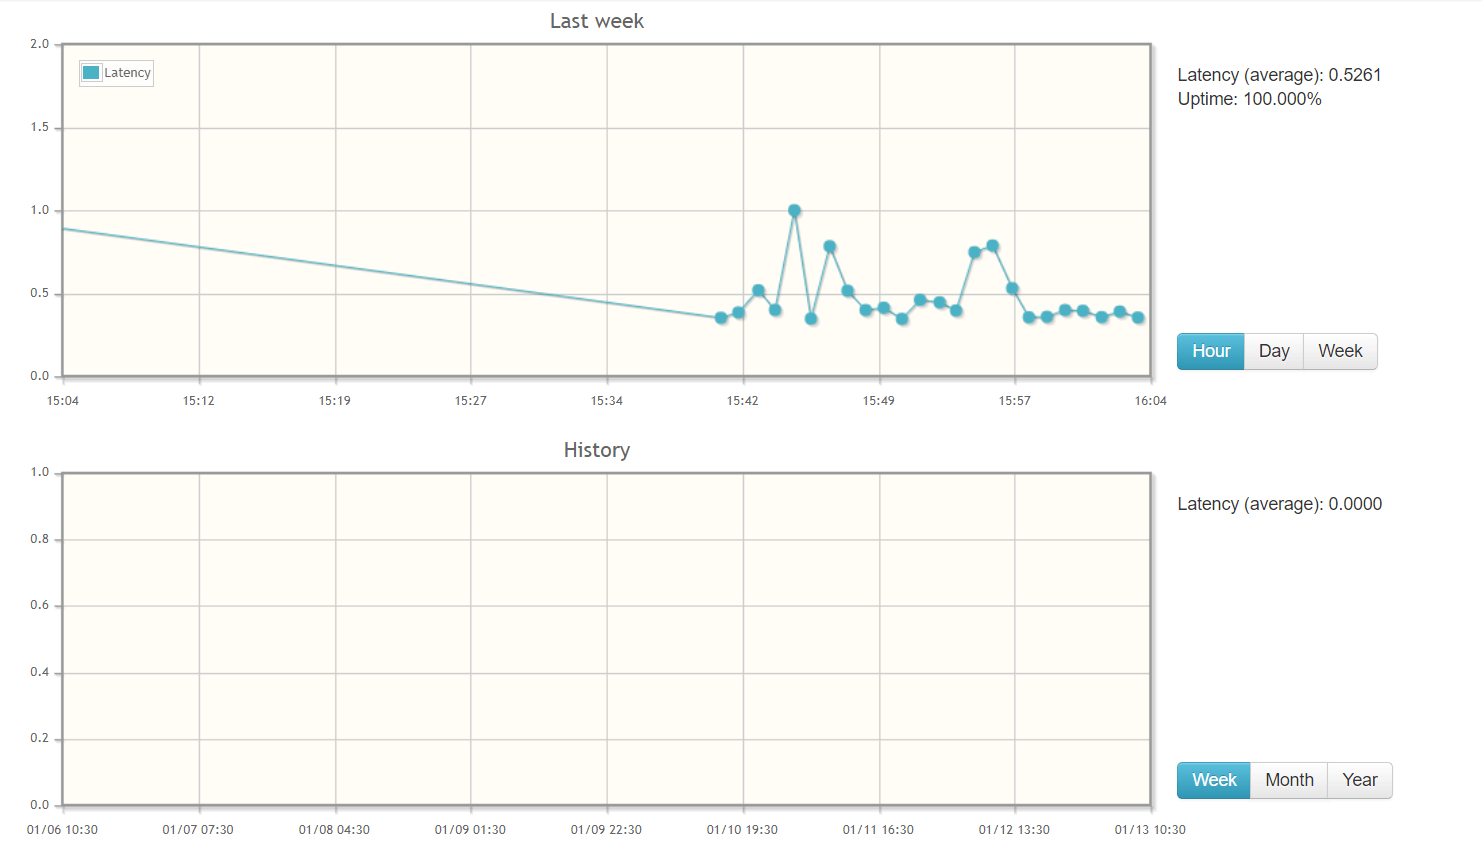
Schedule Checks on PHP Server Monitor
PHP Server Monitor updates the latest Last online and Latency information only when you click the Update button. To perform an automated check, you need to create a cronjob for this purpose.
vi /etc/crontab
Schedule a job something like this to run every 5 minutes.
*/5 * * * * root /usr/bin/php /var/www/html/phpservermon/cron/status.cron.php
Interested in Other Server Monitoring Tools
READ: Install Zabbix Monitoring Tool on CentOS 7 / Ubuntu 16.04 / Debian
READ: Install Nagios on Ubuntu / Debian / CentOS / Mint
READ: Netdata – Real-Time Performance Monitoring Tool for Linux
That’s All.