In the next screen, you would need to enable the modules that were installed during the Icinga 2 installation. Click Next.

The following page shows the information about the system, time zone, and PHP extensions.
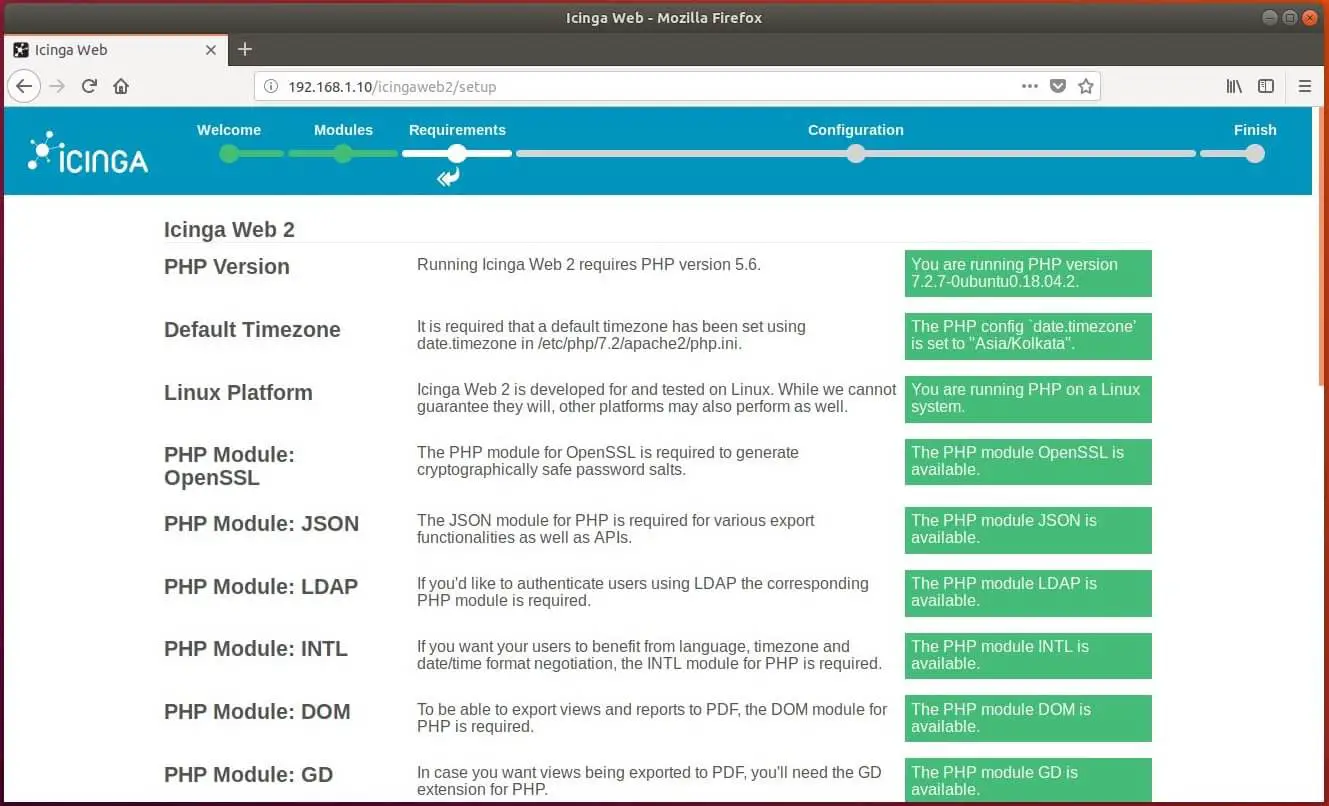
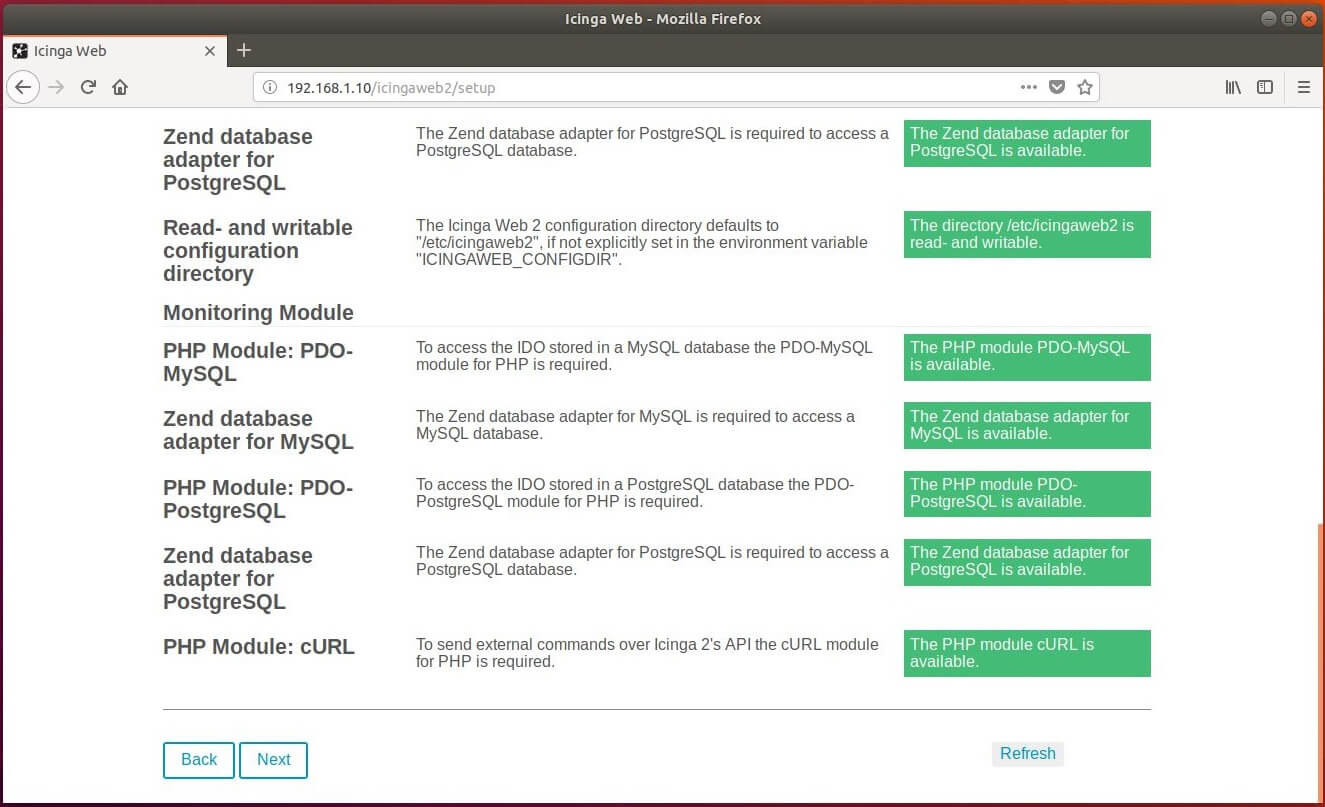
If there are any warnings for missing PHP extension, then install the packages and then click on the Refresh button post the restart of Apache web server.
Otherwise, click Next.
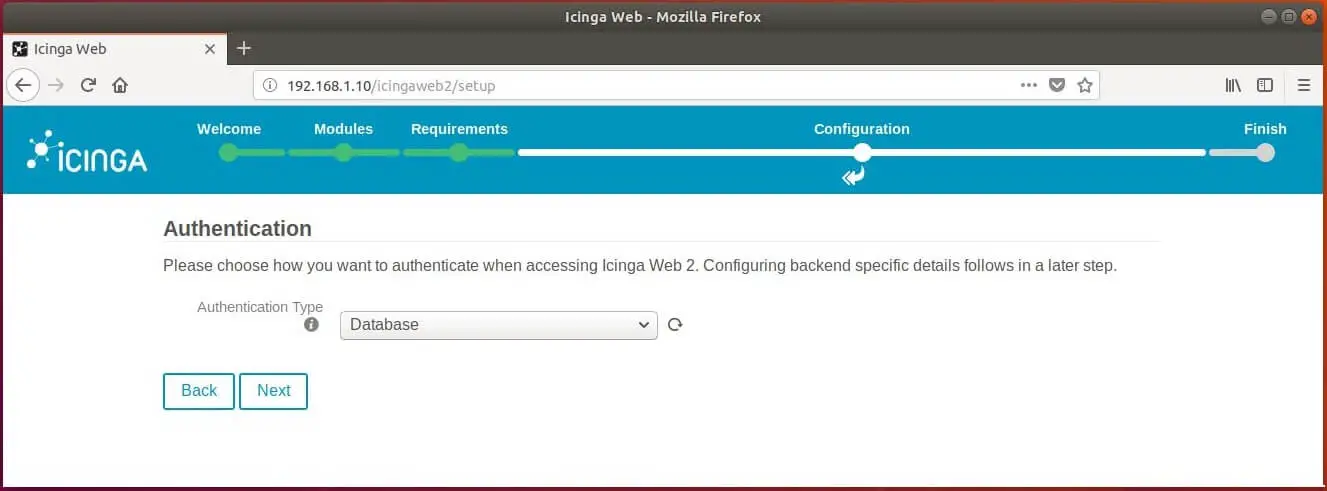
On your next page, you need to tell how you want to authenticate when accessing Icinga Web 2. Icinga Web 2 supports Active Directory, LDAP, and Local as an authentication mechanism.
Here, I choose to use local user accounts to access the Icinga Web 2 dashboard. So, I selected the authentication type as Database.
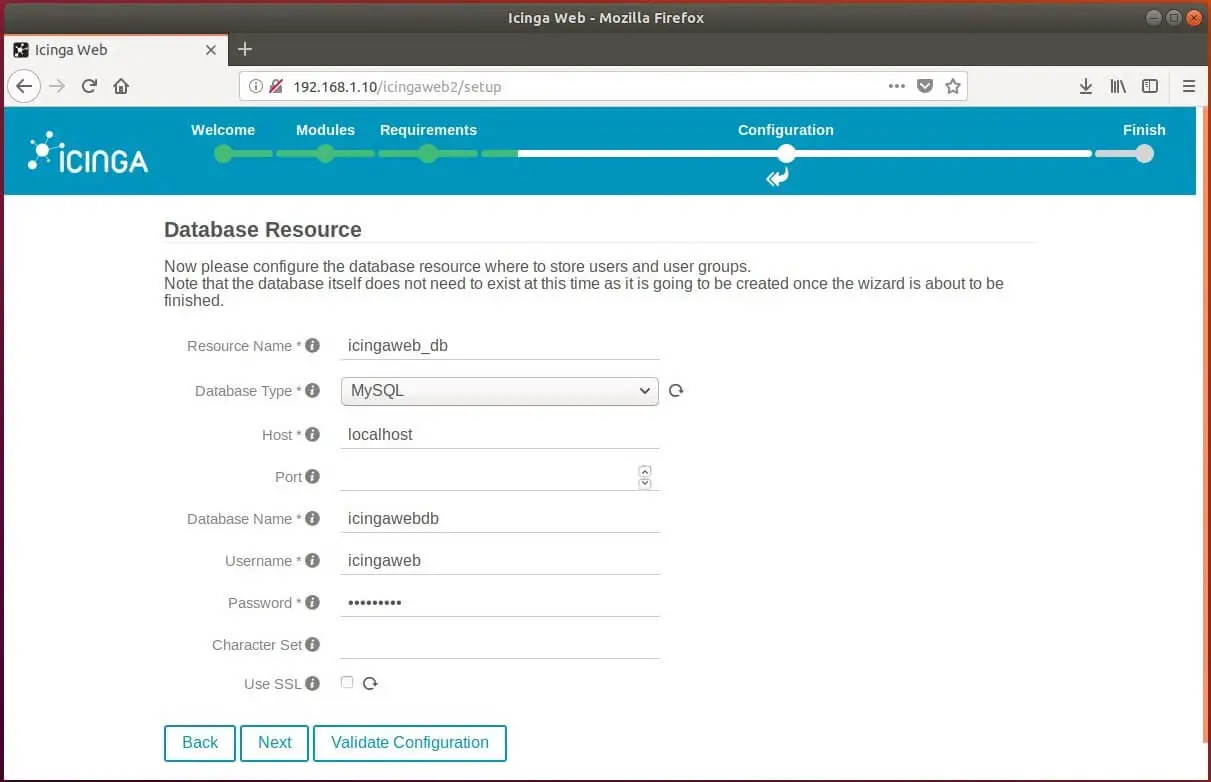
Icinga Web 2 requires a database to store local authentication information.
mysql -u root -p
Create a database for Icinga Web 2.
CREATE DATABASE icingawebdb;
grant all privileges on icingawebdb.* to icingaweb@localhost identified by 'icinga123';
quit
Enter database details in the following window and then click Next.