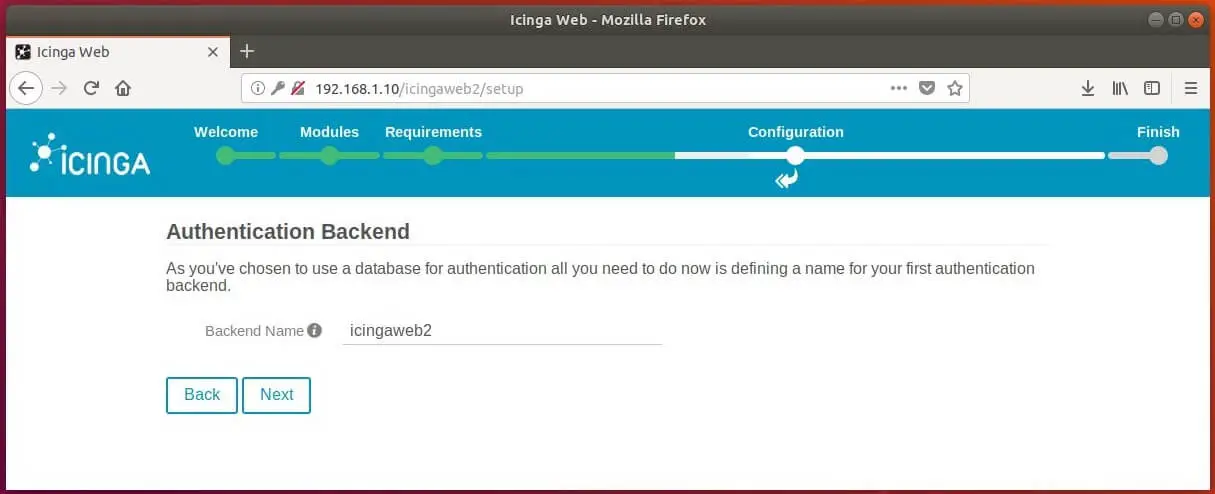
Set the authentication backend name and then click Next.
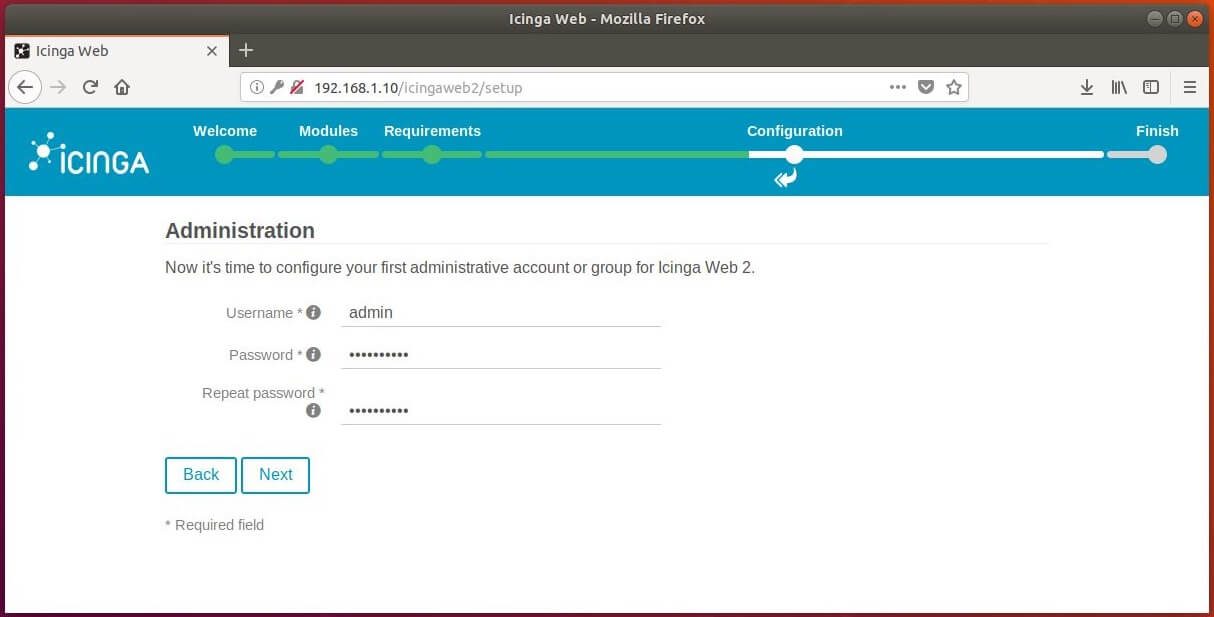
Create the admin account by entering the admin account details on the next screen. Keep a note of this account, as you would need this for accessing Icinga Web 2 dashboard.
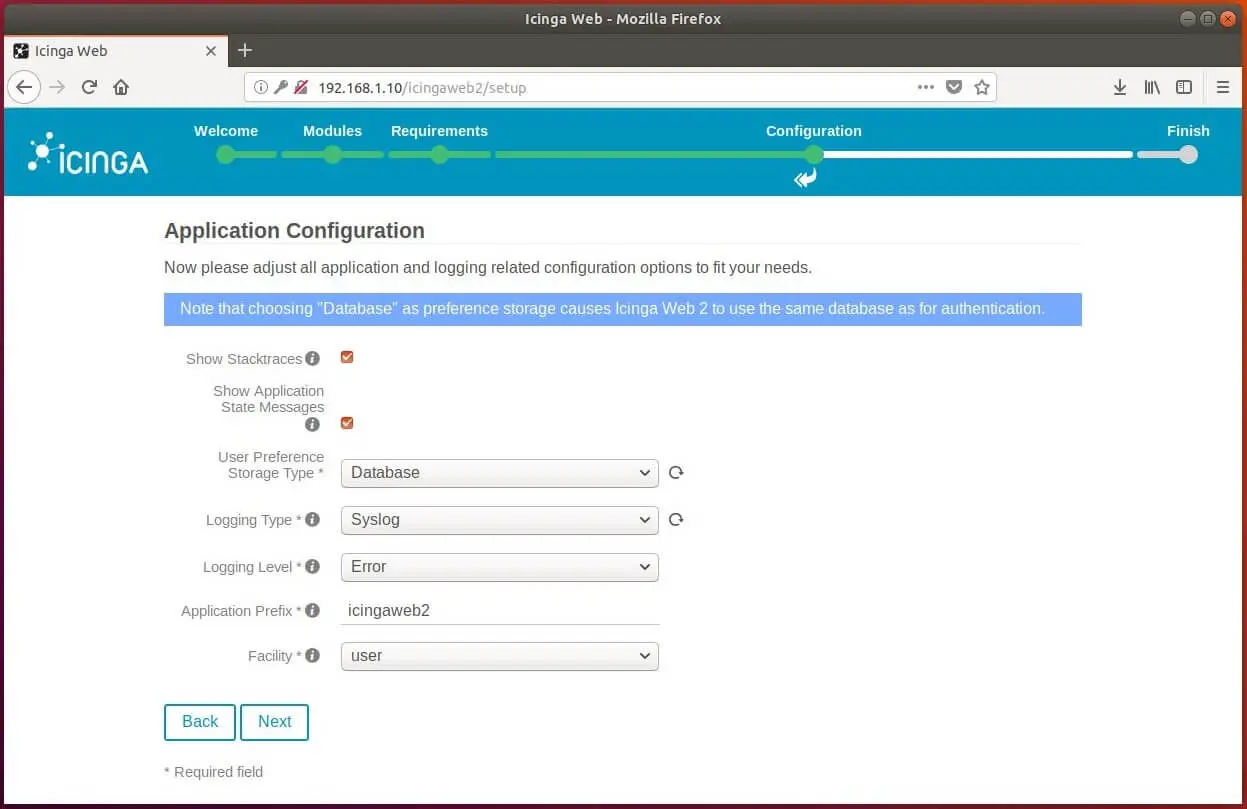
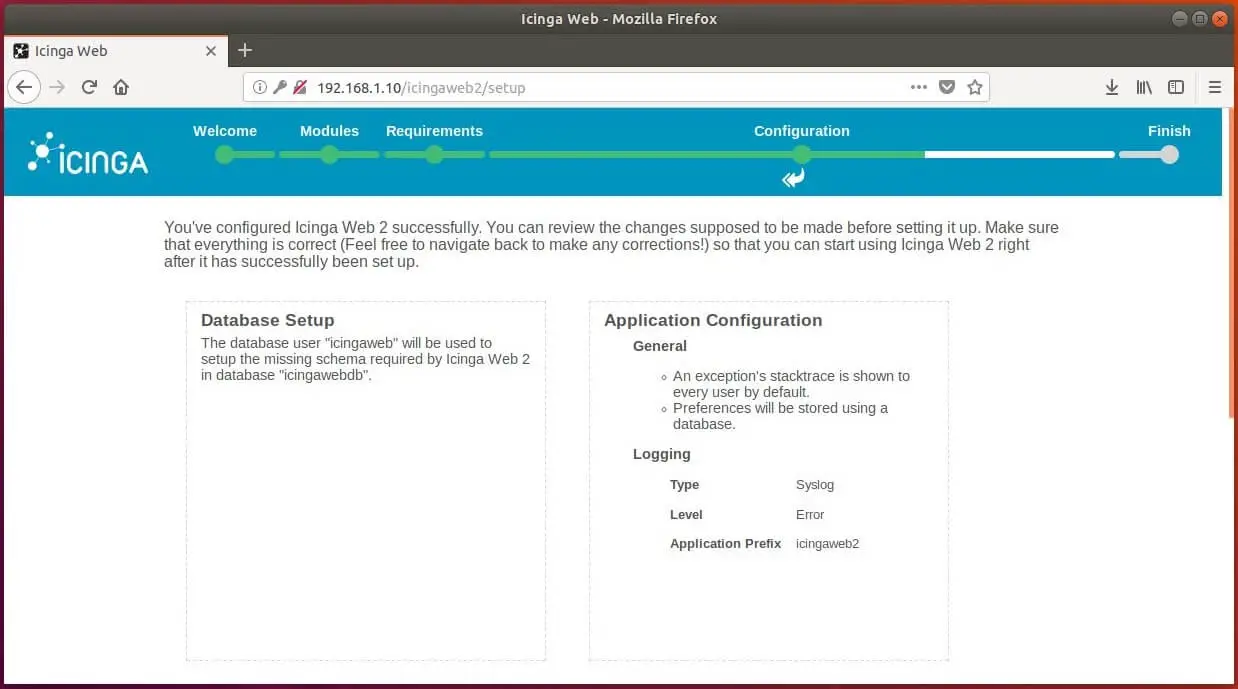
Choose where to save application and logging related configurations. Click Next.
Review your settings and click Next.

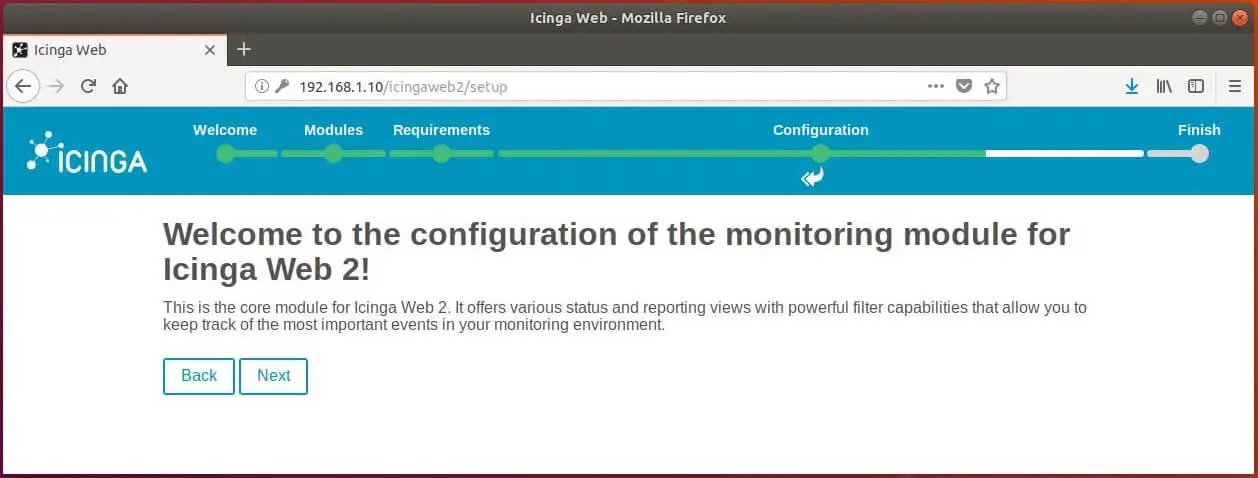
Click Next on the configuration of the monitoring module for Icinga Web 2.
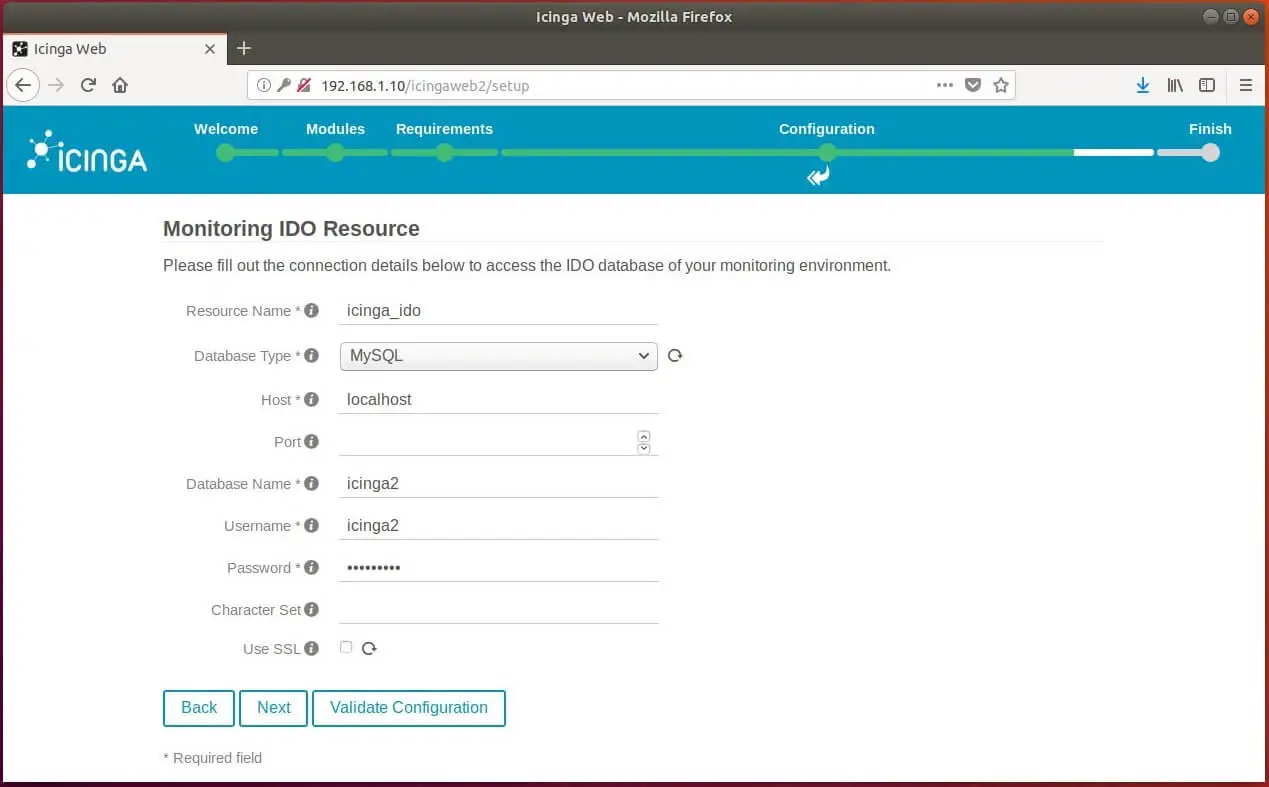
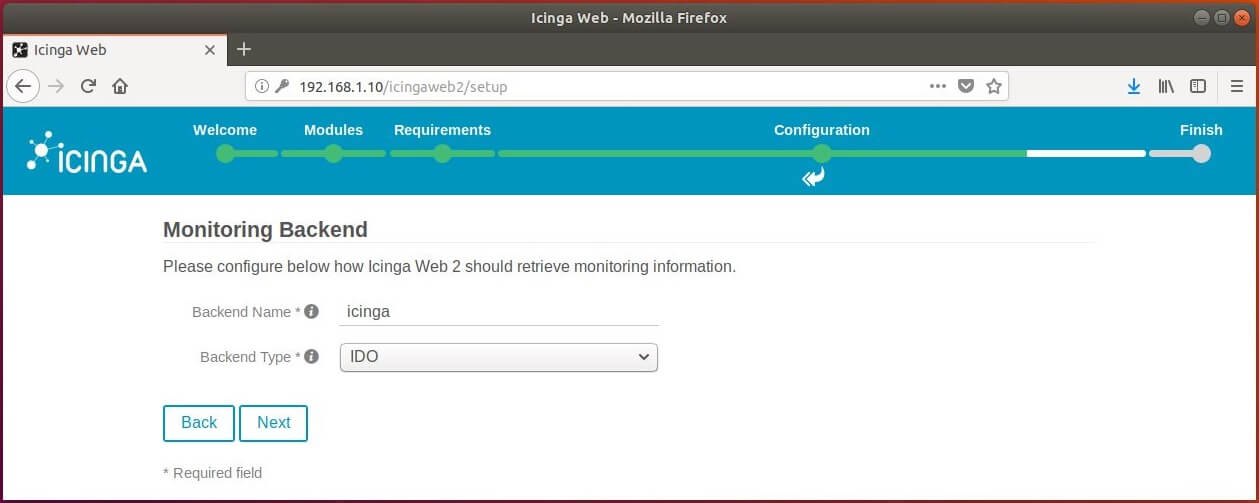
Configure monitoring back end which tells how Icinga Web 2 retrieve the monitoring information. Here, we use IDO.
Enter the IDO database details on the following page.
IDO database is already created during the installation of Icinga 2, click HERE to get the database details.