How To Upgrade To Linux Mint 20 From Linux Mint 19 [Detailed Guide]
Linux Mint 20 was released on June 27, 2020, codenamed Ulyana. If you haven’t upgraded your system to Linux Mint yet, here is the guide on how to upgrade Linux Mint 19.x to Linux Mint 20.
Linux Mint will be supported until 2025.
Take a look at the new features in Linux Mint 20 to learn more about what you get when you upgrade your system to Linux Mint 20.
Requirement
To upgrade to Linux Mint 20 your system needs to have the 64-bit version of Linux Mint 19.x.
Pre-Upgrade Tasks
Internet Connection
The System needs to have an active internet connection to download packages.
Backup
Before upgrading Linux Mint 19 to Linux Mint 20, take a backup of important files to an external drive or online cloud storage and system backup with the help of Timeshift.
Prepare Linux Mint for Upgrade
Linux Mint 19.3
First, we need to install the latest updates for the current version of Linux Mint, i.e., Linux Mint 19.3 using the following command.
sudo apt update

sudo apt upgrade -y
Reboot the system.
sudo reboot
Linux Mint 19.0/19.1/19.2
First, we need to install the latest updates for the current version of Linux Mint, i.e., Linux Mint 19.0/19.1/19.2 using the following command.
sudo apt update

sudo apt upgrade -y
Reboot the system.
sudo reboot
Then, upgrade the Linux Mint to 19.3.
sudo mint-release-upgrade
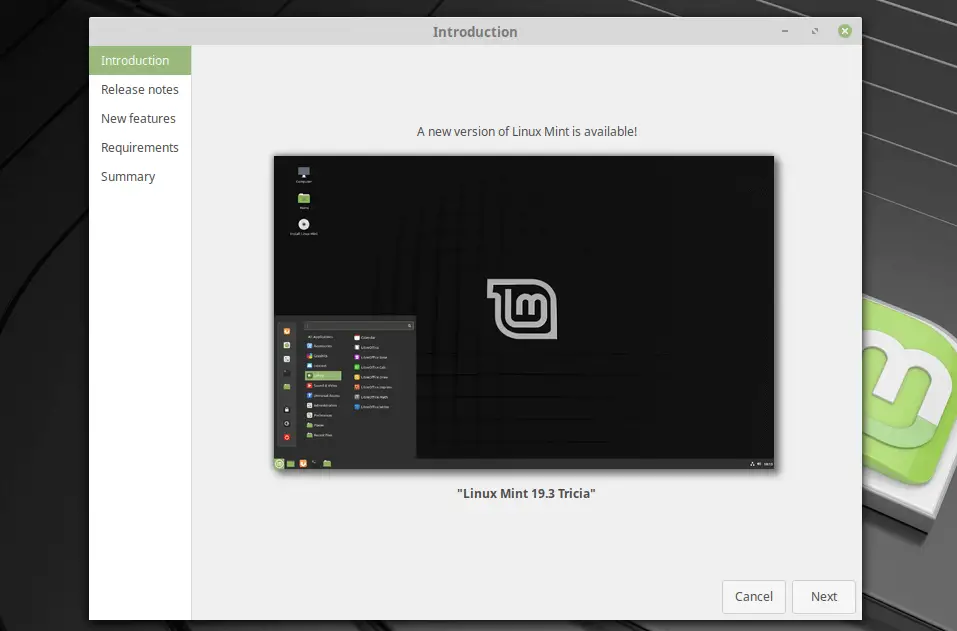
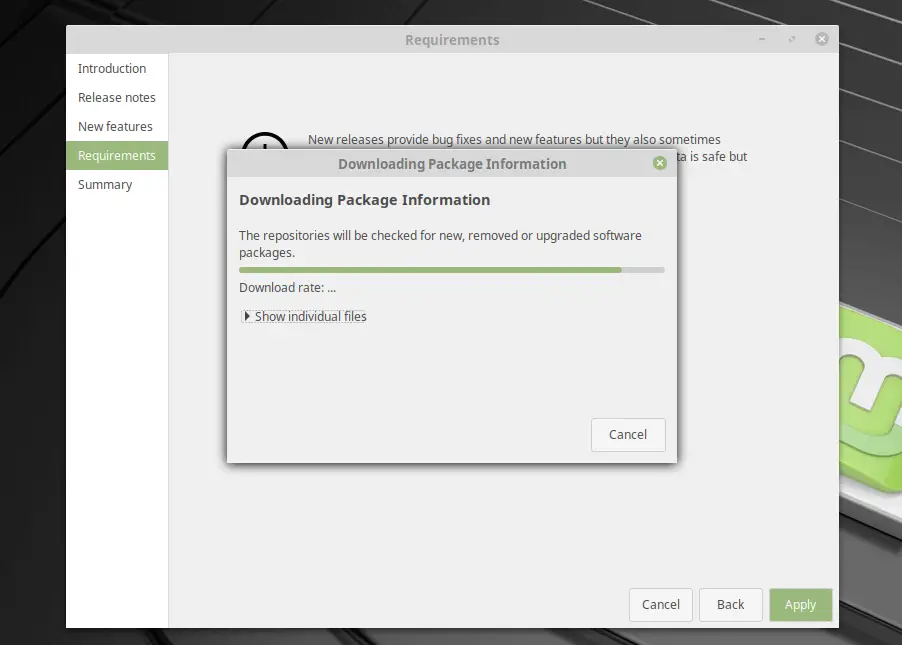
Shortly, you will get an upgrade window informing you that a new version of Linux Mint is available. Click Next.
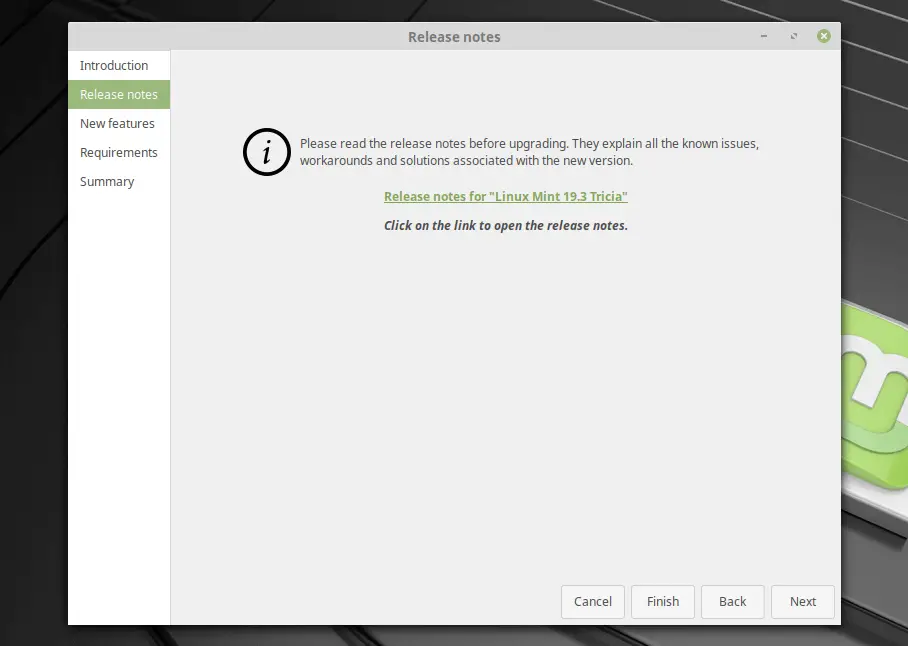
Read release notes and click Next.
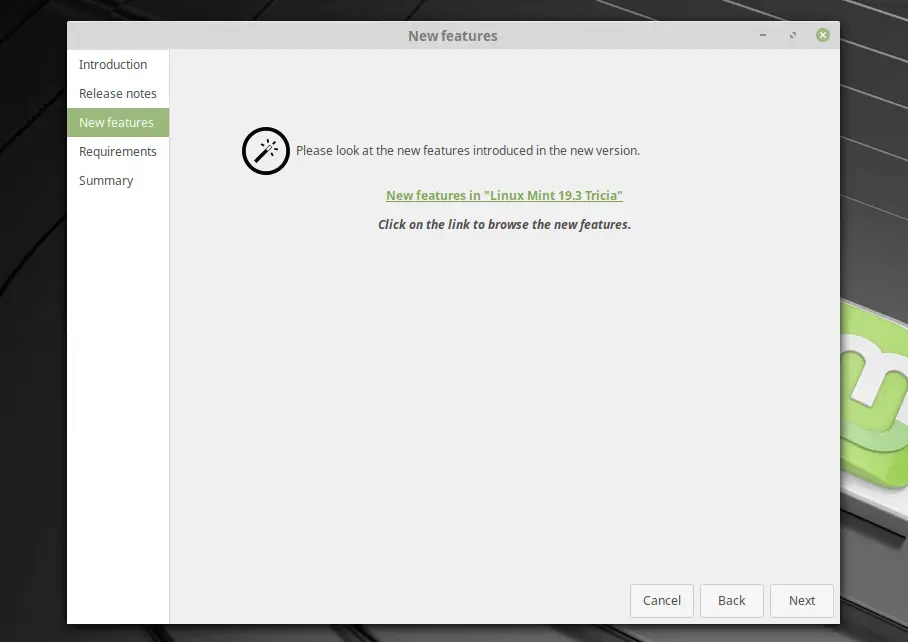
Click Next on New features window.
Click Apply to install updates.
After completion of the update. Reboot the system.
sudo reboot
Take System Snapshot
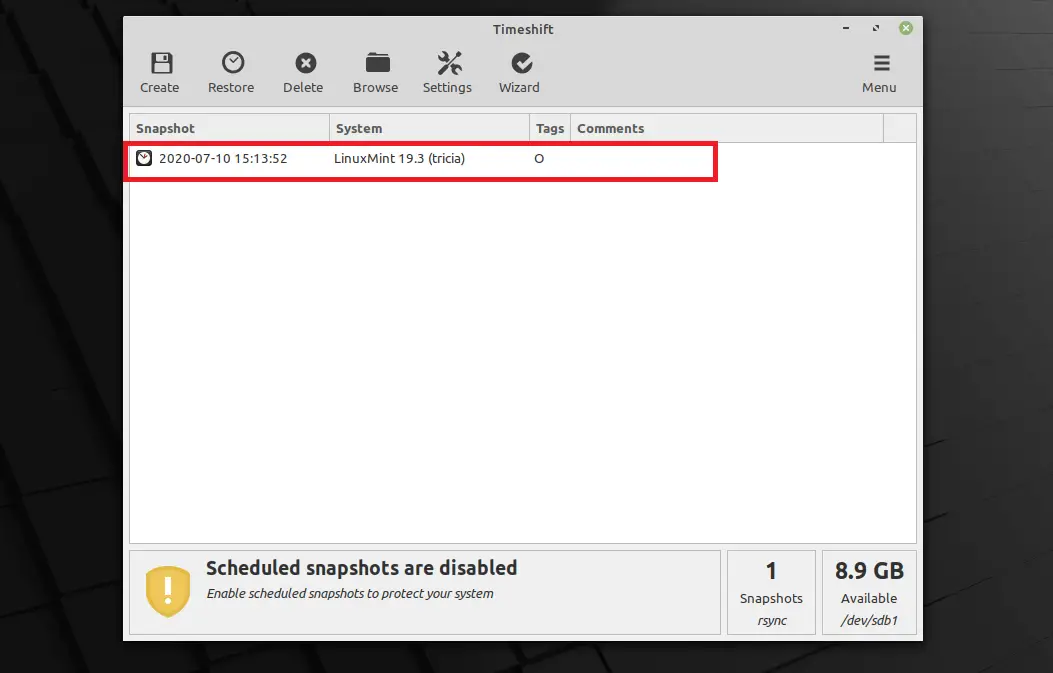
You must take a system snapshot with the help of Timeshift. This snapshot will help you restore your system in case the upgrade goes wrong.
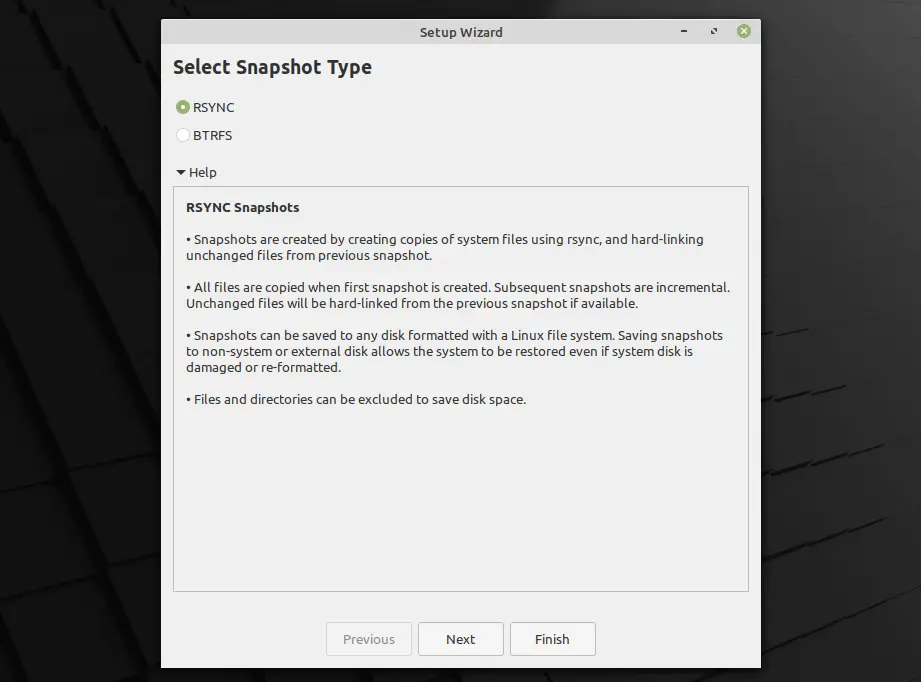
Open the Timeshift (Menu » Administration » Timeshift) and chose RSYNC as a backup mode.
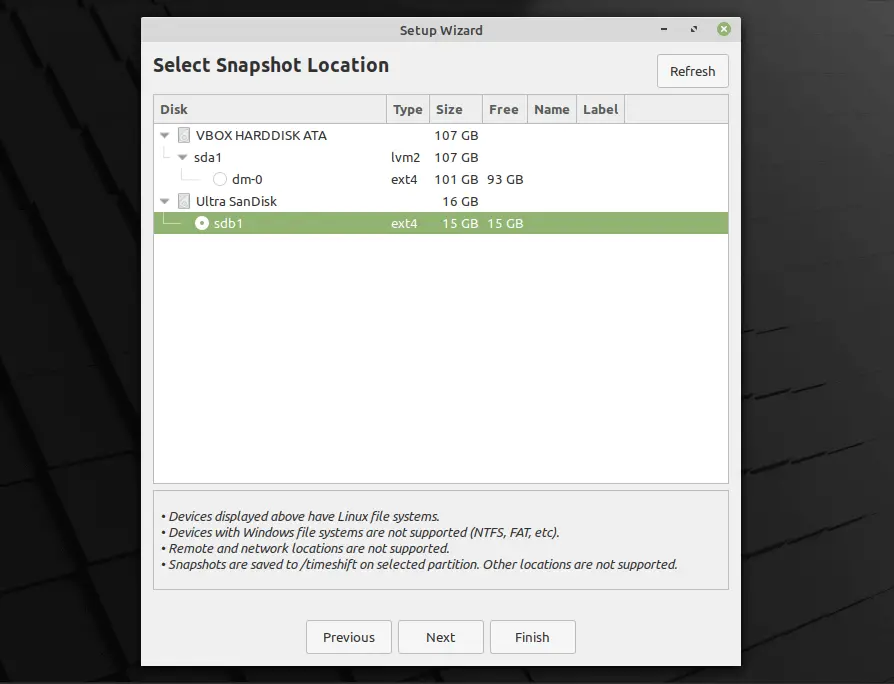
Choose the external drive (recommended) for storing a system snapshot. In my case, I am using a USB stick for storing snapshots. You need to format the USB stick with ext4 or Linux file system. Click Finish.
sudo mkfs.ext4 /dev/sdb1
Click Create to create a new snapshot and wait for the snapshot creation to complete.
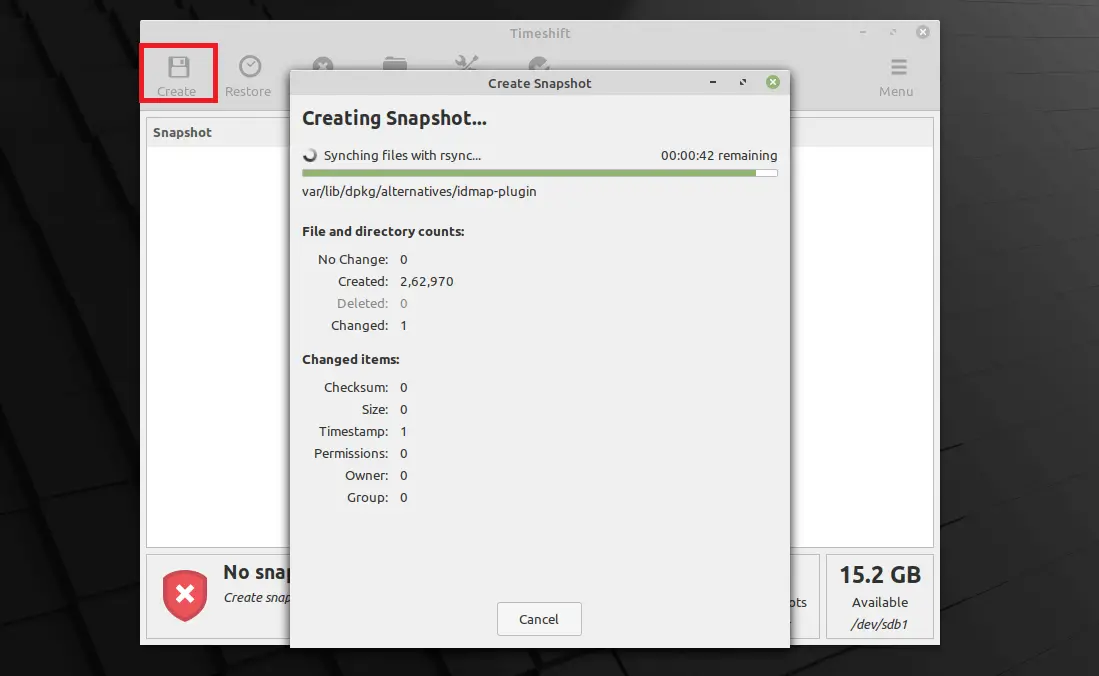
Once the snapshot is completed, proceed to upgrade to Linux Mint 20.
Upgrade To Linux Mint 20
Install Mint upgrade package for upgrading the Linux Mint system.
sudo apt install -y mintupgrade
Check Upgrade
Check the upgrade. This command temporarily points your system to Linux Mint 20 repositories and assesses the impact of an upgrade.
mintupgrade check
Type y to begin the upgrade check. This check doesn’t affect your system.
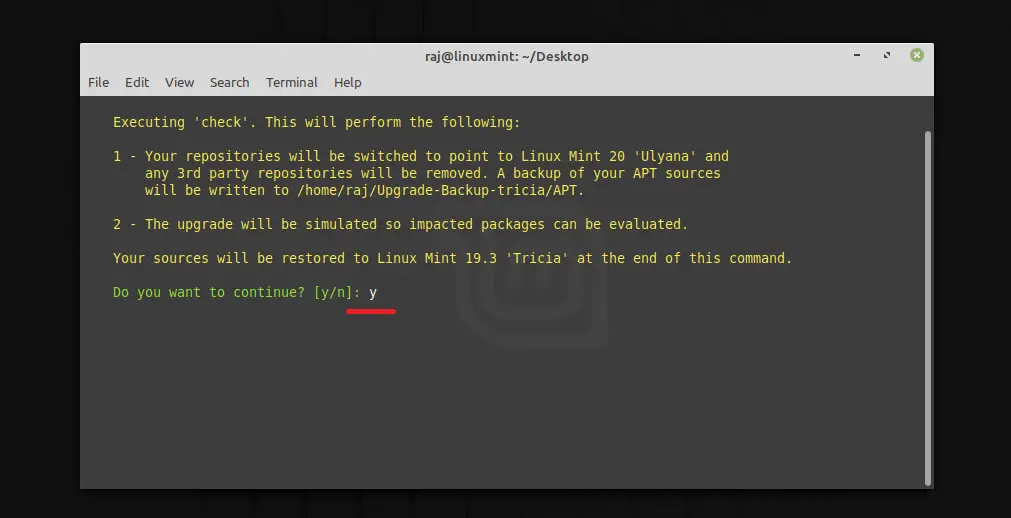
Press Enter to continue.
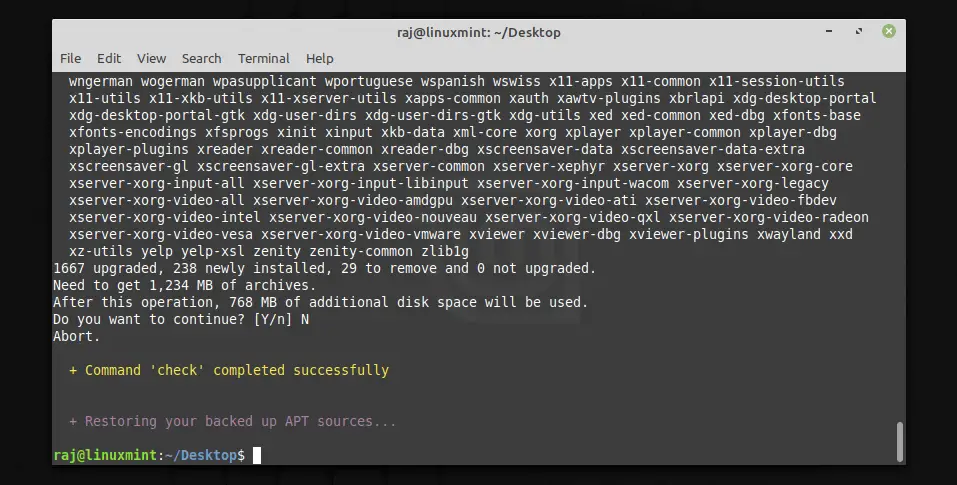
If the upgrade is possible, the output would show which packages would be upgraded, installed, removed, and not upgraded.
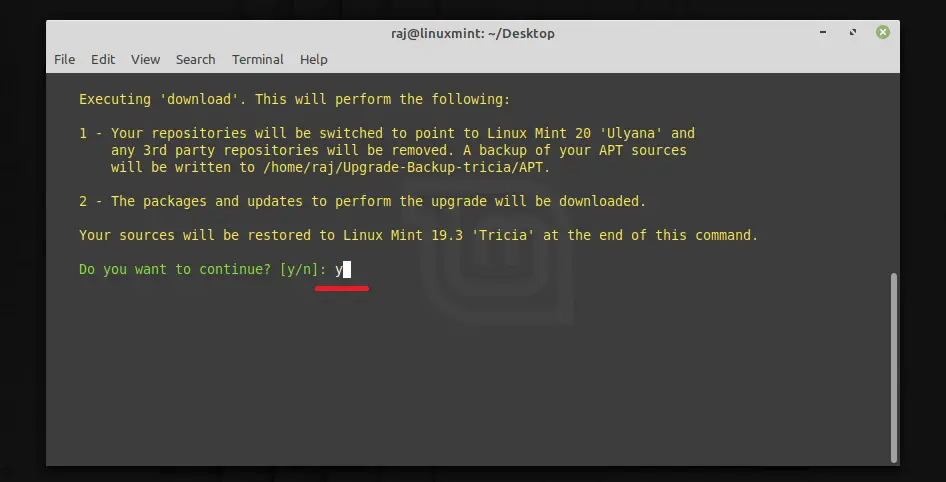
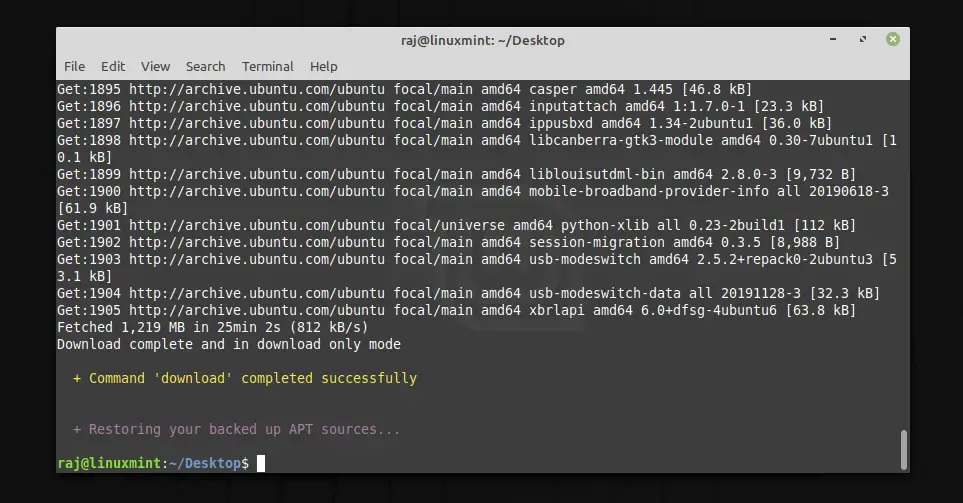
Download Upgrades
Download the necessary packages for upgrading the system using the following command.
mintupgrade download
Type y to download packages.
Wait for the packages to get downloaded.
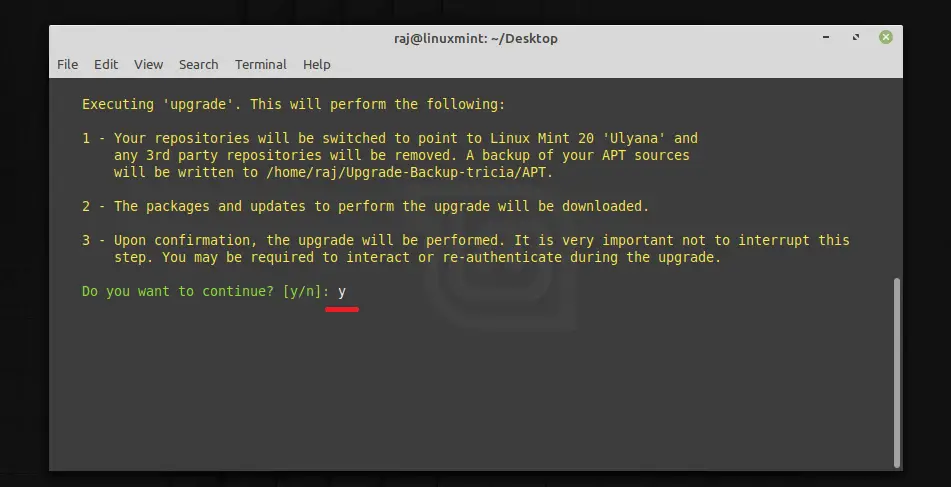
Apply Upgrades
Install the upgrades to upgrade the system to Linux Mint 20. This is irreversible and the only way to get back your old system is restoring the system from the snapshot taken earlier.
mintupgrade upgrade
Type y to continue.
Type y to confirm and begin the upgrade process.
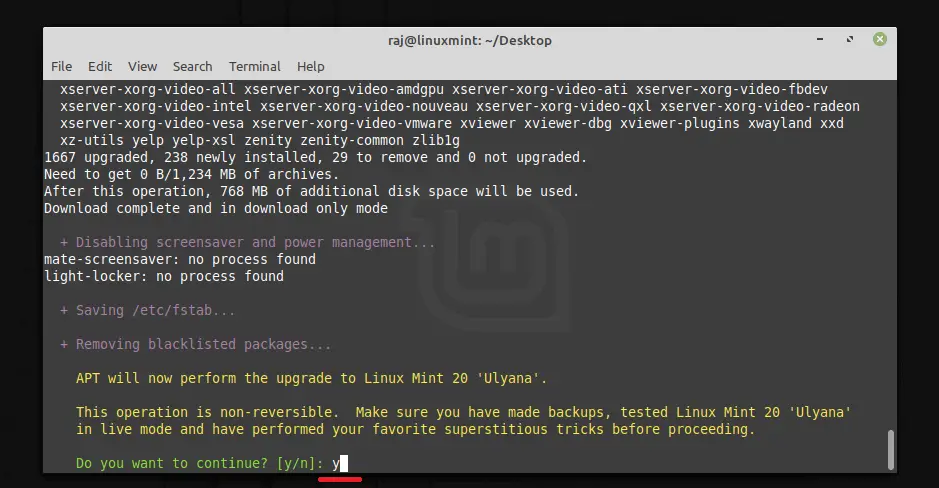
Wait for the upgrade to complete.
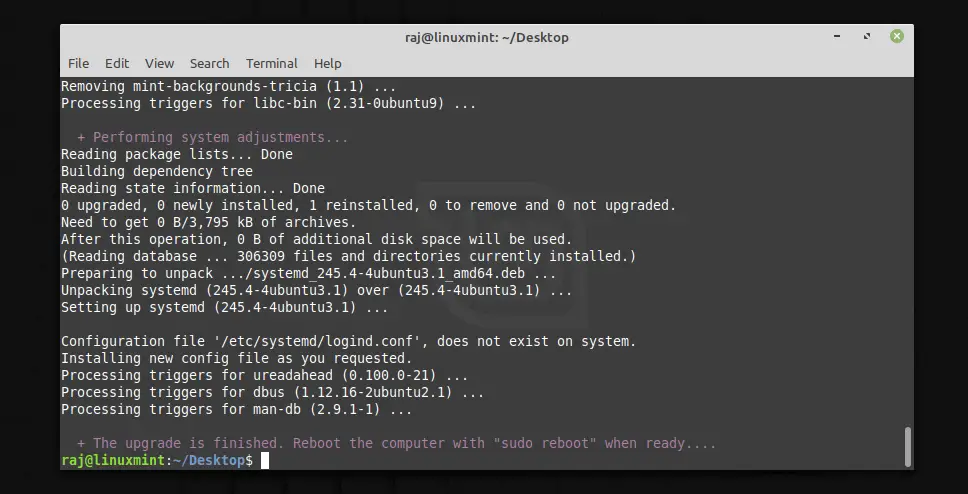
Reboot the system upon completion of the upgrade.
sudo reboot
Once your system is rebooted, you will get the Linux Mint 20 login screen. Log in with your existing credentials.
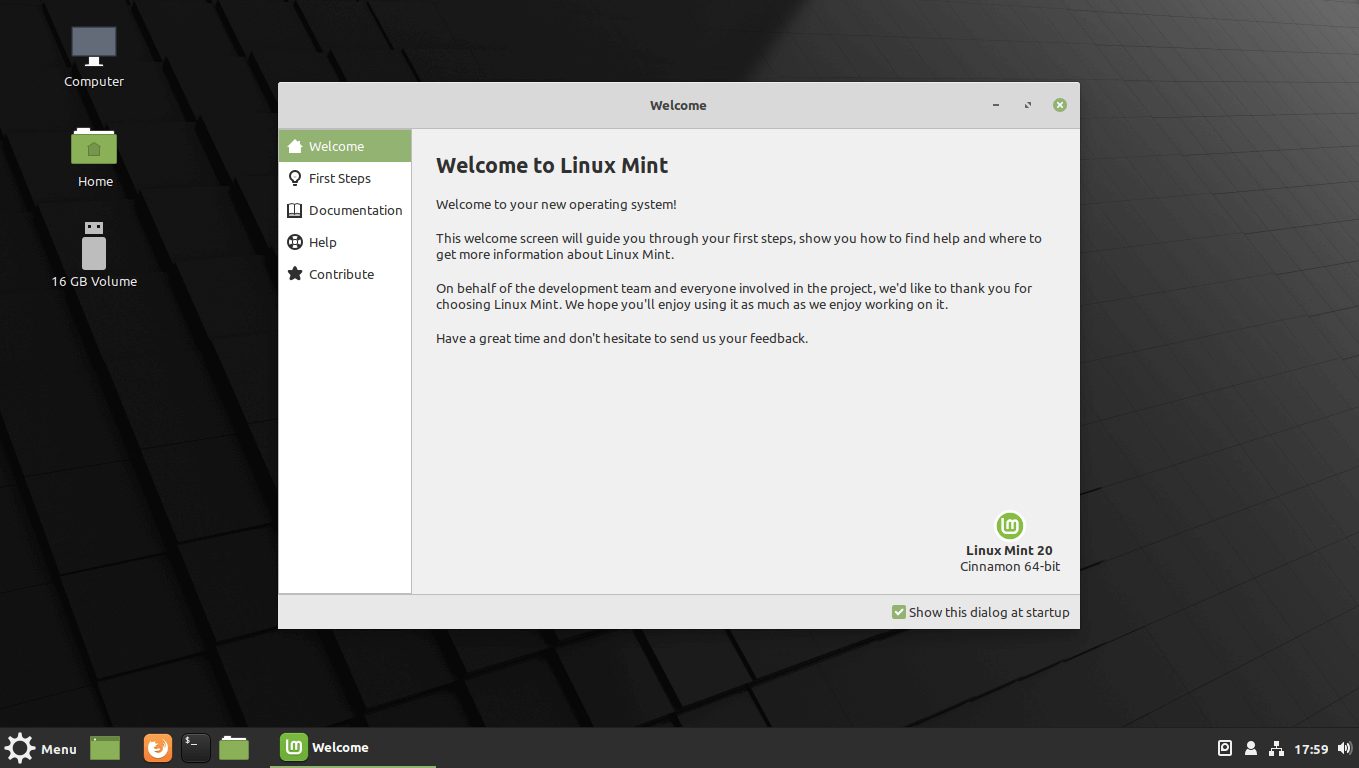
You will get the Linux Mint welcome screen upon successful login.
Conclusion
That’s All. Your system has been successfully upgraded to Linux Mint 20. Do check out articles of Linux Mint 20 to get the most out of your OS upgrade.
RELATED POSTS
![How To Upgrade To Ubuntu 20.04 From Ubuntu 18.04 / Ubuntu 19.10 [Detailed Guide]](/post/how-to-upgrade-to-ubuntu-20-04/featured_hu8b7fad8701aaa8998bccee63d00edef2_86059_550x0_resize_q90_lanczos.jpg)
RECENT POSTS


![How To Upgrade To Linux Mint 20 From Linux Mint 19 [Detailed Guide]](/post/how-to-upgrade-to-linux-mint-20/featured_hu3b6c6a25dd04b6406f79faf78c8c0be6_108894_550x0_resize_q90_lanczos.jpg)