New Features in NetBeans IDE 7.1:
- Support for JavaFX 2.0
- New Visual debugger.
- Support for CSS3.
- Cluster and Instance deployment support for GlassFish.
- Improved PHP debugging.
- Integrated Git support.
Here is the tutorial about installing NetBeans IDE 7.1 on Ubuntu 11.10.
Install Sun Java6:
NetBeans requires having the Java VM installed on machine; either Sun Java 6 or OpenJDK should be installed on machine. Guide for Installing Sun Java6 on Ubuntu 11.10.
Download NetBeans IDE 7.1:
Go to the download page of NetBeans 7.1; Select the package as per your requirement or select whole package. Here i used whole package for demonstration.
Install NetBeans IDE 7.1:
Step 1: Open Terminal (Dash Home —> Search for Terminal or Ctrl + Alt + T).
Step 2: Install the downloaded package.
raj@geeksite~/$ sudo bash ~/Downloads/netbeans-7.1-ml-linux.sh
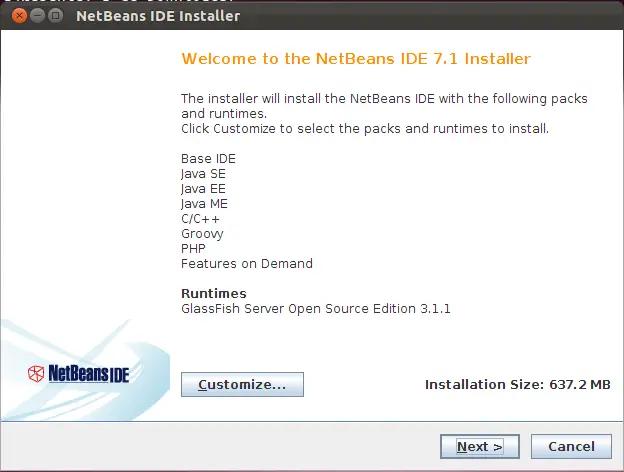
Step 3: The package will start the graphical installer, click next or customize the installation packages.
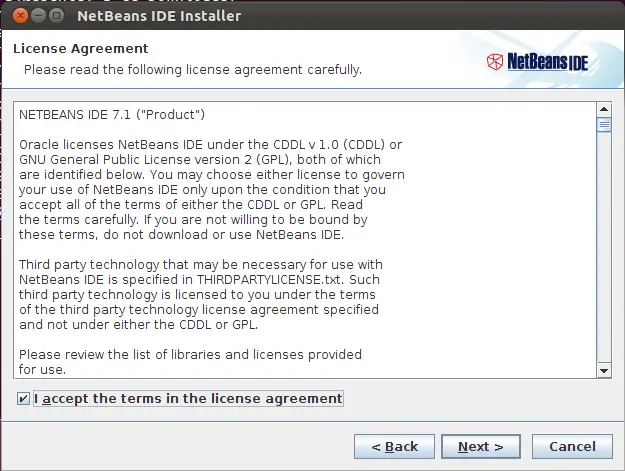
Step 4: Accept License agreement.
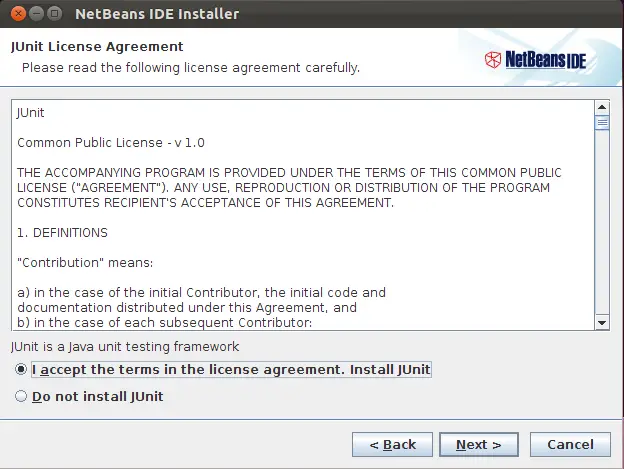
Step 5: Accept the license agreement to install JUnit.
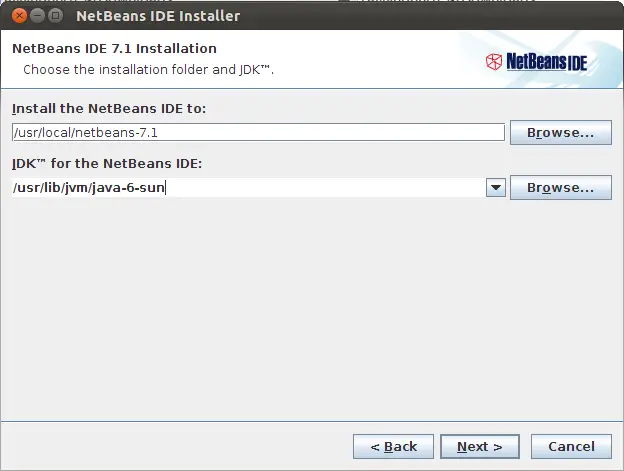
Step 6: Choose the location for installing NetBeans IDE 7.1 and the location of JDK installed on your machine.
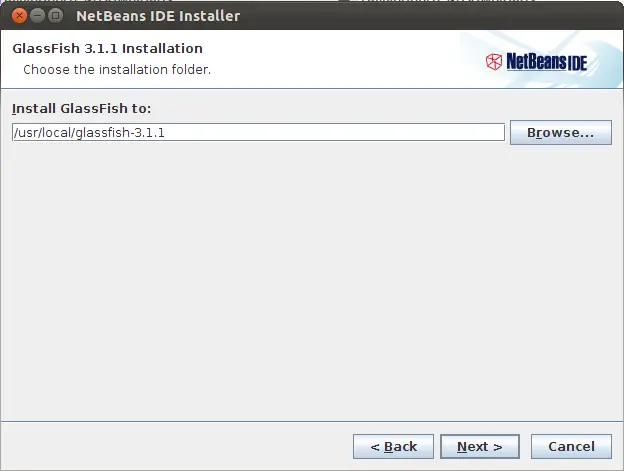
Step 7: Choose the location for installing GlassFish Server.
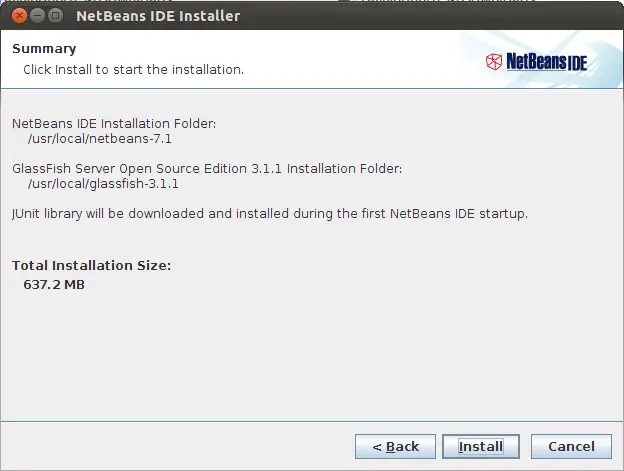
Step 8: Click on Install to begin the installation.
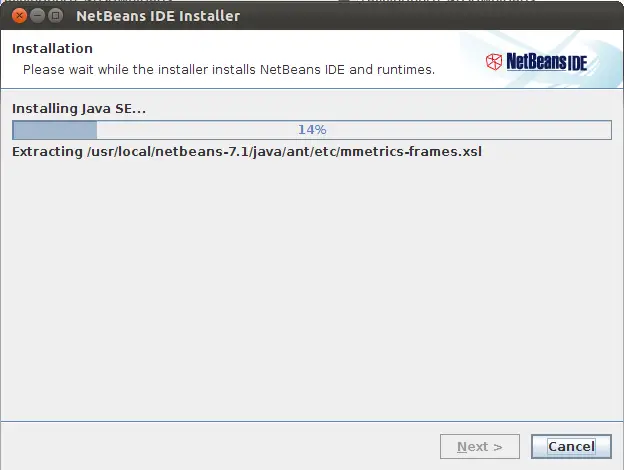
Installation is running.
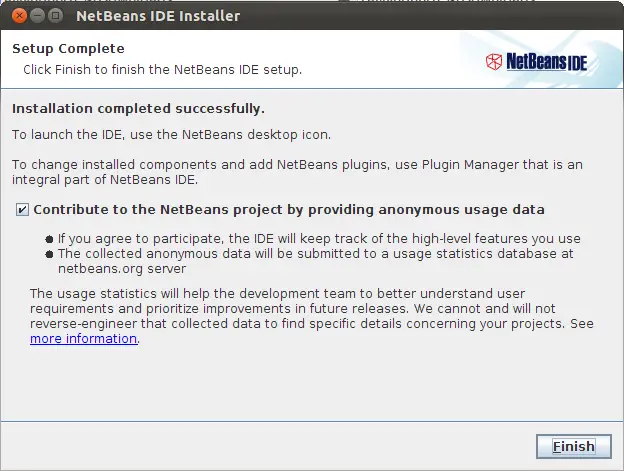
Step 9: Click on Finish.
Start NetBeans IDE 7.1:
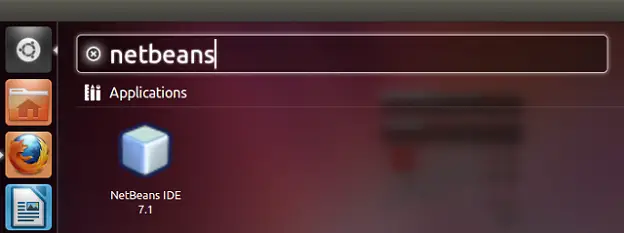
Start Netbeans (Dash Home —> Search for Netbeans).
Or from the installed directory.
raj@geeksite~/$ sudo /usr/local/netbeans-7.1/bin/netbeans
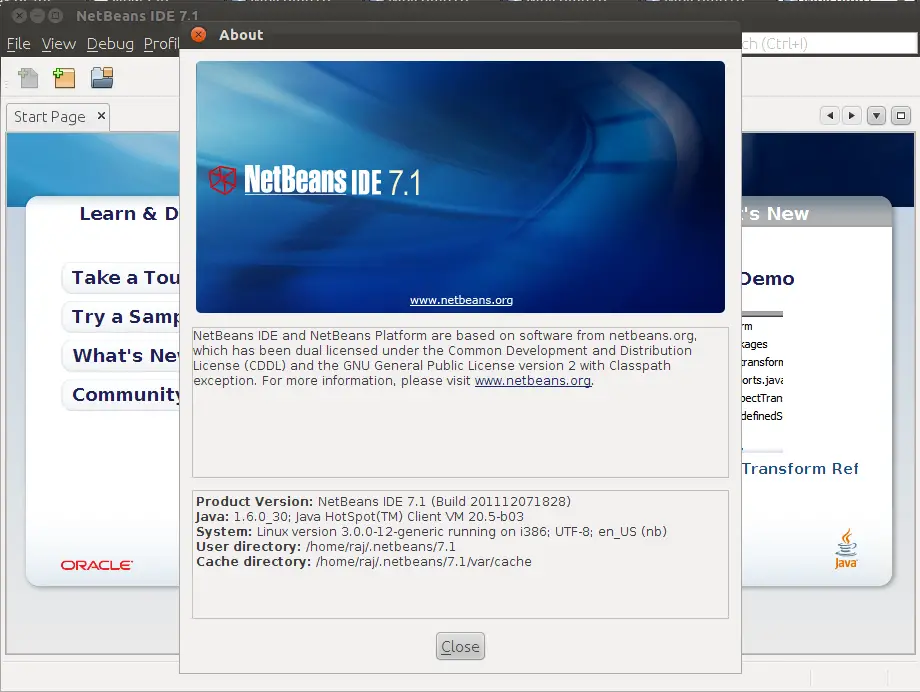
You will get home of NetBeans IDE 7.1, confirm the installed version by going to Help —> About.
That’s all.