Here is the tutorial about installing TeamViewer on Linux Mint 14 (Linux), please follow the steps to get it installed.
Method 1:
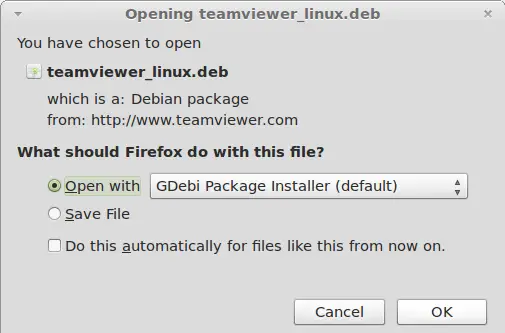
Step 1: Download TeamViewer for Linux from the official website. Open with GDebi Package Manager.
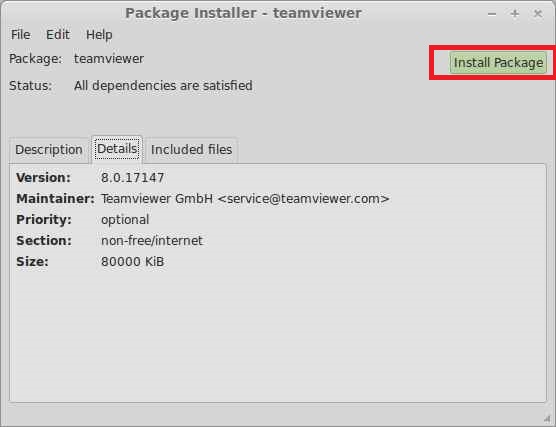
Step 2: Click on Install Package.
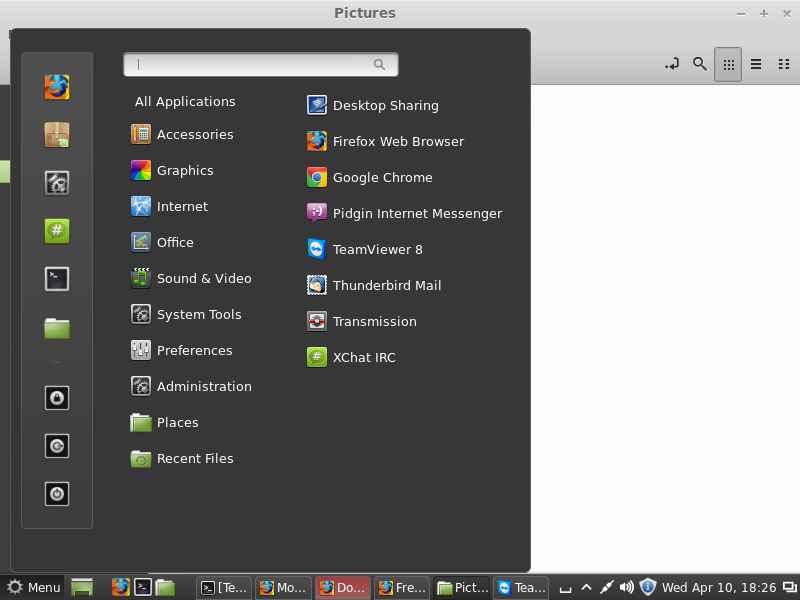
Step 3: Start TeamViewer ( Menu —> Internet —> TeamViewer 8)
Method 2:
Step 1: Open Terminal ( Dash Home ——> Search for Terminal).
Step 2: Download TeamViewer.
raj@itzgeek:~$ wget https://download.teamviewer.com/download/teamviewer_linux.deb
### 64 bit ###
raj@itzgeek:~$ wget https://download.teamviewer.com/download/teamviewer_linux_x64.deb
Step 3: Install TeamViewer.
raj@itzgeek:~$ sudo dpkg -i teamviewer_linux.deb
### 64 bit ###
raj@itzgeek:~$ sudo dpkg -i teamviewer_linux_x64.deb
Step 3: Start TeamViewer.
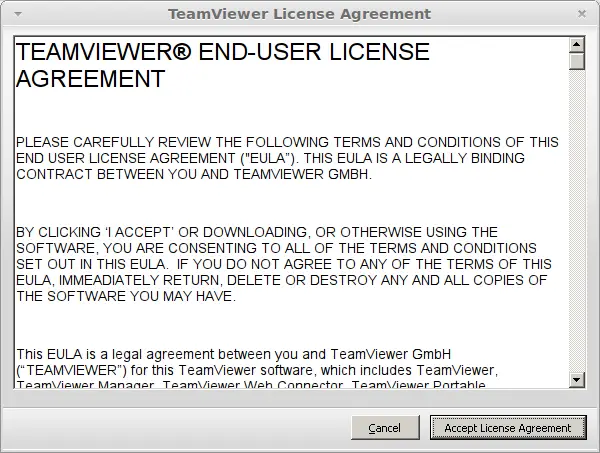
If you are starting the TeamViewer for first time, accept the License agreement.
Once Accepted, you will get the window with ID and Password.
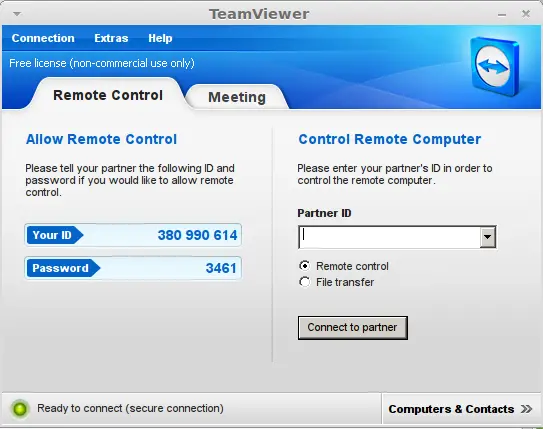
That’s All. You have successfully installed TeamViewer on Linux Mint 14.
Note: TeamViewer is not designed to run under root privileges, with root user it will not run. If you want it to run any way, there is a solution to run TeamViewer under root privileges.