Jenkins is an open-source automation server; in other words, a continuous integration tool written in Java that helps to automate the repetitive tasks involved in the software development process. Repetitive tasks could be like software build, testing, and deployments.
Jenkins project was forked from the Oracle Hudson project after a dispute in early 2011, but, still each call other as a fork.
Here, this tutorial guides you through the installation of Jenkins on Debian 10 / Debian 9.
Install Jenkins On Debian
Install Java
Jenkins requires Java 8 or Java 11. Here, I will install the default JRE package (OpenJDK).
sudo apt update

sudo apt install -y default-jre apt-transport-https wget
If you want to use the Oracle JAVA instead of OpenJDK, then use any one of the links for guidance.
READ: How To Install Oracle Java on Debian 10 / Debian 9
Verify the Java version.
java -version
Output:
openjdk version "11.0.7" 2020-04-14
OpenJDK Runtime Environment (build 11.0.7+10-post-Debian-3deb10u1)
OpenJDK 64-Bit Server VM (build 11.0.7+10-post-Debian-3deb10u1, mixed mode, sharing)
Add Jenkins repository
Let’s add Jenkins repository as the Jenkins is not available on Debian / Ubuntu OS base repositories.
First, add the Jenkins public key to the system.
wget https://pkg.jenkins.io/debian-stable/jenkins.io.key

sudo apt-key add jenkins.io.key
Now, add the Jenkins repository to your system.
echo "deb https://pkg.jenkins.io/debian-stable binary/" | sudo tee /etc/apt/sources.list.d/jenkins.list
Install Jenkins
Install Jenkins package using the apt command.
sudo apt update

sudo apt install -y jenkins
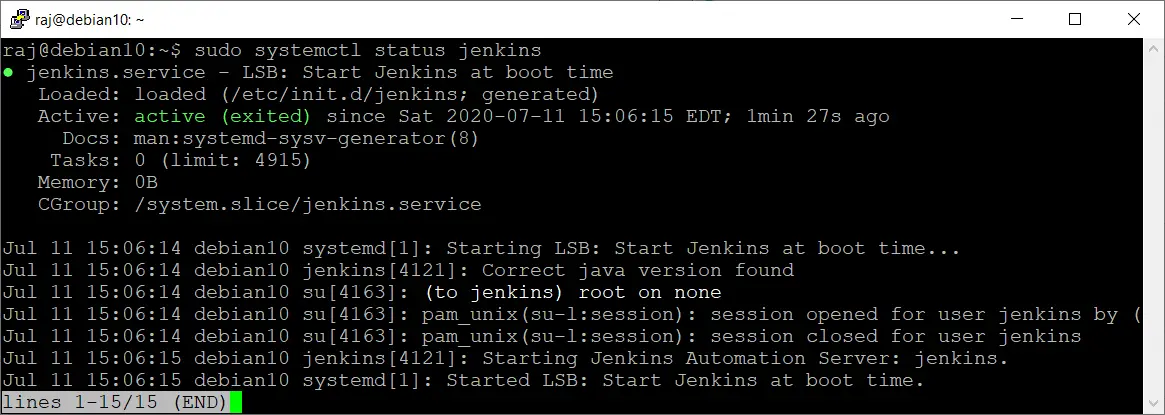
The Jenkins service should now be up and running. Check the status of Jenkins service using the below command.
sudo systemctl status jenkins
Setup Jenkins
Jenkins comes with a web interface where you can build, test, and deploy software.
Open up a web browser and navigate it to the following URL.
For security reasons, Jenkins puts up an initial password in /var/lib/Jenkins/secrets/initialAdminPassword file to prevent unauthorized Jenkins installation.
Use the cat command to see the password for Jenkins installation.
sudo cat /var/lib/jenkins/secrets/initialAdminPassword
Output:
15d5552f98af42d78660c86edf03d43c
Copy and paste the password on Jenkins setup wizard. Then, click on Continue.
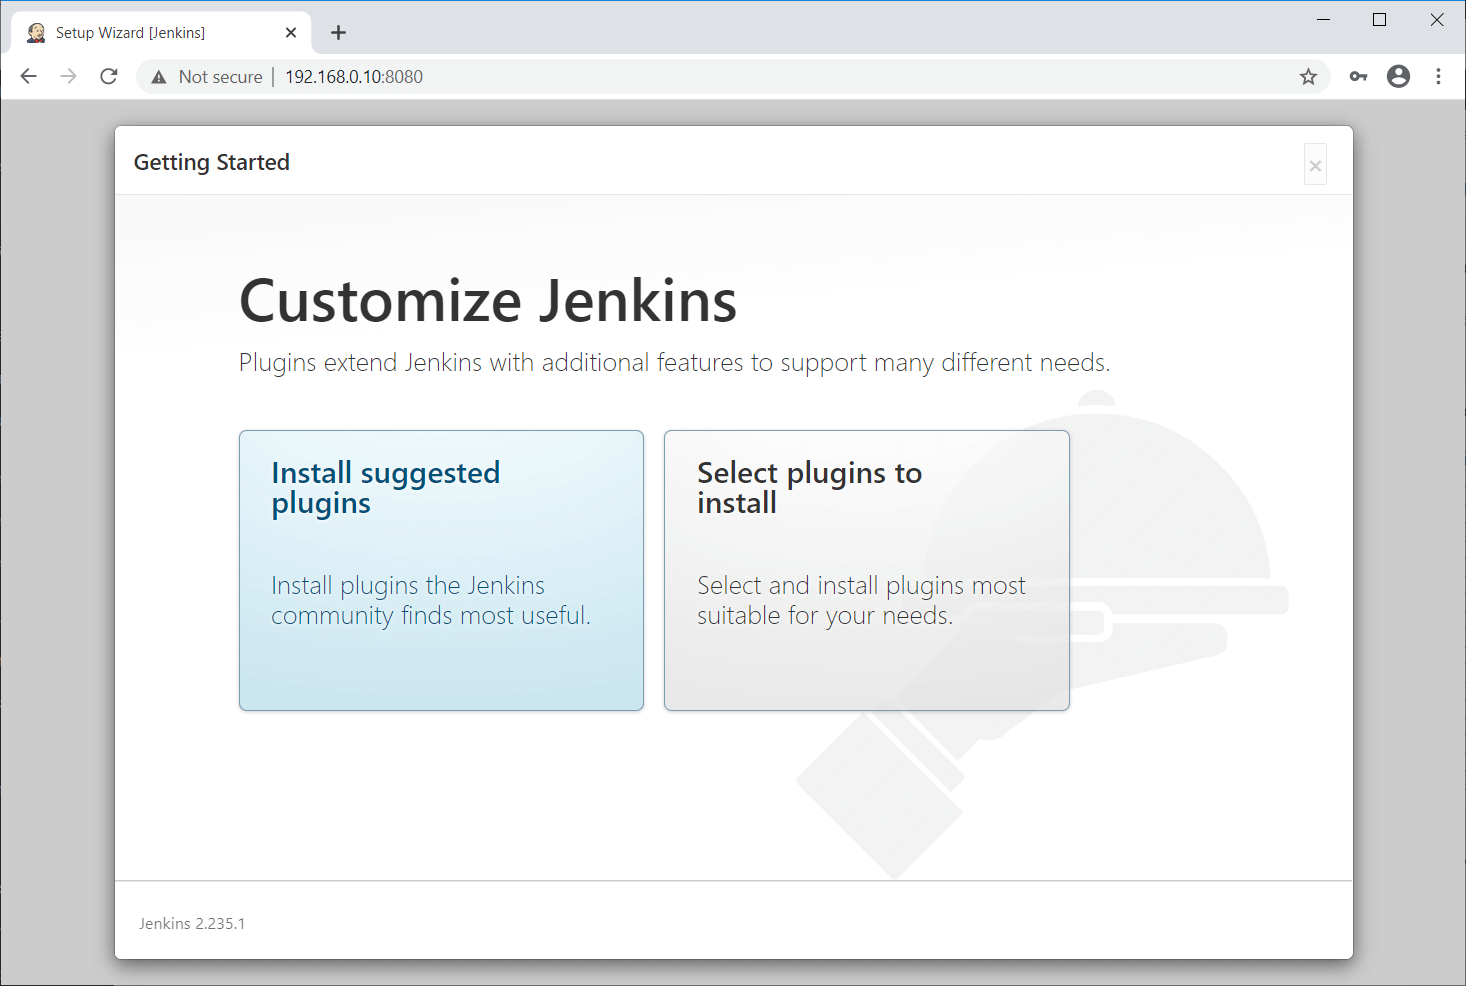
You can either install suggested plugins or select and install plugins most suitable for your needs.
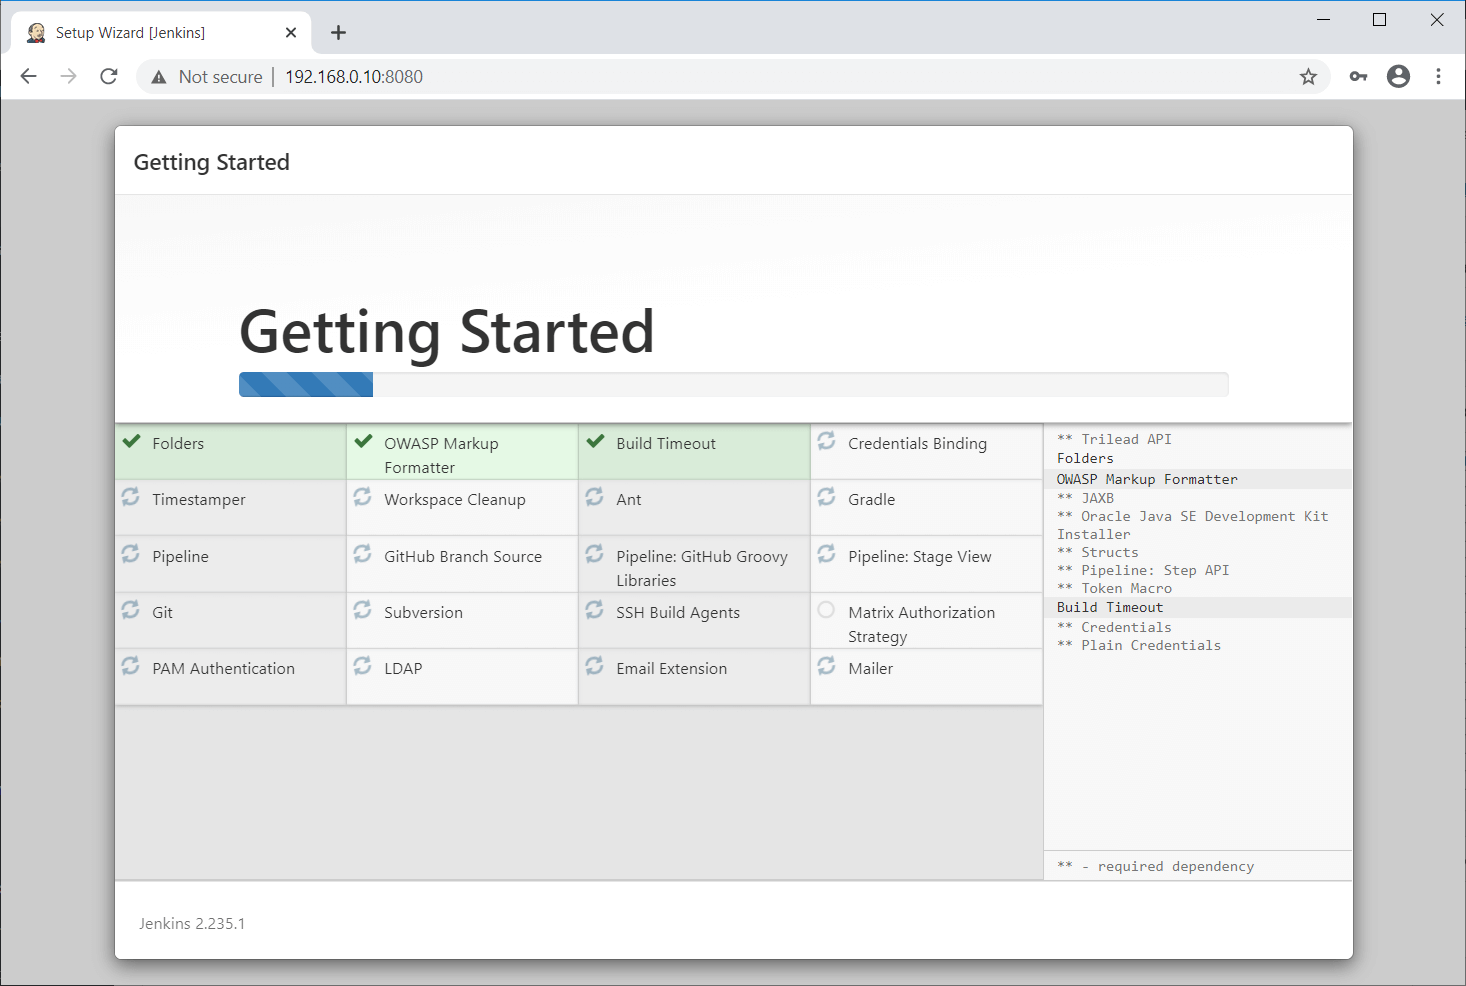
Wait for the Jenkins plugins installation to complete.
Create the first admin user for Jenkins.
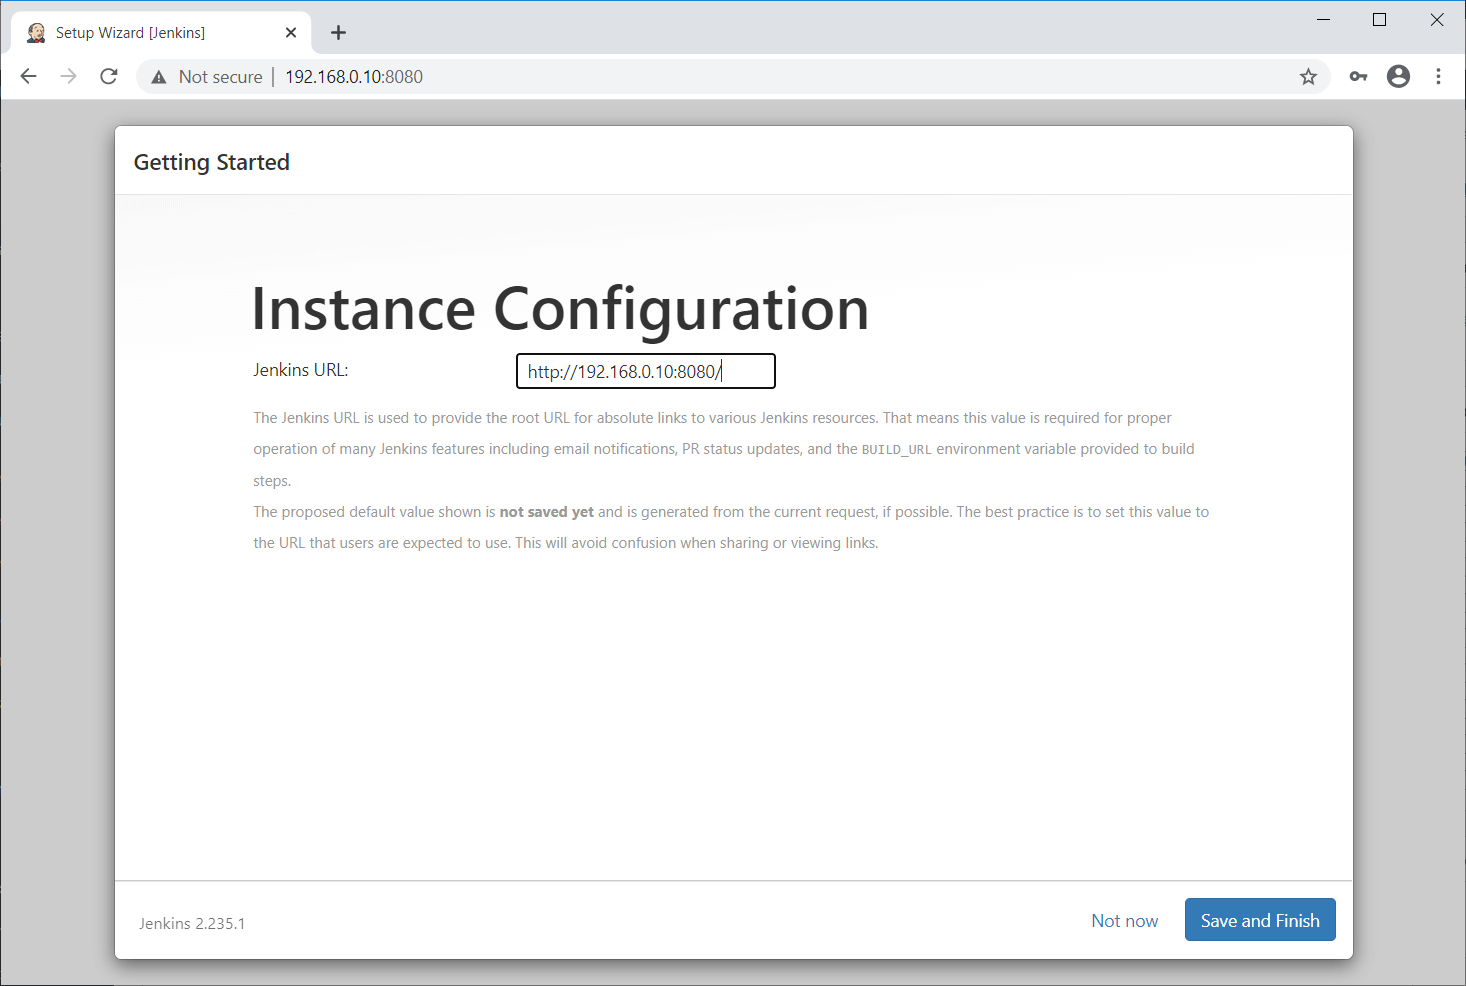
Set up Jenkins URL, which will provide the root URL for links to various Jenkins resources.
Jenkins is now ready for building software. Click on Start using Jenkins.
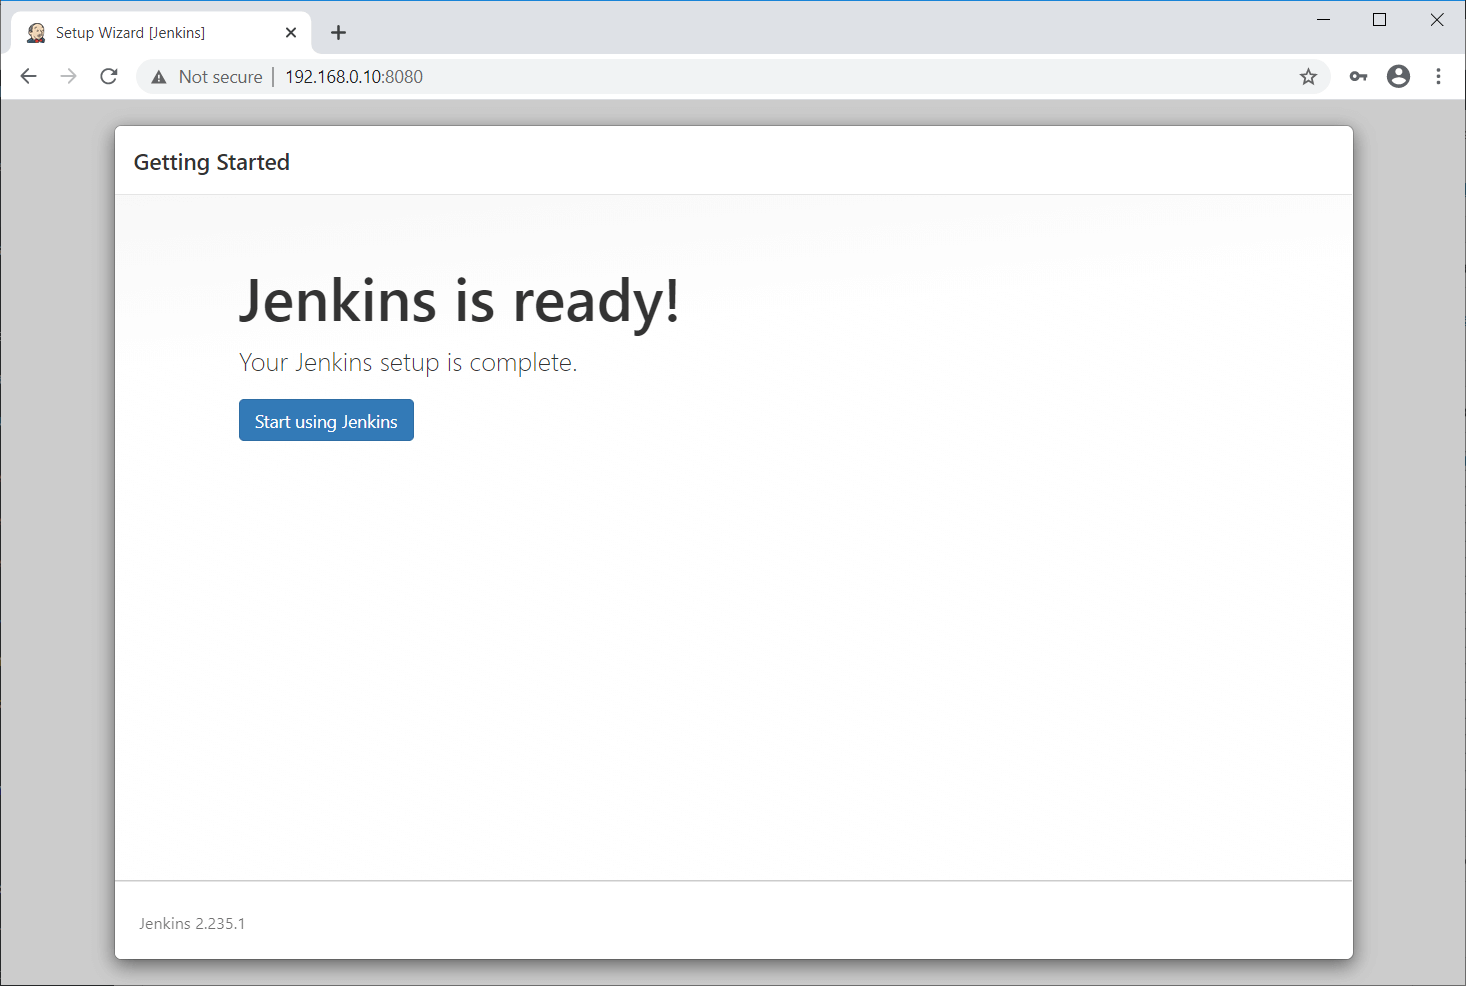
Jenkins Dashboard:
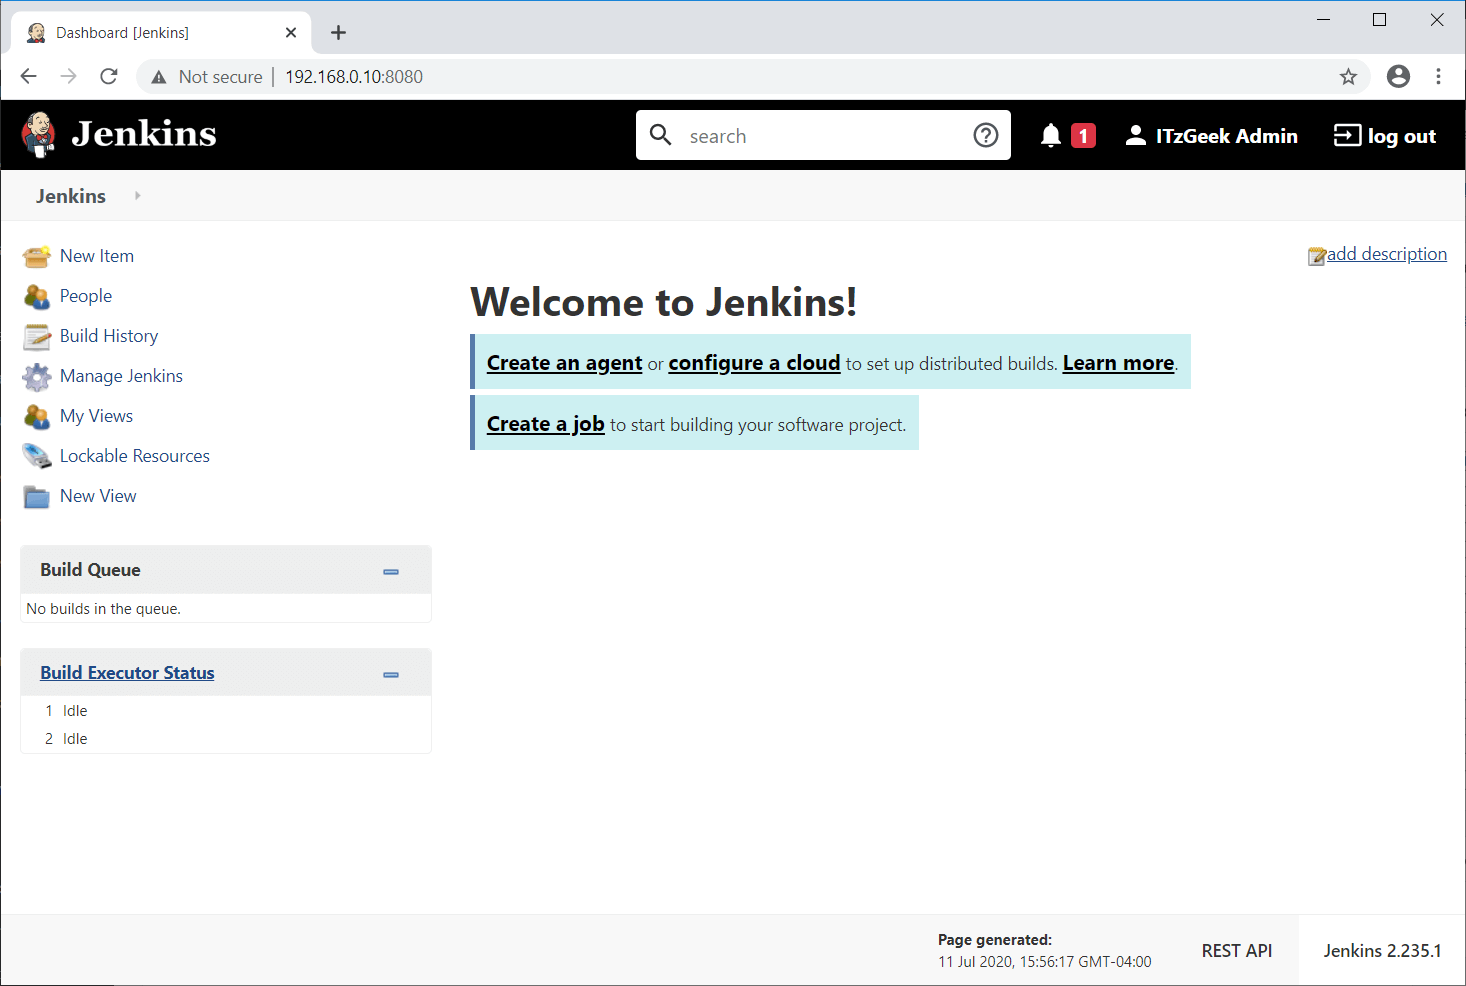
Access Jenkins
Open up a web browser and navigate it to the following URL.
Log in with the Jenkins admin account, which you created earlier.
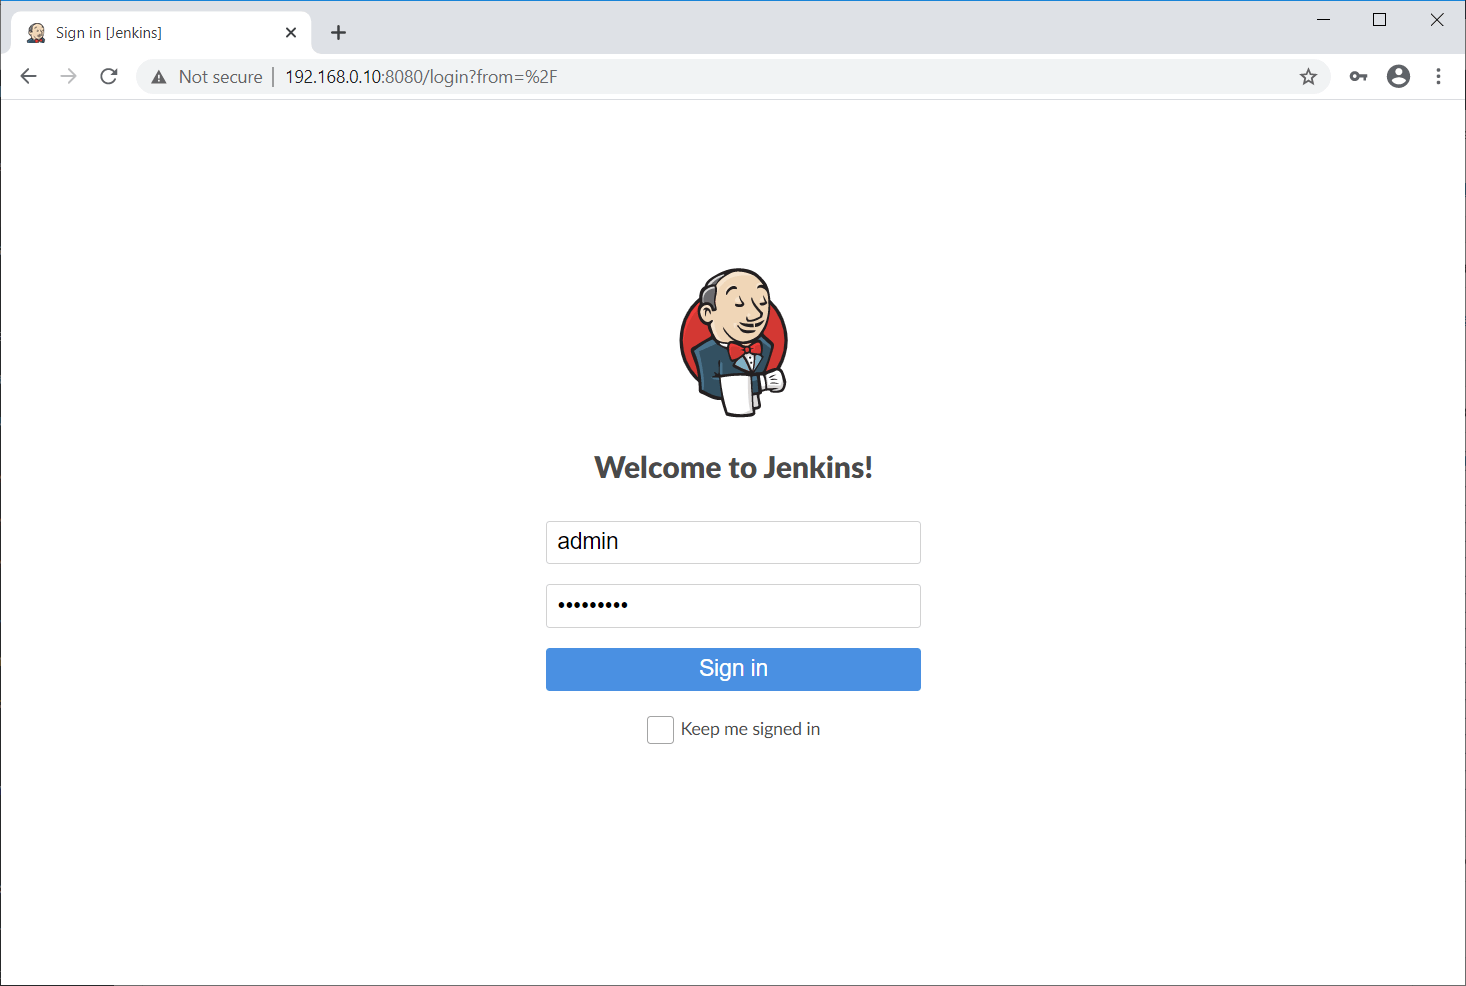
Create Jenkins Job
Let’s create a sample build with a shell command.
To do that, go to Jenkins Dashboard >> New Item or Create a job.
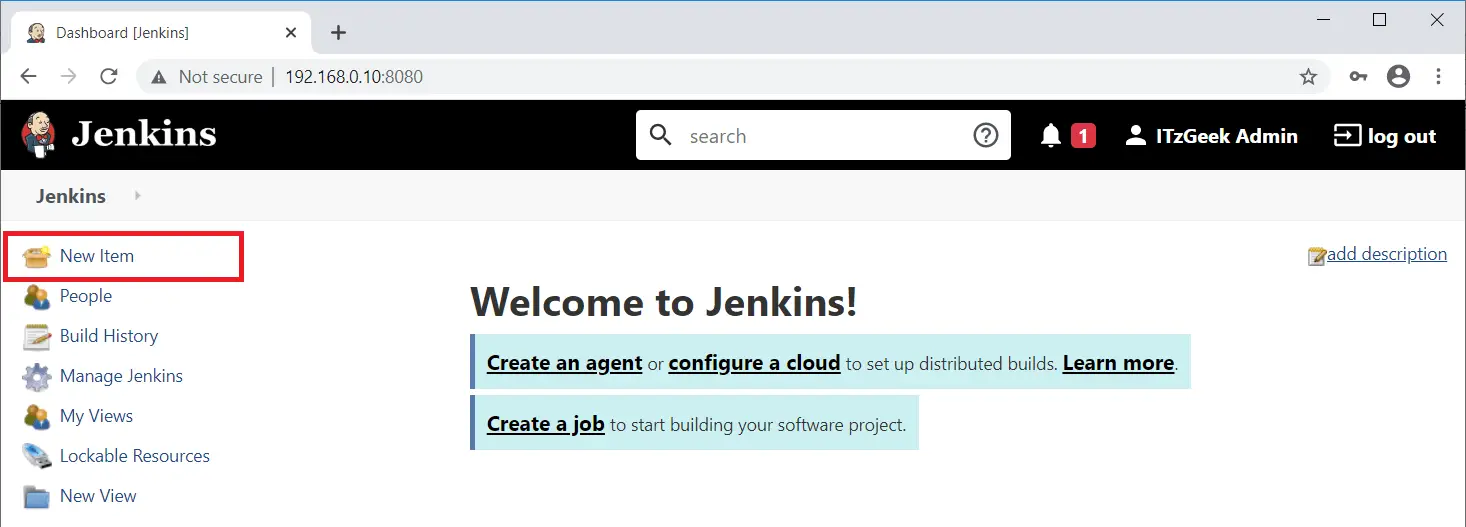
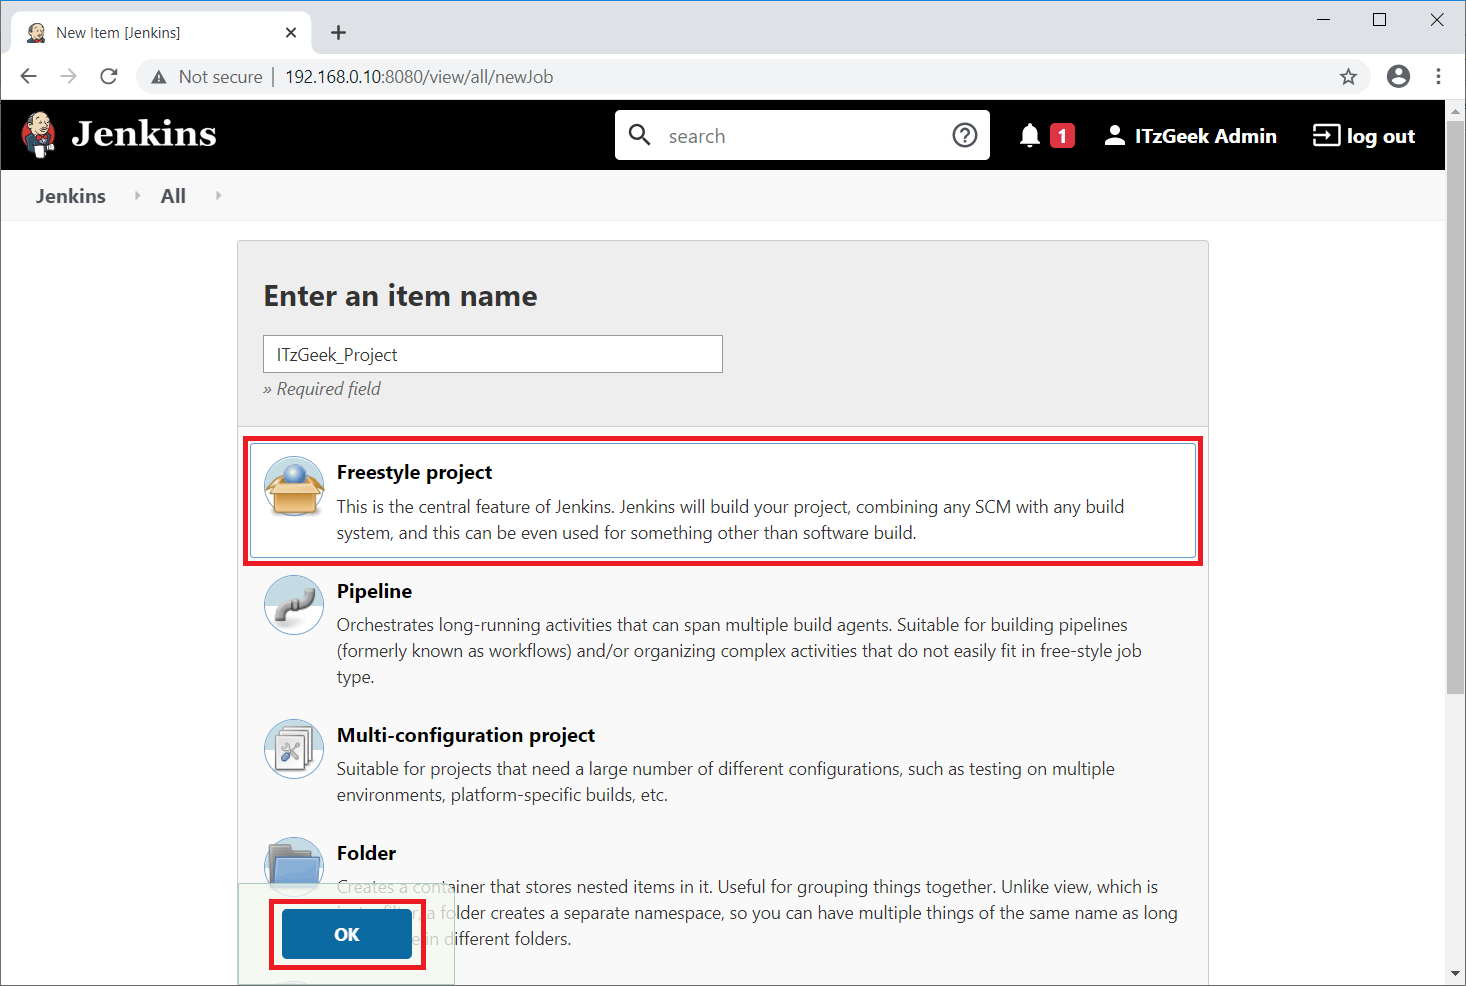
Create a Freestyle project called ITzGeek_Project and then click OK.
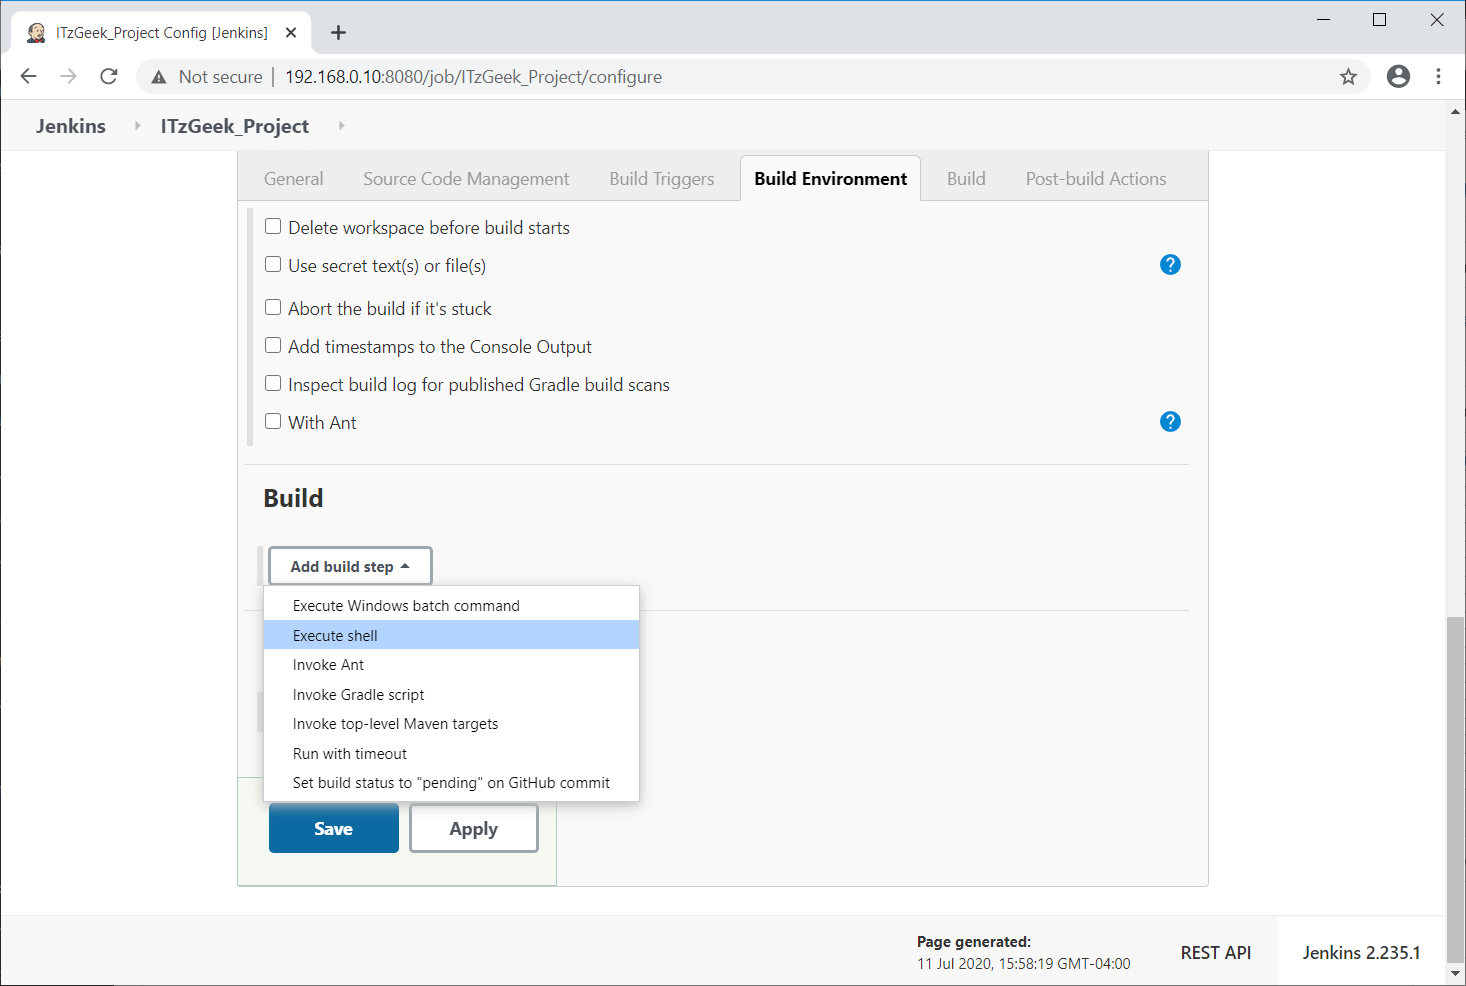
On the project configuration page, scroll down and choose Execute shell as Add build step in the Build section.
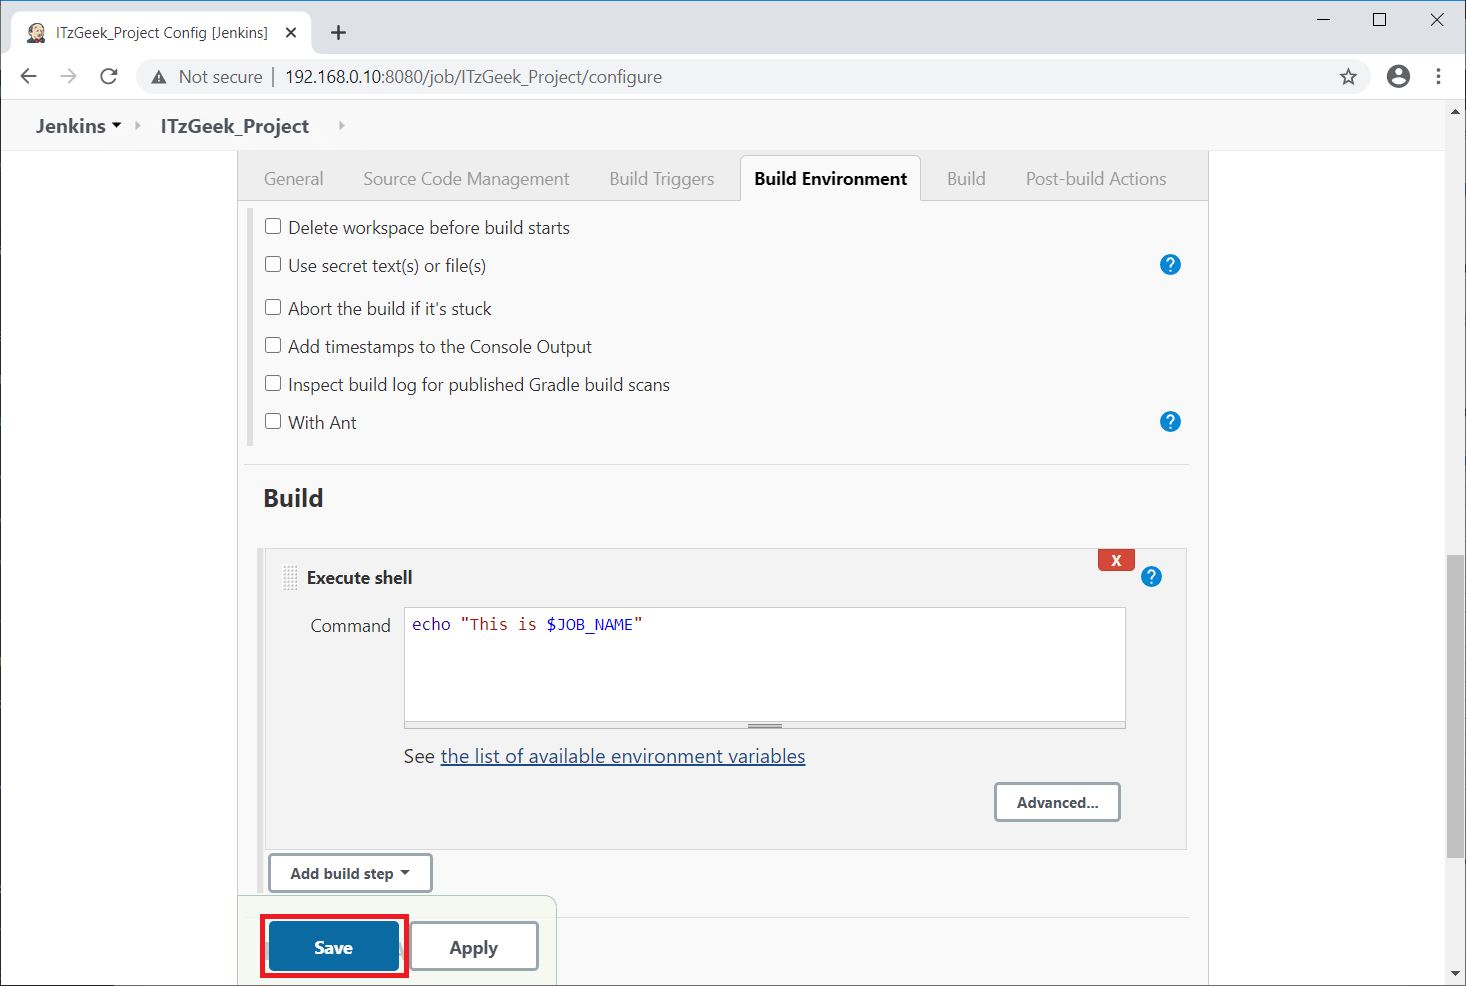
Enter a shell command to execute while building the project.
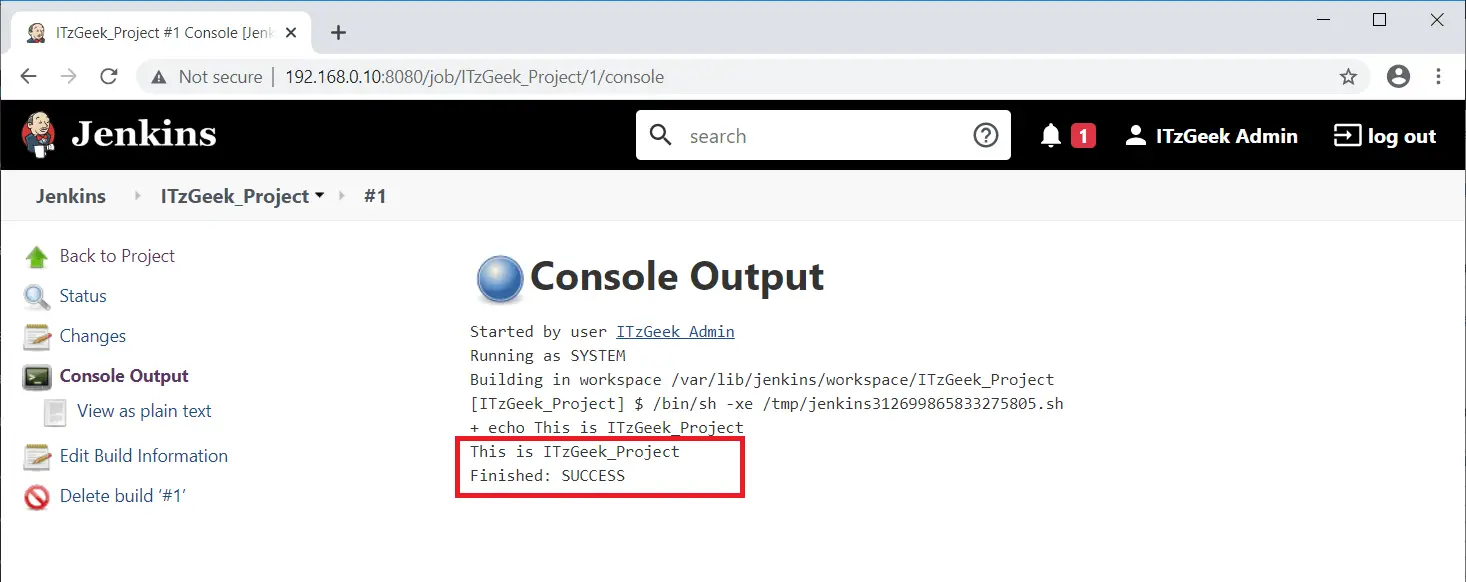
echo "This is $JOB_NAME"
Click on Save.
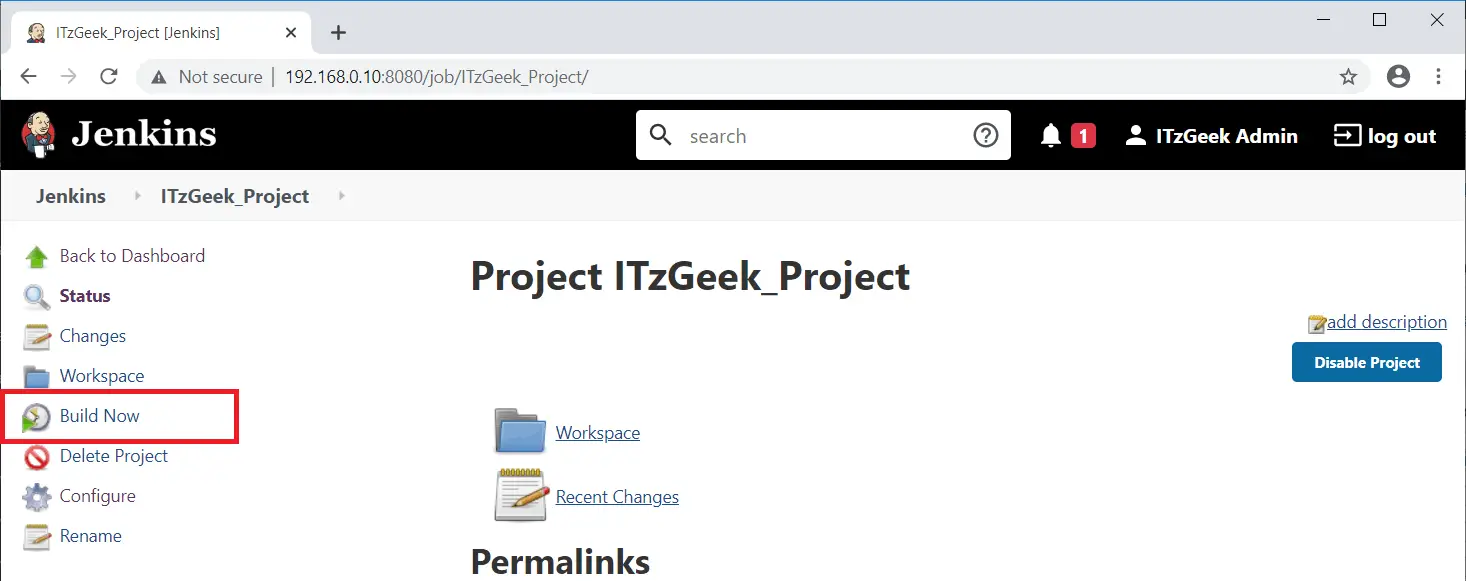
The project is now ready to build. Click on Build Now in the left pane to build the project.
Click on Console Icon to see the output of your build.
Console Output:
Conclusion
That’s All. You have successfully installed Jenkins on Debian 10 / Debian 9. I recommend you to visit Jenkins’s documentation for more information.