LibreNMS is an open-source network monitoring system for servers and network devices. It supports a wide range of network devices and operating systems, including Linux and Windows.
With LibreNMS, you can automatically discover your entire network using CDP, FDP, LLDP, OSPF, BGP, SNMP, and ARP protocols. In addition, it has a highly flexible alerting system to notify you via email, IRC, Slack, and more.
In this post, we will see how to install LibreNMS on Debian 11 / Debian 10.
Install MySQL / MariaDB
LibreNMS requires MySQL/MariaDB database server. So, here, we will install MariaDB.
sudo apt update

sudo apt install -y mariadb-server mariadb-client
Once the MariaDB installation is complete, run the mysql_secure_installation command to secure the database server.
Then, you will need to configure MariaDB for LibreNMS installation by adding the below configuration.
sudo nano /etc/mysql/mariadb.conf.d/50-server.cnf
Now, add the below lines to the [mysqld] section.
innodb_file_per_table=1
lower_case_table_names=0
Finally, restart the MariaDB service.
sudo systemctl restart mariadb
Create Database for LibreNMS
First, log in to the MariaDB database server.
sudo mysql -u root -p
Then, create the database for LibreNMS installation.
Database Name: librenmsdb
User Name: librenms
Password: password
CREATE DATABASE librenmsdb CHARACTER SET utf8mb4 COLLATE utf8mb4_unicode_ci;

CREATE USER 'librenms'@'localhost' IDENTIFIED BY 'password';

GRANT ALL PRIVILEGES ON librenmsdb.* TO 'librenms'@'localhost';

FLUSH PRIVILEGES;

exit
Install and Configure Nginx
LibreNMS recommends Nginx as a web server for the installation. So, install Nginx along with PHP packages using the following command.
sudo apt install -y acl curl composer fping git graphviz imagemagick mtr-tiny nginx-full nmap php-cli php-curl php-fpm php-gd php-json php-mbstring php-mysql php-snmp php-xml php-zip python3-dotenv python3-pymysql python3-redis python3-setuptools python3-systemd rrdtool snmp snmpd whois
Then, update your timezone in /etc/php/7.4/fpm/php.ini and /etc/php/7.4/cli/php.ini. Also, ensure you change 7.4 with 7.3 for Debian 10.
You can visit the official site for a list of supported timezones.
date.timezone = America/Chicago
Install and Configure LibreNMS
First, create a user account for LibreNMS installation.
sudo useradd librenms -d /opt/librenms -M -r -s /bin/bash
Then, clone LibreNMS repository to /opt directory.
cd /opt

sudo git clone https://github.com/librenms/librenms.git librenms
Set the ownership and permission.
sudo chown -R librenms:librenms /opt/librenms

sudo chmod 771 /opt/librenms

sudo setfacl -d -m g::rwx /opt/librenms/rrd /opt/librenms/logs /opt/librenms/bootstrap/cache/ /opt/librenms/storage/

sudo setfacl -R -m g::rwx /opt/librenms/rrd /opt/librenms/logs /opt/librenms/bootstrap/cache/ /opt/librenms/storage/
Install the PHP composer after switching to librenms user.
sudo -u librenms bash

./scripts/composer_wrapper.php install --no-dev

exit
Configure PHP-FPM for LibreNMS installation. Make sure to change 7.4 with 7.3 for Debian 10.
sudo cp /etc/php/7.4/fpm/pool.d/www.conf /etc/php/7.4/fpm/pool.d/librenms.conf

sudo nano /etc/php/7.4/fpm/pool.d/librenms.conf
Change [www] to [librenms].
[librenms]
Change user and group to librenms.
user = librenms
group = librenms
Update listen to a unique name.
listen = /run/php-fpm-librenms.sock
Create an Nginx virtual host file for LibreNMS installation.
sudo nano /etc/nginx/sites-enabled/librenms.vhost
Then, add the following configuration to the above file. Replace 192.168.0.10 with your fully qualified domain, as per your requirement.
server {
  listen 80;
  server_name 192.168.0.10;
  root /opt/librenms/html;
  index index.php;

  charset utf-8;
  gzip on;
  gzip_types text/css application/javascript text/javascript application/x-javascript image/svg+xml text/plain text/xsd text/xsl text/xml image/x-icon;
  location / {
   try_files $uri $uri/ /index.php?$query_string;
  }
  location ~ [^/]\.php(/|$) {
   fastcgi_pass unix:/run/php-fpm-librenms.sock;
   fastcgi_split_path_info ^(.+\.php)(/.+)$;
   include fastcgi.conf;
  }
  location ~ /\.(?!well-known).* {
   deny all;
  }
}
Restart the Nginx and PHP-FPM service.
# Debian 11

sudo systemctl reload nginx php7.4-fpm

# Debian 10

sudo systemctl reload nginx php7.3-fpm
Enable command auto-completion for LibreNMS commands.
sudo ln -s /opt/librenms/lnms /usr/bin/lnms

sudo cp /opt/librenms/misc/lnms-completion.bash /etc/bash_completion.d/
Copy the cron job information to enable automatic discovery and polling for newly added devices.
sudo cp /opt/librenms/librenms.nonroot.cron /etc/cron.d/librenms
Copy logrotate configuration file to rotate the old logs.
sudo cp /opt/librenms/misc/librenms.logrotate /etc/logrotate.d/librenms
Setup LibreNMS
Open a web browser and then navigate it to the below URL.
Follow the web installer to set up LibreNMS.
1. By now, the Pre-Install Checks should be green.
2. Enter the database information in the Database Credentials form and then click Check Credentials.
3. Click Build Database to begin creating tables.
4. Enter the username, password, and email to Create Admin User.
5. Click validate your install on Finish Install.
Finally, log in to the LibreNMS monitoring tool with the admin account you created during the setup.
Upon successful login, you will see the configuration validation page with issues and fixes for them. Follow the steps mentioned in this to fix the configuration issues.
LibreNMS Dashboard: (Your dashboard may look like below after you have added devices and customized it)
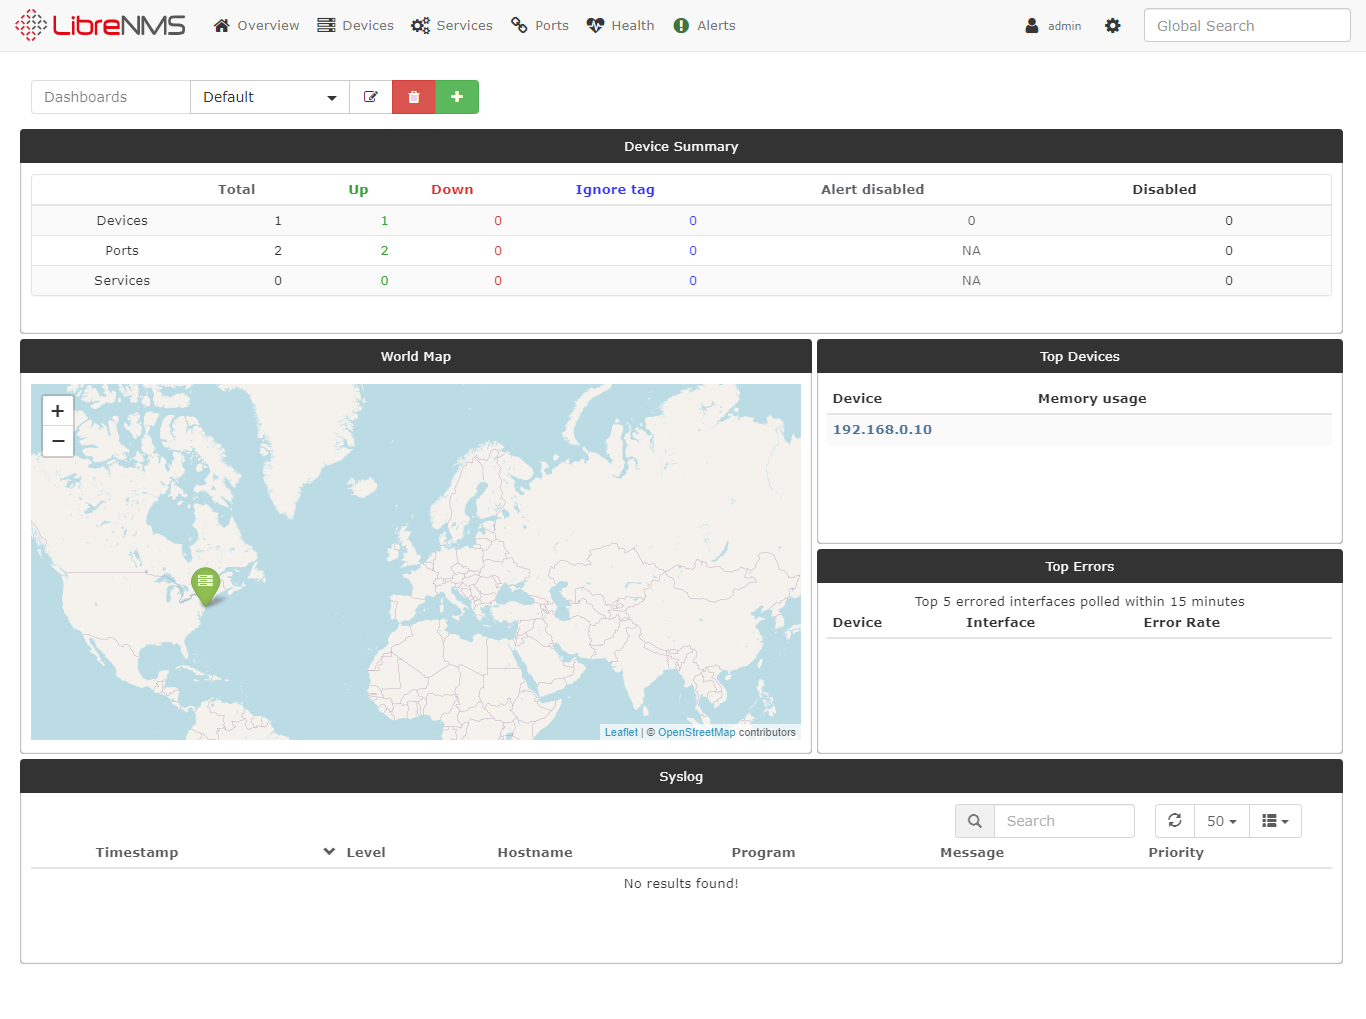
We recommend you add localhost (LibreNMS server) as your first device via the LibreNMS web interface. To add localhost or any system, you will need to install and configure SNMP.
So, follow the below guide to add localhost as well as other machines in LibreNMS.
READ: How to Add Devices to LibreNMS Monitoring Tool
Conclusion
That’s All. I hope you have learned how to install LibreNMS on Debian 11 / Debian 10. Additionally, you can move to read about the advanced setup of LibreNMS installation.