In this tutorial we will be looking how to configure kibana 4 with Nginx. On version 4, kibana can be started as a standalone service instead of configuring Nginx to serve kibana installation.
There are two advantages when we configure Kibana 4 with Nginx,
1. Kibana 4 normally listens on port 5601 and it is accessible through http:ip-add-ress:5601. With Nginx, we can make kibana portal available on port 80 or 443; here we will configure Nginx with SSL for kibana to secure the communication between kibana and end user browser.
2. Kibana does not comes with any kind of password protected access to portal. With Nginx, we can configure in such a way that the user should fulfill authentication mechanism before entering to portal.
Install Nginx:
To install Nginx using yum we need to include the Nginx repository, install the Nginx repository.
# rpm -Uvh https://nginx.org/packages/centos/7/noarch/RPMS/nginx-release-centos-7-0.el7.ngx.noarch.rpm
Install the Nginx by issuing the following command.
# yum -y install nginx httpd-tools
Create a password file for basic authentication of http users, this is to enable the password protected access to kibana portal. Replace “raj” with your own user name.
# htpasswd -c /etc/nginx/conf.d/kibana.htpasswd raj
Configure Nginx:
Create a confiiguration file with the name kibana4.conf in /etc/nginx/conf.d directory.
# vi /etc/nginx/conf.d/kibana4.conf
Place the following content to the kibana4.conf file, assuming that both kibana and Nginx are installed on same server.
server {
listen      80;
server_name kibana.itzgeek.local;   ## Replace with your domain name
return 301 https://$server_name$request_uri;
}

server {
listen                *:443 ;
ssl on;
ssl_certificate /etc/pki/tls/certs/logstash-forwarder.crt;  ## Replace with your own certificate
ssl_certificate_key /etc/pki/tls/private/logstash-forwarder.key;  ## Replace with your own key
server_name           kibana.itzgeek.local; ## Replace with your domain name
access_log            /var/log/nginx/kibana.access.log;
error_log  /var/log/nginx/kibana.error.log;

location / {
auth_basic "Restricted";
auth_basic_user_file /etc/nginx/conf.d/kibana.htpasswd;
proxy_pass https://kibana.itzgeek.local:5601; ## Replace with your kibana instance
}
}
Restart the Nginx service.
# systemctl restart nginx.service
Configure SELinux;
I used to get a below errors in Nginx logs, SELinux is the one of the reason.
2015/04/09 15:01:20 [crit] 1190#0: *3 connect() to 127.0.0.1:5601 failed (13: Permission denied) while connecting to upstream
We can use the following command to generate the policy rules that would allow Nginx to connect upstream server.
# grep nginx /var/log/audit/audit.log | audit2allow -M nginx
# semodule -i nginx.pp
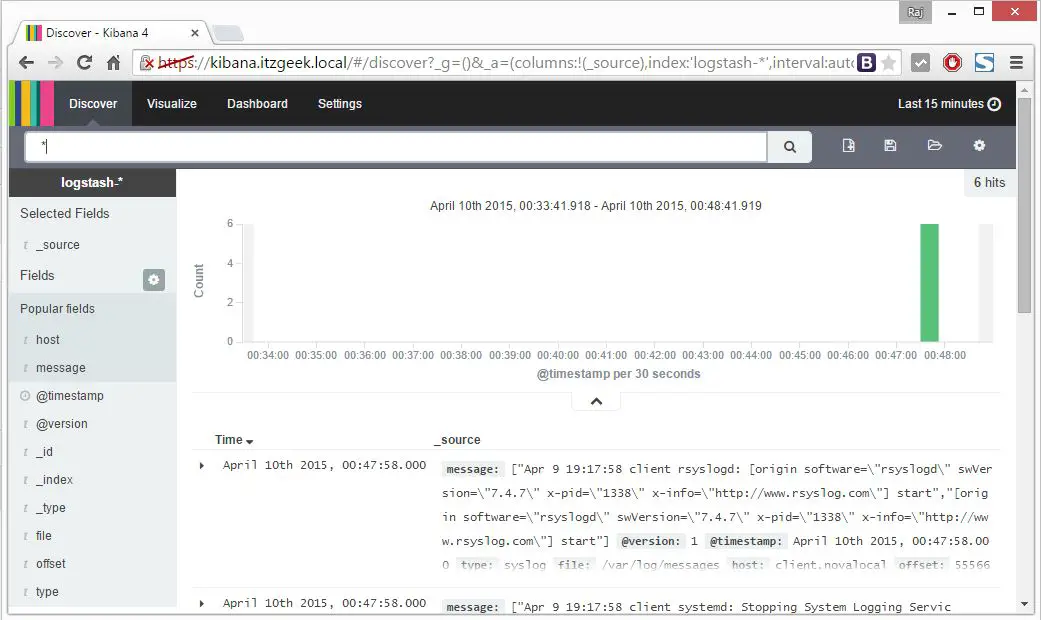
Access Kibana:
Now access kibana portal with FQDN (https://kibana.itzgeek.local), you will be redirected to secure version of FQDN; you may asked to trust the secure connection incase if you have used self signed certificate. Once you redirected https version of website, you would be asked to enter the user name and password that you have created earlier.
Or you can use ipaddress instead of FQDN.
https://your-ip-address
That’s All!, you have successfully configured Kibana with Nginx.