Rocky Linux 9 is the latest open-source enterprise operating system version from The Rocky Enterprise Software Foundation and will be supported until May 31, 2032.
Rocky Linux 9 is derived from the source of Red Hat Enterprise Linux 9, which was released on May 17, 2022.
It comes with Linux kernel 5.14, GNOME 40 as the default desktop environment, and XFS that supports Direct Access operations. You can read additional details about the release by visiting Rocky Linux 9.0 highlights.
Supported Architectures
The following architectures are supported. However, older CPUs may not work well.
- AMD and Intel 64-bit architectures
- The 64-bit ARM architecture
- IBM Power Systems, Little Endian
- 64-bit IBM Z
System Requirements
At least 2 GB RAM and 10 GB of free disk space are required to install Rocky Linux 9.
Download Rocky Linux 9
Click the below link to download Rocky Linux 9.
Choose the Rocky Linux DVD ISO image for the installation.
Install Rocky Linux 9
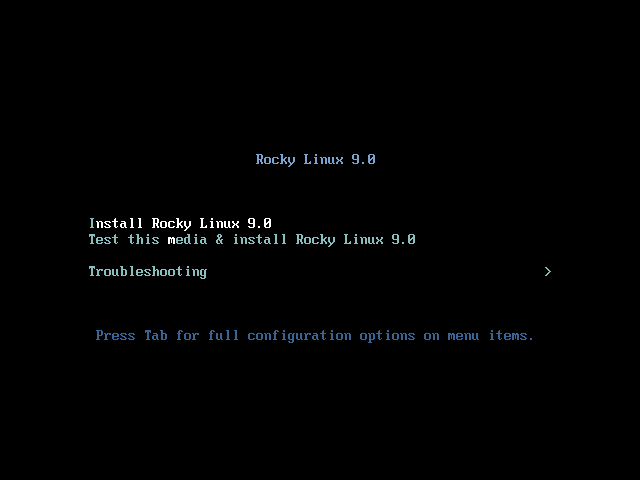
To begin, boot the DVD image, select Install Rocky Linux 9.0 from the menu, and then press enter.
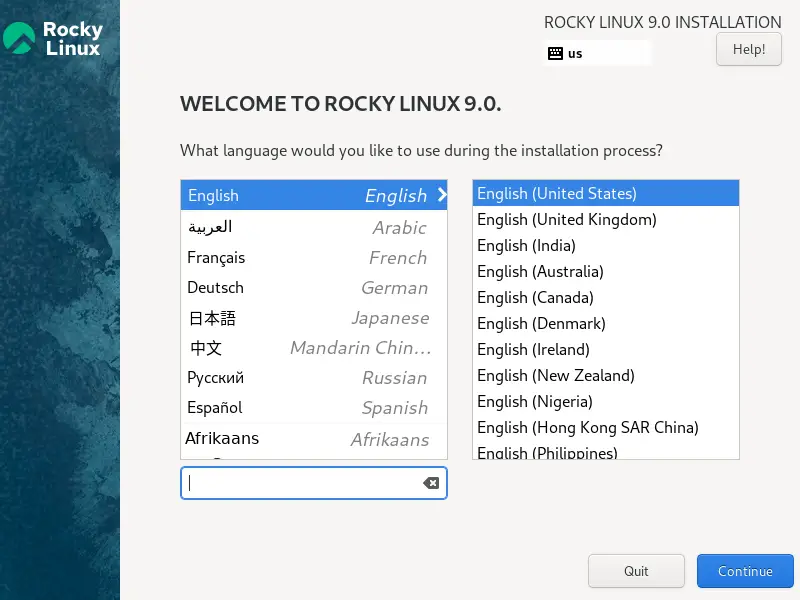
Select the language you want to use during the Rocky Linux 9 installation and click continue.
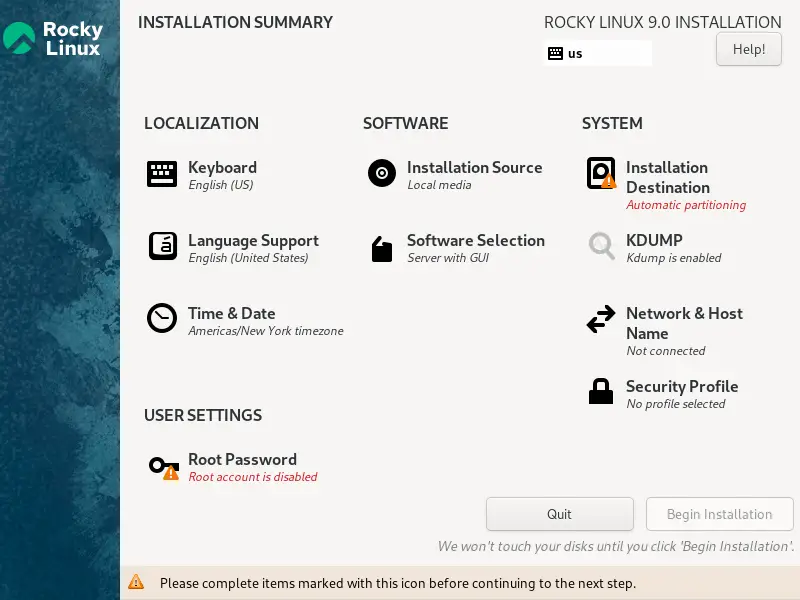
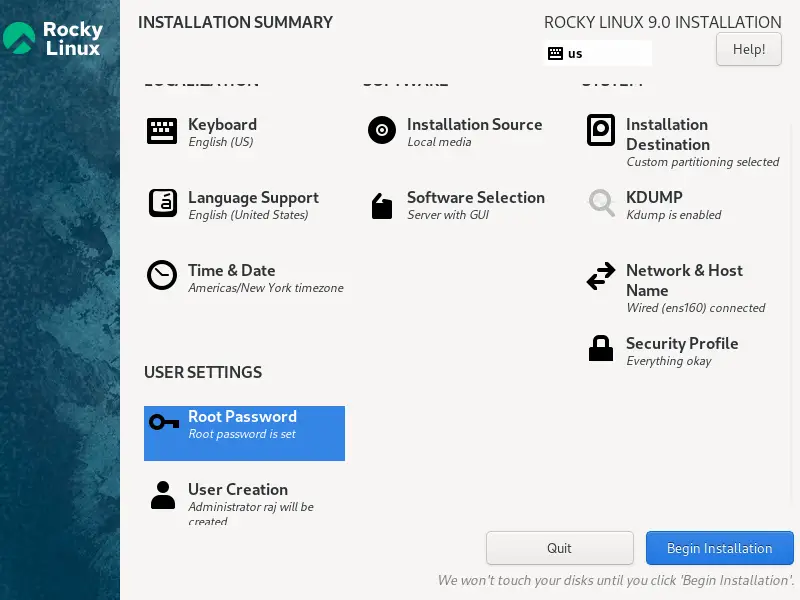
In the installation summary, look for warnings; you must clear them for Rocky Linux installation. You can customize the installation by changing their configuration by clicking on them.
Installation Configurations
Localization
- Keyboard
- Language Support
- Time & Date
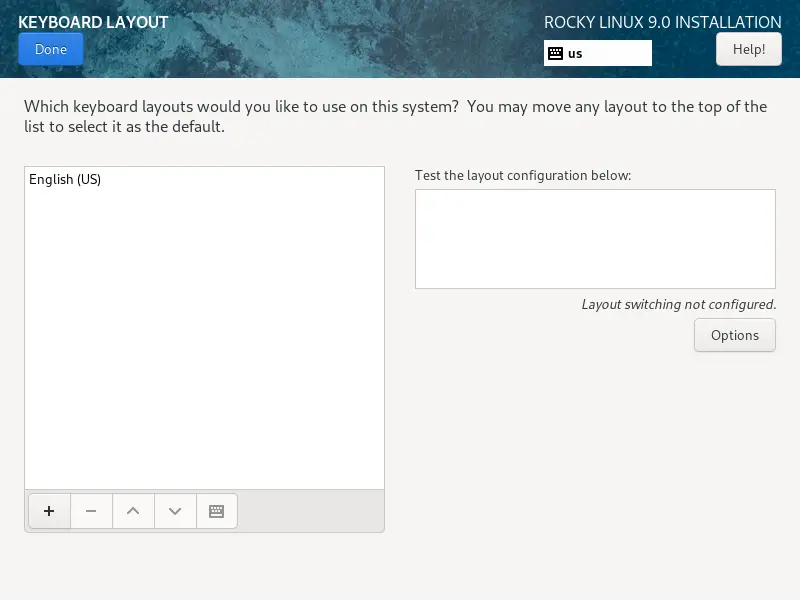
Keyboard
You can choose the keyboard layout you want to use on the system. The keyboard that tops the list will be the default.
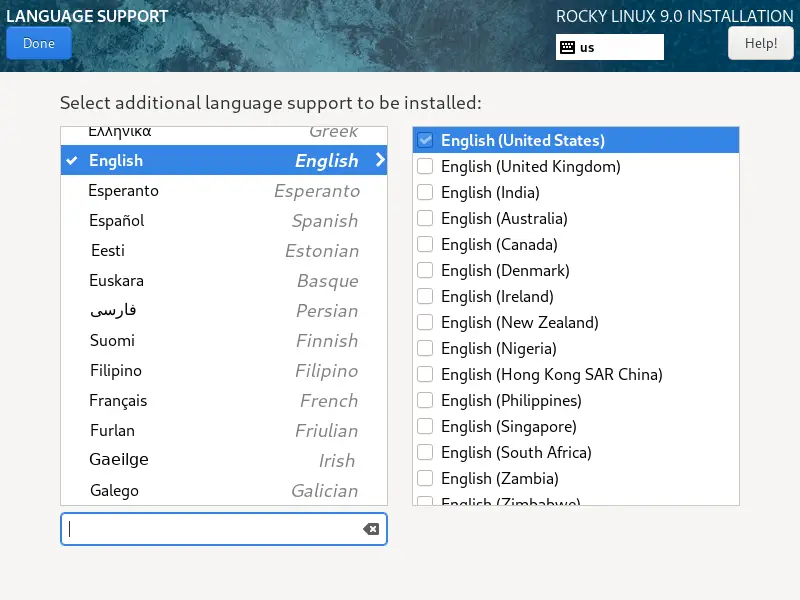
Language Support
You may also install additional language support if required.
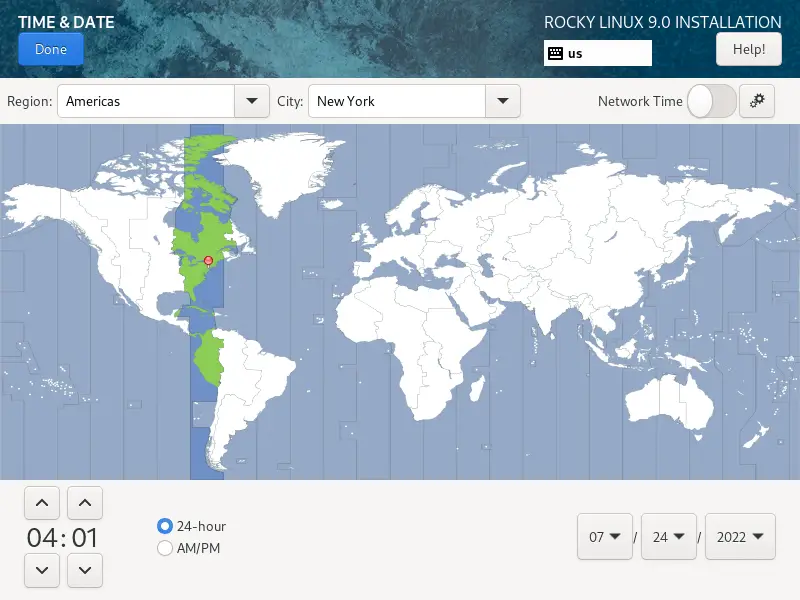
Time & Date
Click on time and date to change the Time, Date, and Timezone. You can also enable Network Time to sync the system time with NTP servers.
Software
- Installation Source
- Software Selection
Installation Source
Leave the installation source be Local Media.
Software Selection
Software Installation lets you customize the installation for your requirements. Five predefined installation types and custom operating systems are available for to decide.
- Server with GUI
- Server
- Workstation
- Minimal Install
- Custom Operating System (Need to choose software manually)
- Virtualization Host
Choose the one from the list suitable for your requirement, then click on done.

System
- Installation Destination
- Kdump
- Network & Host Name
- Security Policy
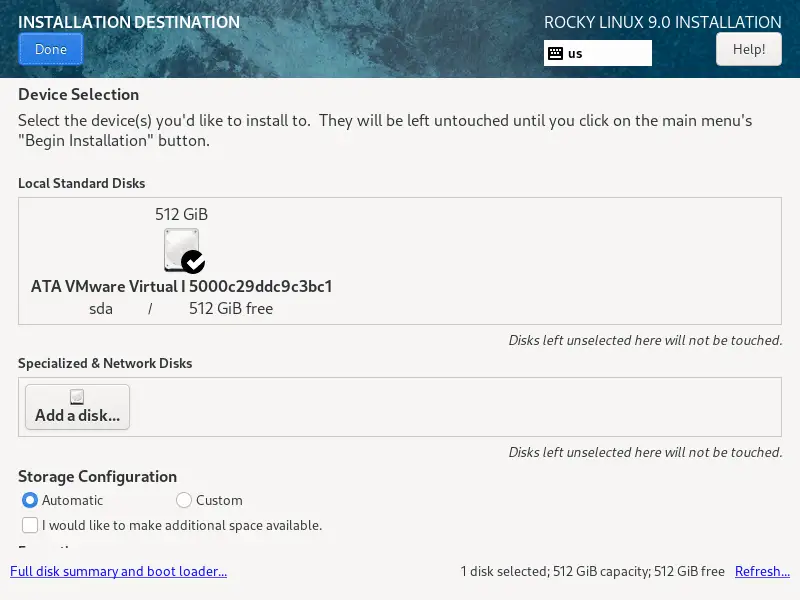
Installation Destination
Click on the installation destination to set up partitions for Rocky Linux installation. You may either let the system create partitions automatically or choose to create partitions manually.
Automatic Partition
Ensure Automatic Configuration is Automatic and click done.
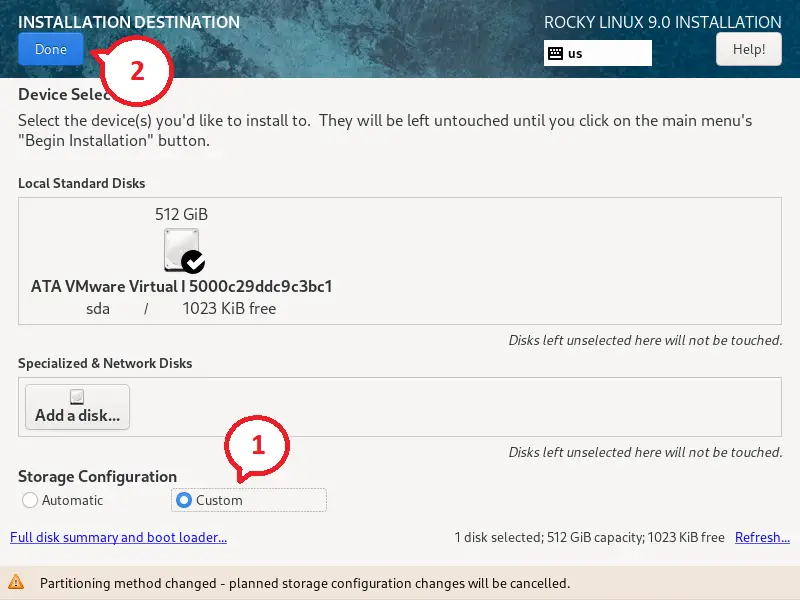
Manual Partition
I will manually create partitions (512 GB disk), as shown below.
/boot: 2 GB (xfs)
/home: 300 GB (xfs)
/ (root): 200 GB (xfs)
swap: 2 GB
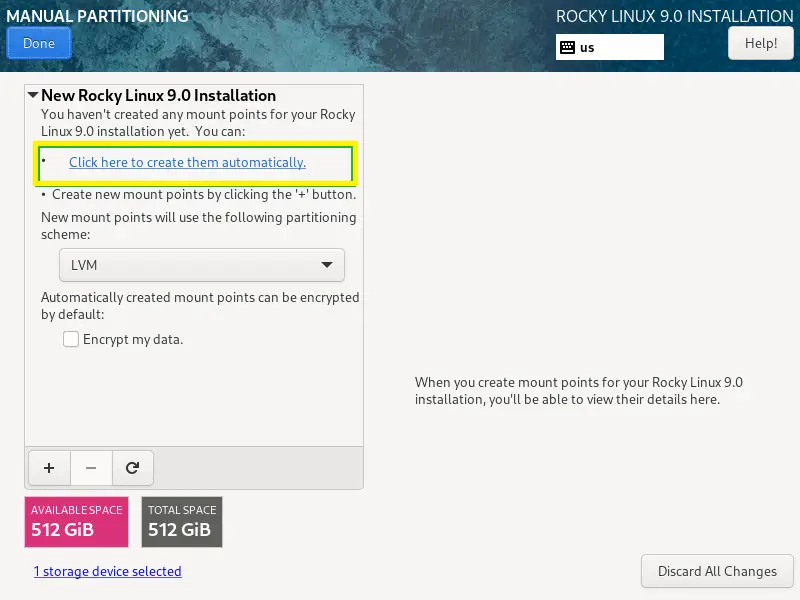
Ensure Automatic Configuration is Custom and click done.
Click on Click here to create them automatically to create portions automatically for our custom partition requirements.
The installer will create the partitions with the below sizes.
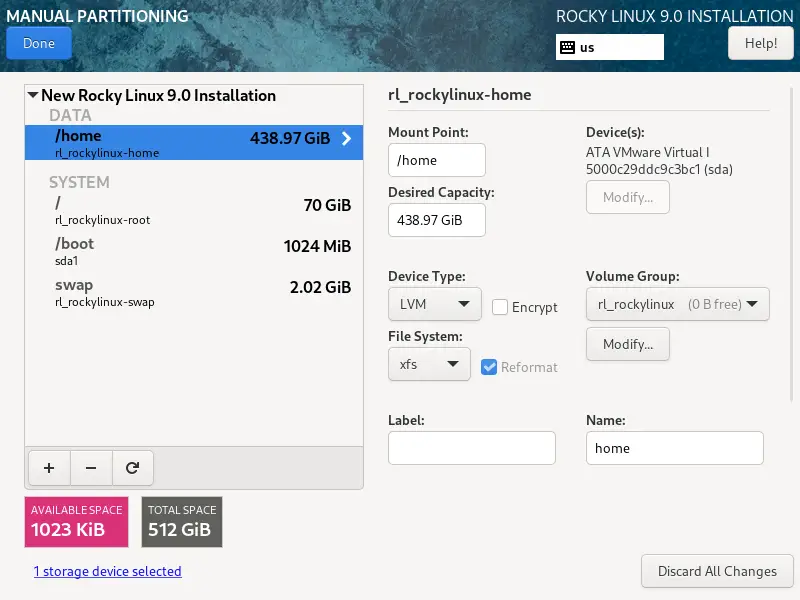
You can change the partition size by clicking on them by setting the desired capacity to match your requirement. You can create additional partitions by clicking the + sign.

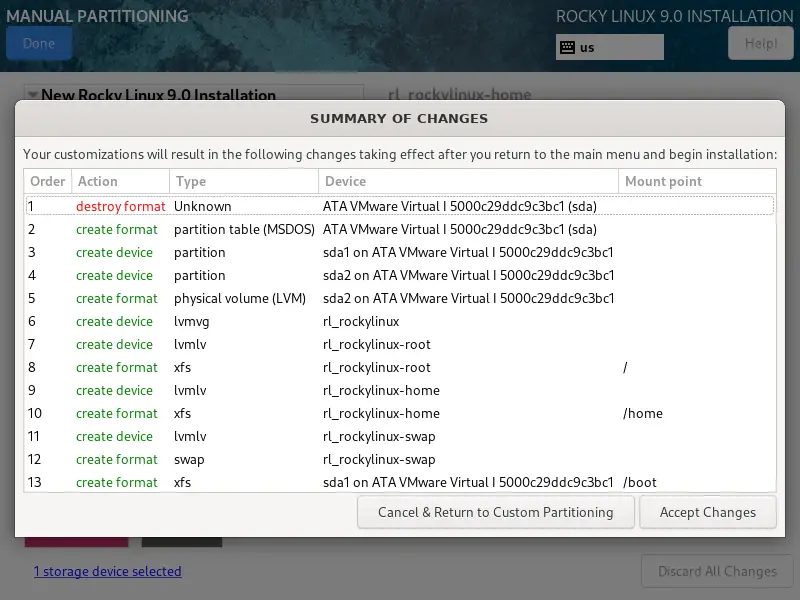
If you are okay with the partitioning, click done. Then, Accept Changes to create partitions.
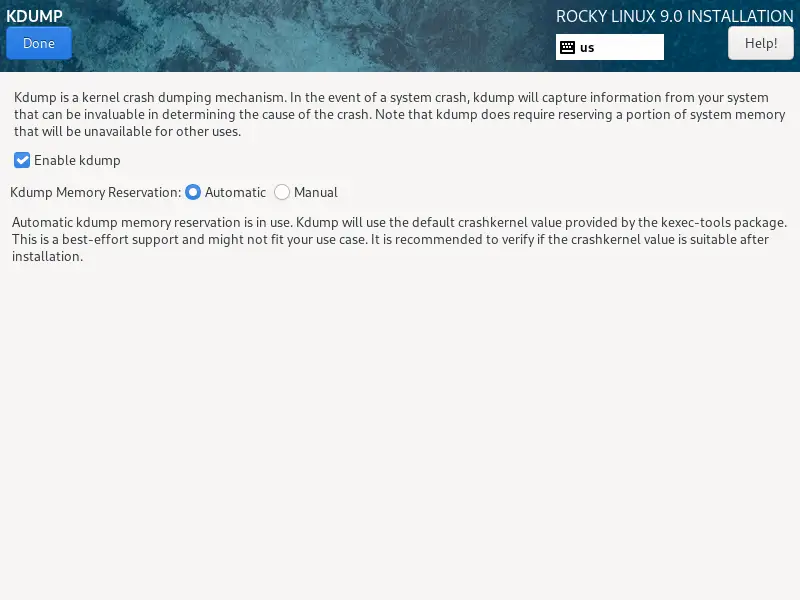
KDUMP
Keep the KDUMP enabled.
Network & Host Name
Click on the Network and Host Name to configure IP Address and set the hostname for your system.
Type the hostname in the Host Name field and click Apply.
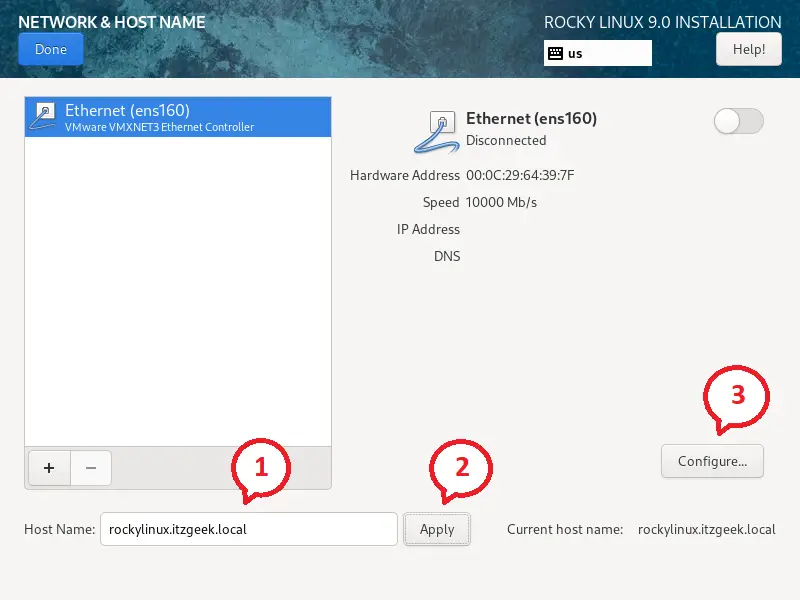
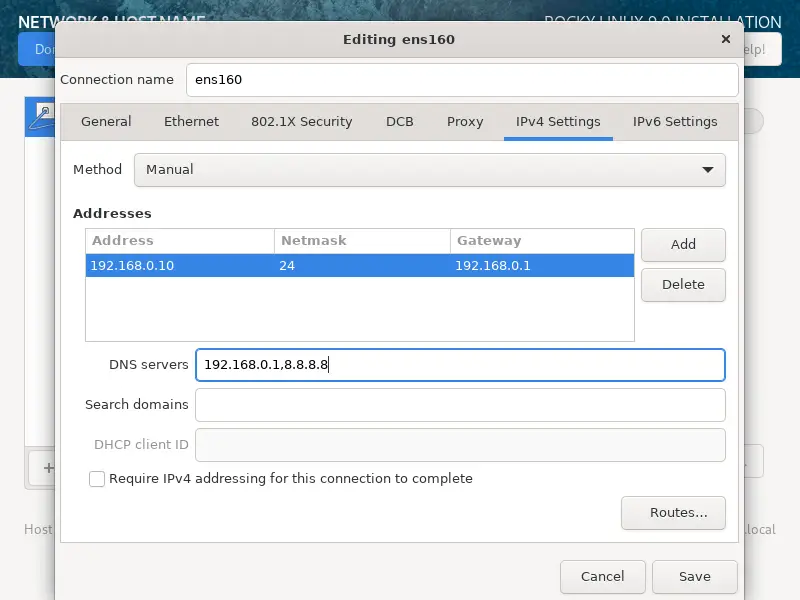
Then, click Configure to set up the IP Address.
Finally, enable the network connection by turning it on.

Security Profile
Optionally, you can attach a security profile to harden your system.

User Settings
- Root Password
- User Creation
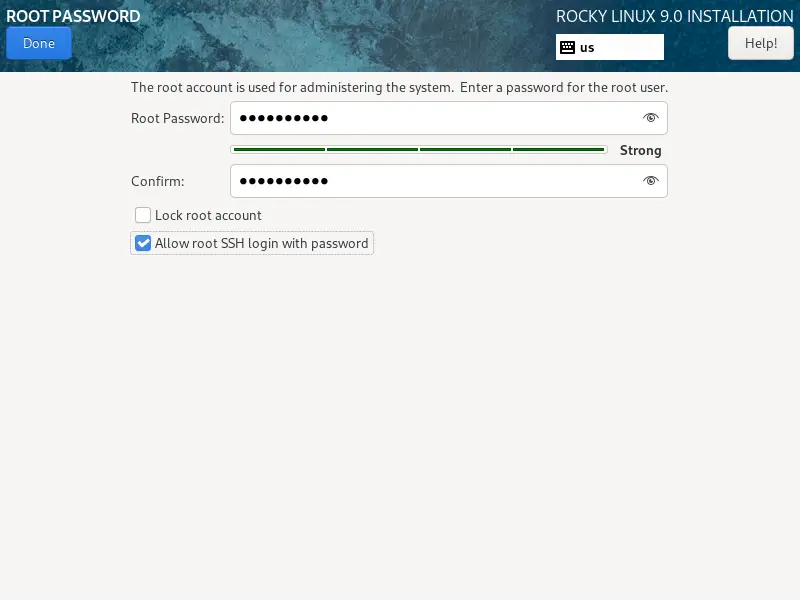
Root Password
By default, the root account is disabled. But, you can enable it by setting the root password. Also, you may allow the root user to log in remotely via SSH.
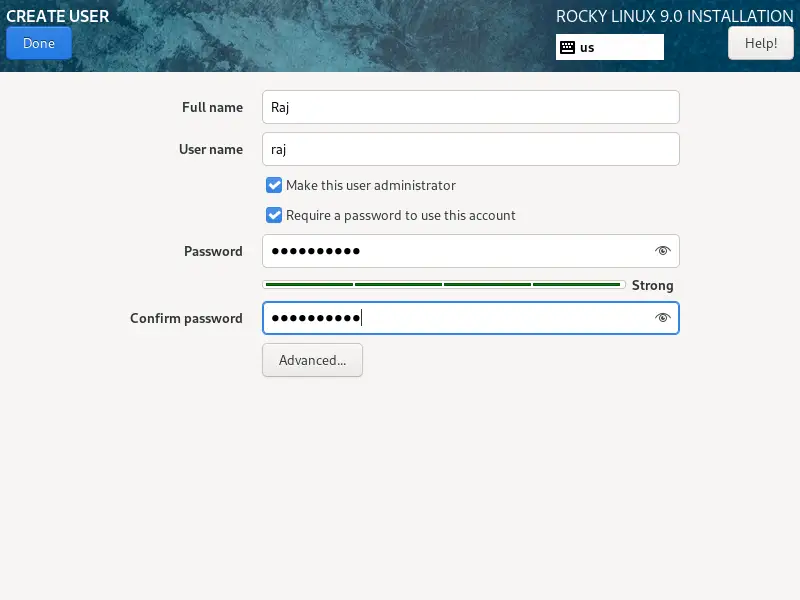
User Creation
Create a user for managing the system. Additionally, make this user administrator so you can run commands as the root user with sudo.
You should not see any warnings on the installation summary page anymore. Click Begin Installation to start the installation of Rocky Linux 9.
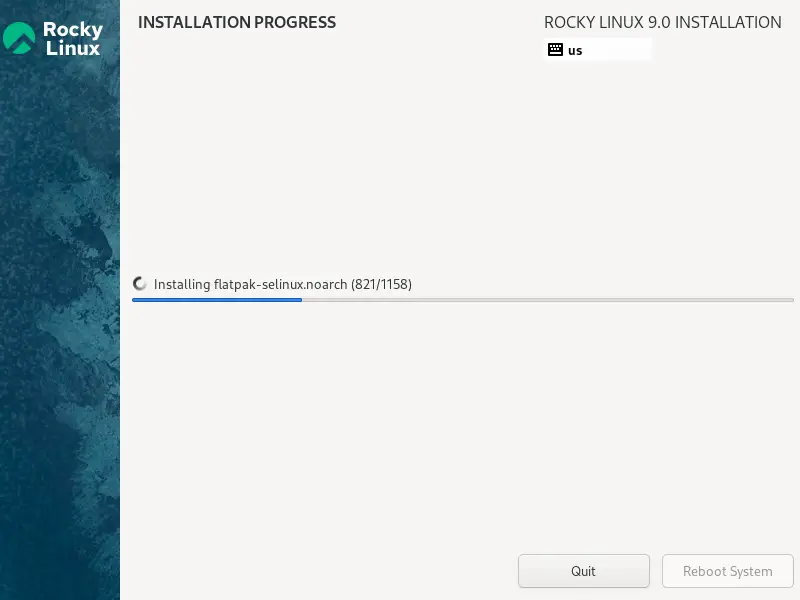
Then, wait for the installation to finish.
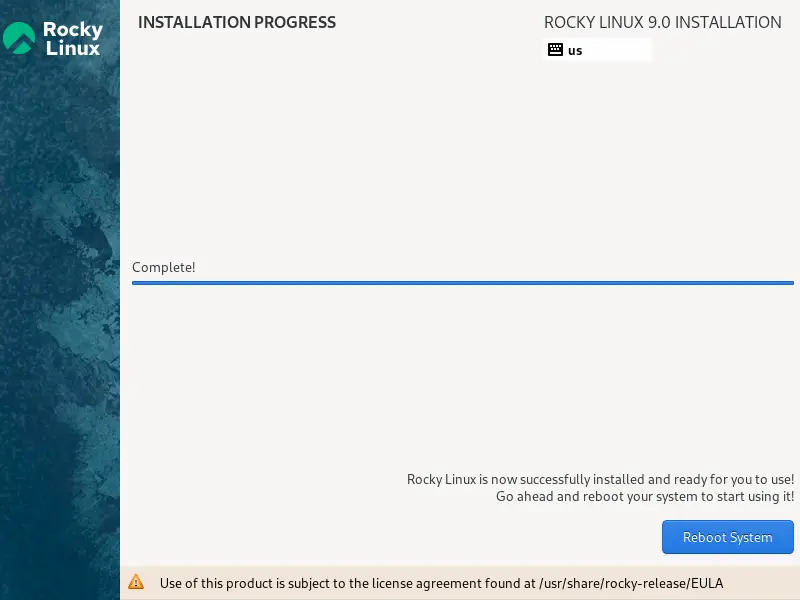
Once Rocky Linux 9 installation is completed, reboot the system.
Post Installation
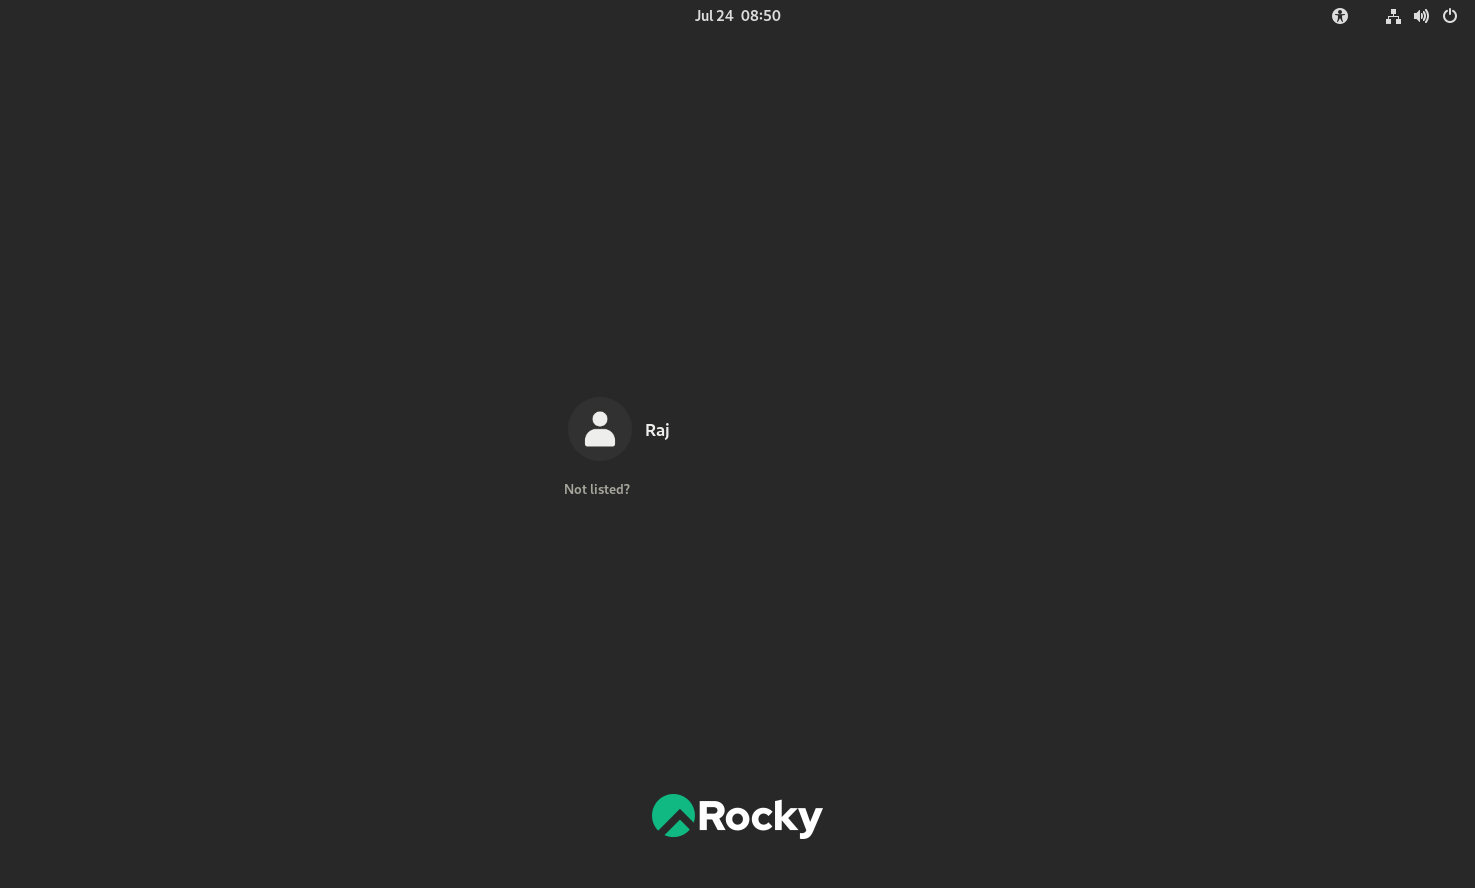
While the system boots, you will see Rocky linux menu screen like below.
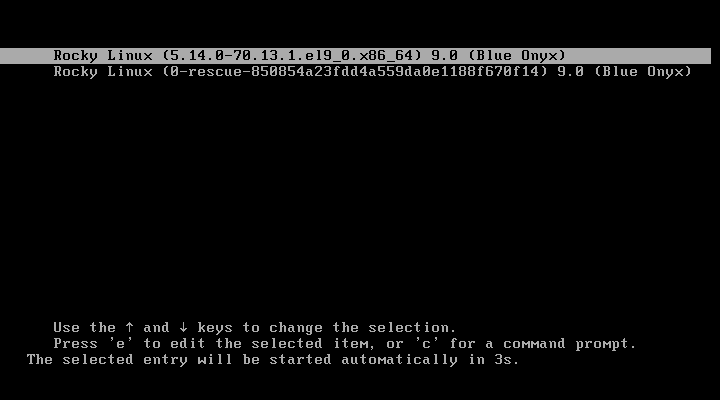
Choose the user and log in with the password.
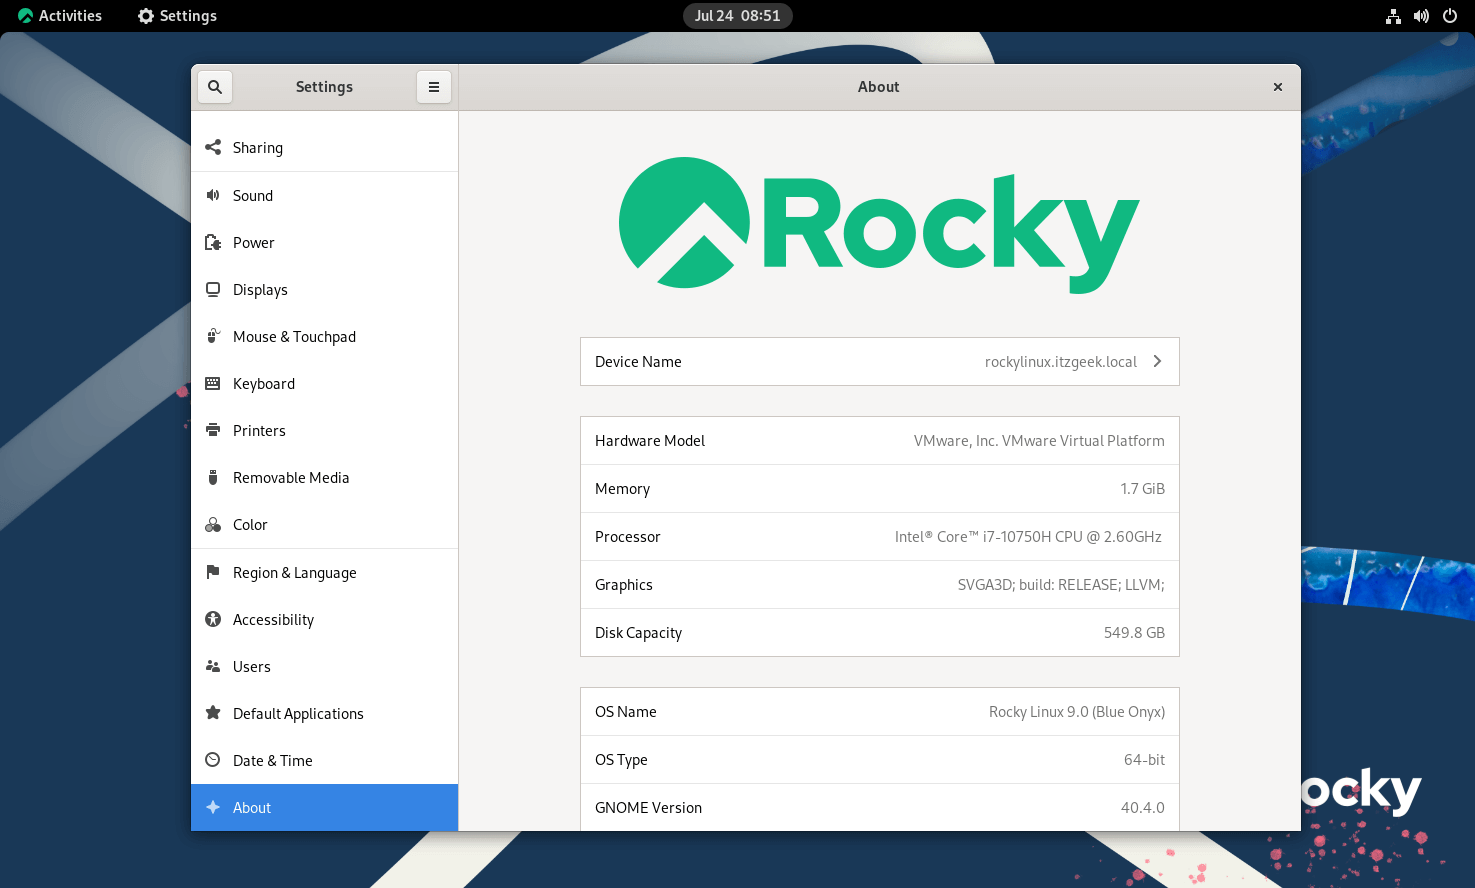
Finally, you will get a Rocky Linux 9 desktop interface.
Conclusion
That’s All. I hope you learned how to install Rocky Linux 9.