PyCharm is an integrated development environment for Python, web, and data science development. It provides a range of essential tools such as code analysis, a graphical debugger, an integrated unit tester, and integration with version control systems for Python developers.
PyCharm supports web frameworks: Django, web2py, and Flask in the professional edition. Additionally, the developers can extend PyCharm’s feature by installing the compatible plugins or writing their own plugins.
Here, we will see how to install PyCharm on Ubuntu 22.04 / Ubuntu 20.04.
System Requirements
- 4 GB free RAM
- 4 GB free disk space
- 1024×768 minimum screen resolution
- Python 2.7 / Python 3.6 to 4.11
Install PyCharm on Ubuntu 22.04 / Ubuntu 20.04
We can install PyCharm on Ubuntu using snap (the most straightforward way) or download and install it manually.
1. Install PyCharm Using Snap
First, install Pip on Ubuntu 22.04 for the Python virtual environment.
sudo apt update

sudo apt install -y python3-pip
Then, install PyCharm using the snap command.
sudo snap install pycharm-community --classic
The installation will take some time to complete.
After the installation, run the following command to validate the installation.
sudo snap list pycharm-community
Output:
Name               Version  Rev  Tracking       Publisher   Notes
pycharm-community  2022.1   276  latest/stable  jetbrains✓  classic
Now, you can launch PyCharm by going to Activities or through the command line.
2. Install PyCharm Using Offical Archive
First, install Pip on Ubuntu 22.04 for the Python virtual environment.
sudo apt update

sudo apt install -y python3-pip
Then, download the latest version of PyCharm from the official website through a web browser or run the below command to download PyCharm (v2022.1) in the terminal.
wget https://download-cdn.jetbrains.com/python/pycharm-community-2022.1.tar.gz
And then extract the downloaded package using the tar command and move the files to the /opt directory.
tar -zxvf pycharm-community-*.tar.gz

sudo mkdir /opt/pycharm-community/

sudo chmod 777 /opt/pycharm-community/

mv pycharm-community-*/* /opt/pycharm-community/
Next, link the executable to /usr/bin directory so that you can start PyCharm using the pycharm-community command from the terminal.
sudo ln -sf /opt/pycharm-community/bin/pycharm.sh /usr/bin/pycharm-community
Additionally, create a desktop entry to start PyCharm from the Activities menu.
sudo nano /usr/share/applications/pycharm-ce.desktop
Copy and paste the following content into the above file.
[Desktop Entry]
Version=1.0
Type=Application
Name=PyCharm Community Edition
Icon=/opt/pycharm-community/bin/pycharm.svg
Exec="/opt/pycharm-community/bin/pycharm.sh" %f
Comment=Python IDE for Professional Developers
Categories=Development;IDE;
Terminal=false
StartupWMClass=jetbrains-pycharm-ce
StartupNotify=true
Launch PyCharm
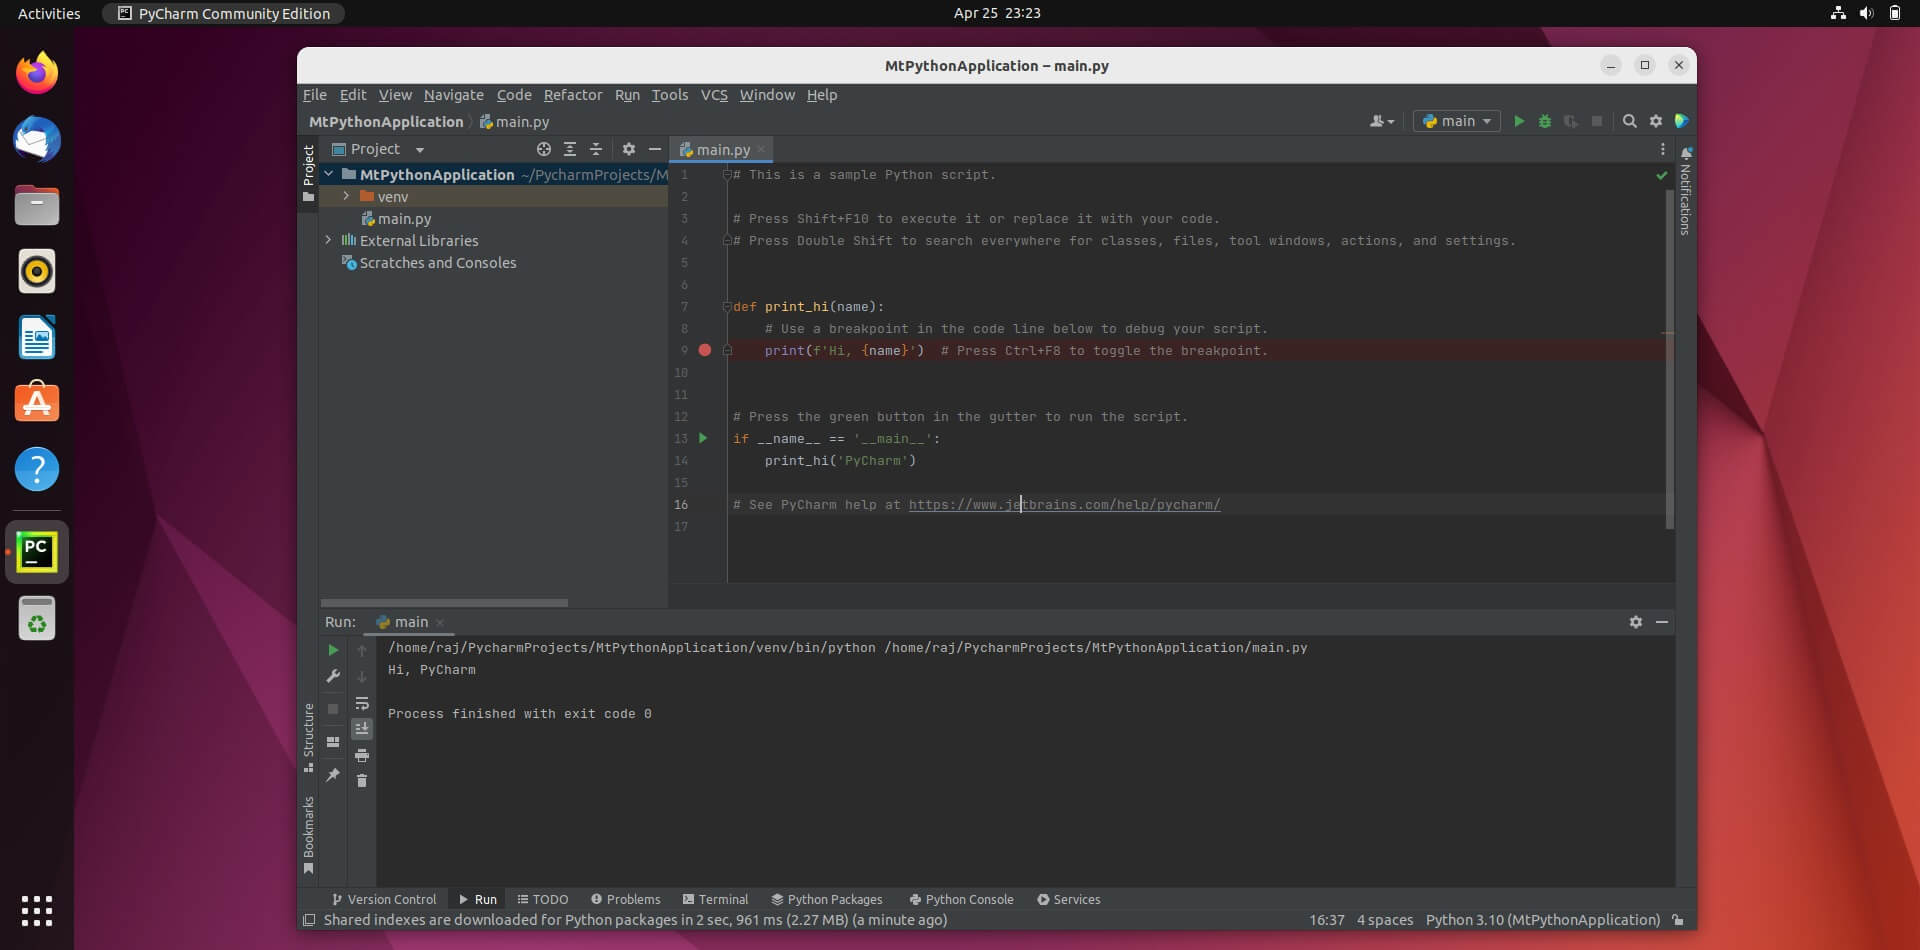
You can start IntelliJ IDEA by going to Activities >> Search for PyCharm Community Edition or running the pycharm-community command in the terminal.
When you start PyCharm for the first time, you will get a setup window, and you will need to,
1. Click the checkbox I confirm that I have read and accept the terms of this User Agreement and then click the Continue button.
2. Choose whether to Send Anonymous Statistics with JetBrains to improve its products or not.
Before you create a new or open a project,
3. Click Customize to change the theme, font, keymap, and other settings.
4. Click Plugins to install the plugins you need for your project.
5. You can choose to create a new or open an existing project or import a project from version control systems such as Git, GitHub, GitHub Enterprise, etc.
6. Set the location for the new project, Base interpreter (Python version), and other settings. Then, click Create.
Conclusion
That’s All. You have seen how to install PyCharm on Ubuntu 22.04 / Ubuntu 20.04. To get started with PyCharm, visit the PyCharm documentation.