VirtualBox guest additions are a collection of device drivers and software application packages shipped with Oracle VirtualBox. Installing Guest additions improve the guest operating system’s performance and extra features.
Guest Addition provides seamless mouse support, file transfer between the host and the VM, VM screen resolution will match the size of the VirtualBox window, automated guest login using credentials from a master login system, and many more.
Here, we will see how to install VirtualBox guest additions on Ubuntu 22.04.
Prerequisites
Before installing Guest additions, install the build tools and kernel headers for the current kernel.
sudo apt update

sudo apt install -y build-essential linux-headers-$(uname -r)
Install Guest Additions on Ubuntu 22.04
VirtualBox guest additions are stored in an ISO file VBoxGuestAdditions.iso inside the VirtualBox installation directory. To install the Guest additions, you need to mount the ISO image in your VM.
Install VirtualBox Guest Additions Using Terminal
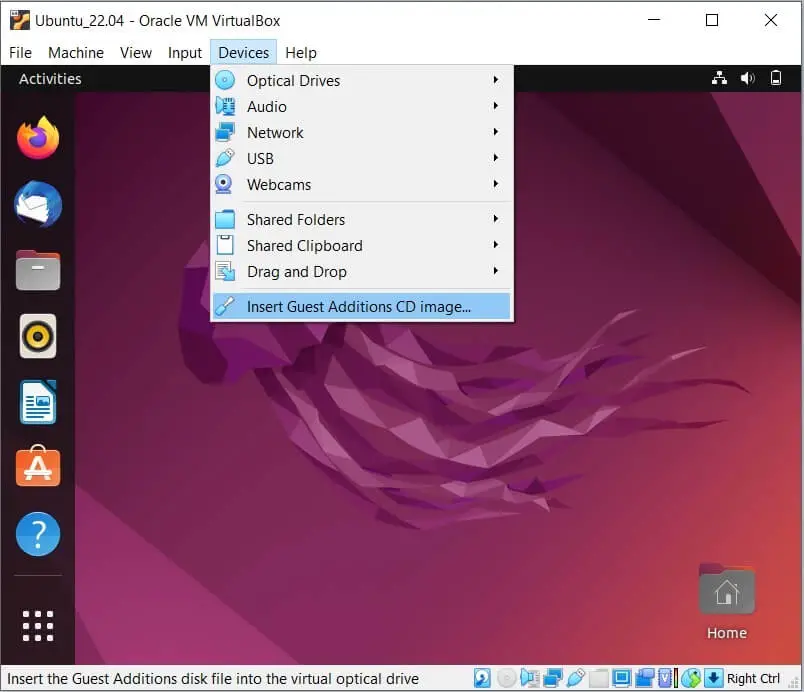
Go to Devices>>> Insert Guest Additions CD Image on the VM window.

First, mount the ISO image to the /media directory.
sudo mount /dev/cdrom /media
Then, execute the VirtualBox guest addition installer.
cd /media

sudo ./VBoxLinuxAdditions.run
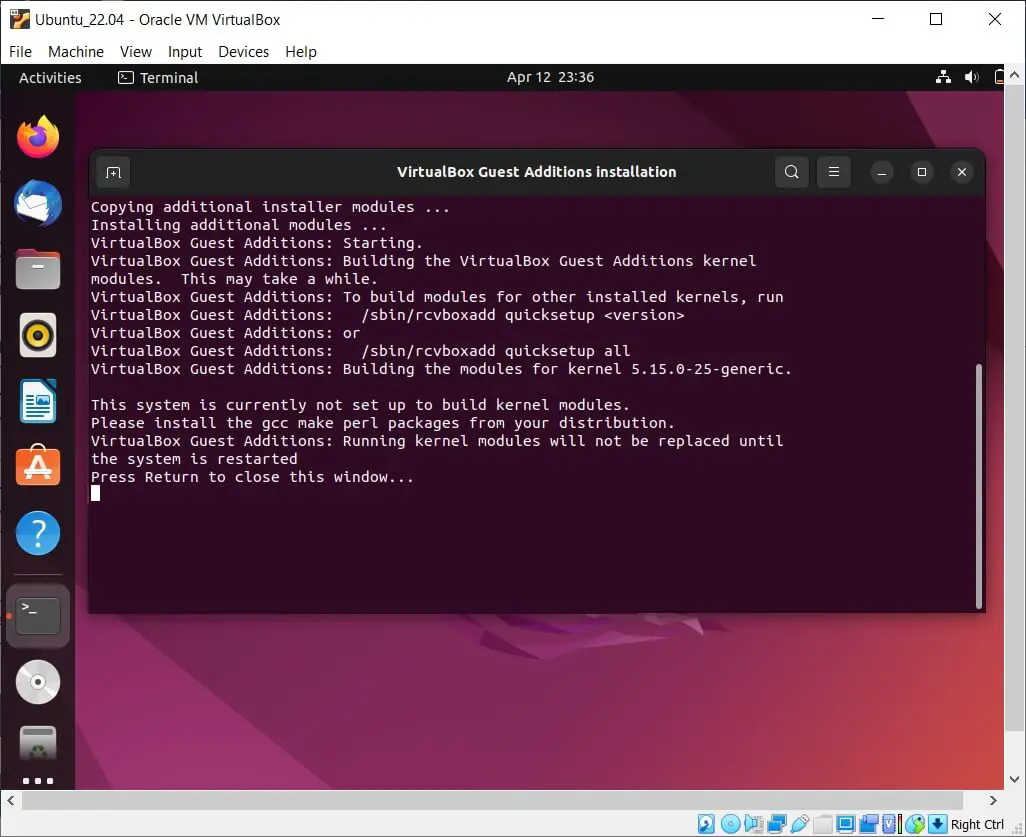
Even before the installation gets complete, your system will get a full-screen view which confirms that the installation is successful.
Finally, you may reboot the system to complete the installation.
sudo reboot
If your VM guest screen resolution doesn’t change to the size of the VirtualBox window, try clicking maximize and minimize the button of the VM window.
Install VirtualBox Guest Additions using Graphical Interface
Go to Devices » Insert Guest Additions CD Image on the VM window.
As soon as you attach the guest additions image to a VM, you will get a prompt to run the automatic installation. Click Run.
OR
Files >> CD Drive (VBOX_GAs_6.1.32) >> autorun.sh (Right-click) >> Run as a Program.
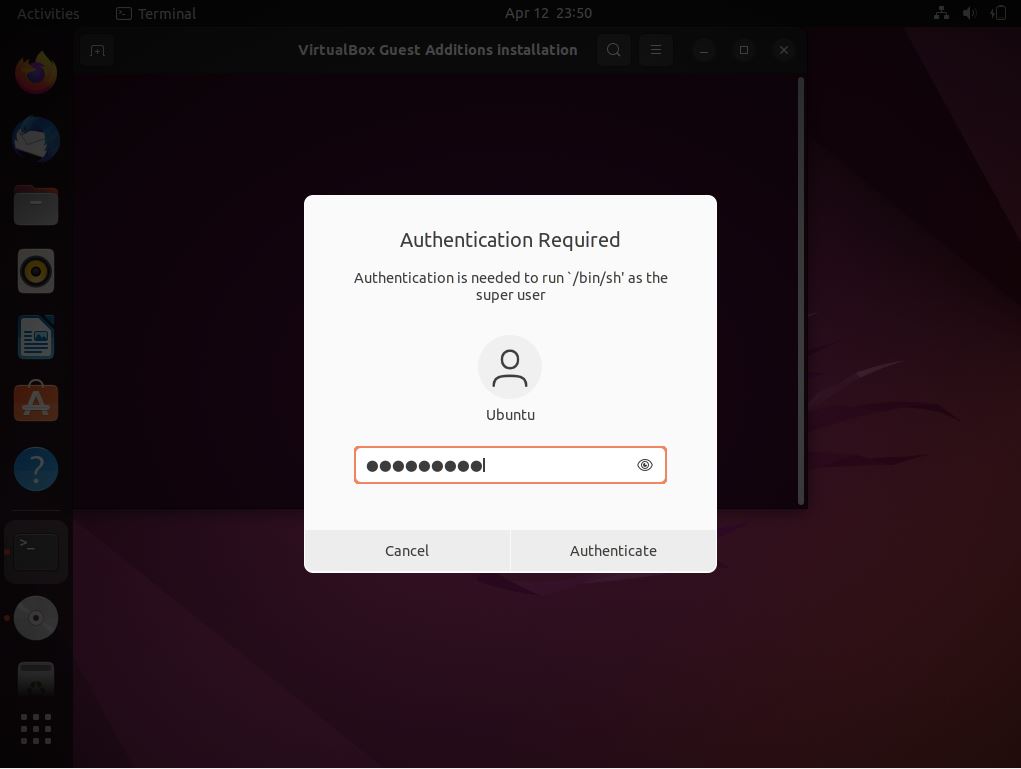
Next, you will get a window to enter a password to authorize the installation.
Even before the installation gets complete, your system will get a full-screen view which confirms that the installation is successful.
Finally, you may reboot the system to complete the installation.
If your VM guest screen resolution doesn’t change to the size of the VirtualBox window, try clicking maximize and minimize the button of the VM window.
Conclusion
That’s All. I hope you have installed guest additions on Ubuntu 20.04. Please share your feedback in the comments section.