VMware Workstation is a widely used virtualization software that permits users to run multiple x86 and x86-64 virtual machines on a desktop or laptop.
Each virtual machine runs an isolated operating system environment, including Windows, Linux, and BSD variants, and uses a portion of your system processor and memory.
Here, we will see how to install VMware Workstation Pro 16 on Ubuntu 22.04 / Ubuntu 20.04.
Install Build Tools
First, update the repository index.
sudo apt update
Then, install the build tools for VMware Workstation installation.
sudo apt install -y gcc build-essential
And then reboot the system.
sudo reboot
Install VMware Workstation Pro on Ubuntu 22.04
Now, download VMware Workstation Pro via a web browser and then go to the Downloads directory and make the VMware installer an executable.
cd ~/Downloads

sudo chmod 700 VMware-Workstation-Full-*.bundle
Next, run the VMware Workstation installer using the below command.
sudo ./VMware-Workstation-Full-*.bundle
The installer will start extracting files and then install the VMware Workstation.
Output:
Extracting VMware Installer...done.
Installing VMware Workstation 16.2.1
    Configuring...
[######################################################################] 100%
Installation was successful.
If you get a warning/error message something like the below during the installation, follow the given steps.
2022-04-12T03:56:42.463Z In(05) host-7035 261 | uint8 id[]) // IN: PVN ID to use (NULL if allocPvn == FALSE)
2022-04-12T03:56:42.463Z In(05) host-7035 | ~~~~~~^~~~
2022-04-12T03:56:42.463Z In(05) host-7035 /tmp/modconfig-5Zs2Ch/vmnet-only/hub.c:68:37: note: previously declared as ‘uint8[20]’ {aka ‘unsigned char[20]’}
2022-04-12T03:56:42.463Z In(05) host-7035 68 | uint8 id[VNET_PVN_ID_LEN]);
2022-04-12T03:56:42.463Z In(05) host-7035 | ~~~~~~^~~~~~~~~~~~~~~~~~~
2022-04-12T03:56:42.463Z In(05) host-7035 Skipping BTF generation for /tmp/modconfig-5Zs2Ch/vmnet-only/vmnet.ko due to unavailability of vmlinux
2022-04-12T03:56:42.463Z In(05) host-7035 Unable to install all modules. See log for details.
Execute the series of commands to install VMware Workstation modules.
VMWARE_VERSION=workstation-16.2.3
TMP_FOLDER=/tmp/patch-vmware
rm -fdr $TMP_FOLDER
mkdir -p $TMP_FOLDER
cd $TMP_FOLDER
sudo apt install git -y
git clone https://github.com/mkubecek/vmware-host-modules.git
cd $TMP_FOLDER/vmware-host-modules
git checkout $VMWARE_VERSION
git fetch
make
sudo make install
sudo rm /usr/lib/vmware/lib/libz.so.1/libz.so.1
sudo ln -s /lib/x86_64-linux-gnu/libz.so.1 /usr/lib/vmware/lib/libz.so.1/libz.so.1
Credit: Ask Ubuntu
Sign VMware Modules (UEFI Systems) on Ubuntu 22.04
On EFI secure boot systems, you will need to sign VMware modules (vmmon and vmnet) for VMware Workstation. For signing the modules, you will need to have a machine owner key (MOK) that is trusted by EFI firmware.
If you have the MOK created earlier, you can skip this step and go directly to sign the VMware modules using the existing key.
First, generate the MOK (Machine Owner Key).
sudo apt install -y openssl

sudo mkdir -p /misc/sign-vmware-modules

sudo chmod 777 /misc/sign-vmware-modules

cd /misc/sign-vmware-modules

openssl req -new -x509 -newkey rsa:2048 -keyout MOK.priv -outform DER -out MOK.der -nodes -days 36500 -subj "/CN=MSI/"

chmod 600 MOK.priv
Then, import the generated key to the system. This command will prompt you to set the password, which you will need later while enrolling the key.
sudo mokutil --import MOK.der
Create a script /misc/sign-vmware-modules/signingscript to sign all the VMware modules using the MOK.
#!/bin/bash

for modfile in $(modinfo -n vmmon vmnet); do
  echo "Signing $modfile"
  /usr/src/linux-headers-$(uname -r)/scripts/sign-file sha256 \
                                /misc/sign-vmware-modules/MOK.priv \
                                /misc/sign-vmware-modules/MOK.der "$modfile"
done
Then, change the ownership of the script and run it. You can run this script whenever you update the system.
chmod 700 /misc/sign-vmware-modules/signingscript

sudo /misc/sign-vmware-modules/signingscript
Reboot the system and then press any key to start the MOK management utility
1. Choose Enroll MOK
2. Choose View Key 0 to check the Machine Owner Key. If the key is OK, press enter and then select Continue
3. Choose Yes to enroll the key(s) and then enter the password you supplied during the import
4. Finally, choose Reboot to reboot the system
Launch VMware Workstation Pro
You can start the VMware Workstation by going to Activities >> Search for VMware Workstation or using the vmware command.
1. Select I accept the terms in the license agreement and click Next on VMware Workstation – End User License Agreement.
2. Select I accept the terms in the license agreement and click Next on VMware OVF Tool component for Linux – End User License Agreement.
3. Choose whether VMware can check for product updates on startup and click Next.
4. Decide whether to join the VMware Customer Experience Improvement Program (CEIP) or not and click Next.
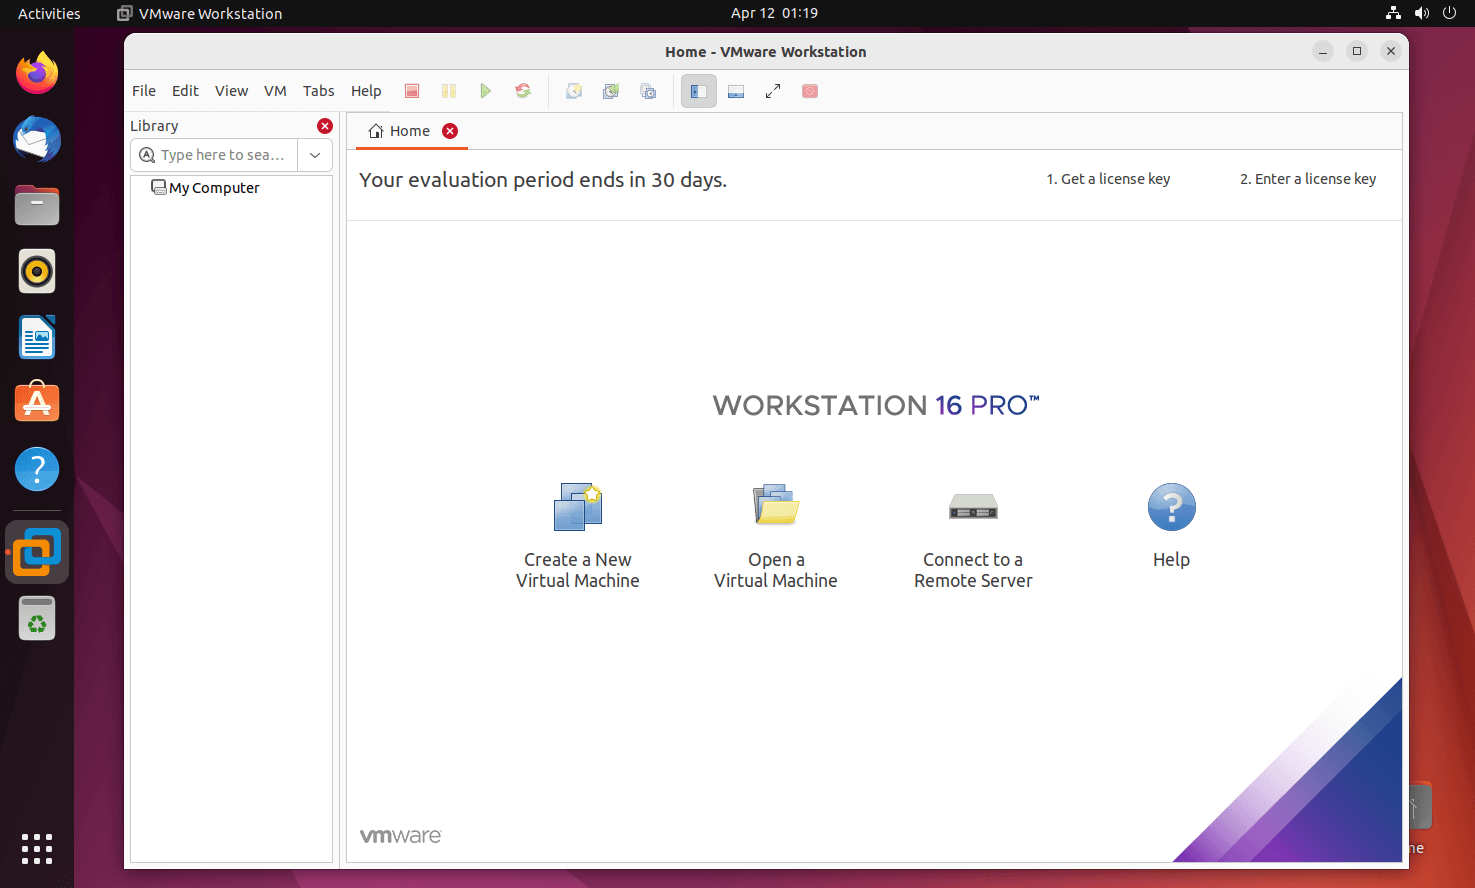
5. Enter the license key in the box below I have a license key for VMware Workstation, or try VMware Workstation 16 for 30 days. Click Finish to proceed.
6. You may need to enter the password of your account to complete the setup.
You will now get the home of VMware Workstation Pro. Here you can create and manage Virtual Machines.
Conclusion
That’s All. I hope you have learned how to install VMware Workstation Pro 16 on Ubuntu 22.04 / Ubuntu 20.04.