Apache NetBeans is an integrated development environment (IDE) that helps develop applications in Java, PHP, and many other programming languages. It also supports different languages, such as C/C++, JavaScript, and HTML5, via extensions.
Apache NetBeans IDE is available for Windows, Linux, and macOS operating systems.
Here, we will see how to install Apache NetBeans on Ubuntu 22.04 / Ubuntu 20.04.
Install Java JDK
NetBeans IDE installation requires JDK 11 or JDK 17 to be available on the system. So, either install Oracle Java JDK or OpenJDK for Apache NetBeans installation.
Here, I will install OpenJDK 11 for NetBeans installation.
sudo apt update

sudo apt install -y openjdk-11-jdk
Once the OpenJDK installation is complete, check the JDK version using the below command.
java -version
Output:
openjdk version "11.0.15" 2022-04-19
OpenJDK Runtime Environment (build 11.0.15+10-Ubuntu-0ubuntu0.22.04.1)
OpenJDK 64-Bit Server VM (build 11.0.15+10-Ubuntu-0ubuntu0.22.04.1, mixed mode, sharing)
Install Apache NetBeans on Ubuntu 22.04/20.04
You can install Apache NetBeans on Ubuntu using snap (the most straightforward way) or download the Apache NetBeans archive package and install it manually.
1. Install Apache NetBeans Using Snap
Apache NetBeans is available as a snap package. So, install NetBeans IDE using Snap.
sudo snap install netbeans
After the installation, validate it with the below command
sudo snap list netbeans
Output:
Name      Version  Rev  Tracking       Publisher         Notes
netbeans  13       58   latest/stable  apache-netbeans✓  classic
Now, you can launch NetBeans IDE from Activities or the command line.
2. Install Apache NetBeans Using the Official Archive
Apache Software Foundation releases Apache NetBeans four times a year. You can download the latest version of Apache NetBeans from Apache Software Foundation website via browser or use the following command to download the Apache NetBeans v13 using a terminal.
wget https://dlcdn.apache.org/netbeans/netbeans-installers/13/Apache-NetBeans-13-bin-linux-x64.sh
First, set the executable permission to the Apache NetBeans installer.
chmod 700 Apache-NetBeans-*-bin-linux-x64.sh
Then, run the NetBeans installer.
sudo ./Apache-NetBeans-*-bin-linux-x64.sh
The Apache NetBeans installer will start the graphical installer, and you need to follow the instructions shown in the installer wizard.
1. Customize the installation packs and runtimes or Click Next.2. Click the checkbox to accept the terms in the license agreement and then click Next.
3. Choose the Apache NetBeans installation directory and select JDK for Apache NetBeans. You do not have to choose them manually; the installer will detect the installation folder and the location of JDK automatically.
4. Optionally, you can allow NetBeans to Check for Updates of installed plugins. Then click Install to begin the NetBeans IDE installation.
5. The installation will take a while. Finally, click Finish to complete the installation.
After the installation, execute the below command to start the NetBeans IDE with the netbeans command in the terminal.
sudo ln -sf /usr/local/netbeans-13/netbeans/bin/netbeans /usr/bin/netbeans
Launch Apache NetBeans IDE
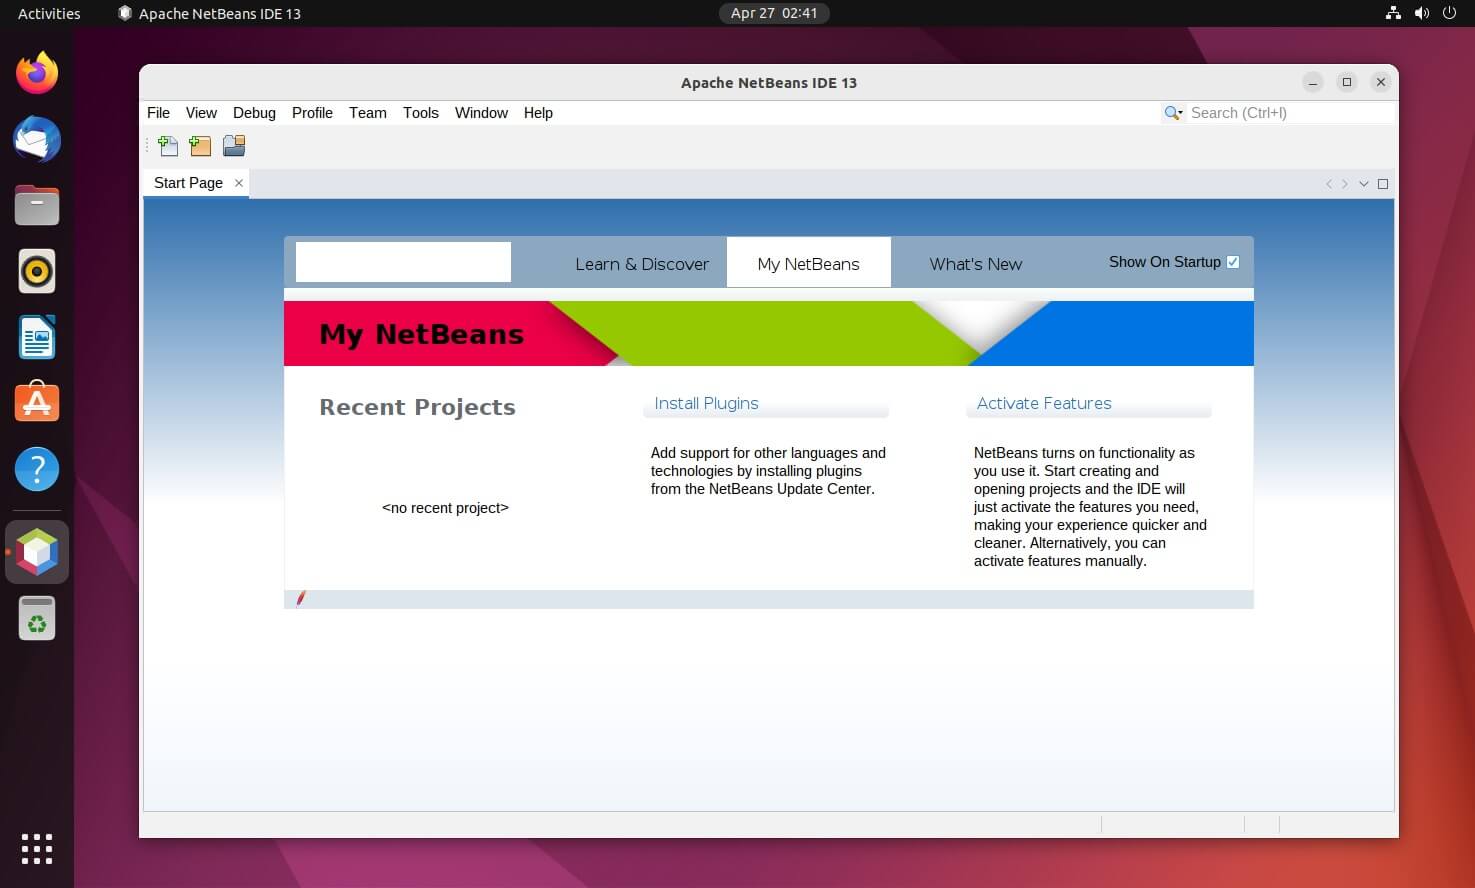
Start the Apache Netbeans on Ubuntu by going to Activities >> search for Apache NetBeans or with the netbeans command.
Conclusion
That’s all. I hope you have learned how to install Apache NetBeans on Ubuntu 22.04 / Ubuntu 20.04. You can now head to the NetBeans IDE documentation page to get started with Java and PHP / HTML applications development.