This document is depreciated. Please use the below link for the updated documentation.
How To Install Ruby on Rails on CentOS 8 / RHEL 8
How To Install Ruby on Rails on CentOS 7 / RHEL 7
Ruby on Rails® is an open-source web framework that provides a way to create a highly powerful web applications.
This tutorial will show you how to install ruby on rails on Ubuntu 16.04 / CentOS 7 / Fedora 26 using rbenv.
Table of Contents:
3. Install Ruby
Prerequisites
Before installing Ruby, you must install the dependent packages. As said earlier, we will be using rbenv. rbenv provides an easy way to install and manage the versions of Ruby, and it is simpler than RVM.
### Ubuntu / Debian ###

$ sudo apt-get install git-core curl zlib1g-dev build-essential libssl-dev libreadline-dev libyaml-dev libsqlite3-dev sqlite3 libxml2-dev libxslt1-dev libcurl4-openssl-dev python-software-properties libffi-dev

### CentOS / Fedora ###

# yum install git-core zlib zlib-devel gcc-c++ patch readline readline-devel libyaml-devel libffi-devel openssl-devel make bzip2 autoconf automake libtool bison curl sqlite-devel
Install rbenv
To install rbenv, you have to run these commands. When you run these commands, this will install rbenv into your home directory and will set appropriate environment variables that will allow rbenv to the active version of Ruby.
cd
git clone git://github.com/sstephenson/rbenv.git .rbenv
echo 'export PATH="$HOME/.rbenv/bin:$PATH"' >> ~/.bash_profile
echo 'eval "$(rbenv init -)"' >> ~/.bash_profile
exec $SHELL

git clone git://github.com/sstephenson/ruby-build.git ~/.rbenv/plugins/ruby-build
echo 'export PATH="$HOME/.rbenv/plugins/ruby-build/bin:$PATH"' >> ~/.bashrc
exec $SHELL
Reload environmental variables by logging out and back in.
OR
Run the below command.
source ~/.bash_profile
source ~/.bashrc
Verify that rbenv is correctly setup.
curl -fsSL https://github.com/rbenv/rbenv-installer/raw/master/bin/rbenv-doctor | bash
Output:
Checking for `rbenv' in PATH: /root/.rbenv/bin/rbenv
Checking for rbenv shims in PATH: OK
Checking `rbenv install' support: /root/.rbenv/plugins/ruby-build/bin/rbenv-install (ruby-build 20170914-2-ge40cd1f)
Counting installed Ruby versions: none
  There aren't any Ruby versions installed under `/root/.rbenv/versions'.
  You can install Ruby versions like so: rbenv install 2.2.4
Checking RubyGems settings: OK
Auditing installed plugins: OK
Install Ruby
List the available Ruby versions for your system using the following command.
rbenv install -l
Output:
Available versions:
  1.8.5-p52
  1.8.5-p113
  1.8.5-p114
  1.8.5-p115
  1.8.5-p231
  1.8.6
.    .    .
.    .    .

  2.4.0-preview3
  2.4.0-rc1
  2.4.0
  2.4.1
  2.4.2
  2.5.0-dev
  jruby-1.5.6

.    .    .
.    .    .
We will install the latest version, Ruby 2.4.2. If you want to install or use the different version of ruby, just run the rbenv with a different version number. Installation may take 15 to 20 minutes to complete, so please be patient.
rbenv install 2.4.2
Run the following command to set version 2.4.2 as the default version for all shells.
rbenv global 2.4.2
Check the Ruby version.
ruby -v
Output:
ruby 2.4.2p198 (2017-09-14 revision 59899) [x86_64-linux]
If you do not want RubyGems to install the documentation for each package locally, then run the below command.
echo "gem: --no-ri --no-rdoc" > ~/.gemrc

gem install bundler
gem install ffi
gem install bindex
Install Rails
We will install Rails 5.1.4 with this command. You can also install a specific version of Rails by defining -v during installation.
gem install rails -v 5.1.4
Whenever you install a new version of Ruby or a gem, you should run the rehash sub-command. This command will make rails executables known to rbenv, which will allow us to run these executables:
rbenv rehash
Verify the version of Rails.
rails -v
Output:
Rails 5.1.4
Install Node.js
We will install Node.js to provide a functionality of CoffeeScript and the Asset Pipeline in Rails, depend on a Javascript runtime.
### Ubuntu / Debian ###

$ sudo apt-get install nodejs

### CentOS / RHEL ###

## Enable EPEL: https://www.itzgeek.com/?p=7125

# yum install epel-release

### CentOS / RHEL / Fedora ###

# yum install nodejs
Install MySQL Database
Rails uses sqlite3 as its default database, which is not recommended to use in a production environment where you have high traffic to web applications. You’ll probably want to go with MySQL or PostgreSQL.
For example, if you want to use MariaDB as your database, install it.
### Ubuntu ###

$ sudo apt-get install mysql-server mysql-client libmysqlclient-dev

### CentOS / RHEL / Fedora ###

# yum install mariadb-server mariadb-devel

# systemctl start  mariadb.service

# mysql_secure_installation
Install mysql2 extenstion.
gem install mysql2
Create a Test Application
To ensure our Ruby on Rails installation went smoothly, we can create a test application to test it out. Create a new application in your home directory.
cd ~

rails new itzgeekapp -d mysql

cd itzgeekapp
Edit your config/database.yml file.
vi config/database.yml
Update the database username and password.
default: &default
 adapter: mysql2
 encoding: utf8
 pool: <%= ENV.fetch("RAILS_MAX_THREADS") { 5 } %>
 username: root
 password: pass
#Replace with MySQL user password
socket: /var/lib/mysql/mysql.sock
Create the database.
rake db:create
Output:
Created database 'itzgeekapp_development'
Created database 'itzgeekapp_test'
Start your rails application.
rails server
OR
## Set a binding IP address.

rails server --binding=IP
Output:
=> Booting Puma
=> Rails 5.1.4 application starting in development
=> Run `rails server -h` for more startup options
Puma starting in single mode...
* Version 3.10.0 (ruby 2.4.2-p198), codename: Russell's Teapot
* Min threads: 5, max threads: 5
* Environment: development
* Listening on tcp://0.0.0.0:3000
Use Ctrl-C to stop
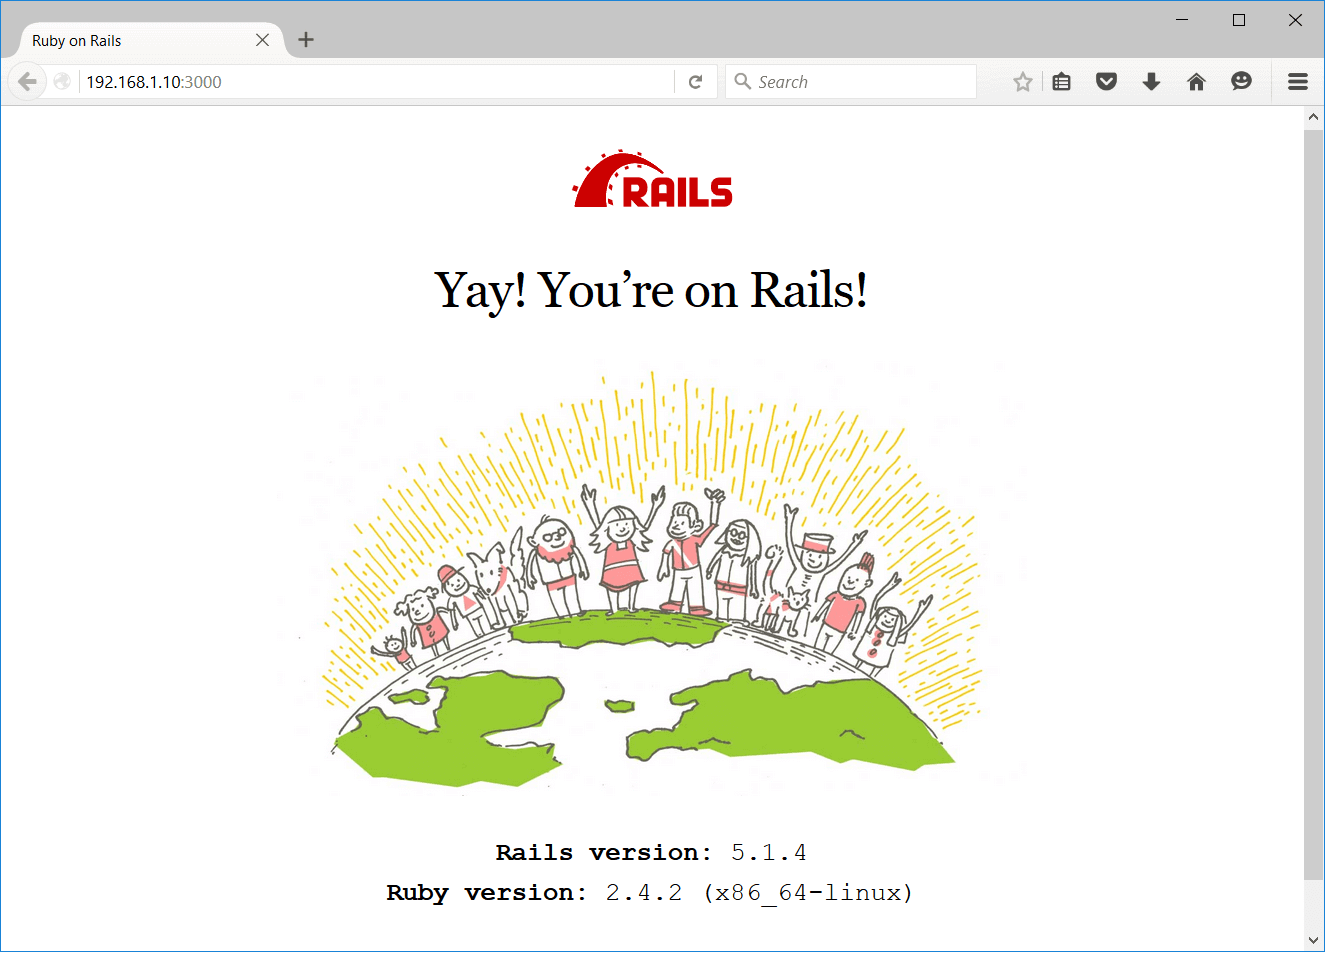
If everything is working properly, your Rails application should be running on port 3000 of the IP address of your server. Visit your Rails application by going there in a web browser.
OR
You should get the following page.
That’s All. You have successfully installed Ruby on Rails on Ubuntu / CentOS.