Install LibreNMS on CentOS 7 / Ubuntu 16.04 – A Network and Server Monitoring Tool
Setup LibreNMS:
Open a web browser and navigate it to below URL.
OR
OR
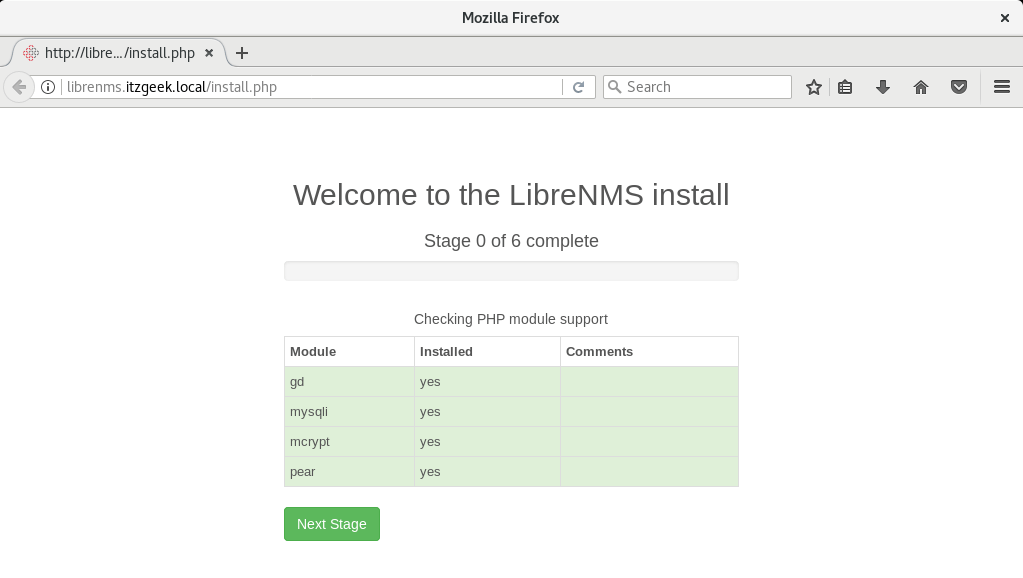
Click Next Stage on the installation page.
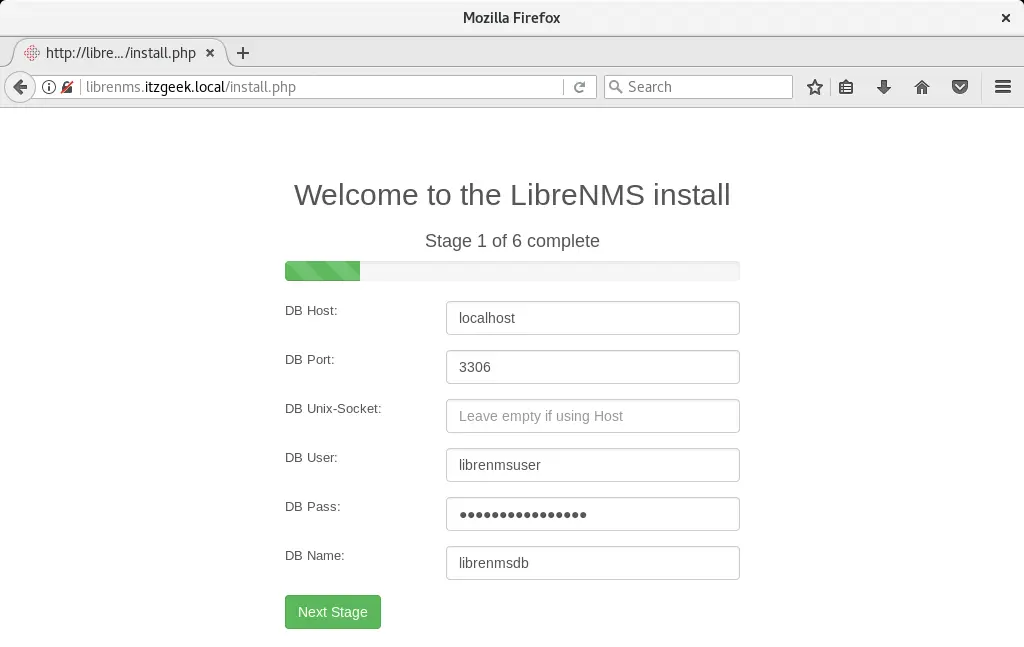
Stage 1: Enter the database information.
DB Name: librenmsdb
User Name: librenmsuser
DB Password: librenmspassword
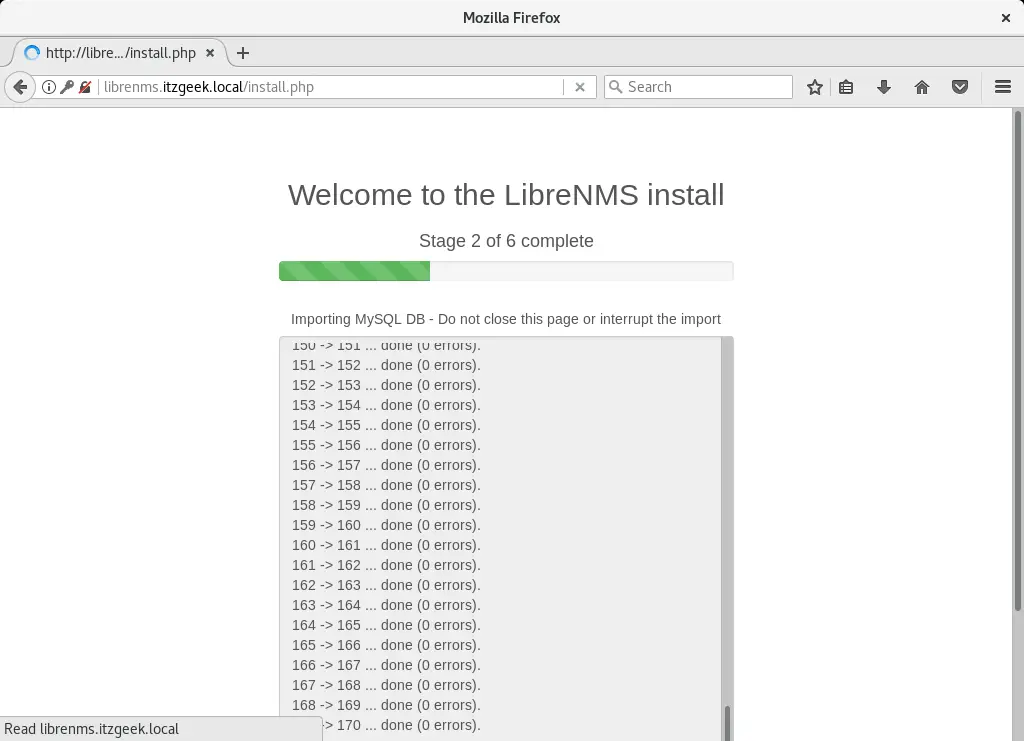
Stage 2: Installer will start importing schemas and other important database entries.
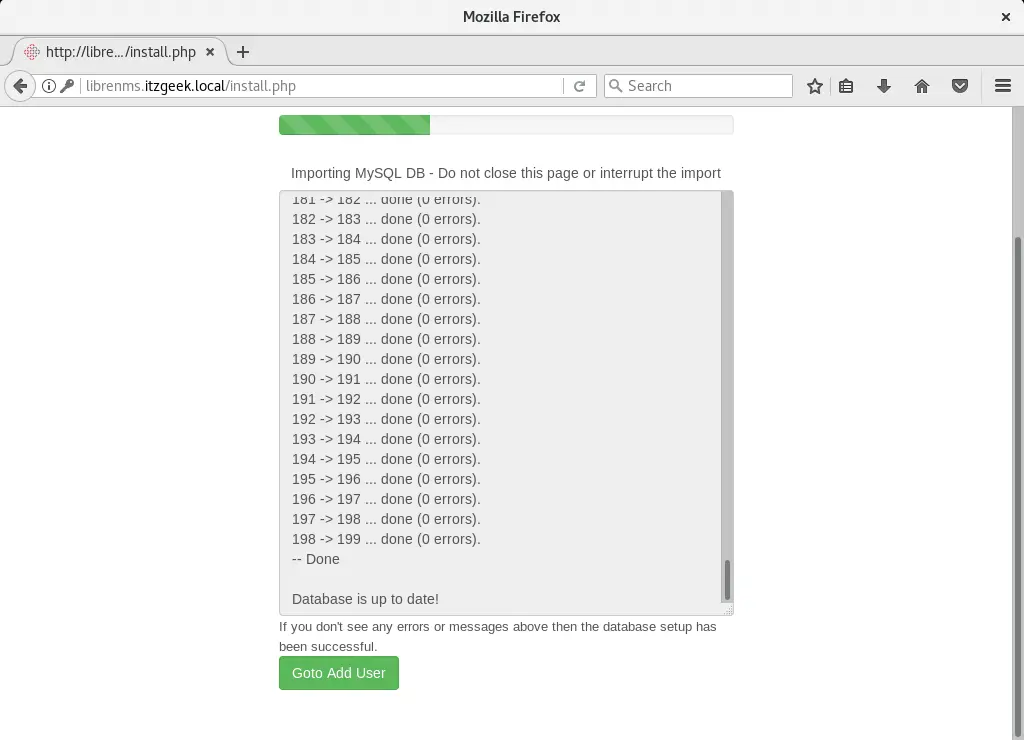
Click on Goto Add User.
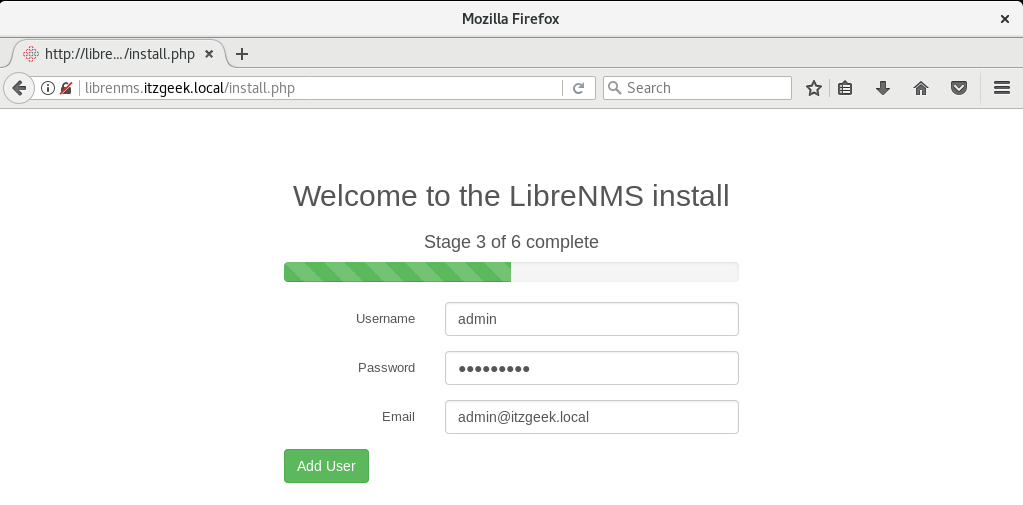
Stage 3: Create Admin user.
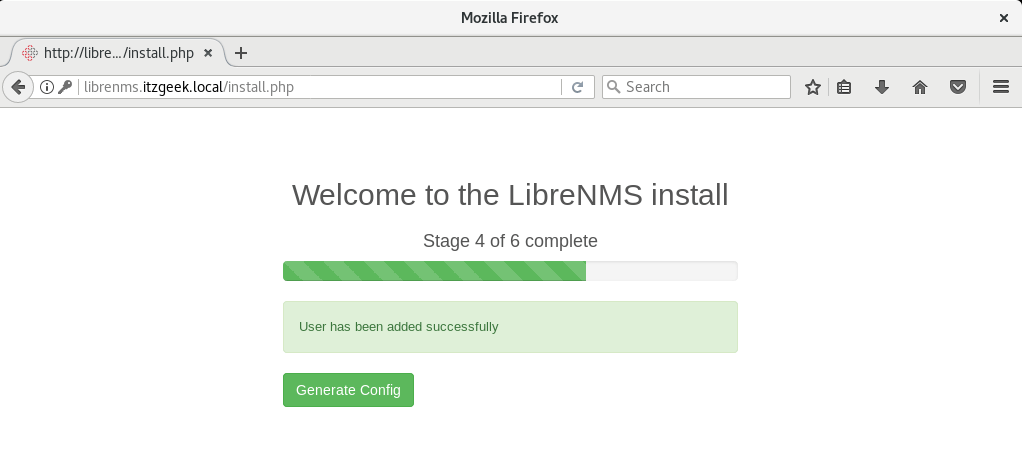
Stage 4: Generate config.
Stage 5: If you get any error like below.
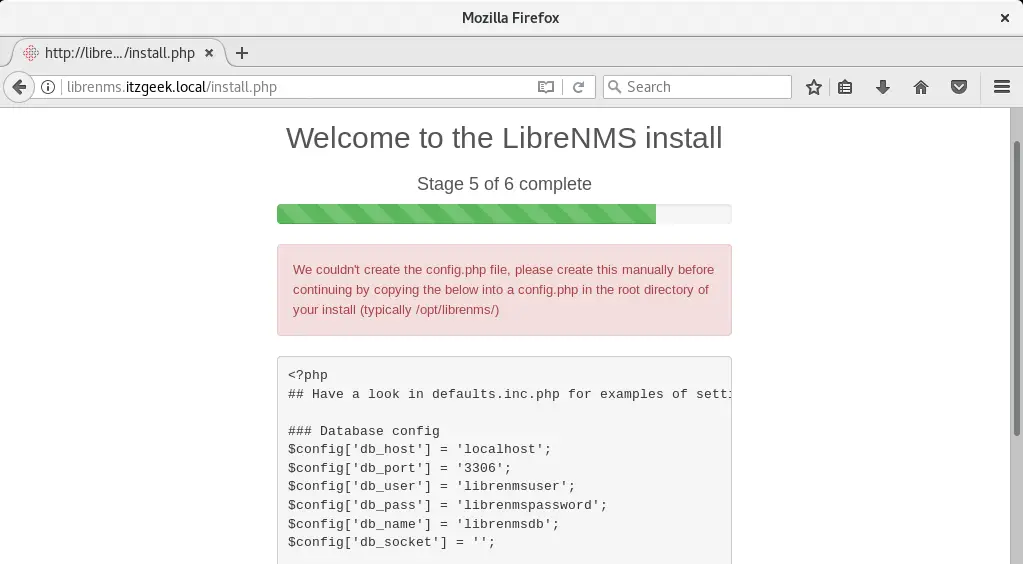
Manually create a config.php under /opt/librenms directory.
vi /opt/librenms/config.php
Copy and paste the configurations shown in the error page to the above file.
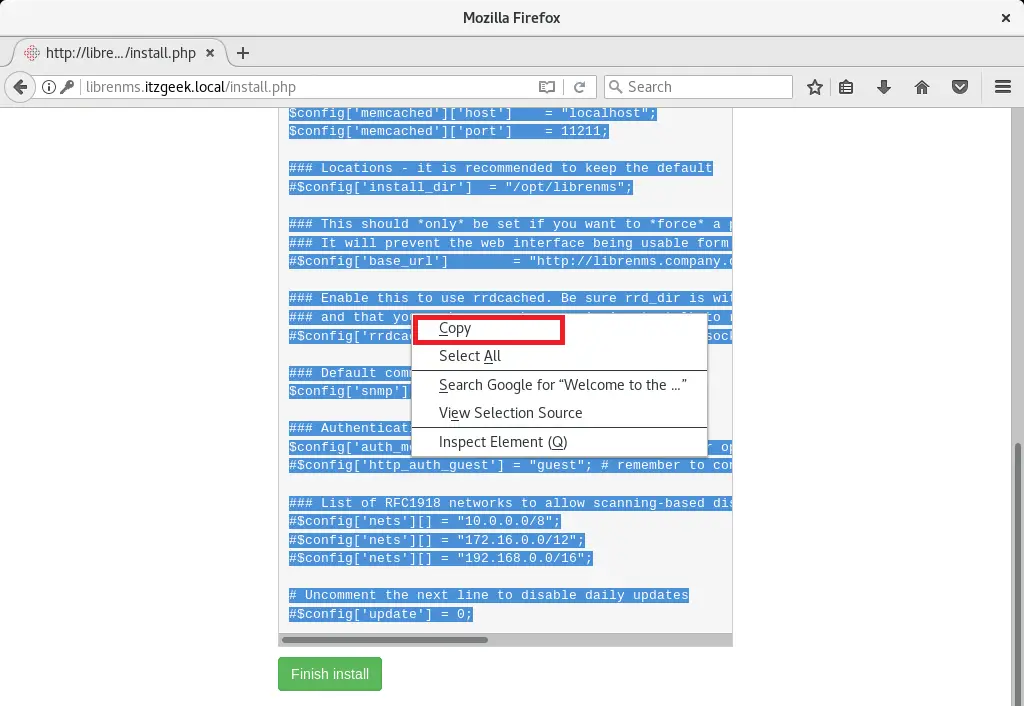
Then, click on Finish install.
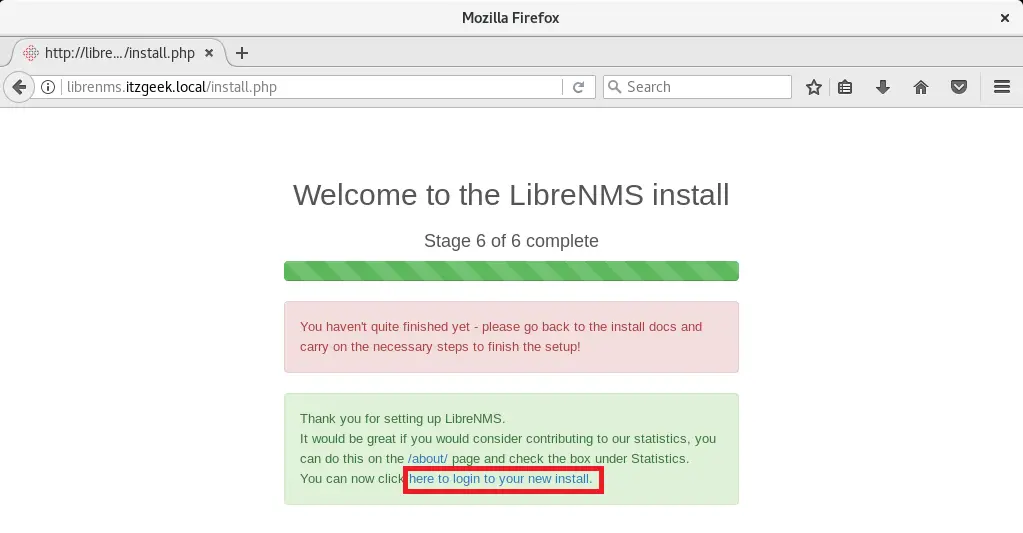
Stage 6: You can ignore the below error. Click on “here to login to your new install” to get a login page.
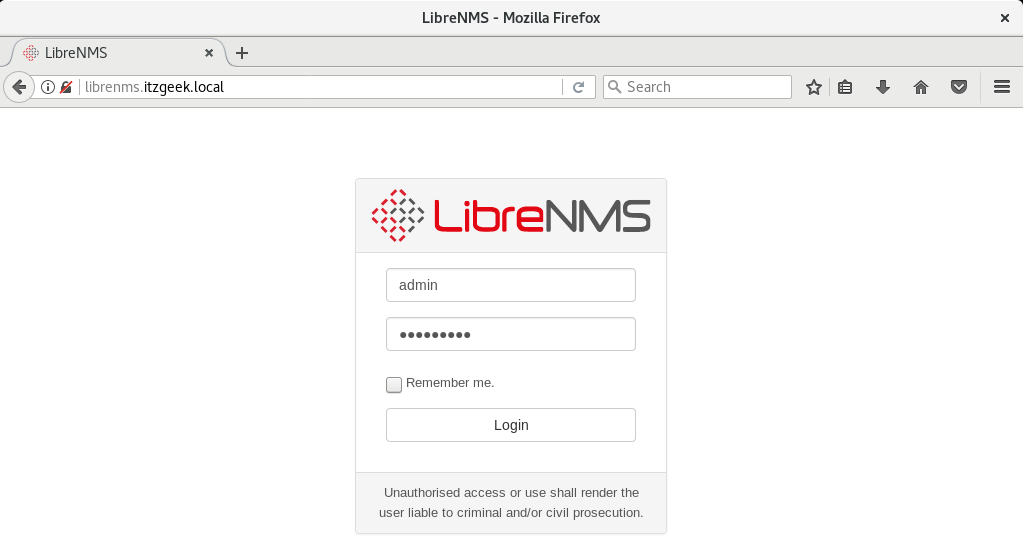
Login page:
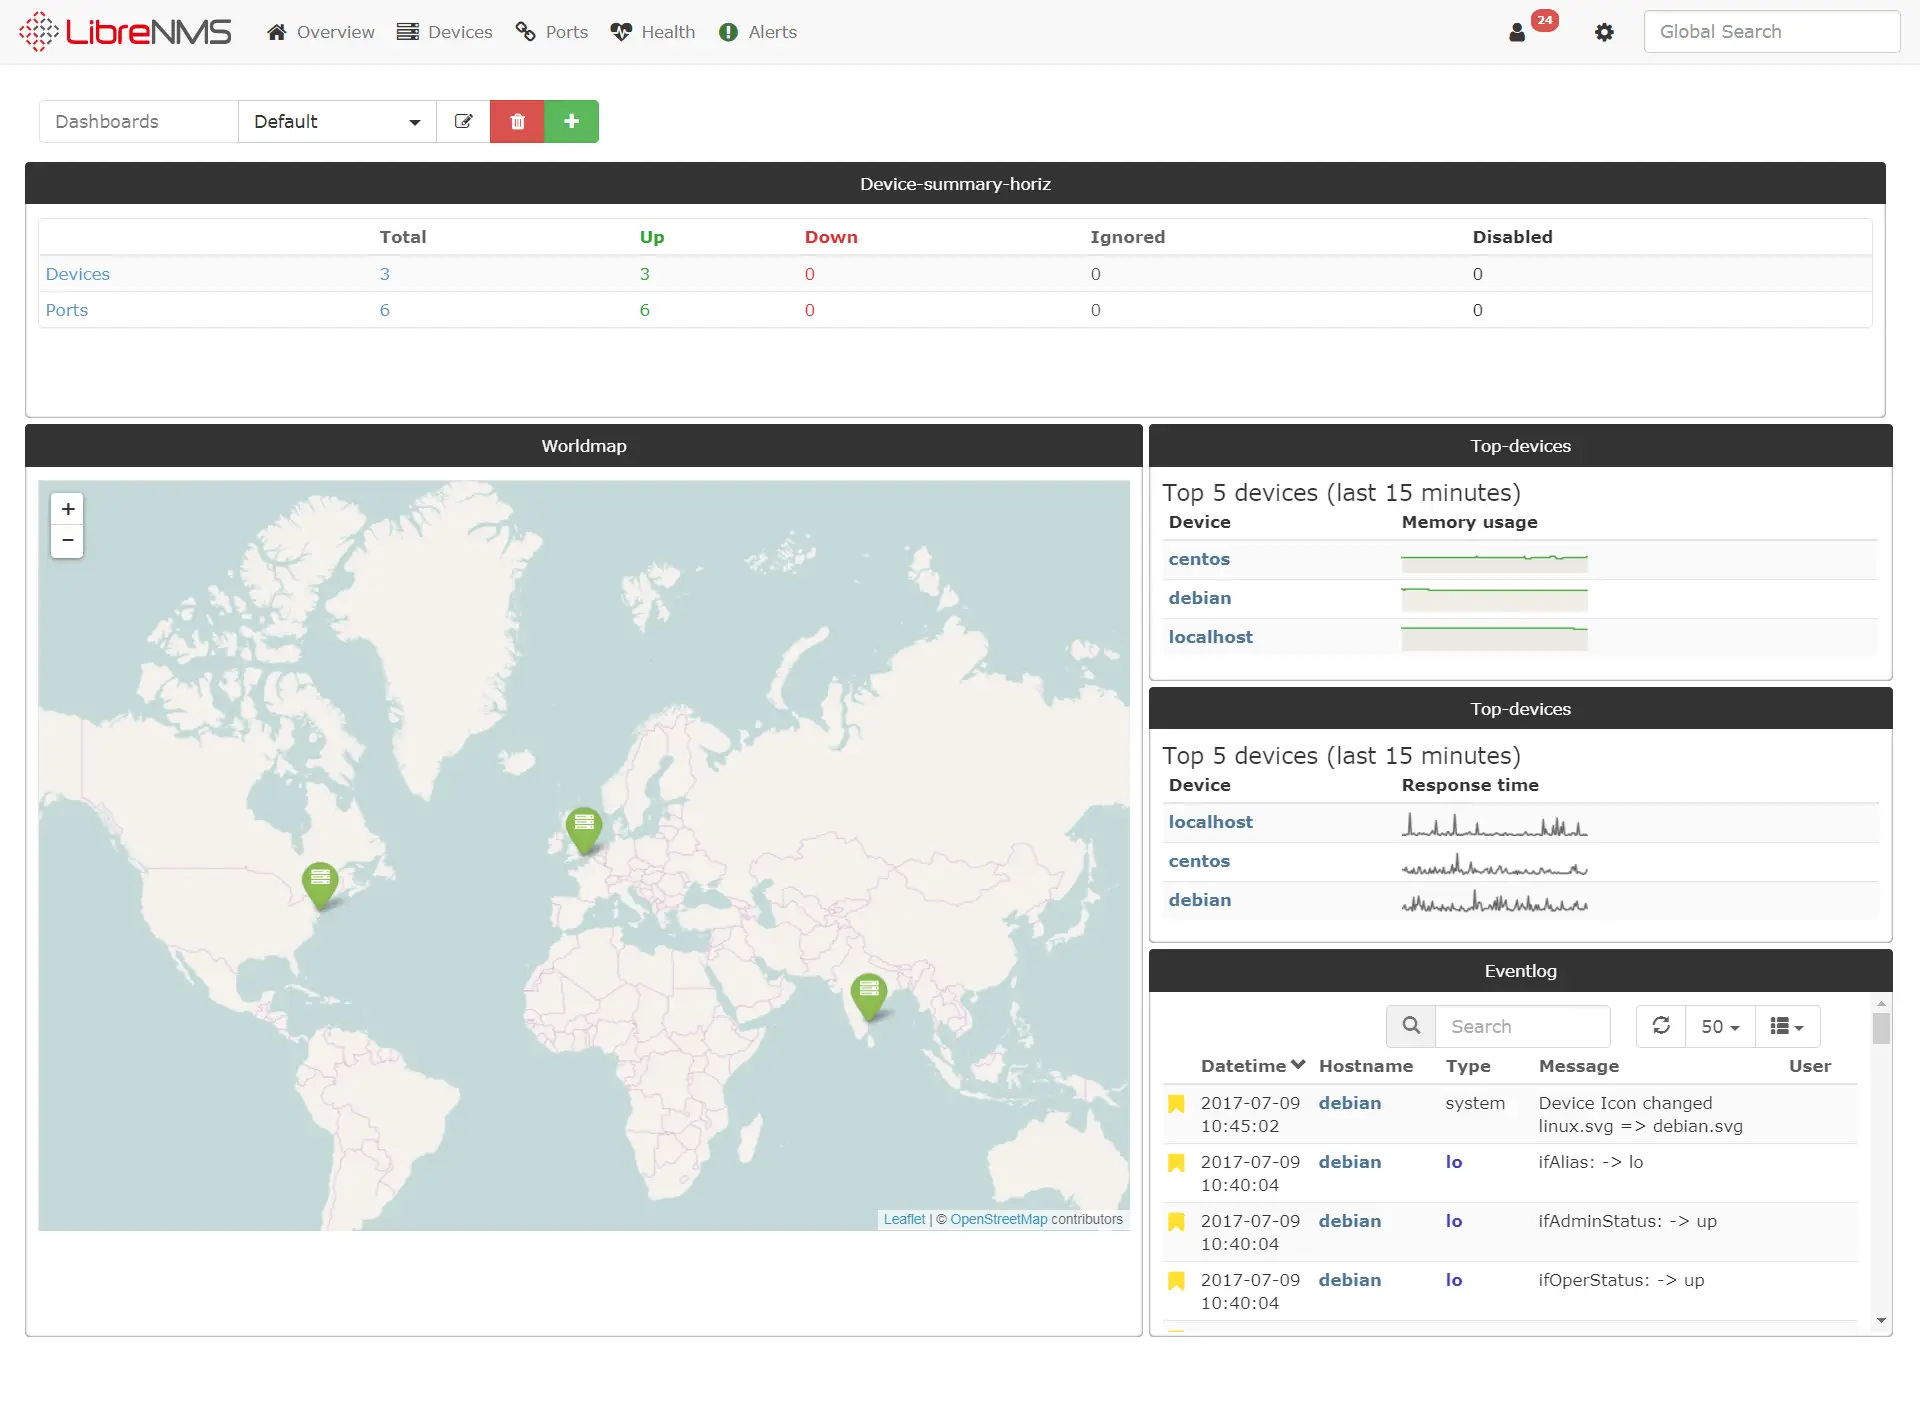
LibreNMS Dashboard: (Illustration only – Dashboard may look like below after you have added devices to LibreNMS and customized front page)
Post Setup:
Once the LibreNMS setup is complete, perform below steps.
vi /opt/librenms/config.php
Add below information to “config.php” file.
$config['fping'] = "/usr/sbin/fping";
Copy the cronjob information so that automatic discovery and polling for newly added devices can happen automatically.
cp /opt/librenms/librenms.nonroot.cron /etc/cron.d/librenms
Copy the logrotate configurations.
cp /opt/librenms/misc/librenms.logrotate /etc/logrotate.d/librenms
Run validate.php as root in /opt/librenms directory.
cd /opt/librenms
./validate.php
Output:
==========================================================
Component | Version
--------- | -------
LibreNMS | d30e5660f942154bd72c1b3f6ff3846d3c1b7137
DB Schema | 199
PHP | 7.0.18-0ubuntu0.16.04.1
MySQL | 10.0.29-MariaDB-0ubuntu0.16.04.1
RRDTool | 1.5.5
SNMP | NET-SNMP 5.7.3
==========================================================

[OK] Database connection successful
[OK] Database schema correct
We suggest you add localhost (LibreNMS server) as your first device using LibreNMS web interface. To add your localhost or any devices in LibreNMS monitoring tool, you need to install and configure SNMP service, not applicable to Network devices.
Follow the below guide to add localhost as well as other machines in LibreNMS.
READ: How to Add Devices to LibreNMS Monitoring Tool
That’s All.