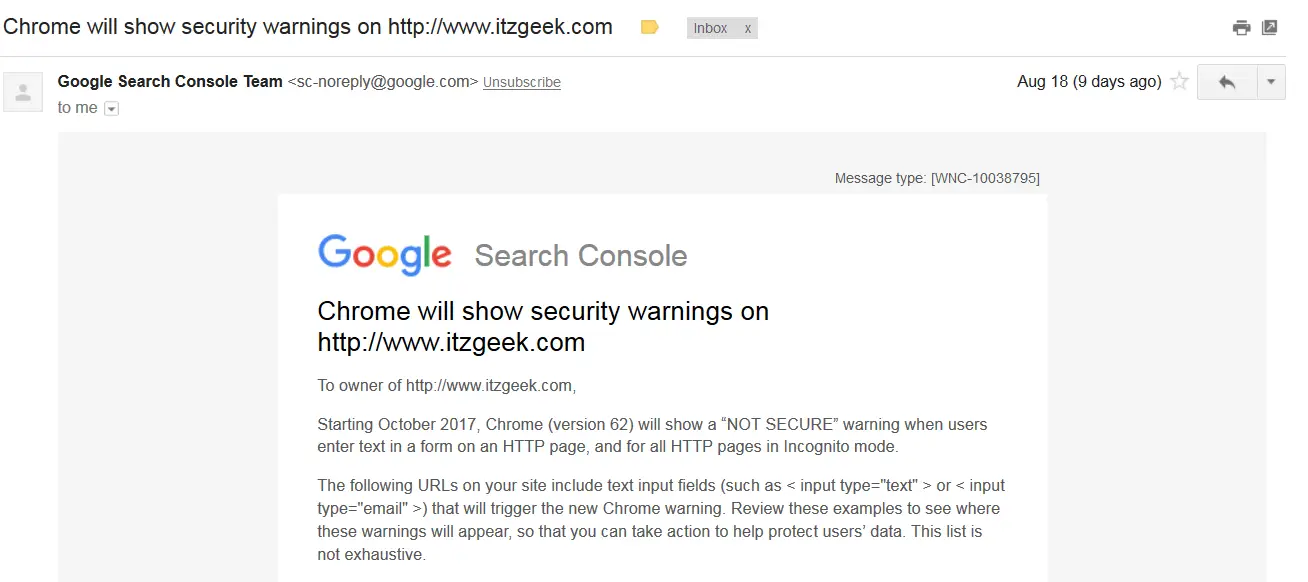
Do you know?, Google will begin mark all HTTP pages as ‘Not Secure ‘ in chrome, starting from v62. Google already planned this for coming October and started sending emails to webmasters who are yet to migrate their site to HTTPS, including us.
Now, it’s the time for us to move away from HTTP for better protection and interest of secure transmission of users data.
In earlier days, certificates (SSL) cost us more, but now it’s free with Let’s Encrypt. You don’t even have to spend a penny for getting SSL certificate to make the site secure.
Fyi, Let’s Encrypt is a certificate authority that provides free x.509 SSL certificate for web servers and control panel.
So, planning to move your website to HTTPS then just follow our article.
Install Certbot
To generate a certificate on any system, we should have terminal/shell access, and Certbot ACME client.
Certbot is available on EPEL repository for CentOS 7 / RHEL 7. For Ubuntu, we should configure Certbot PPA.
### CentOS 7 / RHEL 7 ###

rpm -ivh https://dl.fedoraproject.org/pub/epel/epel-release-latest-7.noarch.rpm

### Ubuntu ###

apt-get update
apt-get install software-properties-common
add-apt-repository ppa:certbot/certbot
apt-get update
Install certbot client using below command.
### CentOS 7 / RHEL 7 ###

yum install certbot

### Ubuntu 16.04 / Debian 9 ###

apt-get install certbot

### Debian 8 ###

apt-get install certbot -t jessie-backports
Install and Start the OpenLiteSpeed Web server
Follow our earlier articles on the installation of OpenLiteSpeed and creating virtual hosts on OpenLiteSpeed.
READ: How to install OpenLiteSpeed on CentOS 7 / RHEL 7
READ: How to install OpenLiteSpeed on Debian 9 / Ubuntu 16.04
Make sure the OpenLiteSpeed web service is up and running.
/usr/local/lsws/bin/lswsctrl status
Output:
litespeed is running with PID 24706.
Create Let’s Encrypt certificate for your domain
During the process of certification, certbot creates .well-known/acme-challenge directory inside the document root of your virtual host. Then, Let’s Encryption validation server performs HTTP requests and validates whether the domain name is correctly pointing to the server running certbot or not.
Therefore, you make sure you properly set up a virtual host for your custom domain and is accessible over the internet.
READ: How to setup virtual hosts on OpenLiteSpeed web server
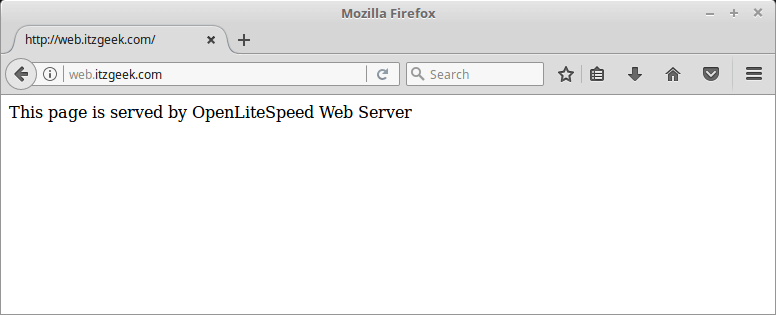
HTTP Site:
Create a Let’s Encrypt certificate with the following command.
certbot certonly --webroot -w /usr/local/lsws/web.itzgeek.com/html/ -d web.itzgeek.com
-w : Path of your document root.
-d : FQDN
Follow the interactive prompt and generate a SSL certificate.
Saving debug log to /var/log/letsencrypt/letsencrypt.log
Enter email address (used for urgent renewal and security notices) (Enter 'c' to
cancel):[email protected]
Starting new HTTPS connection (1): acme-v01.api.letsencrypt.org

-------------------------------------------------------------------------------
Please read the Terms of Service at
https://letsencrypt.org/documents/LE-SA-v1.1.1-August-1-2016.pdf. You must agree
in order to register with the ACME server at
https://acme-v01.api.letsencrypt.org/directory
-------------------------------------------------------------------------------
(A)gree/(C)ancel: A

-------------------------------------------------------------------------------
Would you be willing to share your email address with the Electronic Frontier
Foundation, a founding partner of the Let's Encrypt project and the non-profit
organization that develops Certbot? We'd like to send you email about EFF and
our work to encrypt the web, protect its users and defend digital rights.
-------------------------------------------------------------------------------
(Y)es/(N)o: A
Obtaining a new certificate
Performing the following challenges:
http-01 challenge for web.itzgeek.com
Using the webroot path /usr/local/lsws/web.itzgeek.com/html for all unmatched domains.
Waiting for verification...
Cleaning up challenges

IMPORTANT NOTES:
 - Congratulations! Your certificate and chain have been saved at
   /etc/letsencrypt/live/web.itzgeek.com/fullchain.pem. Your cert will
   expire on 2017-11-24. To obtain a new or tweaked version of this
   certificate in the future, simply run certbot again. To
   non-interactively renew *all* of your certificates, run "certbot
   renew"
 - Your account credentials have been saved in your Certbot
   configuration directory at /etc/letsencrypt. You should make a
   secure backup of this folder now. This configuration directory will
   also contain certificates and private keys obtained by Certbot so
   making regular backups of this folder is ideal.
 - If you like Certbot, please consider supporting our work by:

   Donating to ISRG / Let's Encrypt:   https://letsencrypt.org/donate
   Donating to EFF:                    https://eff.org/donate-le
Here are the list of .pem files you see under /etc/letsencrypt/live/<yourdomain>/ directory.
cert.pem – SSL certificate of your domain
chain.pem – CA certificate
fullchain.pem – Combined certificate, includes domain and CA certificate.
privkey.pem – Private key
Configure Let’s Encrypt SSL in OpenLiteSpeed
Log in to the OpenLiteSpeed admin console.
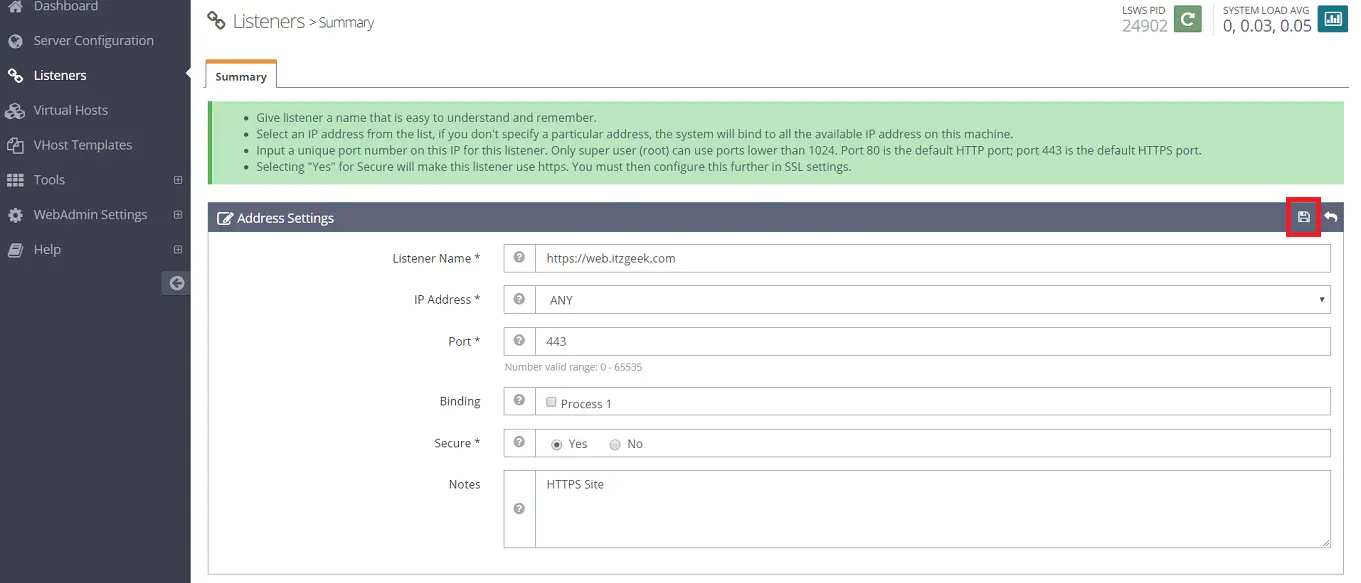
Go to Listeners and Add a new listener.

Name your listener and configure it as shown below.
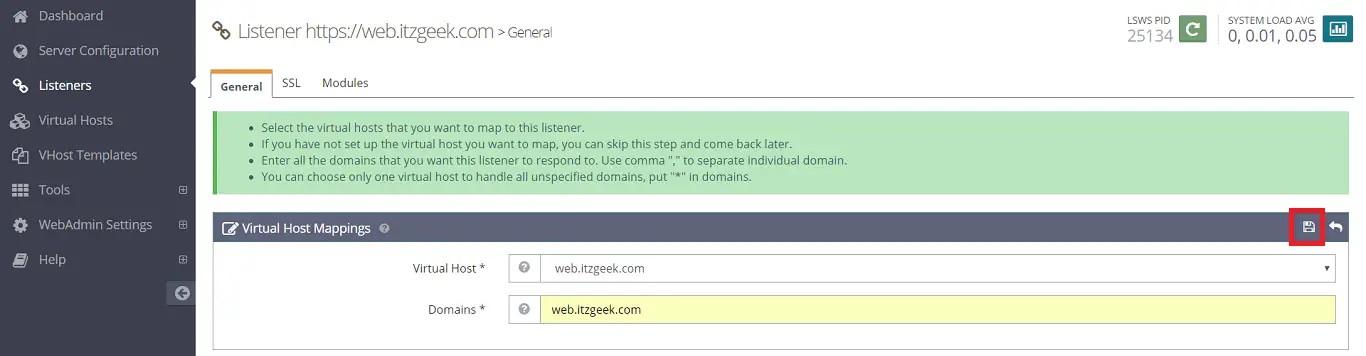
Map your HTTP version of your domain to this secure listener. Go to Listeners –> Your Listener (https://web.itzgeek.com) –> General –> Virtual Host Mappings –> Add.
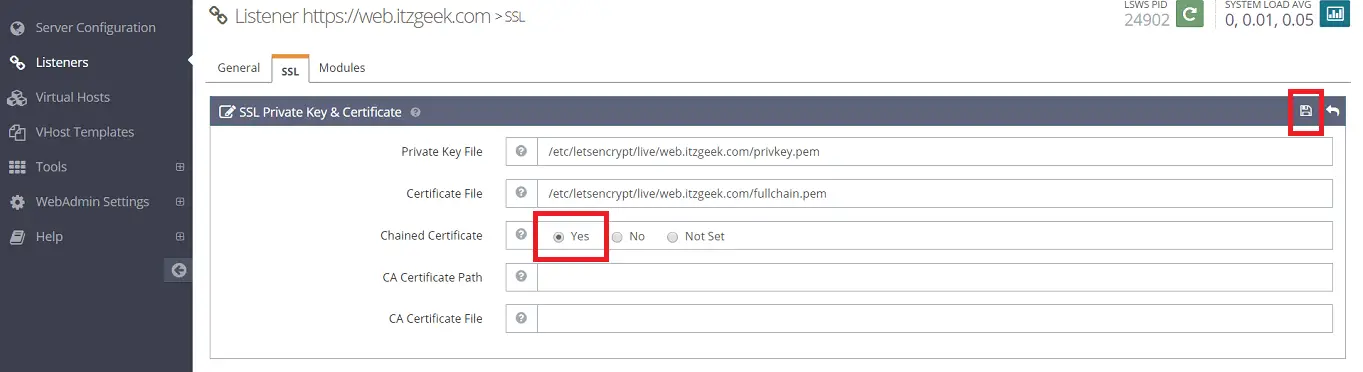
We will now configure SSL into this virtual host listener. Go to Listeners –> Your Listener (https://web.itzgeek.com) –> SSL –> SSL Private Key & Certificate.
Here, mention the location of the certificate we created earlier using the certbot command. In my case,
| Private Key File | /etc/letsencrypt/live/web.itzgeek.com/privkey.pem |
| Certificate File | /etc/letsencrypt/live/web.itzgeek.com/fullchain.pem |
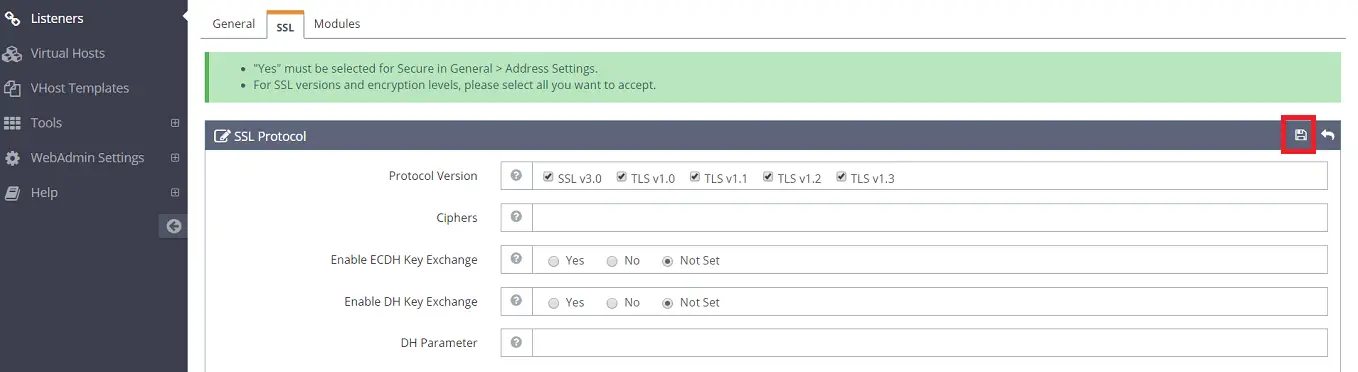
Specify which version of the SSL protocol will be used. For that, Go to Listeners –> Your Listener (https://web.itzgeek.com) –> SSL –> SSL Protocol.
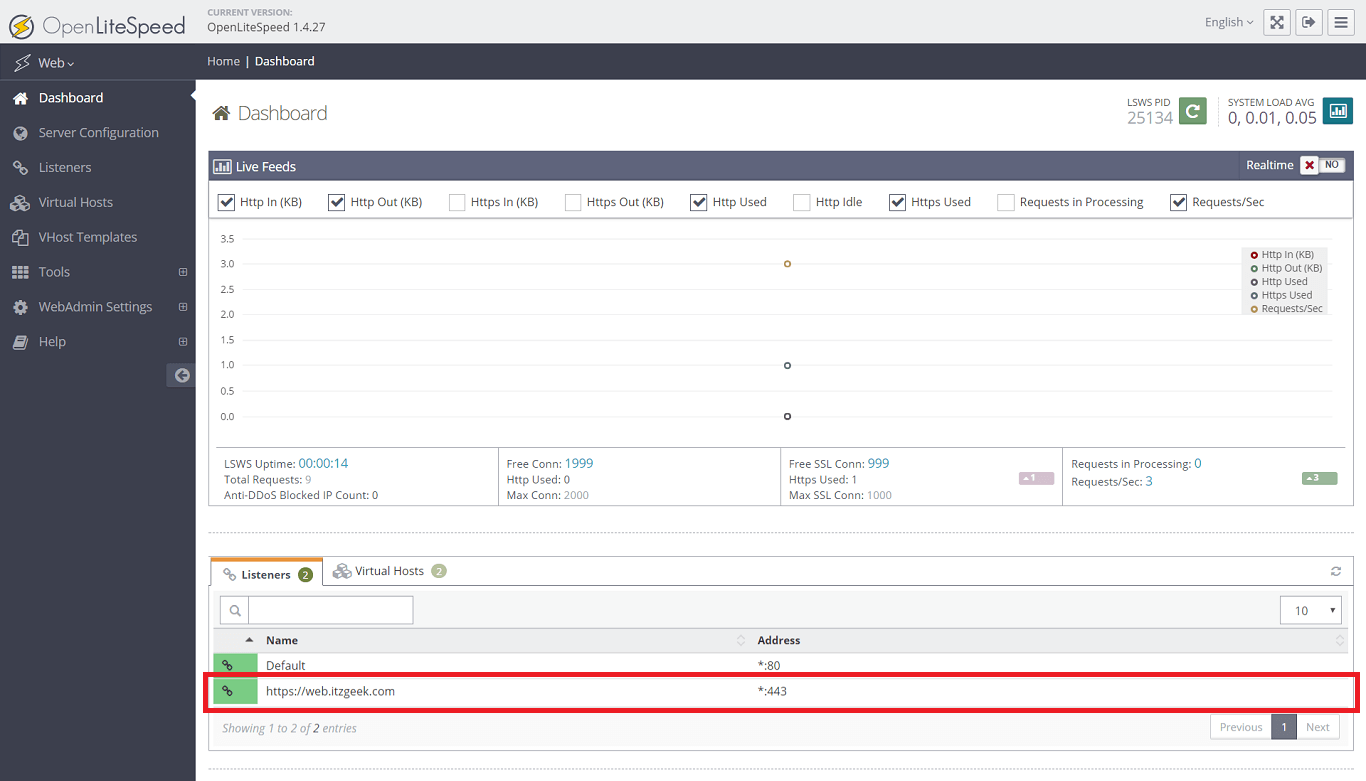
Restart the OpenLiteSpeed service.

Ensure the created Listener is up in OpenLiteSpeed dashboard.
Verify HTTPS website
Place index.html on document root of the virtual host.
echo "This page is served by OpenLiteSpeed Web Server with SSL Support" > /usr/local/lsws/web.itzgeek.com/html/index.html
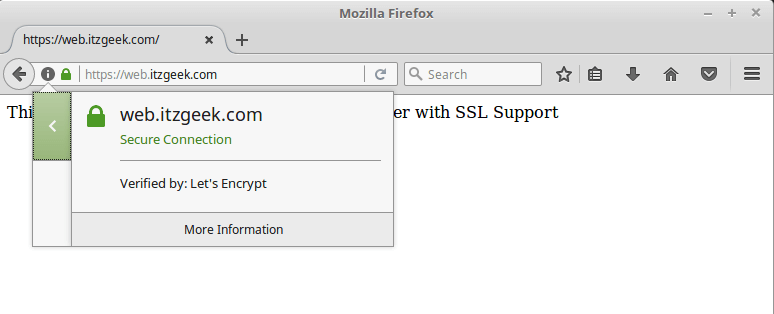
Verify the Let’s Encrypt certificate by going to HTTPS version of your website.
You should get HTTPS site now.
Renew Let’s Encrypt Certificate
Let’s Encrypt certificates come with a validity of 90 days, and it is highly advisable to configure the cron job (Linux Scheduler) to renew Let’s Encrypt certificates before they expire.
Before you configure a cron job, run the below command to simulate the automatic renewal of your certificate.
certbot renew --dry-run
Output:
Saving debug log to /var/log/letsencrypt/letsencrypt.log

-------------------------------------------------------------------------------
Processing /etc/letsencrypt/renewal/web.itzgeek.com.conf
-------------------------------------------------------------------------------
Cert not due for renewal, but simulating renewal for dry run
Starting new HTTPS connection (1): acme-staging.api.letsencrypt.org
Renewing an existing certificate
Performing the following challenges:
http-01 challenge for web.itzgeek.com
Waiting for verification...
Cleaning up challenges

-------------------------------------------------------------------------------
new certificate deployed without reload, fullchain is
/etc/letsencrypt/live/web.itzgeek.com/fullchain.pem
-------------------------------------------------------------------------------
** DRY RUN: simulating 'certbot renew' close to cert expiry
**          (The test certificates below have not been saved.)

Congratulations, all renewals succeeded. The following certs have been renewed:
  /etc/letsencrypt/live/web.itzgeek.com/fullchain.pem (success)
** DRY RUN: simulating 'certbot renew' close to cert expiry
**          (The test certificates above have not been saved.)
You can now set up a cron job for the below command to run twice per day.
certbot renew
That’s All.