Virtual Hosting is used to host multiple websites on a single web server. The web server might be anything of Apache HTTP web server, Microsoft IIS, Lighttpd, openLiteSpeed, etc. This guide will show you how to setup Apache virtual hosts on Debian 9 / Ubuntu 16.04 / LinuxMint 18.
Types of Virtual Hosting
There are two types of Virtual Hosting in Apache web server,
1. Name-based virtual hosting
2. IP based virtual hosting
With the Name-based virtual hosting, we can configure multiple websites on single ip address, whereas in ip based; we can configure only one website on single ip address.
Assumptions
For a demo, we will be hosting two websites named “www.itzgeek1.local and “www.itzgeek2.local” on a single web server.
Server Host Name: server.itzgeek.local
IP Address: 192.168.12.3
Install Apache Web server
Before installing Apache, update the repository index.
sudo apt-get update
Install Apache Web server using the following command.
sudo apt-get install apache2
Once it is installed, the system will automatically start the Apache service.
To test your installation, open up a web browser and point to the URL.
OR
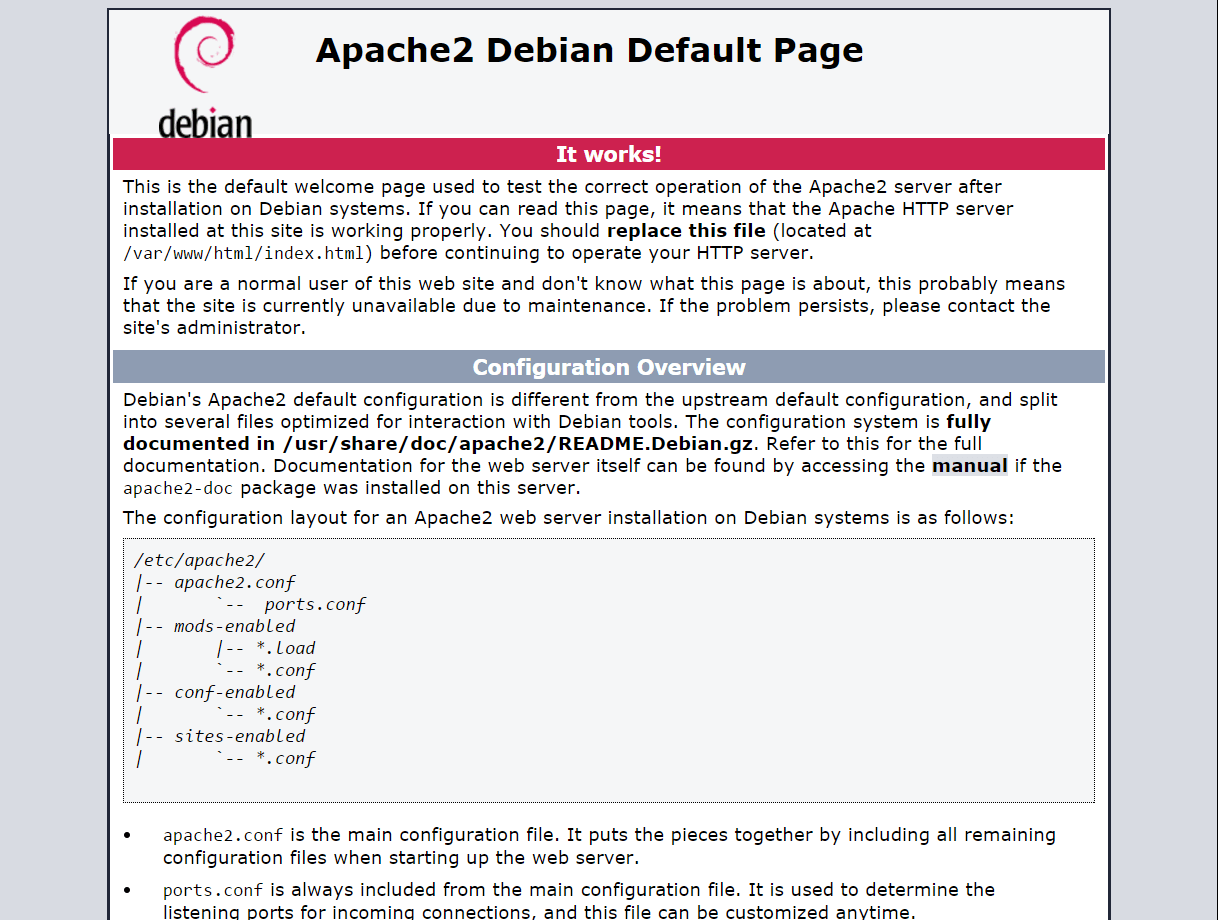
You would get the default page something like below. Below image shows you the default page of Apache2 on Debian 9.
Setup Apache virtual hosts
Create public directories
Now, we will create a directory to hold our web documents, i.e., .html files. Use the following command to create a directory for each website, “www.itzgeek1.local” and “www.itzgeek2.local“.
sudo mkdir -p /var/www/html/www.itzgeek1.local
sudo mkdir -p /var/www/html/www.itzgeek2.local
Create demo page for Virtual Hosts
Now, we will put an index.html file in the both directories to check whether the name based virtual hosting is working or not.
Create an index.html for “www.itzgeek1.local” virtual host.
sudo nano /var/www/html/www.itzgeek1.local/index.html
Place the below content into the file.
<html>
<head>
<title>www.itzgeek1.local</title>
</head>
<body>
<h1>Welcome To www.itzgeek1.local website</h1>
</body>
</html>
Create a index.html for “www.itzgeek2.local” virtual host.
sudo nano /var/www/html/www.itzgeek2.local/index.html
Place the below content into the file.
<html>
<head>
<title>www.itzgeek2.local</title>
</head>
<body>
<h1>Welcome To wwww.itzgeek2.local website</h1>
</body>
</html>
Setting up directory ownership and permissions
By default, apache service runs as a www-data user. Now, both virtual directories that we created earlier are owned by root, and we must change the ownership to www-data so that that apache server can write and read data into it.
sudo chown -R www-data:www-data /var/www/html
Also, you can make virtual directories world readable.
sudo chmod 755 /var/www/html/
Now, we are all set to create a configuration file for virtual hosts.
Create Virtual Host files
Now, create a virtual host file “www.itzgeek1.local.conf for the virtual host “www.itzgeek1.local. The virtual host configuration file should end with a .conf extension.
sudo nano /etc/apache2/sites-available/www.itzgeek1.local.conf
Add the following content to the file.
<VirtualHost *:80>

ServerAdmin [email protected]
ServerName www.itzgeek1.local
DocumentRoot /var/www/html/www.itzgeek1.local

ErrorLog ${APACHE_LOG_DIR}/www.itzgeek1.local_error.log
CustomLog ${APACHE_LOG_DIR}/www.itzgeek1.local_ccess.log combined

</VirtualHost>
Same way, create a second virtual host file.
sudo nano /etc/apache2/sites-available/www.itzgeek2.local.conf
Place the following content into the file.
<VirtualHost *:80>

ServerAdmin [email protected]
ServerName www.itzgeek2.local
DocumentRoot /var/www/html/www.itzgeek2.local

ErrorLog ${APACHE_LOG_DIR}/www.itzgeek2.local_error.log
CustomLog ${APACHE_LOG_DIR}/www.itzgeek2.local_ccess.log combined

</VirtualHost>
After creating the virtual host files, enable new virtual hosts that we created just now by creating a symlink to the sites-enabled directory.
sudo ln -s /etc/apache2/sites-available/www.itzgeek1.local.conf /etc/apache2/sites-enabled/

sudo ln -s /etc/apache2/sites-available/www.itzgeek2.local.conf /etc/apache2/sites-enabled/
Restart the apache service.
sudo service apache2 restart
Verifying Virtual Hosts
If you don’t have a DNS server in your environment then edit “/etc/hosts” file.
sudo nano /etc/hosts
Add below entries.
192.168.12.3  www.itzgeek1.local
192.168.12.3  www.itzgeek2.local
If you use windows based machines, edit “hosts” file in “C:\Windows\System32\drivers\etc” directory.
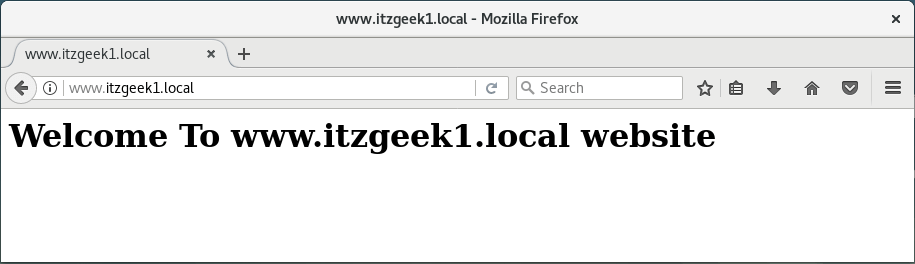
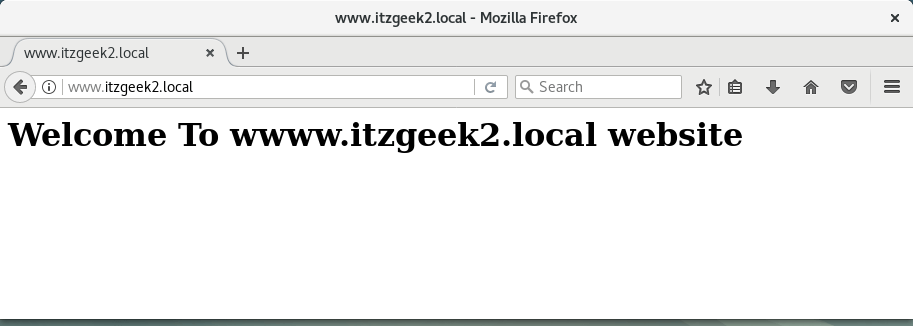
Open up your browser and point to the URL https://www.itzgeek1.local or https://www.itzgeek2.local. You should see the demo pages which we created earlier.
www.itzgeek1.local demo page:
www.itzgeek2.local demo page:
That’s All.