How to Install Zend Server CE on Linux Mint 12 / Ubuntu 11.10
 Zend Server is a PHP application server for Windows and Linux available in two edition Zend Server and Zend Server Community edition. Zend Server Community Edition is a fast and reliable PHP application stack. It is completely free, and you can use it in development, testing and production. It supports Red Hat Enterprise Linux, CentOS, Fedora Core, Oracle Enterprise Linux, Debian and Ubuntu. On Windows, Zend Server is supported on Windows Server 2003/2008, XP, Vista and Windows 7.
Features:
- Native installation – Windows MSI, Debian deb, Red Hat yum installation
- Certified PHP
- Zend Framework – ZF installation and updates as part of the native installation package
- Apache or IIS integration
- Java connector – Integrates existing Java functionality as PHP code
- Web-based administrator console
- Debugger interface
- Bytecode acceleration – Keeps compiled code in shared memory, increasing performance by reducing disk access and CPU processing time
- Data Caching API
Here is the tutorial about installing Zend Server Community Edition 5.6.0 on Linux Mint 12 / Ubuntu 11.10.
Step 1: Open Terminal (Ctrl + Alt + T).
Step 2: Add repository by editing /etc/apt/sources.list file.
raj@geeksite~/$ sudo gedit /etc/apt/sources.list
Step 3: Add the following line at the end of the file.
deb https://repos.zend.com/zend-server/deb server non-free
Step 4; Add Zend’s repository public key.
raj@geeksite~/$ wget https://repos.zend.com/zend.key -O- | sudo apt-key add -
Step 5: update the system repository.
raj@geeksite~/$ sudo apt-get update
Step 6: Install Zend Server Community Edition.
### Zend Server Community Edition With PHP 5.2 ###
raj@geeksite~/$ sudo apt-get install zend-server-ce-php-5.2
### Zend Server Community Edition With PHP 5.3 ###
raj@geeksite~/$ sudo apt-get install zend-server-ce-php-5.3
Once installed navigate your browser to https://localhost:10082/ZendServer (secure) or https://localhost:10081/ZendServer.
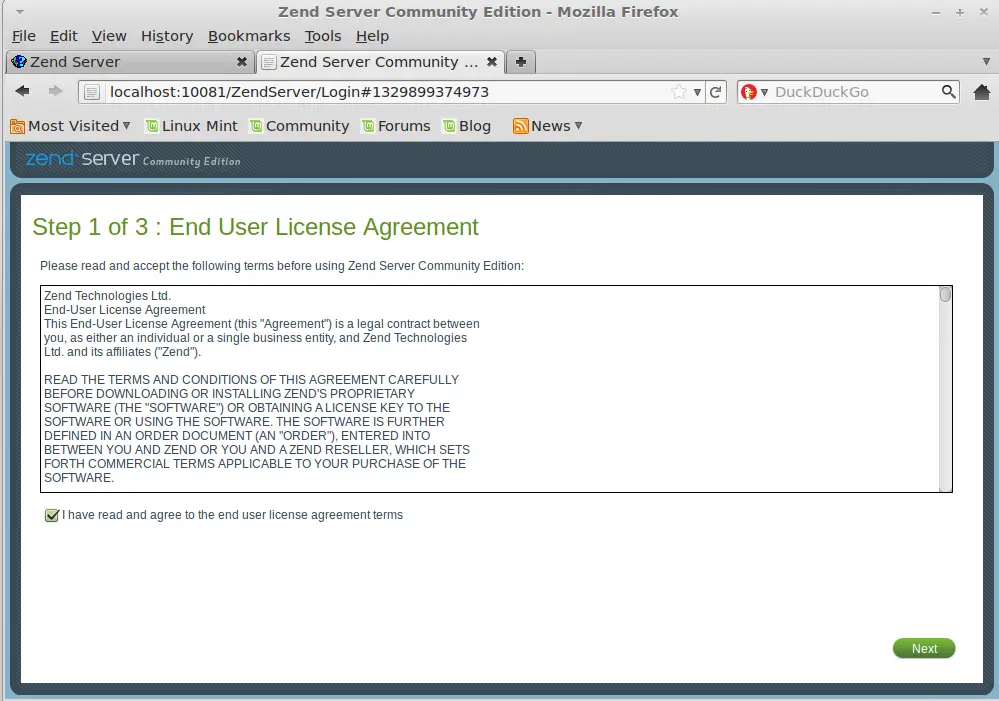
Accept the license agreement.
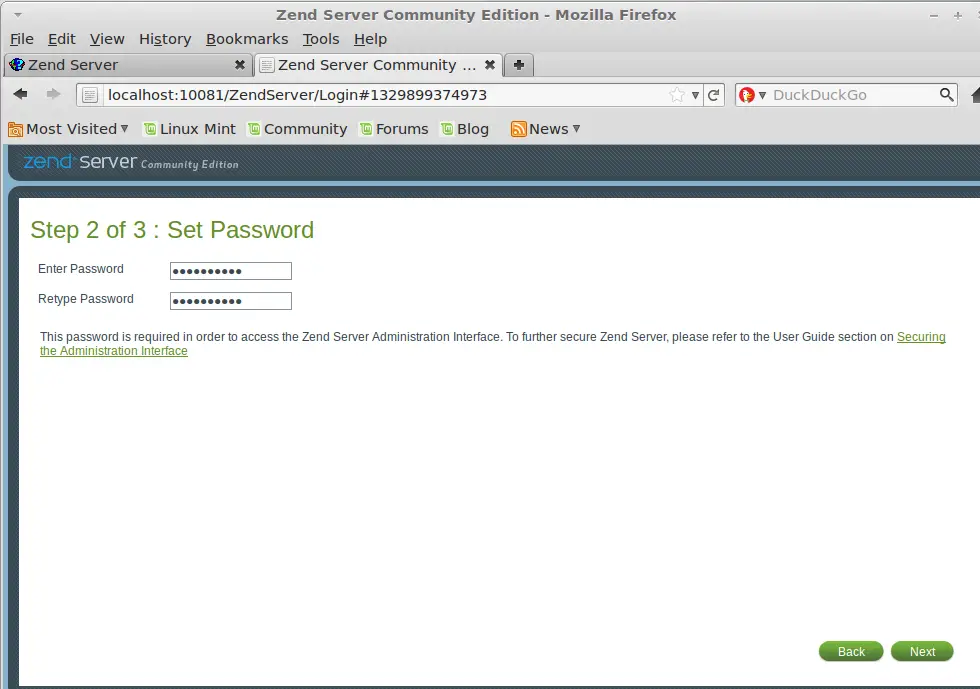
Create a new password.
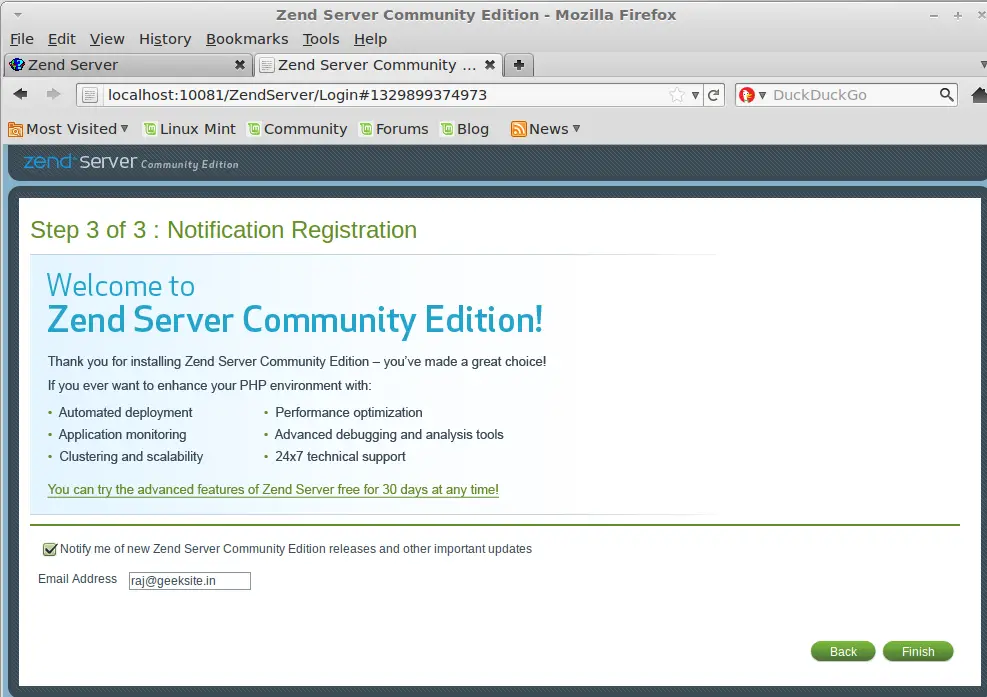
Click on Finish.
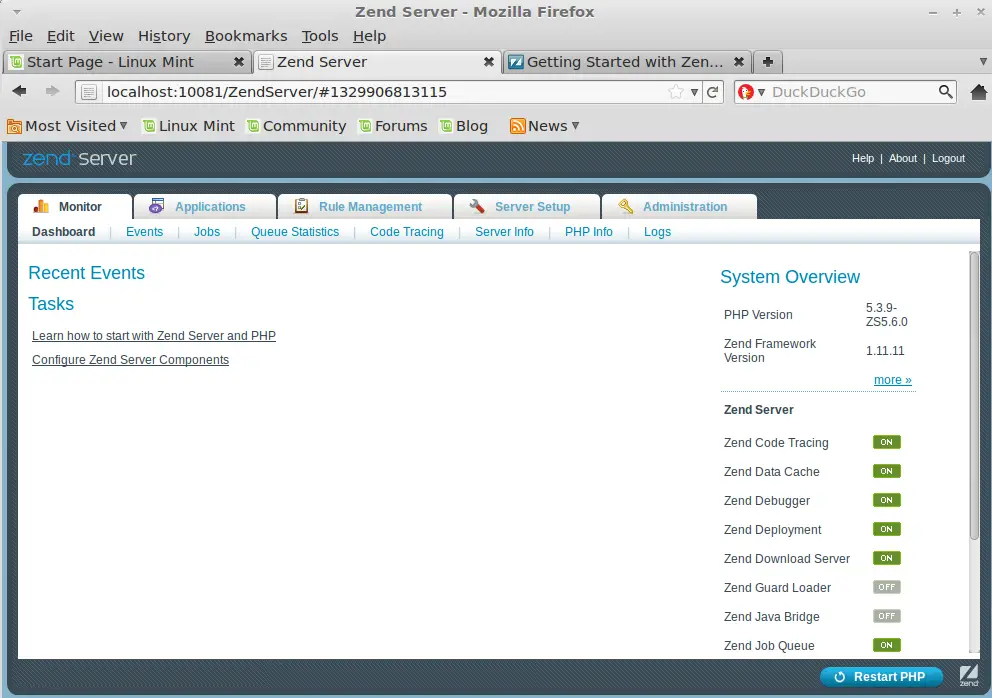
You will get the home page of Zend Sever Community Edition.
Post Installation Configuration:
you intend to use PHP and other tools provided by Zend Server Community Edition (pear and pecl) from the command line (PHP CLI), it is recommended that you add the <install_path>/bin directory to your $PATH environment variable.
This can be done in two ways:
Per user profile:
The following procedure is intended for use with bash. If you are using a different shell, adjust the procedure accordingly.
To add the <install_path>/bin directory to your $PATH environment variable per user profile:
Using a text editor, open .bashrc (located in your home directory).
raj@geeksite~/$ sudo gedit ~/.bashrc
Add the following lines to the end of the file:
PATH=$PATH:<install_path>/bin
LD_LIBRARY_PATH=$LD_LIBRARY_PATH:<install_path>/lib
Replace <install_path> with your Zend Server Community Edition installation path.
Save the file.
In order for this to take effect, close and reopen your shell or run the following command:
raj@geeksite~/$ source ~/.bashrc
You can now run the PHP binary provided by Zend Server Community Edition without typing its full path.
For all users:
To add the <install_path>/bin directory to your $PATH environment variable for all users:
Using a text editor, open /etc/profile.
raj@geeksite~/$ sudo gedit /etc/profile
Add the following lines to the end of the file:
PATH=$PATH:<install_path>/bin
LD_LIBRARY_PATH=$LD_LIBRARY_PATH:<install_path>/lib
Replace <install_path> with your Zend Server Community Edition installation path.
Save the file.
In order for this to take effect, close and reopen your shell or run the following command:
raj@geeksite~/$ source /etc/profile
You can now run the PHP binary provided by Zend Server Community Edition without typing its full path.
That’s all.


