
This is the continuation from the CentOS 7 Installation Step by Step with Screenshot – Part 1, after the reboot of the server.
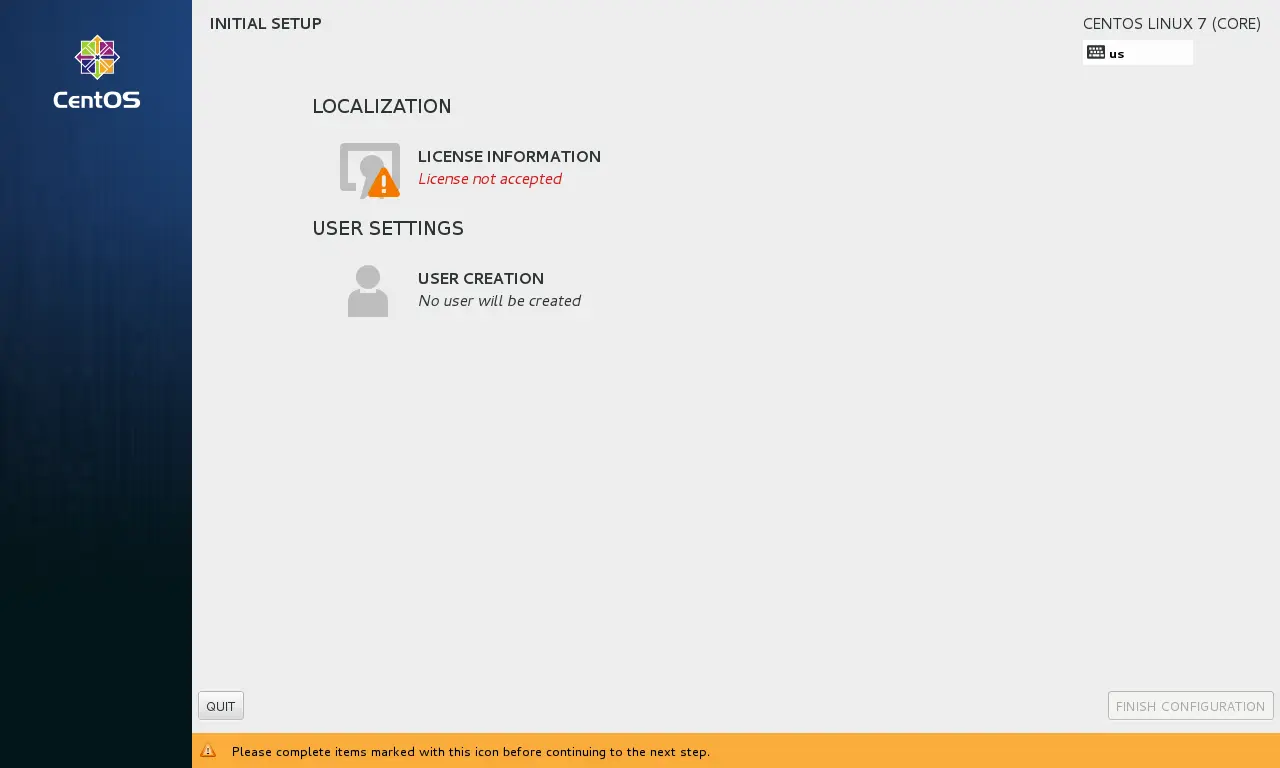
You will get the initial setup screen.
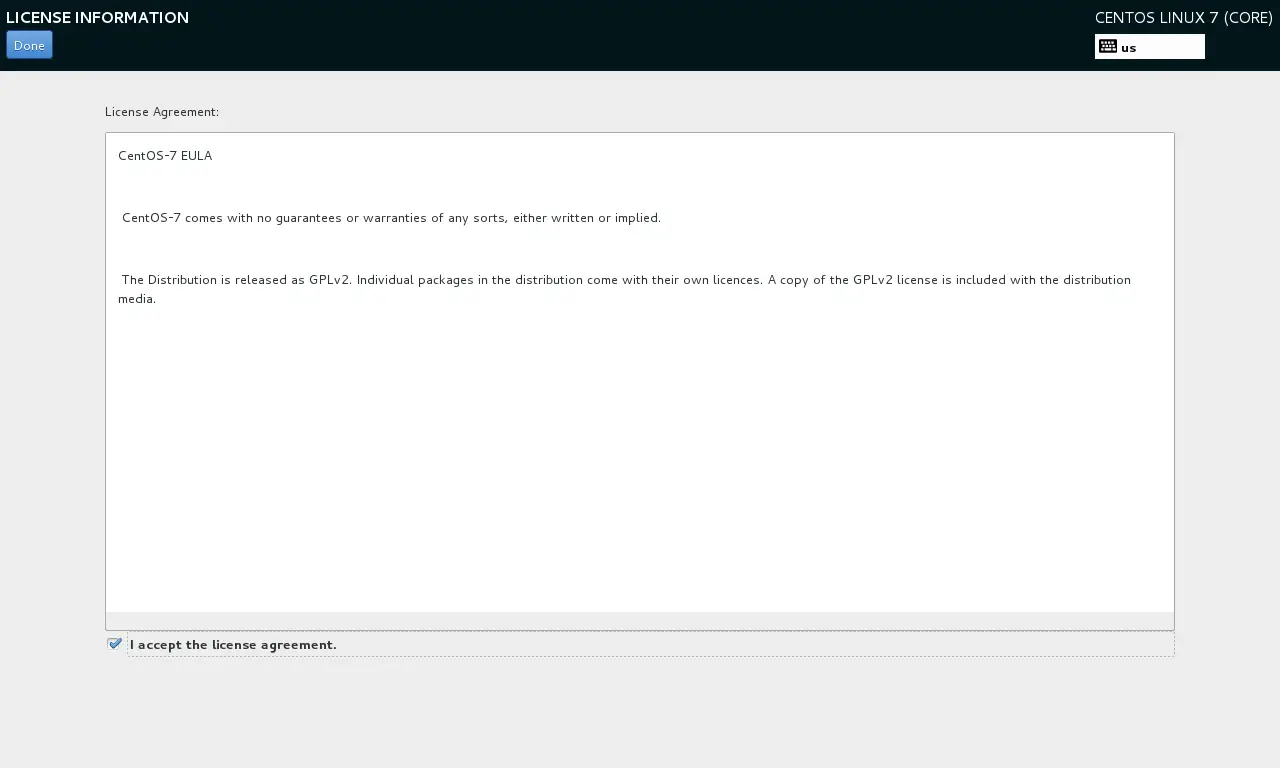
Step 1: Accept the EULA.
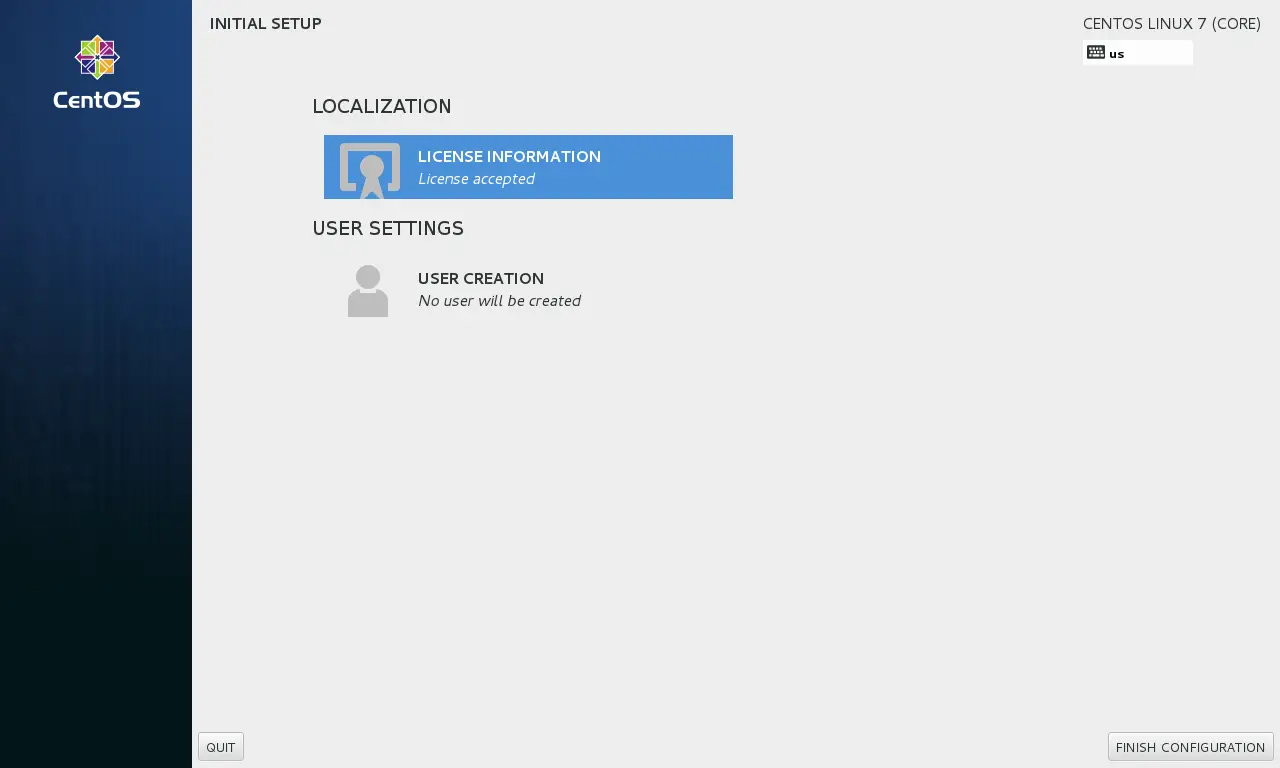
Step 2: Click on Finish Configuration.
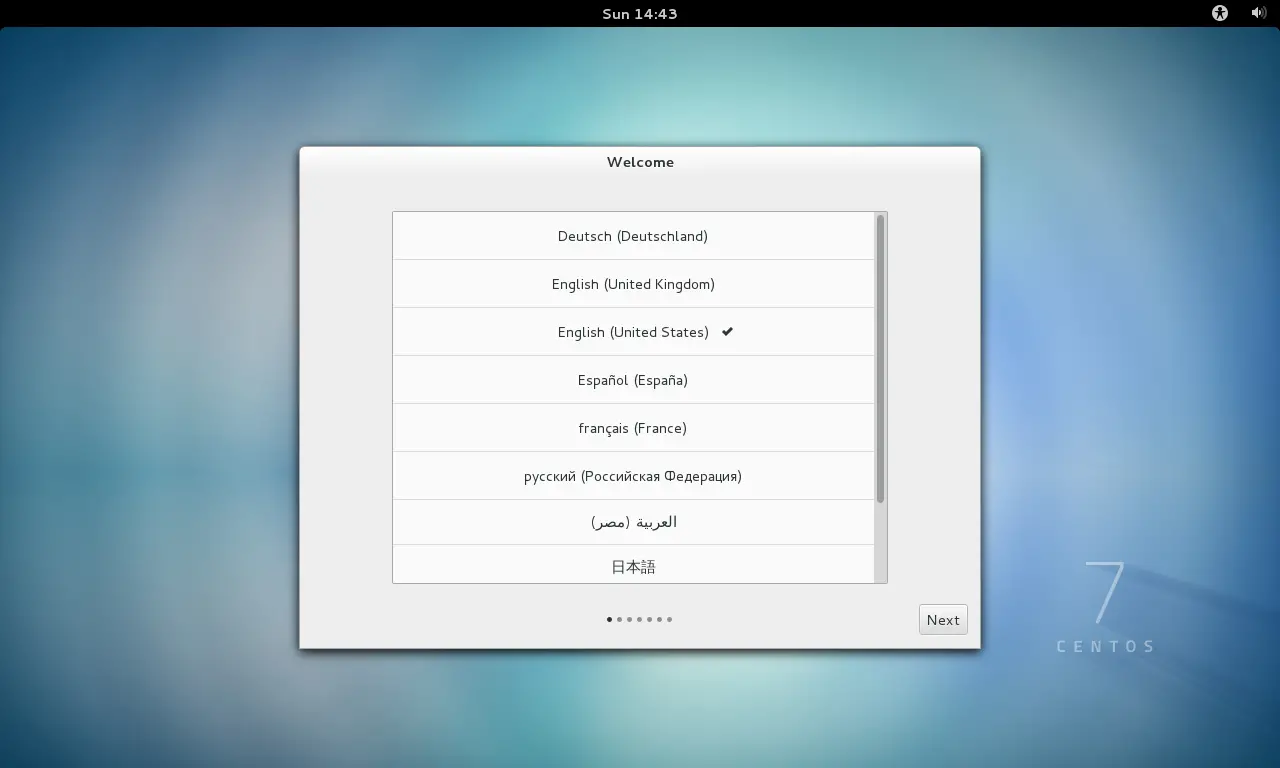
Step3: Click Next on Welcome Screen.
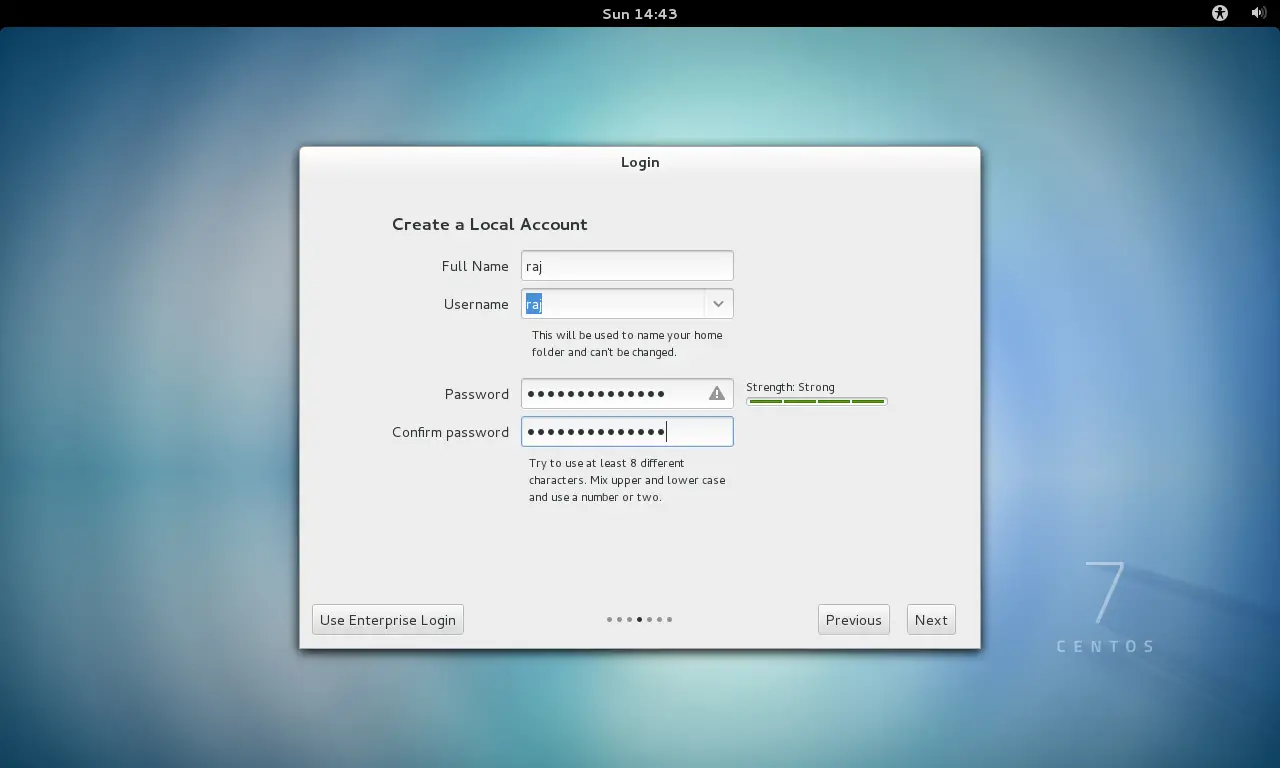
Step 4: Create Local Account.
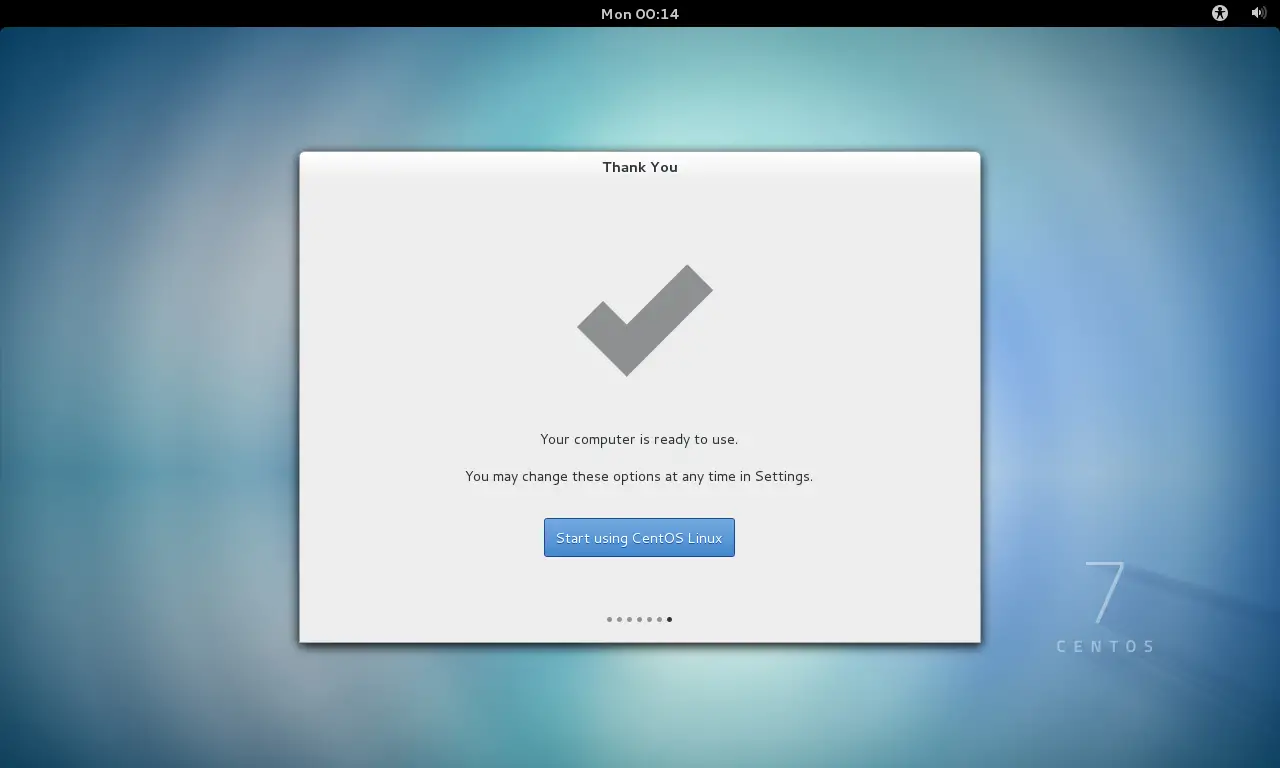
Step 5: Click on Start using CentOS Linux.
This how the desktop will look like.
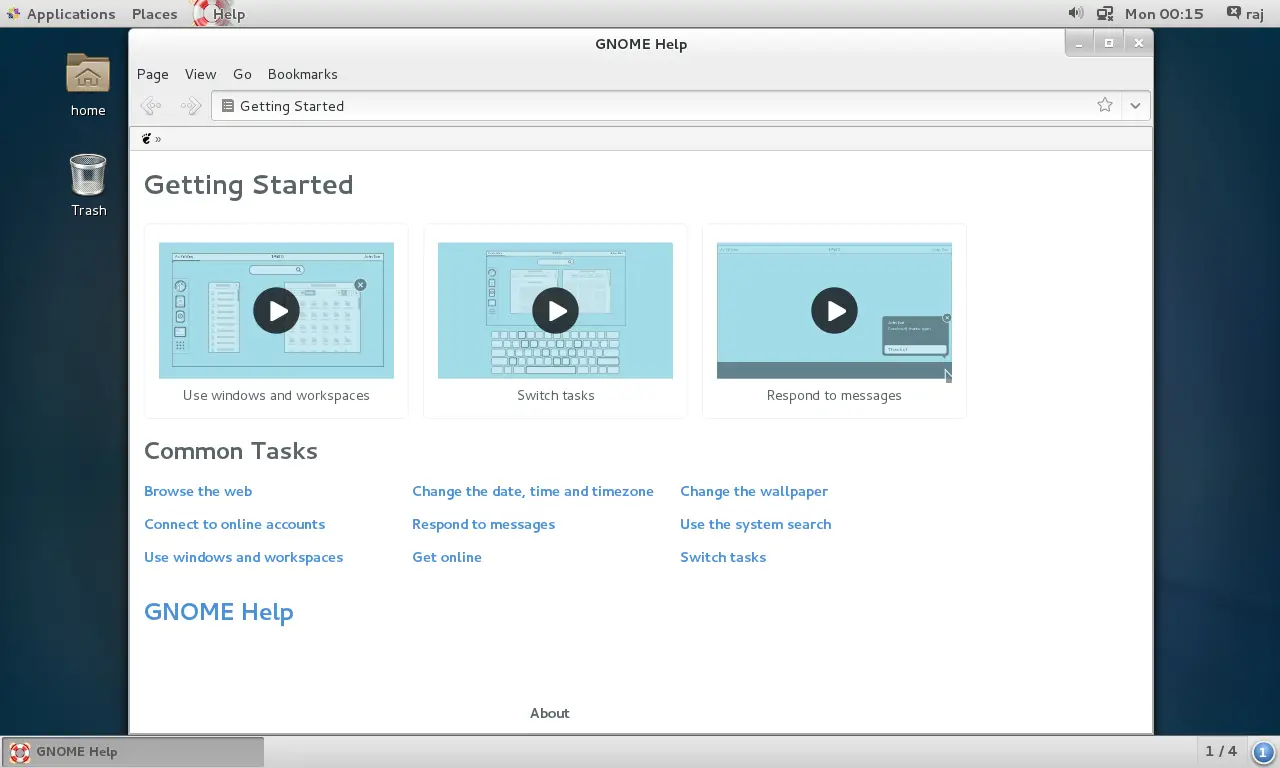
That’s All, you have successfully installed CentOS 7 on the server. The server is now ready to use.