Subversion, widely known as SVN, an open-source version control system used for storing the historical changes of source file and documents, manages it over a period. This post helps you to setup SVN on CentOS 7.
Install web server
Update your system.
yum update
Here we will install Apache server as a web server for the SVN repository.
yum -y install httpd httpd-tools
Allow HTTP through firewall
firewall-cmd --permanent --zone=public --add-service=http
firewall-cmd --reload
Start the Apache service.
systemctl start httpd.service
Verify the Apache service by visiting.
Install Subversion
Once the Apache is installed, issue the following command to install subversion.
yum -y install subversion subversion-tools mod_dav_svn
Configure Subversion
Once the installation is done, you can start to create repositories as per the requirements. In my case, i am creating /svn as the base and will create the repository in it.
mkdir /svn
Create the repository called “testrepo”
svnadmin create /svn/testrepo
Change the permission of the repository in such a way that Apache can read and write.
chown -R apache:apache /svn/testrepo/
If you have SELinux enabled on the system, run the following command.
chcon -R -t httpd_sys_content_t /svn/testrepo/
chcon -R -t httpd_sys_rw_content_t /svn/testrepo/
Configure virtual host in Apache.
vi /etc/httpd/conf.d/svn.conf
Place the following content.
DAV svn
SVNParentPath /svn
</location>
Restart the apache server.
systemctl reload httpd.service
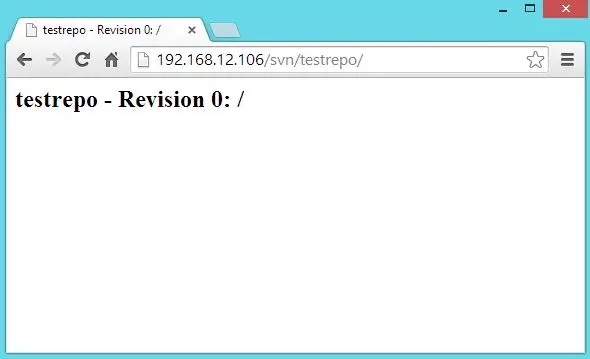
Access the SVN using the browser, URL will be
It won’t ask you any password to view.
Securing SVN (Optional)
The above setting would allow the anonymous users to view and committing the files. To stop the anonymous access, you have to edit the apache configuration which was created just two steps before.
vi /etc/httpd/conf.d/svn.conf
Place the following content.
DAV svn
SVNParentPath /svn/
AuthType Basic
AuthName “Authorization Realm”
AuthUserFile /etc/subversion/svn.users
Require valid-user
</location>
Created the password file for the user.
htpasswd -cm /etc/subversion/svn.users raj
Restart the apache server.
systemctl reload httpd.service
Test Subversion
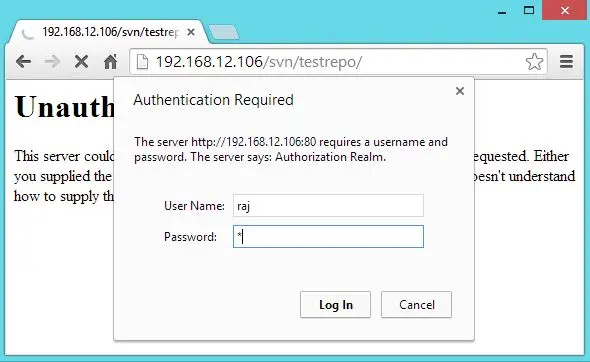
You can visit the URL,
to check out the content, this time you will be asked to enter the username and password (If you have set up the Secure SVN).
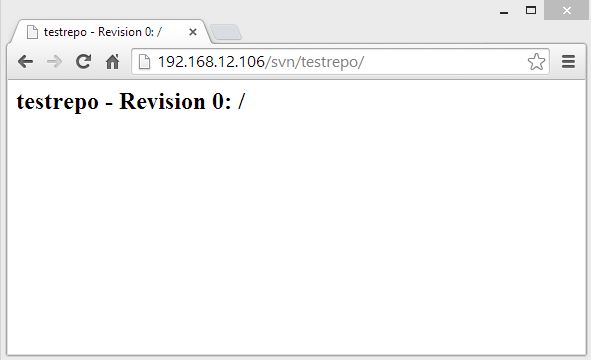
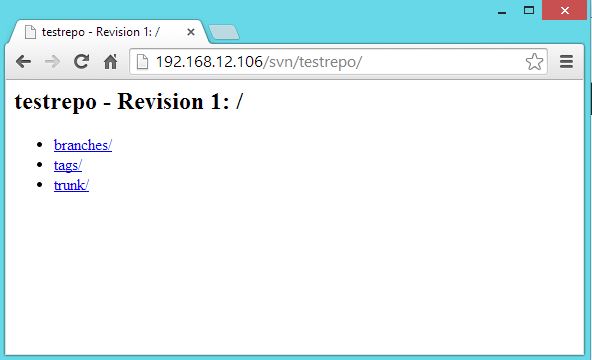
Upon successful login; content will be listed like below.
Create a template directory and import into SVN.
mkdir -p /tmp/repository/project1/{trunk,branches,tags}
svn import -m 'Initial Import' /tmp/repository/project1/ https://192.168.12.106/svn/testrepo
The output will be like below.
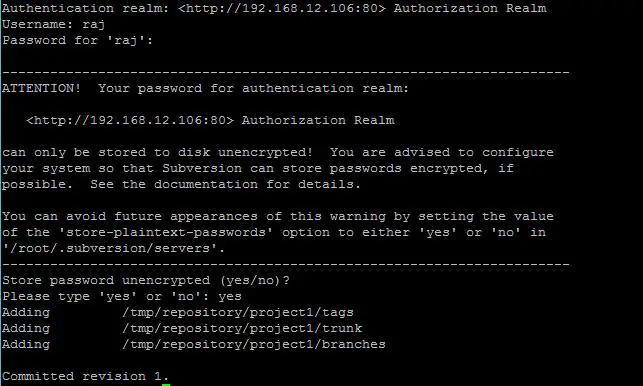
Check out the Revision 1.
That All!. You can use the SVN client such as TortoiseSVN for windows and Rapidsvn for Linux.