Jetty web server is a java based HTTP server and servlet container. Web servers are generally used for serving static content to the client. Nowadays Jetty is used for server to server communication, within large frameworks.
Jetty is developed under open source license by the Eclipse foundation. It is used in multiple active products such as Apache ActiveMQ, Alfresco, Apache Geronimo, Apache Maven, Apache Spark and also in open projects such as Hadoop, Eucalyptus, and Red5.
Jetty supports the latest Java Servlet API as well as protocols SPDY and WebSocket.
This guide will help you to install Jetty on CentOS 7 / RHEL 7.
Prerequisites
Install the wget package download files in a terminal.
yum -y install wget
Install Java 8
Jetty requires Java 8. You can install Oracle Java 8 or OpenJDK 8. Here, I will use OpenJDK 8.
yum -y install java-1.8.0-openjdk
Verify the Java version using the below command.
java -version
Output:
openjdk version "1.8.0_212"
OpenJDK Runtime Environment (build 1.8.0_212-b04)
OpenJDK 64-Bit Server VM (build 25.212-b04, mixed mode)
Download and Install Jetty Web Server
Download the latest version of the Jetty web server.
wget https://repo1.maven.org/maven2/org/eclipse/jetty/jetty-distribution/9.4.17.v20190418/jetty-distribution-9.4.17.v20190418.tar.gz
Extract the downloaded archive file to /opt.
tar -zxvf jetty-distribution-9.4.17.v20190418.tar.gz
Move Jetty directory to /opt or to the directory of your wish.
mv jetty-distribution-9.4.17.v20190418 /opt/jetty
Configure Jett Web Server
Create a user called jetty to run jetty web server on system start-up.
useradd -m jetty
Change ownership of Jetty directory.
chown -R jetty:jetty /opt/jetty/
Create and change the ownership of Jetty PID.
mkdir /var/run/jetty
chown -R jetty:jetty /var/run/jetty
Jetty web server comes with init script. Symlink the jetty.sh to the /etc/init.d directory to manage Jetty service easily.
ln -s /opt/jetty/bin/jetty.sh /etc/init.d/jetty
Add the Jetty web server to the startup.
chkconfig --add jetty
Create Jetty Base
Create a base directory to deploy your web applications.
mkdir /opt/jetty/my_base/
Enable an HTTP connector and the web application deployer.
cd /opt/jetty/my_base/
java -jar /opt/jetty/start.jar --add-to-start=http,deploy
Allow the user to write files in the Jetty base.
chown -R jetty:jetty /opt/jetty/my_base/
Start Jetty Web Server
Set default values in the /etc/default/jetty file.
vi /etc/default/jetty
Replace the port and listening address accordingly.
JETTY_HOME=/opt/jetty
JETTY_BASE=/opt/jetty/my_base
JETTY_USER=jetty
JETTY_PORT=8080
JETTY_HOST=192.168.1.10
Now start the jetty service.
service jetty start
Output:
Starting Jetty: StartLog to /var/run/jetty/jetty-start.log
2019-04-27 16:32:22.663:INFO::main: Logging initialized @1331ms to org.eclipse.jetty.util.log.StdErrLog
2019-04-27 16:32:23.228:INFO:oejs.Server:main: jetty-9.4.17.v20190418; built: 2019-04-18T19:45:35.259Z; git: aa1c656c315c011c01e7b21aabb04066635b9f67; jvm 1.8.0_212-b04
2019-04-27 16:32:23.260:INFO:oejdp.ScanningAppProvider:main: Deployment monitor [file:///opt/jetty/my_base/webapps/] at interval 1
2019-04-27 16:32:23.312:INFO:oejs.AbstractConnector:main: Started ServerConnector@59ec2012{HTTP/1.1,[http/1.1]}{0.0.0.0:8080}
2019-04-27 16:32:23.313:INFO:oejs.Server:main: Started @1981ms
OK Sat Apr 27 16:32:25 EDT 2019
Firewall
Add a firewall rule to allow the Jetty web server to serve web requests coming from external machines.
firewall-cmd --permanent --add-port=8080/tcp
firewall-cmd --reload
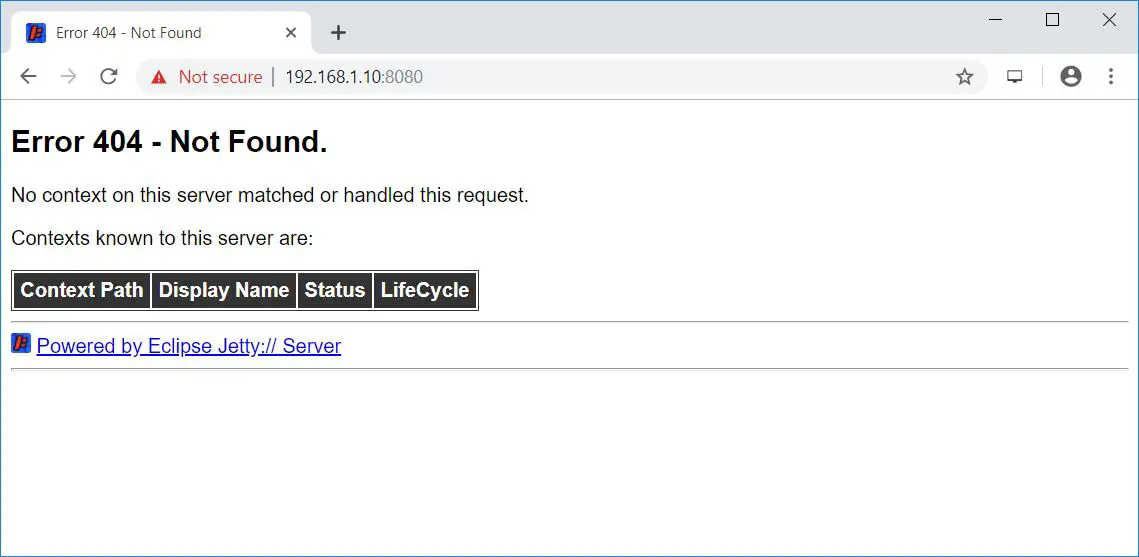
Access Jetty Web Server
You can access Jetty by going to the below URL.
Deploy Web Application
Deploying applications in Jetty is very easy. All you have to do is just copy the .war file to webapps directory of your Jett base.
Copy the sample applications from /opt/jetty/demo-base/webapps. For this demo, I will copy async-rest.war to our base webapps directory.
cp /opt/jetty/demo-base/webapps/async-rest.war /opt/jetty/my_base/webapps/
After you copy, you will see the message in the terminal something like below.
 2019-04-27 16:34:40.219:WARN::Scanner-0: async-rest webapp is deployed. DO NOT USE IN PRODUCTION!
2019-04-27 16:34:40.240:INFO:oejw.StandardDescriptorProcessor:Scanner-0: NO JSP Support for /async-rest, did not find org.eclipse.jetty.jsp.JettyJspServlet
2019-04-27 16:34:40.269:INFO:oejs.session:Scanner-0: DefaultSessionIdManager workerName=node0
2019-04-27 16:34:40.269:INFO:oejs.session:Scanner-0: No SessionScavenger set, using defaults
2019-04-27 16:34:40.270:INFO:oejs.session:Scanner-0: node0 Scavenging every 660000ms
2019-04-27 16:34:40.367:INFO:oejsh.ContextHandler:Scanner-0: Started o.e.j.w.WebAppContext@11c8b2b{Async REST Webservice Example,/async-rest,[file:///tmp/jetty-0.0.0.0-8080-async-rest.war-_async-rest-any-2277232371361906309.dir/webapp/, jar:file:///tmp/jetty-0.0.0.0-8080-async-rest.war-_async-rest-any-2277232371361906309.dir/webapp/WEB-INF/lib/example-async-rest-jar-9.4.17.v20190418.jar!/META-INF/resources],AVAILABLE}{/async-rest.war}
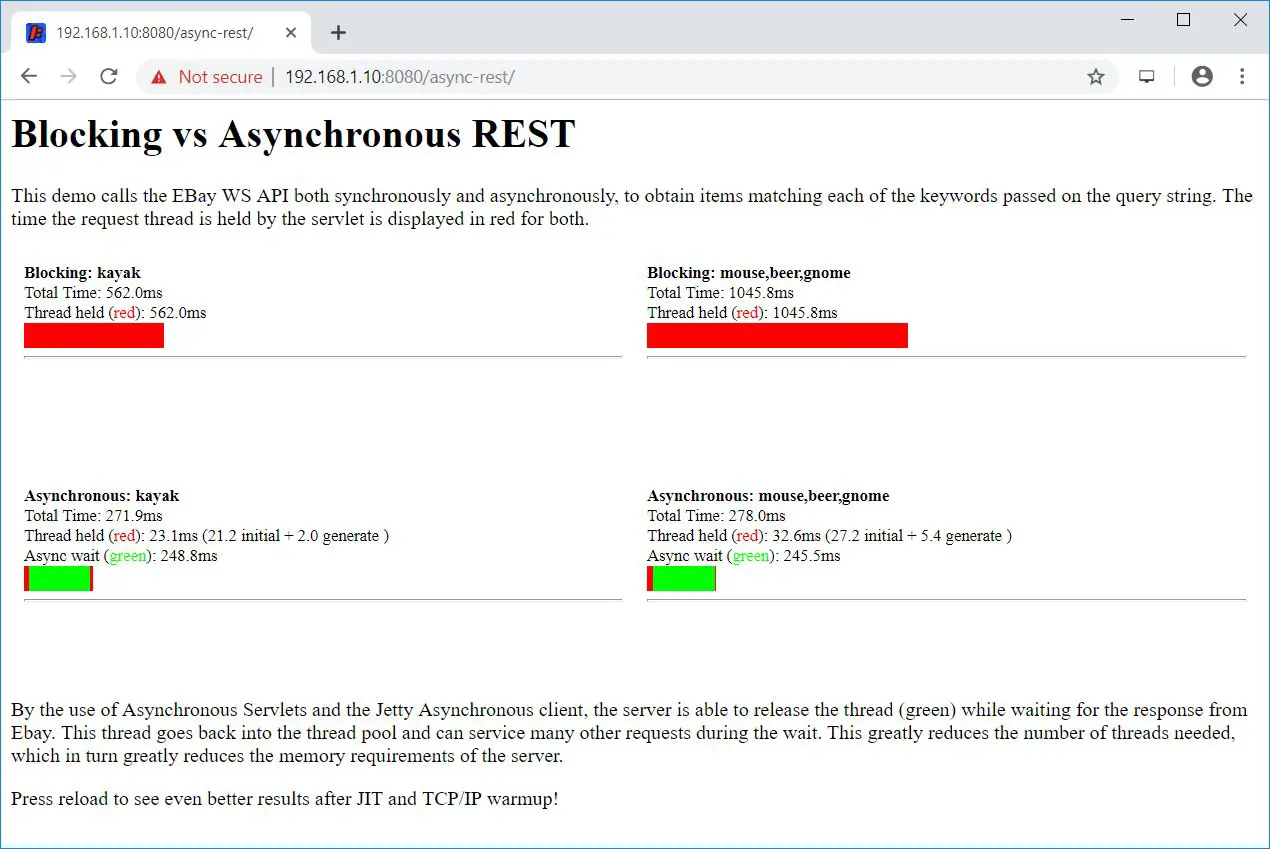
You can check the deployed web application by going to the below URL.
Conclusion
In this tutorial, you have learned how to install Jetty web server on CentOS 7 and deployed a sample web application. You can visit Jetty’s documentation page for more information.