Memcached is a free and open source general-purpose distributed memory object caching system used for speeding up dynamic database-driven web applications by alleviating database loads to physical memory through caching.
Memcached is simple yet powerful. It is widely used by top busiest websites such Google, Youtube, Wikipedia, etc.
Here are the simple steps to install Memcached on Debian 9. Also, this should work on previous versions of Debian, i.e., Debian 8 and Debian 7.
Open a Terminal and then switch to root user.
$ su -
OR
$ sudo su -
Install Memcached on Debian 9
Update the repository index.
apt-get update
Memcached is available in Debian repositories. Install Memcached on Debian 9 using the apt-get command.
apt-get -y install memcached netcat
Verify whether the Memcached service is started or not.
ps -ef | grep -i memcached
Output:
memcache  4107     1  0 02:56 ?        00:00:00 /usr/bin/memcached -m 64 -p 11211 -u memcache -l 127.0.0.1
root      4178  3896  0 03:05 pts/0    00:00:00 grep -i memcached
Configure Memcached
The default configuration file of Memcached is /etc/memcached.conf.
nano /etc/memcached.conf
Change the settings, if necessary. Example settings for 256MB caching.
# Start with a cap of 64 megs of memory. It's reasonable, and the daemon default
# Note that the daemon will grow to this size, but does not start out holding this much
# memory
-m 256

# Default connection port is 11211
-p 11211

# Run the daemon as root. The start-memcached will default to running as root if no
# -u command is present in this config file
-u memcache

# Specify which IP address to listen on. The default is to listen on all IP addresses
# This parameter is one of the only security measures that memcached has, so make sure
# it's listening on a firewalled interface.
# -l 127.0.0.1
Restart Memcached process.
systemctl restart memcached
To auto-start Memcached on booting.
systemctl enable memcached
Confirm the Memcached running status.
echo "stats settings" | nc localhost 11211
Output:
STAT maxbytes 268435456
STAT maxconns 1024
STAT tcpport 11211
STAT udpport 11211
STAT inter NULL
STAT verbosity 0
STAT oldest 0
STAT evictions on
STAT domain_socket NULL
[. . .]
Firewall
Run the following commands to allow the incoming connection on Port no 11211.
ufw allow 11211/tcp
ufw reload
Check the remote connectivity.
echo stats | nc memcache_host_name_or_ip 11211
Install PHP Memcached Module
Install Memcached PHP module to work with PHP.
apt-get install -y php php-memcached
Now restart the Memcached and Apache service to take effect.
systemctl restart memcached
systemctl restart apache2
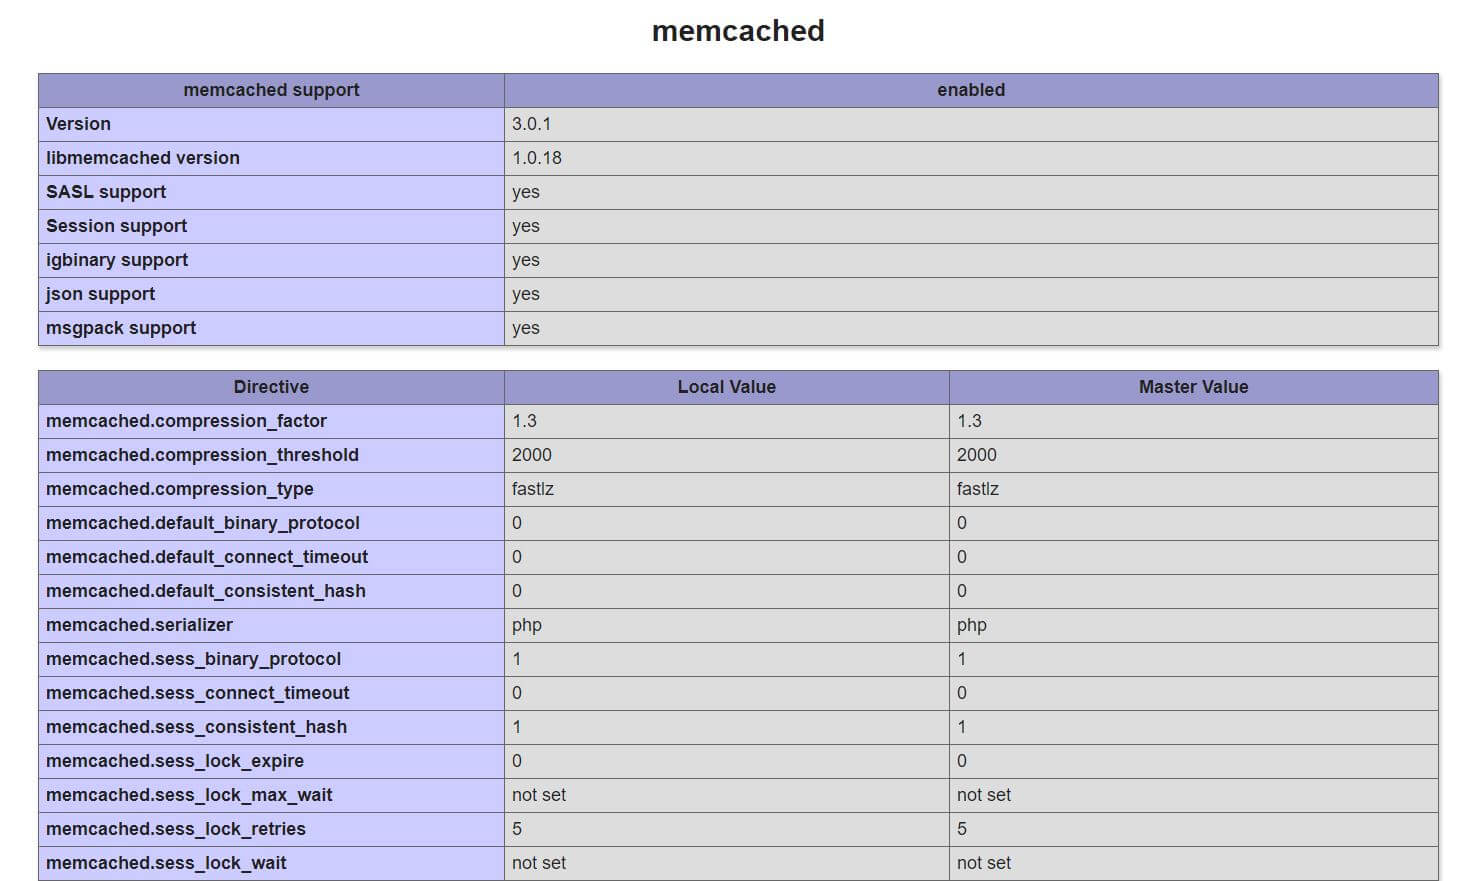
Verify Memcached extension
Create a php file under the document root of the web server.
vi /var/www/html/info.php
Place the following content in the above file.
phpinfo(); ?>
Open up a web browser and visit the following URL.
You should get the below page.
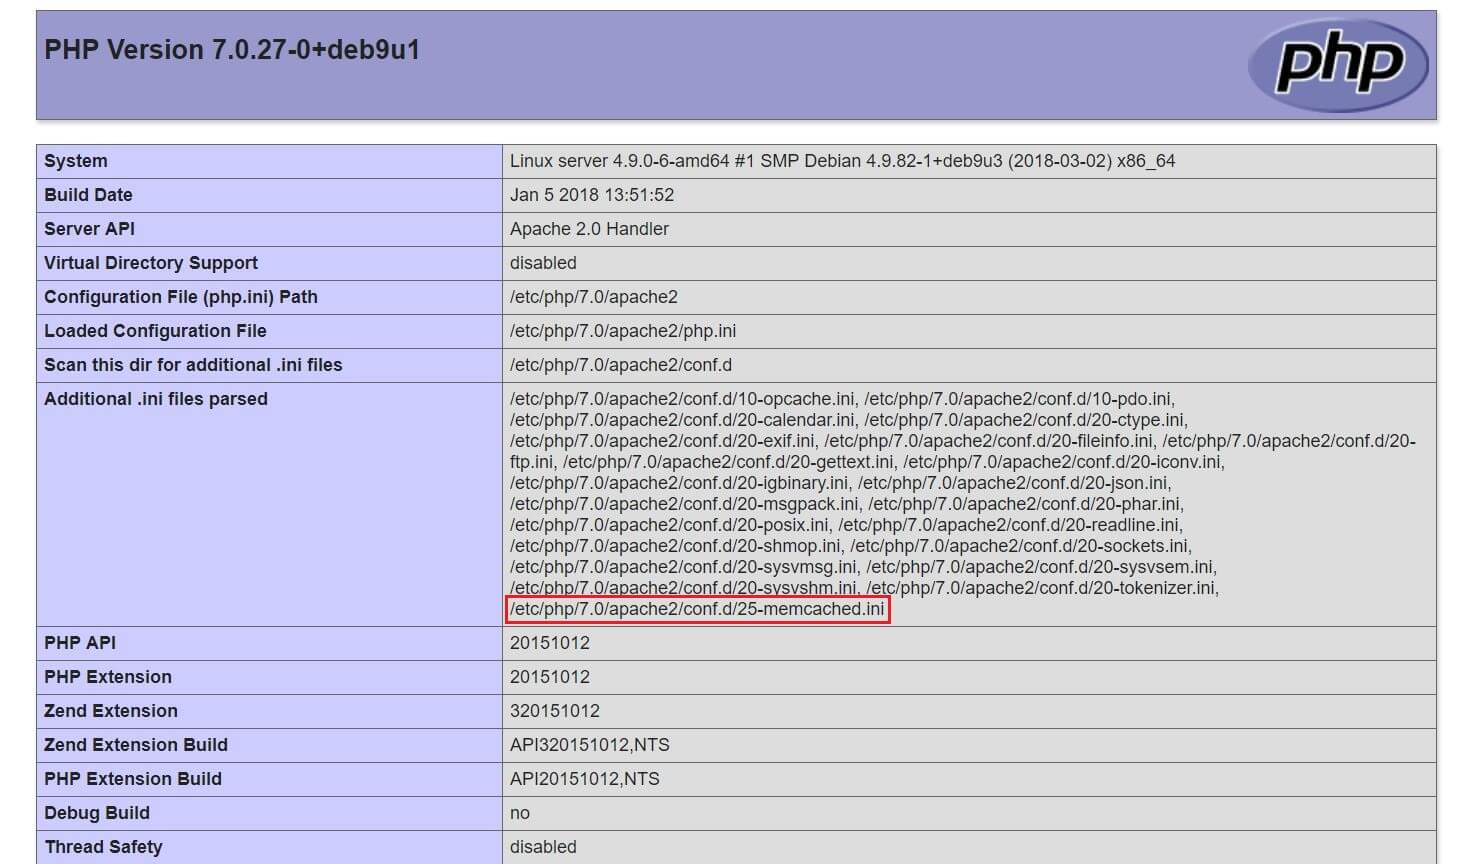
Scroll further down to get more detailed information about Memcached.
That’s all.