How to Install Redhat Enterprise Linux 6 / Centos 6

Hi, Here we are going to install the new version of Redhat Enterprise Linux 6. No big difference in the installation of RHEL 6 compared to previous version of RHEL installation. But there is a small tricky in the installation of RHEL 6.
Lets go to installation of Redhat. Download the RHEL 6 DVD from their official website. (May require registration)
Step 1: Now put the DVD of Redhat on to PC. Make the Boot sequence in such way that to start the installation from DVD drive.
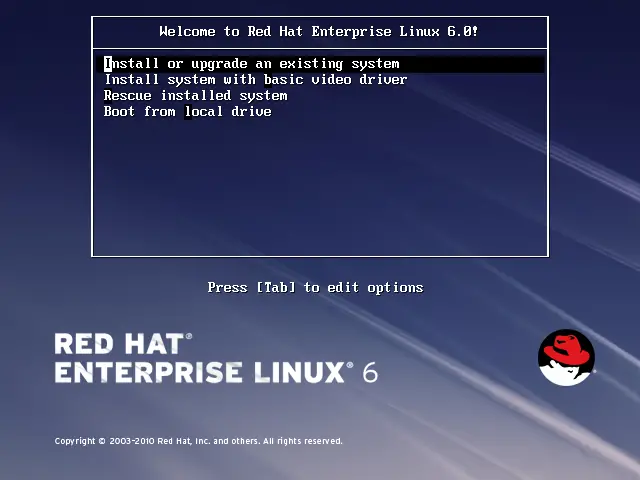
Step 2: Once started the machine, it will try to boot from the DVD drive. you will get the following installation screen. Select the first option to install RHEL 6 in graphical mode.
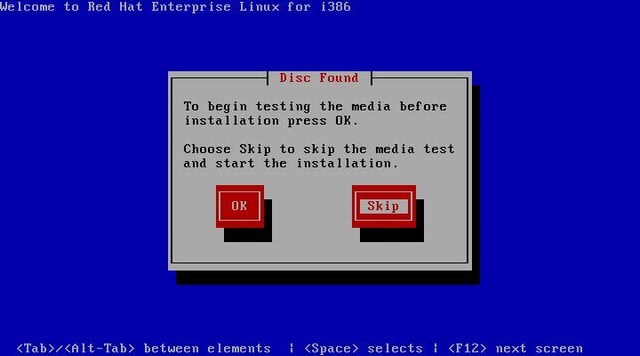
Step 3: Next it will ask you to check the media, just simply give a skip for starting the installation without checking media
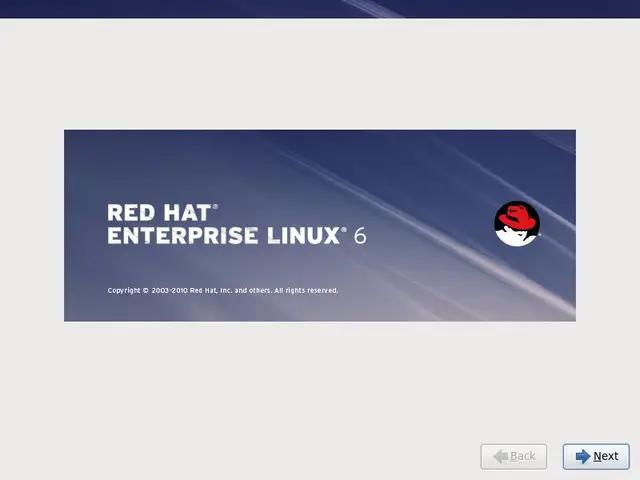
Step 4: Click Next to start the installation.
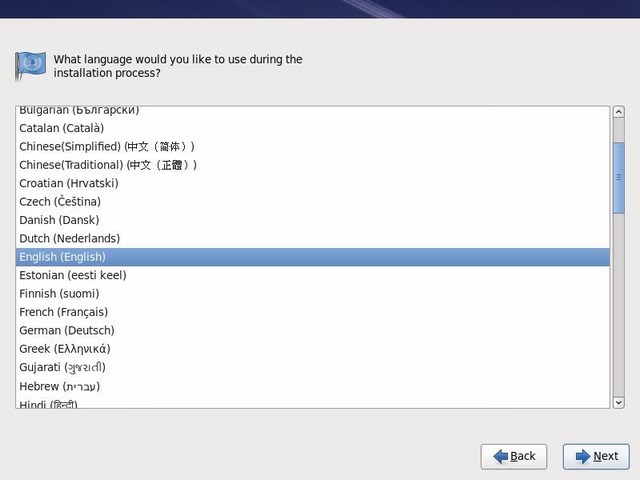
Step 5: Select the language and click Next.
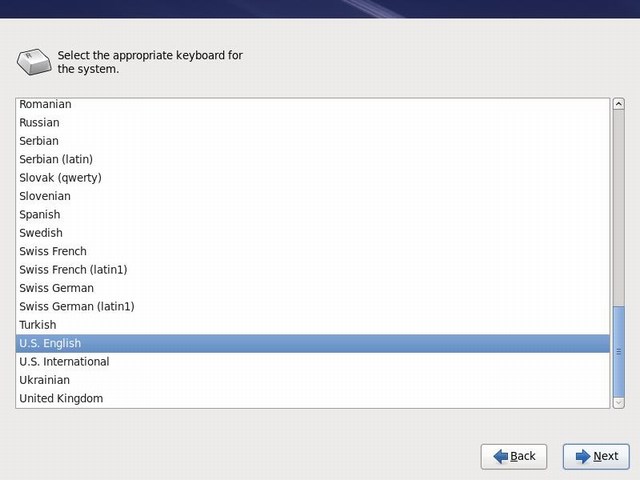
Step 6: Select the Keyboard for the system.
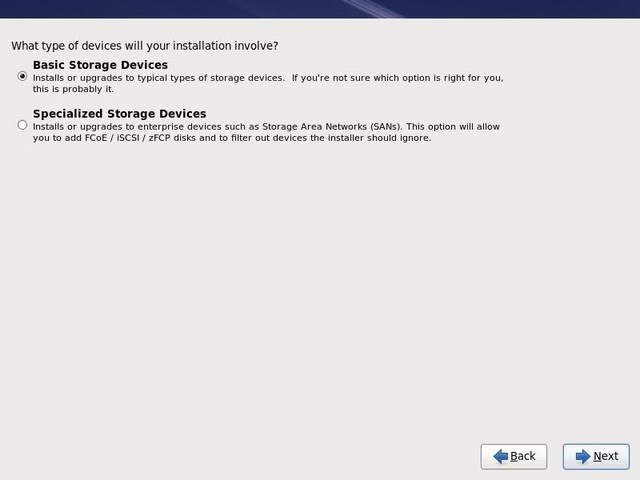
Step 7: Storage Options. If you are not familiar with the SAN or ISCSI, just select the basic storage devices and click Next.
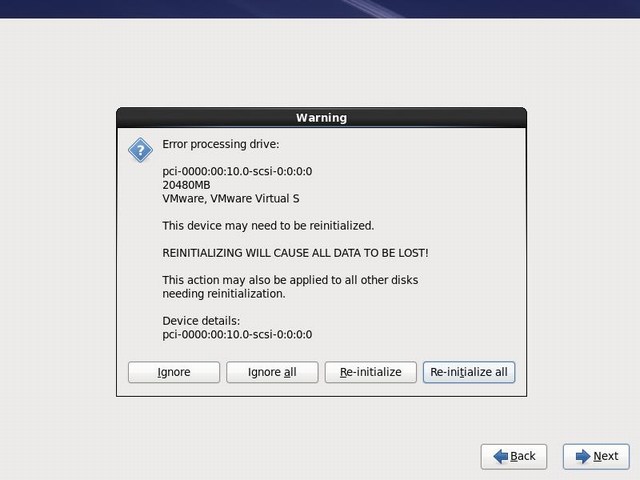
Step 8: Click on Re-initialize all to start to use the HDD. This may lead to loss of data. Be care full on do it on your own risk.
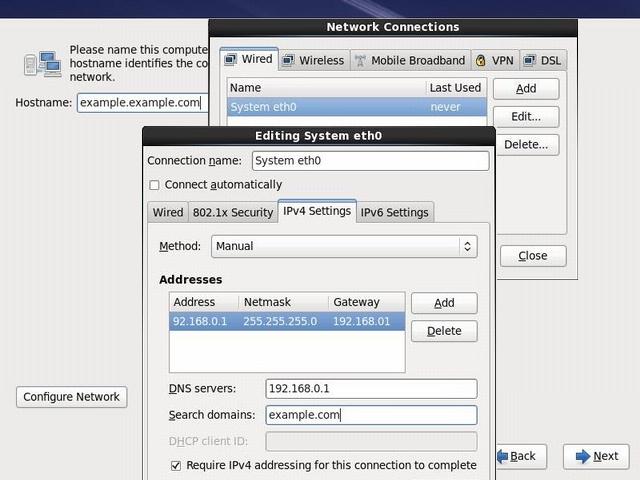
Step 9 : Next is to setup the Host name and Networks settings. Type you Host name in the box. Network setting can be done by clicking on configure network. Once IP Address given click apply to save the settings, then click Next to continue.
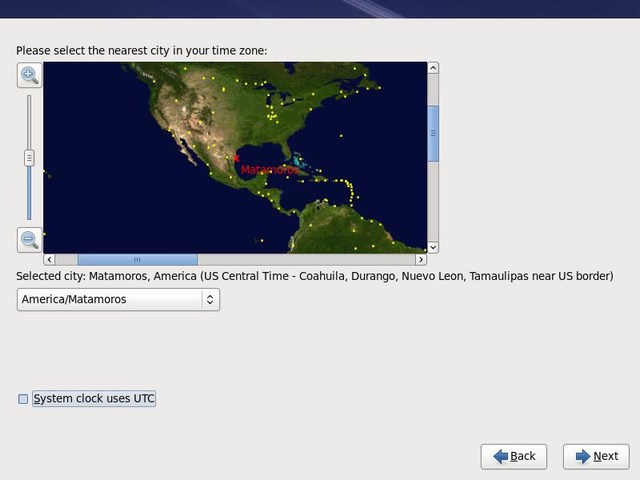
Step 10: Select your Time Zone.
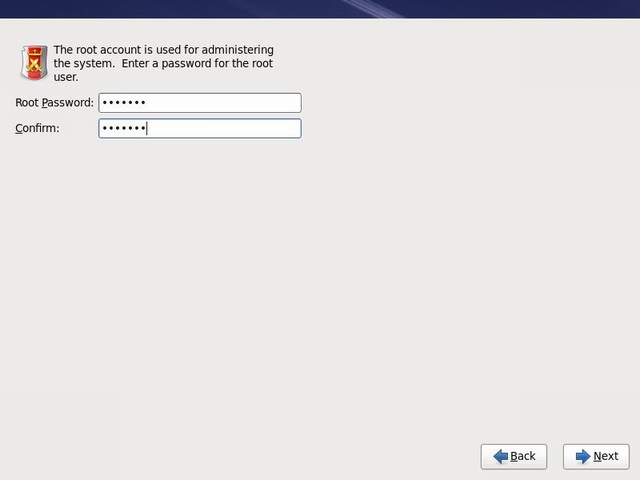
Step 11: Type the password for root account, this root is like windows administrator. Password must be strong one.
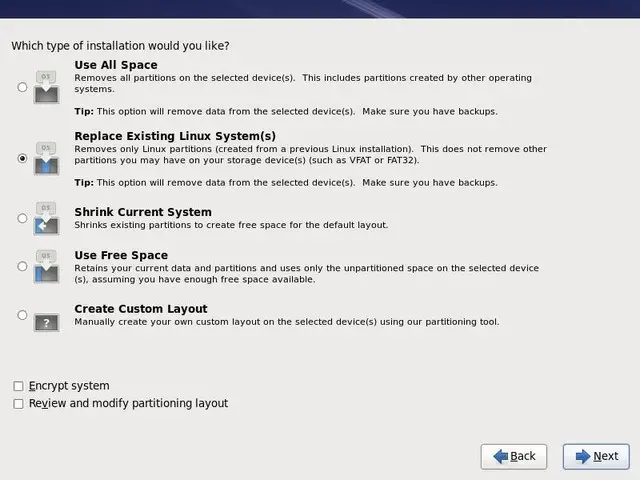
Step 12: Installation type, Select the replace the existing Linux system ( you don’t worry, not necessary to have the previous Linux installation) even if you are installing in HDD for first time. The system will make partition automatically. for advanced partition layout.
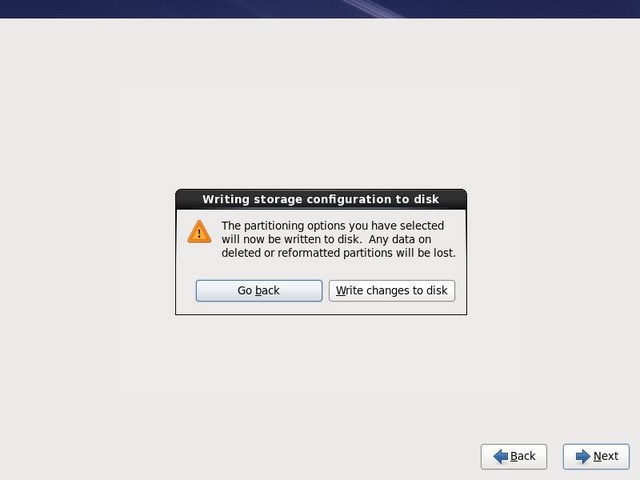
Step 13: Writing Confirmation. Click on Write changes to disk.
Step 14: Select the customize now and click Next for selecting the software for our requirement.
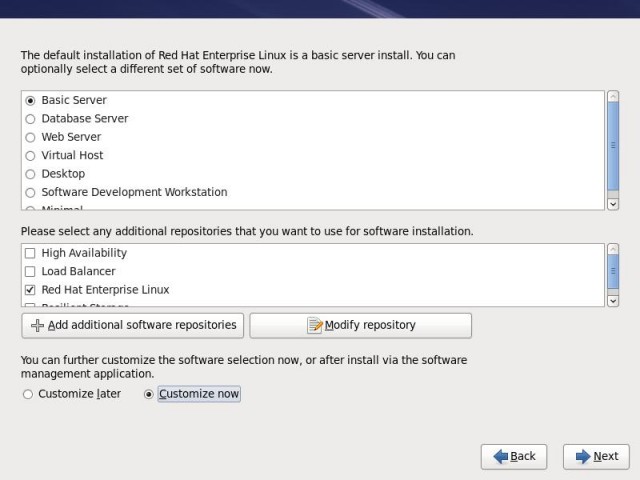
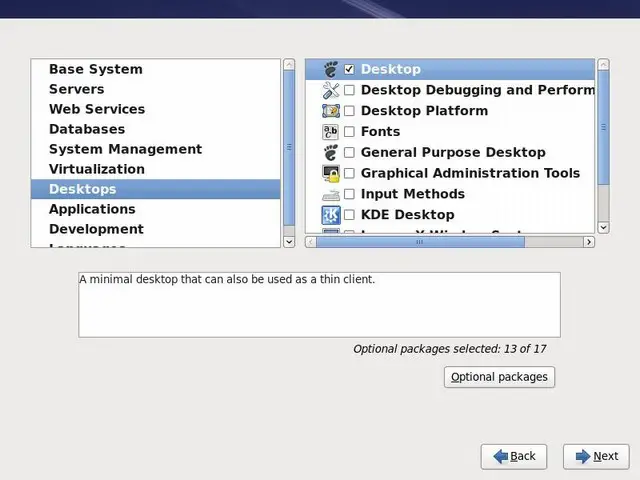
Step 15: Select the Software or Sever Software’s as per your requirement. But if you are very new to redhat select the Desktop & X windows systems from Desktop Section, this will help you get the graphical desktop for you to work. Once over click Next to Start the installation.
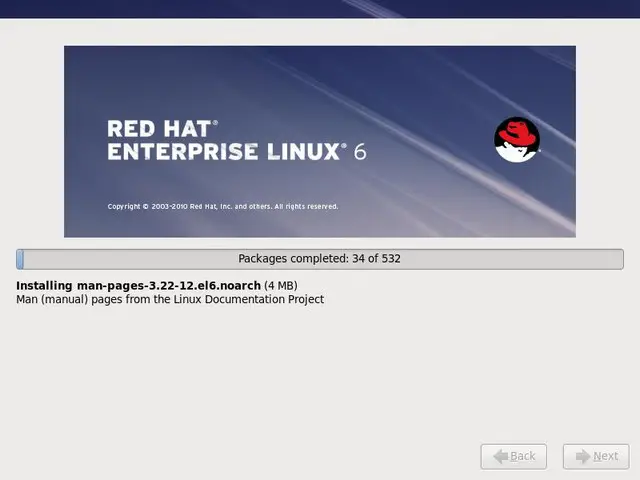
Step 16 : Now thw installation started and it is installing the redhat.
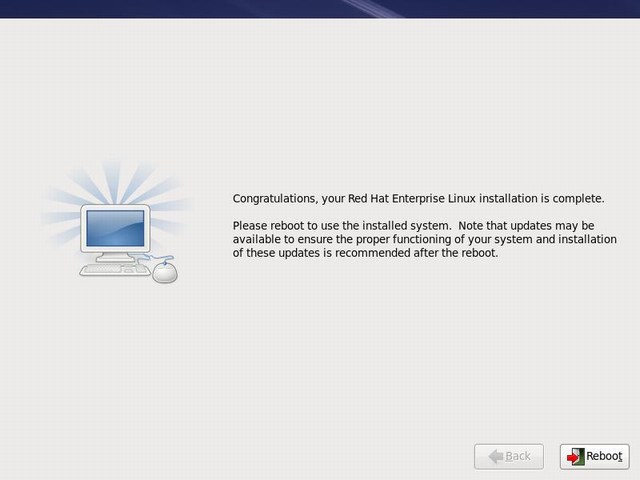
Step 17: Once the installation is over. Click Finish to reboot the machine.
Once the machine restarted, it will ask you to do some post configuration. For the post configuration click HERE
