
Virtual hosting is a technical way of hosting multiple domains on a single server. Hosting multiple domains on a single server increase optimized usage of its resources, such as processor cycles, memory.
Types of Virtual Hosting:
There are two types of virtual hosting, namely.
IP Based – The website can be accessed using IP Address. The limitation is that you can host only one website per IP Address.
Name Based – Website will be accessible only when we use FQDN (ex. www.itzgeek.local). Shared hosting providers use this method for hosting multiple websites on a single server.
In our previous article, we looked into the installation of Lighttpd server on CentOS / Debian / Ubuntu.
READ: How to Install Lighttpd on CentOS 7 / RHEL 7
READ: How to Install Lighttpd on Debian 9
READ: How to Install Lighttpd on Ubuntu 16.04
Here, we focus on implementing Name Based virtual hosting on Lighttpd server.
Our Requirement:
We will implement the virtual hosting for below domains.
| Virtual Hosts | Document Root |
|---|---|
| web1.itzgeek.local | /srv/htdocs/web1.itzgeek.local/ |
| web2.itzgeek.local | /srv/htdocs/web2.itzgeek.local/ |
Create Document Root:
Login as root or switch to the root user.
su -
OR
sudo su -
Let’s create a document root for both domains. The document root is where the html files are present and served upon users request.
In my scenario,
mkdir -p /srv/htdocs/web1.itzgeek.local/
mkdir -p /srv/htdocs/web2.itzgeek.local/
Create index.html on both document root for testing virtual hosts.
echo "This is Test Page on web1.itzgeek.local" > /srv/htdocs/web1.itzgeek.local/index.html
echo "This is Test Page on web2.itzgeek.local" > /srv/htdocs/web2.itzgeek.local/index.html
Create VirtualHost Configuration files:
Let’s create a virtual host configuration file for both of our web sites.
web1.itzgeek.local:
### CentOS / RHEL ###

vi /etc/lighttpd/vhosts.d/web1.itzgeek.local.conf

### Ubuntu / Debian ###

nano /etc/lighttpd/conf-available/web1.itzgeek.local.conf
Use the below information.
$HTTP["host"] == "web1.itzgeek.local" { #FDQN

server.document-root = "/srv/htdocs/web1.itzgeek.local/" # Document-root of the webserver
accesslog.filename = "/var/log/lighttpd/web1.itzgeek.local_access.log" # Web server Access log file
server.errorlog = "/var/log/lighttpd/web1.itzgeek.local_error.log" # Web server Error log file

}
web2.itzgeek.local:
### CentOS / RHEL ###

vi /etc/lighttpd/vhosts.d/web2.itzgeek.local.conf

### Ubuntu / Debian ###

nano /etc/lighttpd/conf-available/web2.itzgeek.local.conf
Use the following configuration information.
$HTTP["host"] == "web2.itzgeek.local" { #FDQN

server.document-root = "/srv/htdocs/web2.itzgeek.local/" # Document-root of the webserver
accesslog.filename = "/var/log/lighttpd/web2.itzgeek.local_access.log" # Web server Access log file
server.errorlog = "/var/log/lighttpd/web2.itzgeek.local_error.log" # Web server Error log file

}
Enable Virtual Hosts:
On CentOS/RHEL server, uncomment the following line in the main configuration file /etc/lighttpd/lighttpd.conf.
### CentOS / RHEL ###

include_shell "cat /etc/lighttpd/vhosts.d/*.conf"
On Debian/Ubuntu, you need to run below commands to enable virtual host configurations.
### Ubuntu / Debian ###

ln -s /etc/lighttpd/conf-available/web1.itzgeek.local.conf /etc/lighttpd/conf-enabled/
ln -s /etc/lighttpd/conf-available/web2.itzgeek.local.conf /etc/lighttpd/conf-enabled/
Restart Lighttpd service.
service lighttpd restart
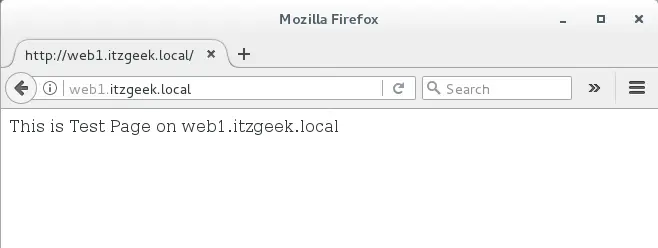
Verify the Lighttpd Virtual Hosts:
Open up a web browser and visit both domains.
Output:

For more information on Lighttpd Virtual host configuration, visit Lightttpd Wiki.
That’s All.