phpMyAdmin is the web-based administration tool for managing the MySQL, MariaDB and Drizzle servers. It helps in performing databases activities such as creating, deleting, querying, tables, columns, relations, indexes, users, permissions, etc.
This guide will help you to install phpMyAdmin on Linux Mint 19 / Linux Mint 18.
Before installing phpMyAdmin, you must have LEMP Stack installed on the server.
READ: How to Install Nginx, PHP, and MariaDB (LEMP Stack) on LinuxMint 19
READ: How to Install Nginx, PHP, and MariaDB (LEMP Stack) on LinuxMint 18
Install phpMyAdmin
Update the repository index.
sudo apt update
I am assuming that you have completed the previous steps. Install phpMyAdmin using the following command.
sudo apt install -y phpmyadmin
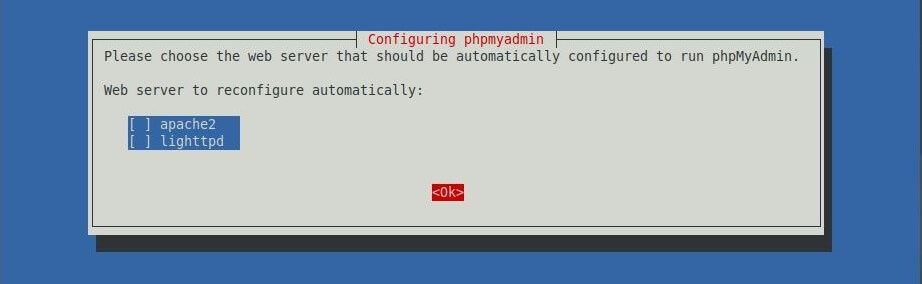
Do not select any web server on this step as we are using Nginx.
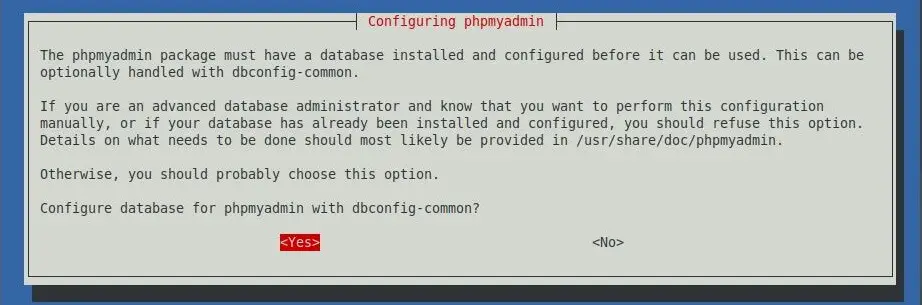
Choose Yes to configure database for phpMyAdmin application.
Enter a password for phpMyAdmin to register with the database server. The password could be anything or be left blank.
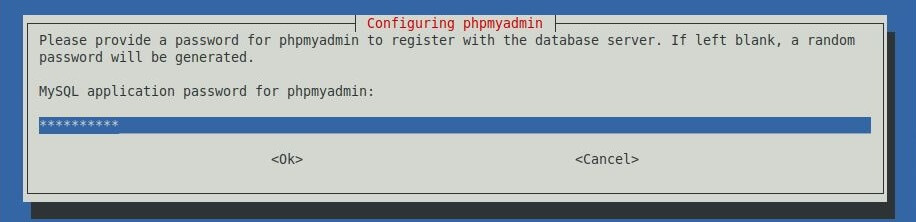
Re-enter password.

Configure phpMyAdmin
phpMyAdmin package does not put any config file for Nginx, and we have to create it as per our requirement. In Nginx, virtual host file can be found in /etc/nginx/conf.d directory. Let’s create a file called phpMyAdmin.conf.
sudo nano /etc/nginx/conf.d/phpMyAdmin.conf
Paste the following content into the file. Do modify it as per your requirements.
server {
        listen   80;
        server_name phpmyadmin.itzgeek.local;
        root /usr/share/phpmyadmin;

location / {
        index  index.php;
        }

## Images and static content is treated different
        location ~* ^.+.(jpg|jpeg|gif|css|png|js|ico|xml)$ {
        access_log        off;
        expires           30d;
        }

location ~ /\.ht {
        deny  all;
        }

location ~ /(libraries|setup/frames|setup/libs) {
        deny all;
        return 404;
        }

location ~ \.php$ {
        include /etc/nginx/fastcgi_params;
        fastcgi_pass 127.0.0.1:9000;
        fastcgi_index index.php;
        fastcgi_param SCRIPT_FILENAME /usr/share/phpmyadmin$fastcgi_script_name;
        }
}
Restart the services.
sudo systemctl restart nginx
sudo systemctl restart php7.2-fpm
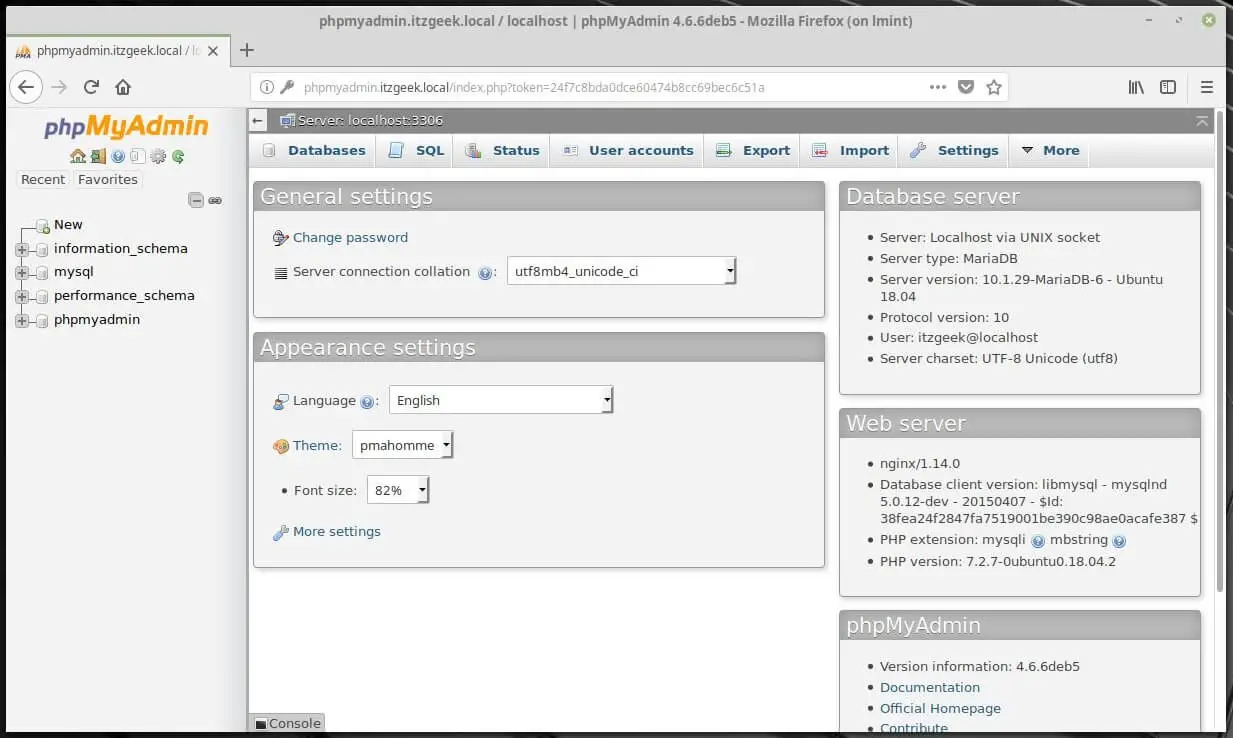
Access phpMyAdmin
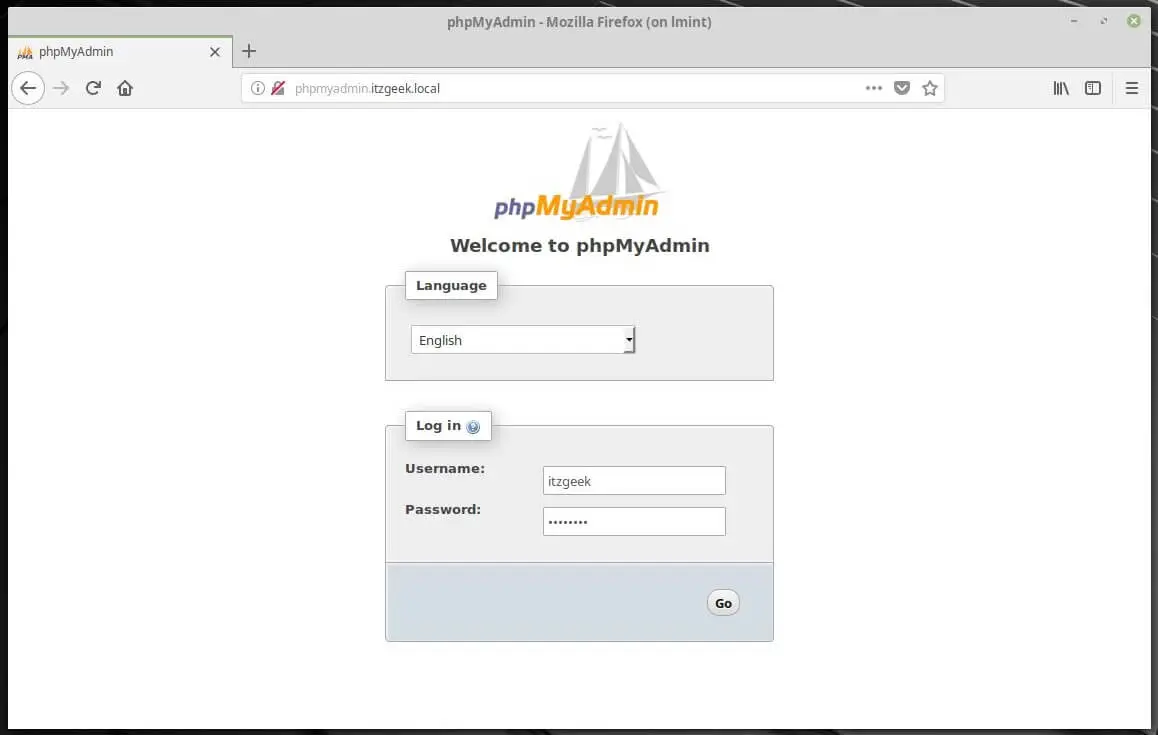
Now access the phpMyAdmin from the browser, URL will be
https://yourfqdn
Login with database user.
You will get the database page.
That’s All.