This tutorial will help to install Nginx on Linux Mint 19 with PHP support (through PHP-FPM) and MariaDB support.
I hope you know what Nginx is? Nginx is an open-source web server which can also be used as a reverse proxy, load balancer, mail proxy and HTTP cache.
Nginx was created by Igor Sysoev, released under BSD-like license.
Install MariaDB
First, we will install the MariaDB by issuing the following command. Update the repository index using the apt command.
sudo apt update
Install MariaDB server using the following command.
sudo apt install -y mariadb-server
sudo mysql -u root -p or mysql -u root -p command as root in Linux Mint.Install Nginx
Download the Nginx signing key from the official site.
wget https://nginx.org/keys/nginx_signing.key
Add Nginx repository to the system using the below commands.
echo "deb [arch=amd64] https://nginx.org/packages/ubuntu/ bionic nginx" | sudo tee /etc/apt/sources.list.d/nginx.list
echo "deb-src [arch=amd64] https://nginx.org/packages/ubuntu/ bionic nginx" | sudo tee -a /etc/apt/sources.list.d/nginx.list
Update repository index.
sudo apt update
Install Nginx using the following command.
sudo apt install -y nginx
Test Nginx
Open a web browser and hit it to,
You should see the below page, and this confirms you that the Nginx is successfully installed on the server.
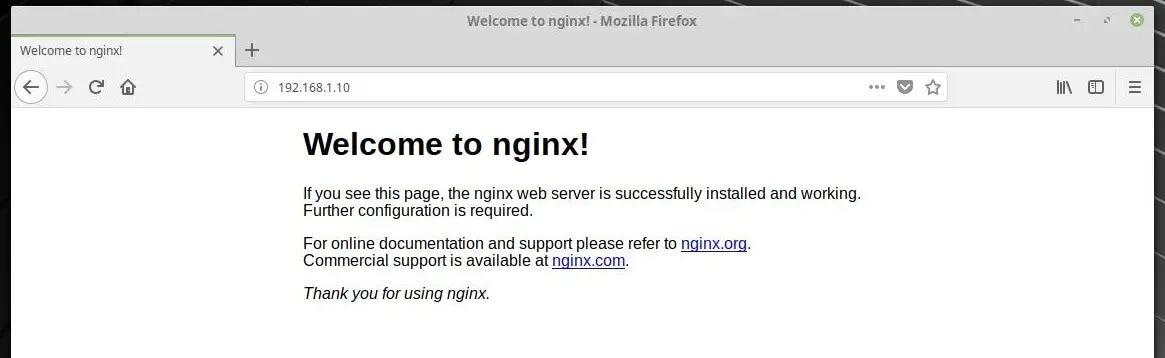
The default document root of Nginx on Linuxmint 19 is /usr/share/nginx/html/. The configuration files are stored under /etc/nginx directory.
Install PHP-FPM
Next is to install PHP through PHP-FPM (PHP-FPM (FastCGI Process Manager), it is an alternative PHP FastCGI implementation. Install it by using the apt command.
sudo apt install -y php-fpm php-mysql php-cli
Edit the respective php.ini depending on the PHP version you have installed on the system.
sudo nano /etc/php/7.2/fpm/php.ini
set cgi.fix_pathinfo to 0.
cgi.fix_pathinfo=0
Edit the /etc/php/7.2/fpm/pool.d/www.conf file.
sudo nano /etc/php/7.2/fpm/pool.d/www.conf
Make sure to change the following value.
FROM:
listen = /var/run/php7.2-fpm.sock
TO:
listen = 127.0.0.1:9000
EnablePHP-FPM Support on Virtual Host
Let’s create name-based virtual host on Nginx server for the following details.
Server Name : web.itzgeek.local
Document Root : /usr/share/nginx/html/web.itzgeek.local
Create the configuration file /etc/nginx/conf.d/web.itzgeek.local.conf for our virtual host.
sudo nano /etc/nginx/conf.d/web.itzgeek.local.conf
Add the following content.
server {
   server_name web.itzgeek.local;
   root /usr/share/nginx/html/web.itzgeek.local;

   location / {
       index index.html index.htm index.php;
   }

   location ~ \.php$ {
      include /etc/nginx/fastcgi_params;
      fastcgi_pass 127.0.0.1:9000;
      fastcgi_index index.php;
      fastcgi_param SCRIPT_FILENAME /usr/share/nginx/html/web.itzgeek.local$fastcgi_script_name;
   }
}
Testing PHP-FPM support on the Virtual Host
Create the document root directory.
sudo mkdir /usr/share/nginx/html/web.itzgeek.local
For testing the PHP, place a .php file on to the document root of the created virtual host. In the terminal copy/paste the following line.
sudo nano /usr/share/nginx/html/web.itzgeek.local/index.php
Now, Copy/Paste this line into the index.php file and then save it.
<?php phpinfo(); ?>
Restart the services.
sudo systemctl restart php7.2-fpm
sudo systemctl restart nginx
On Client machine
Create host entry for your domain (web.itzgeek.local) in /etc/hosts file or make an A record in case you have DNS server in your environment.
sudo nano /etc/hosts
Add a host entry something like below.
192.168.1.10 web.itzgeek.local web
Now open up a browser and type your domain in the web address.
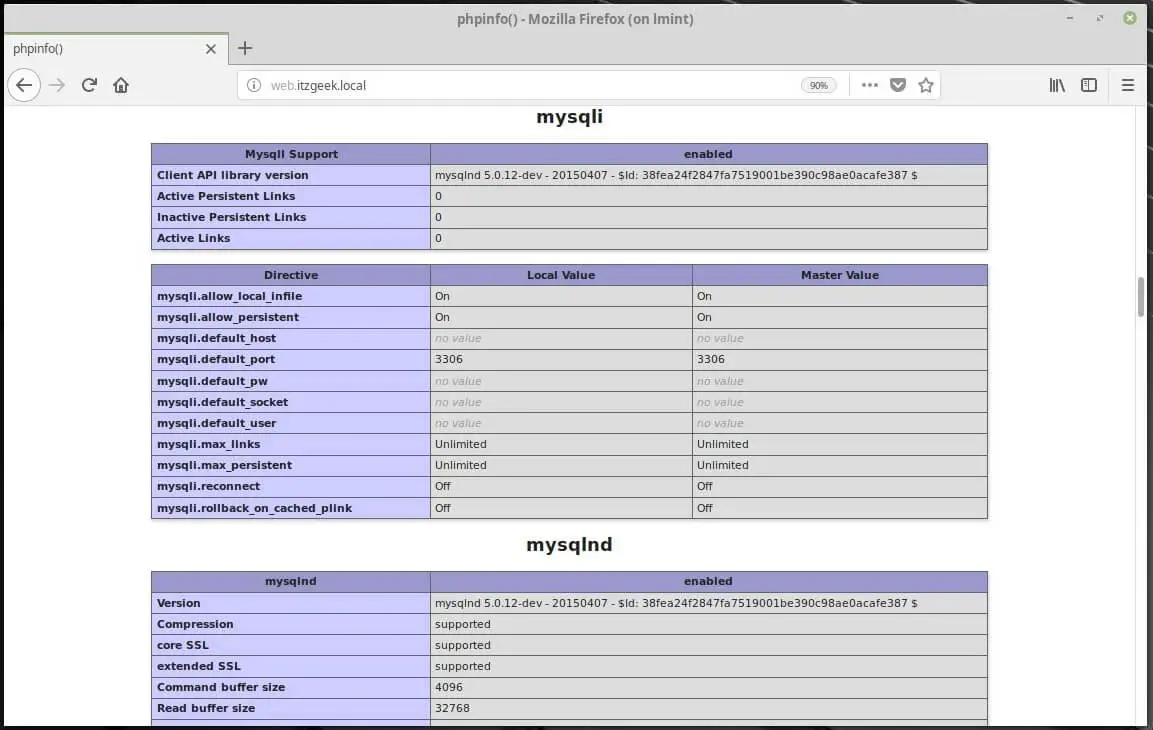
The page looks like below.

From the above screenshot, PHP is working through FPM/FastCGI, as shown in the Server API line.
Additionally, scroll the page further down to see all the modules that are enabled in PHP.
MySQL support information:
More To Read:
READ: How To Install phpMyAdmin with Nginx on LinuxMint 19 / LinuxMint 18
That’s All.