Jenkins is an open-source continuous integration tool that helps to automate the software build, testing, and deployments involved in the software development process. It is written in Java
Here, we will see how to install Jenkins on Rocky Linux 8 / AlmaLinux 8.
Prerequisites
Install Java
Jenkins requires Java JRE v8 or v11. So, install either version of the Java JRE.
Here, install OpenJDK 11.
dnf install -y java-11-openjdk wget
In case you want to use Oracle Java instead of OpenJDK, follow the below link to install it.
READ: How To Install Oracle Java on Rocky Linux 8 / CentOS 8 / RHEL 8
Once the Java installation is complete, run the below command to verify the Java version.
java -version
Output:
openjdk version "11.0.11" 2021-04-20 LTS
OpenJDK Runtime Environment 18.9 (build 11.0.11+9-LTS)
OpenJDK 64-Bit Server VM 18.9 (build 11.0.11+9-LTS, mixed mode, sharing)
Add Jenkins repository
Jenkins project offers a dedicated repository for the Jenkins package. So, we will now add Jenkin’s official repository to the system.
First, import the Jenkins key to the system.
rpm --import https://pkg.jenkins.io/redhat-stable/jenkins.io.key
Then, add the Jenkins repository to the system.
cd /etc/yum.repos.d/

curl -O https://pkg.jenkins.io/redhat-stable/jenkins.repo
Install Jenkins
Now, install Jenkins using the following command.
dnf install -y jenkins
Start Jenkins service.
systemctl start jenkins
Enable auto-start of Jenkins service on system boot.
systemctl enable jenkins
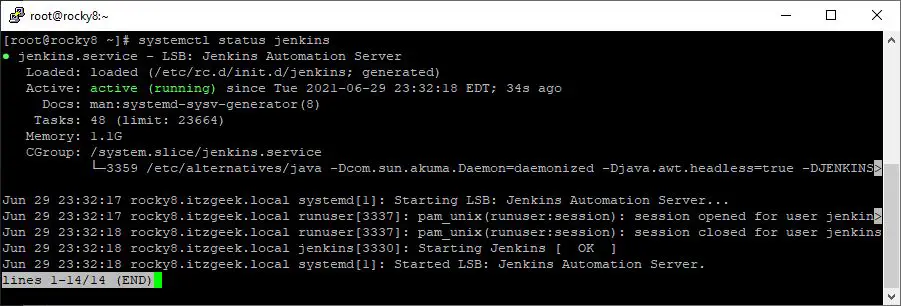
Check the status of the Jenkins service post you start the Jenkins service.
systemctl status jenkins
Firewall
Configure the FirewallD to allow external machines to access the Jenkins.
firewall-cmd --permanent --add-port=8080/tcp

firewall-cmd --reload
Setup Jenkins
We will need to set up this Jenkins installation before accessing the Jenkins web interface.
Open up a web browser and go to the following URL.
Follow the steps shown in the link to set up Jenkins.
Access Jenkins
To access Jenkins, go to the below URL using the browser.
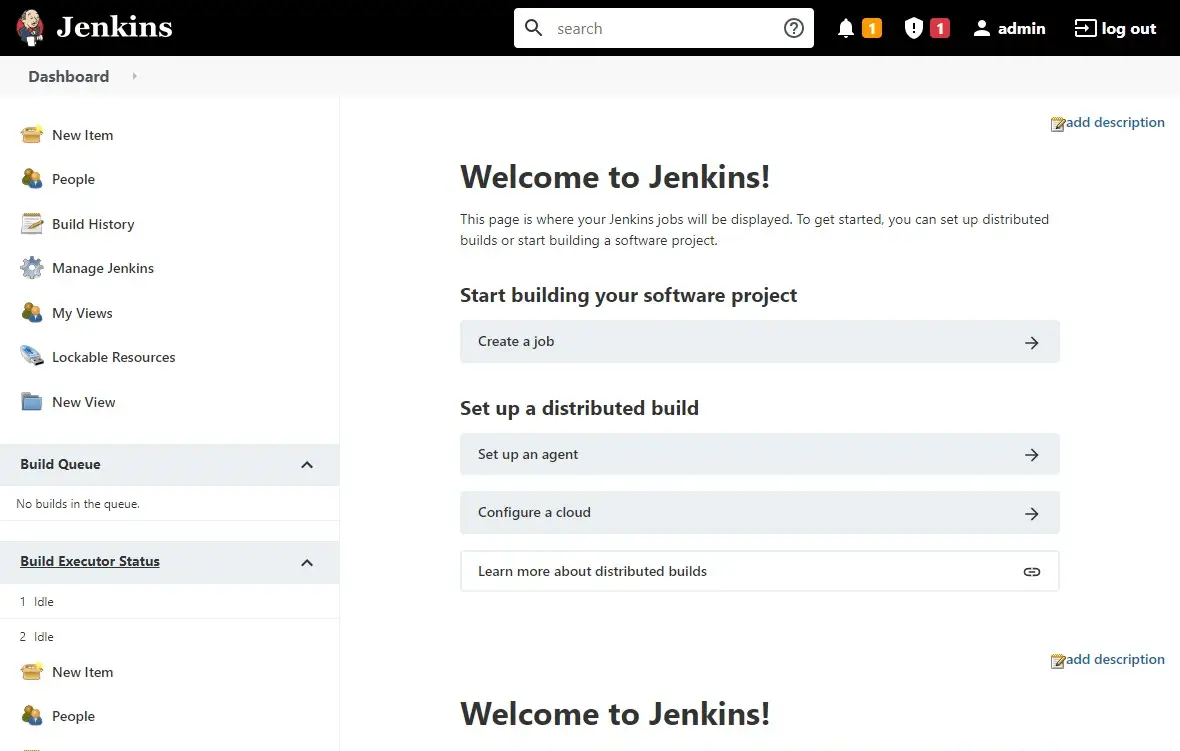
Log in with Jenkins’s admin account you created during the setup.
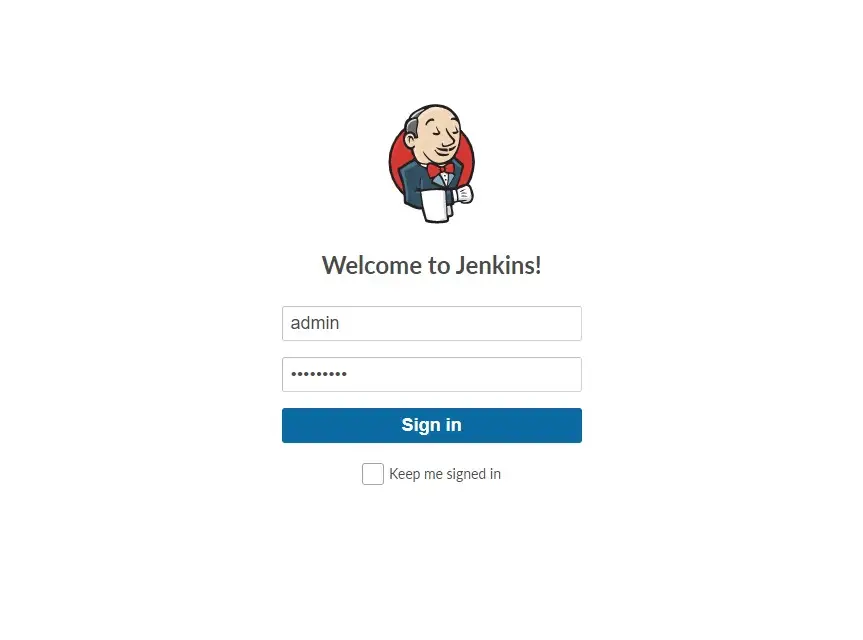
Upon successful login, you will get the Jenkins dashboard.
Conclusion
That’s All. You have learned how to install Jenkins on Additionally, see how to create your first Jenkins project. Also, read Jenkins’s documentation for more information. Please share your feedback in the comments section.