Rocky Linux, is a brand new Linux distribution from the Rocky Linux community, led by Gregory Kurtzer, founder of the CentOS project. This distribution came up in the news after the CentOS announcement to abandon CentOS 8 stable release.
Rocky Linux community has announced the general availability of Rocky Linux 8.5, an open-source enterprise operating system derived from the source of Red Hat Enterprise Linux 8.5.
The community also offers a conversion tool to migrate from CentOS 8 to Rocky Linux 8. You can definitely try the conversion tool if you feel Rocky Linux is your system’s operating system.
New Features
READ: Rocky Linux 8 Release Notes
Supported Architectures
Rocky Linux provides installation media for the following architectures.
- AMD and Intel 64-bit architectures
- The 64-bit ARM architecture
System Requirements
At least 2 GB RAM is required to install Rocky Linux 8.5.
Download Rocky Linux 8
Click the below link to download the Rocky Linux 8.5.
Choose the Rocky Linux DVD ISO image for the installation.
Install Rocky Linux 8
The installation of Rocky Linux 8 is very similar to the installation of CentOS 8. So, you would not find any difficulty getting the Rocky Linux 8 ready for testing.
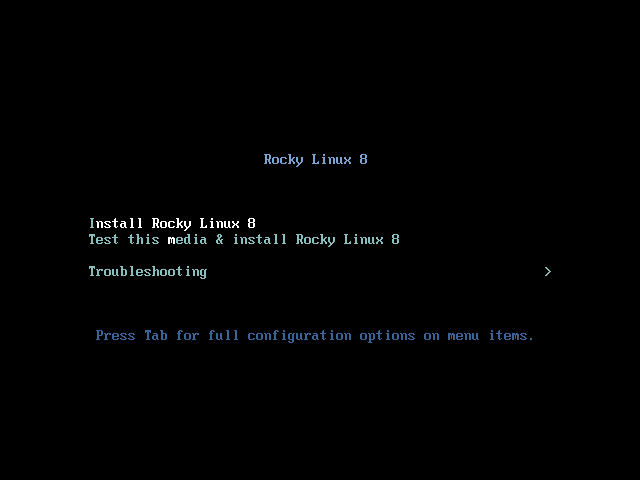
Boot the DVD and select Install Rocky Linux 8.5 from the boot menu.
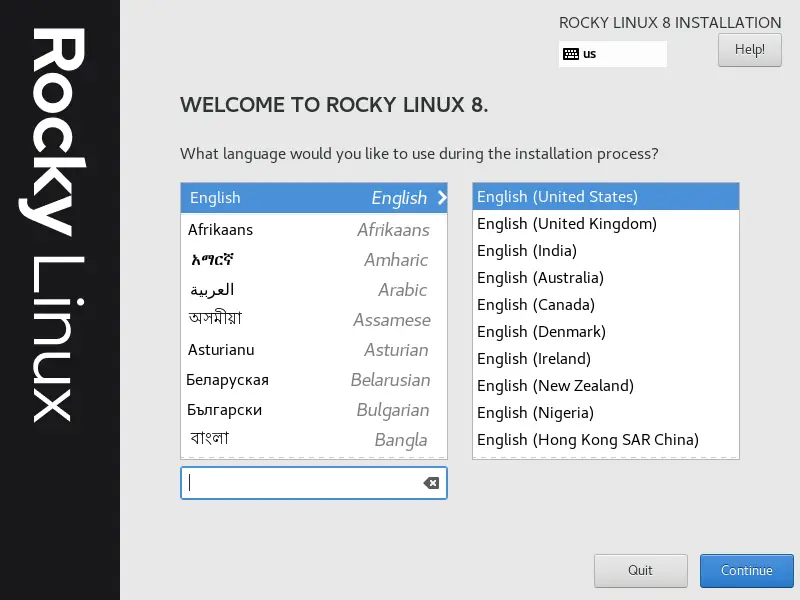
Select the language for Rocky Linux 8 installation and then click Continue.
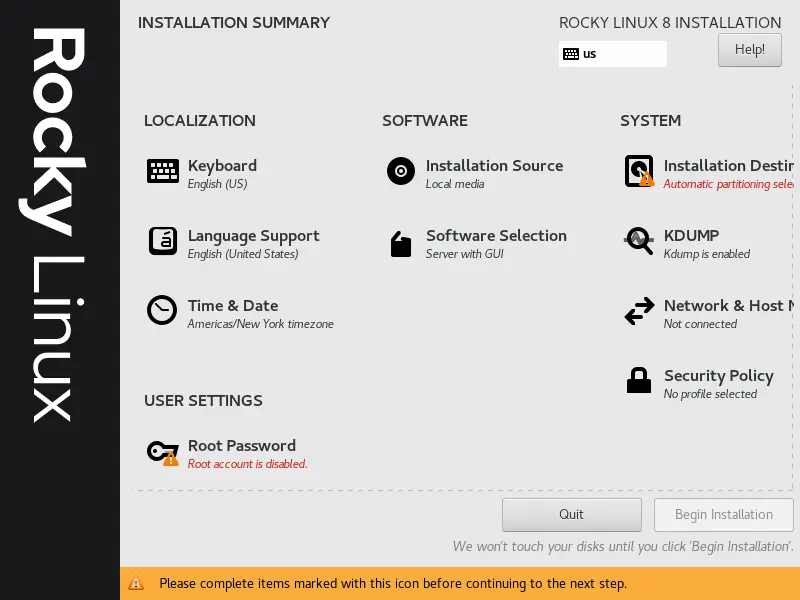
The installation summary page will welcome you with few warning messages, and you will need to clear those warnings by performing the recommended actions.
- Localization
- Software
- System
- User Settings
Localization
- Keyboard
- Language Support
- Time & Date
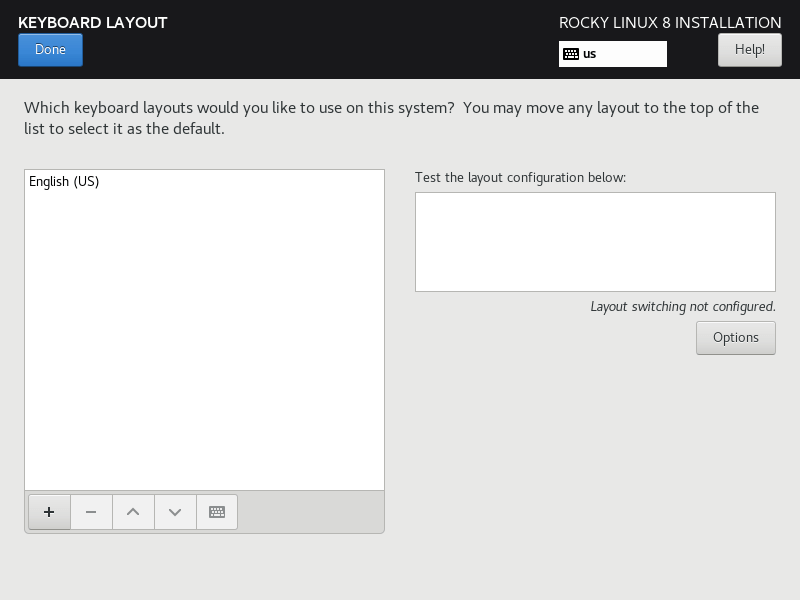
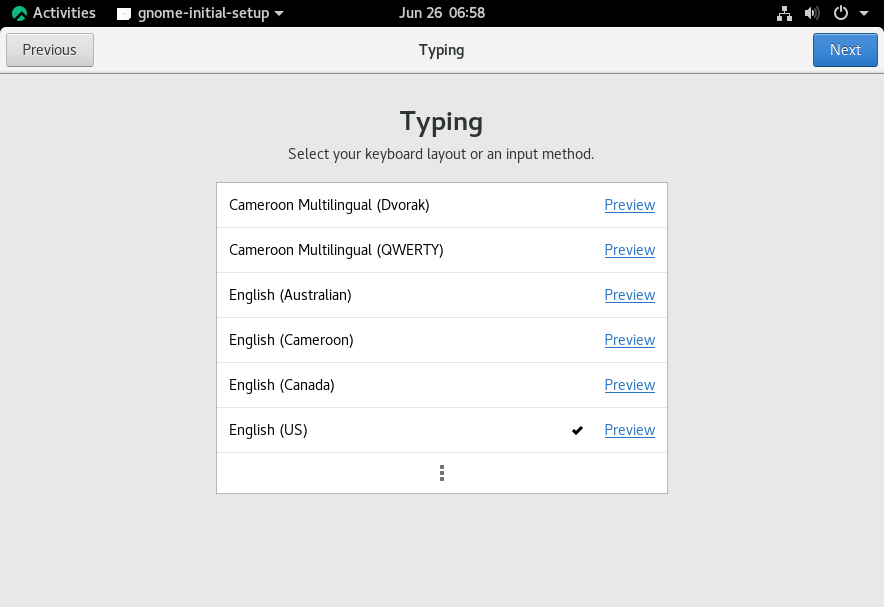
Keyboard
Choose the keyboard layout that is right for you. The keyboard that tops the list will be the default layout.
Language Support
We have already set up Language Support.
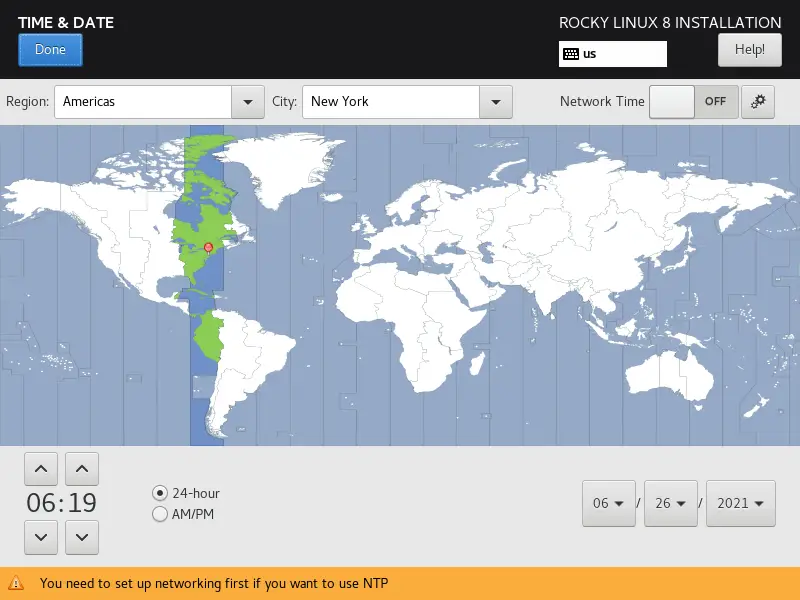
Time & Date
Click on time and date to change the Time, Date, and Timezone.
Software
- Installation Source
- Software Selection
Installation Source
Leave the installation source to be Local Media.
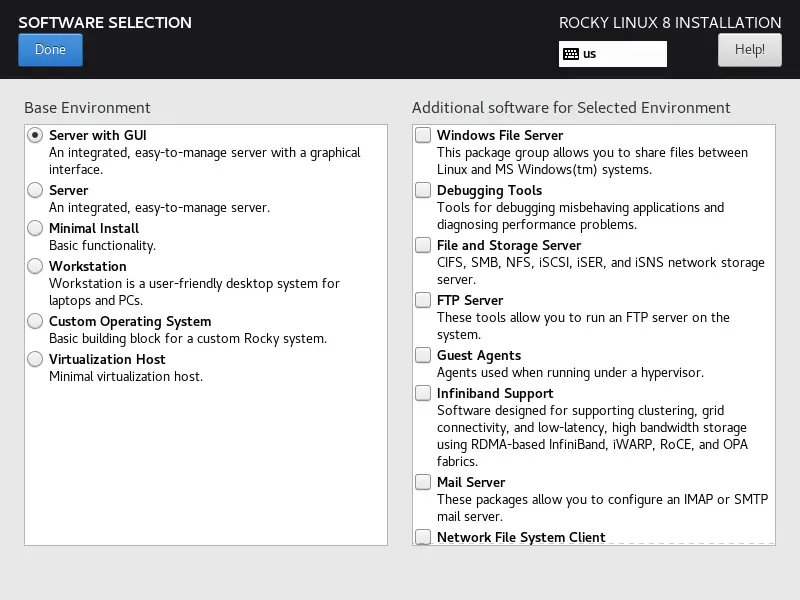
Software Selection
Software Installation lets you choose packages you want to install along with the OS installation.
There are five predefined installation types available to prepare your system for specific requirements.
- Server with GUI
- Server
- Minimal Install
- Workstation
- Custom Operating System (Need to choose software manually)
- Virtualization Host
Please choose the suitable one for your installation (I chose Server with GUI) and then click on Done.
System
- Installation Destination
- Kdump
- Network & Host Name
- Security Policy
- System Purpose
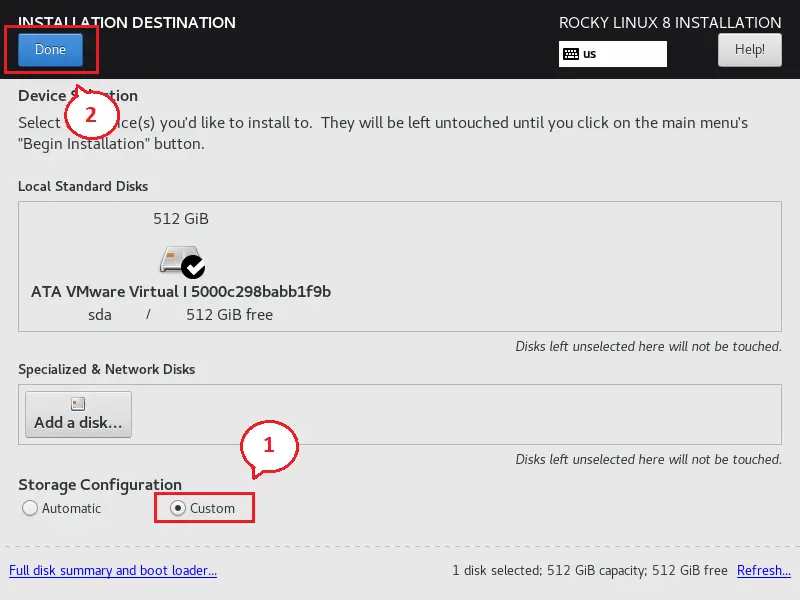
Installation Destination
Click on Installation Destination to set up partitions for the installation.
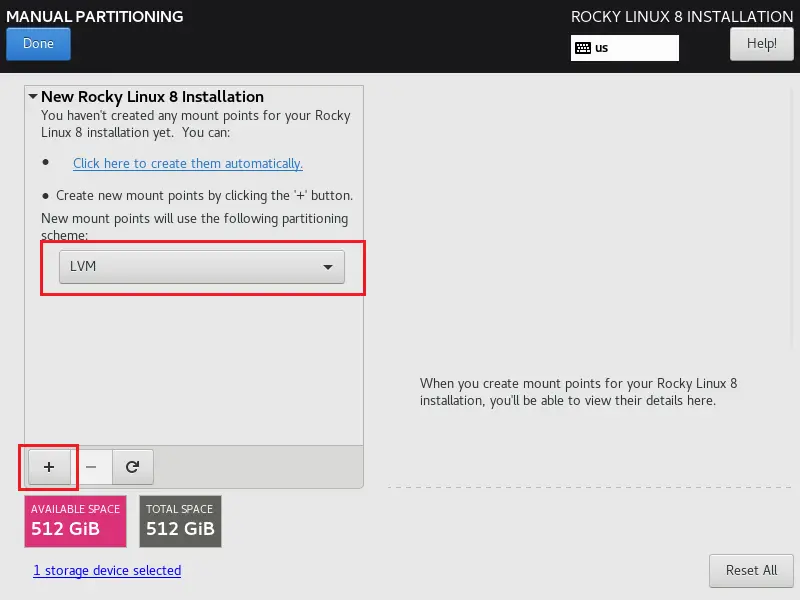
Here, I will do the custom partition to suit the below requirements (512 GB Hard disk).
You can partition your system as per your need.
Standard Partition:
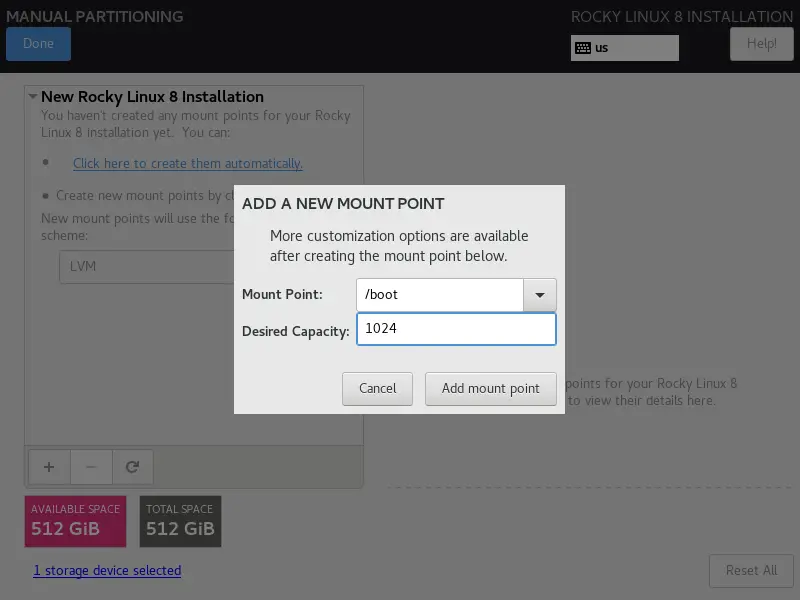
/boot: 1 GB (xfs) [for BIOS System]
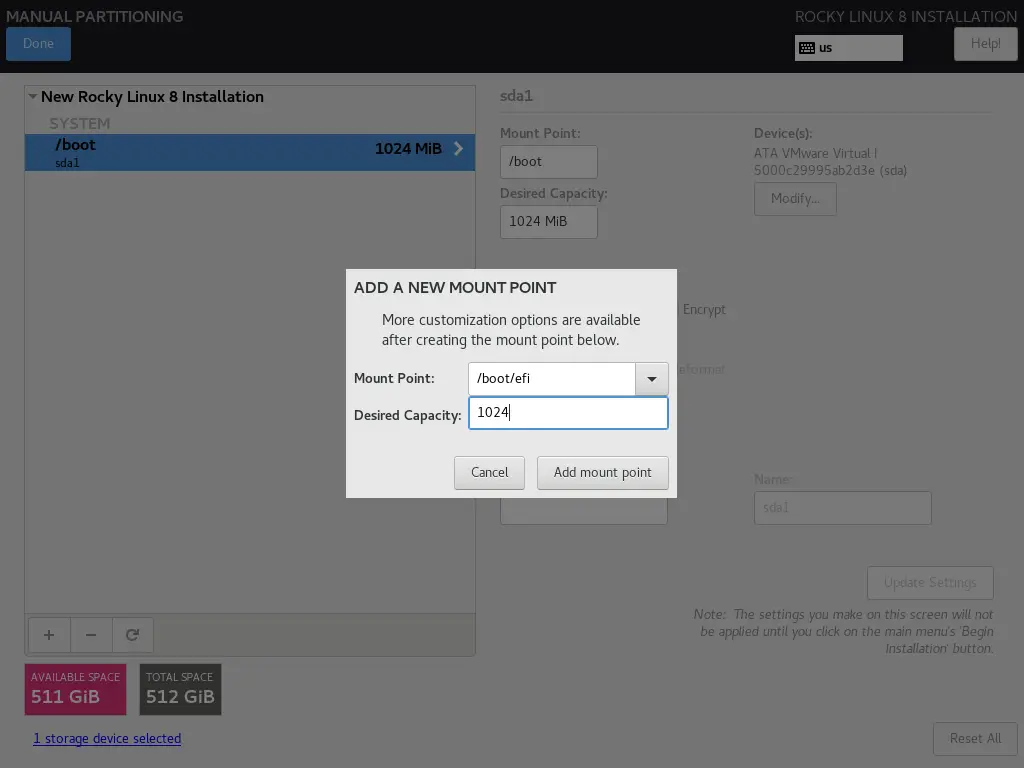
/boot/efi: 1 GB (vfat) [Additional FS for UEFI System]
LVM:
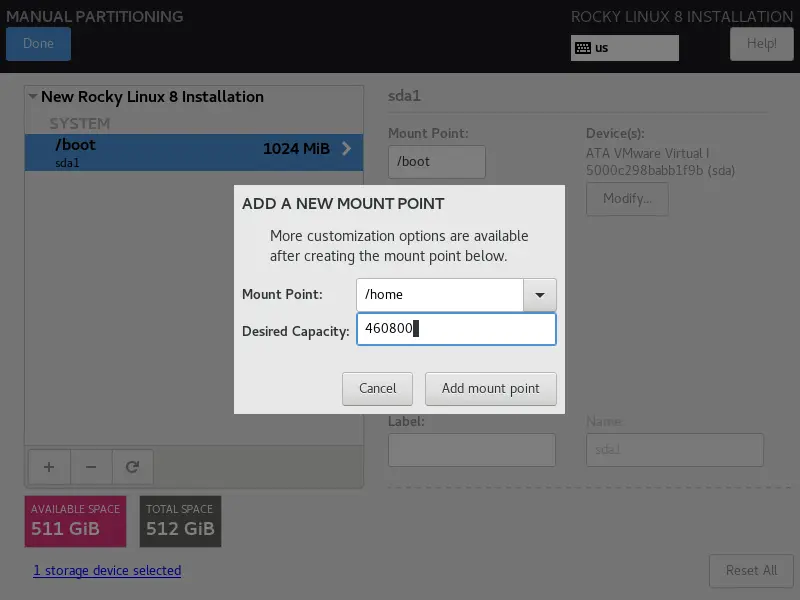
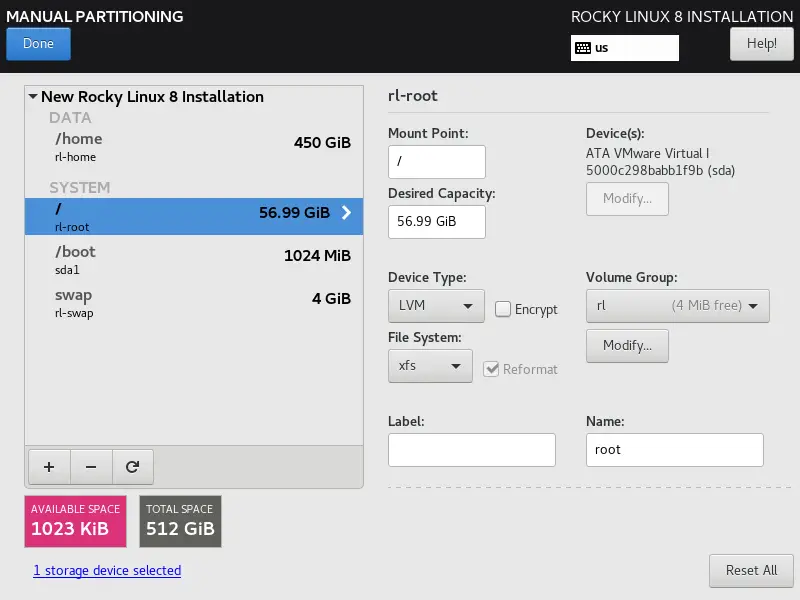
/home: 450 GB (xfs)
swap: 4 GB
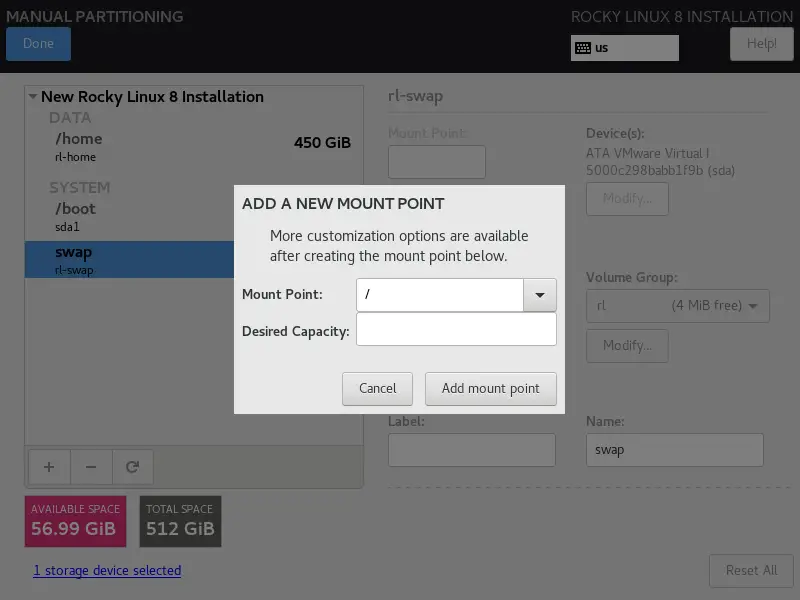
/ (root): 56 GB (xfs) [Remaining]
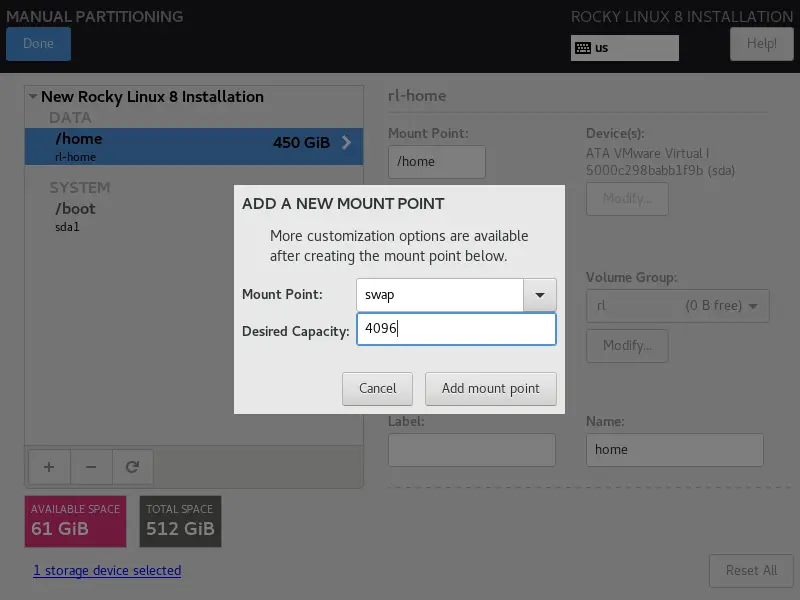
Make sure LVM is selected, and then click the + (plus) sign to create a new partition.
/boot: 1 GB (xfs) [for BIOS System]
/boot/efi: 1 GB (vfat) [Additional FS for UEFI System]
/home: 450 GB (xfs)
swap: 4 GB
/ (root): 56 GB (xfs) [Remaining]
If you are okay with the partitioning, click Done.
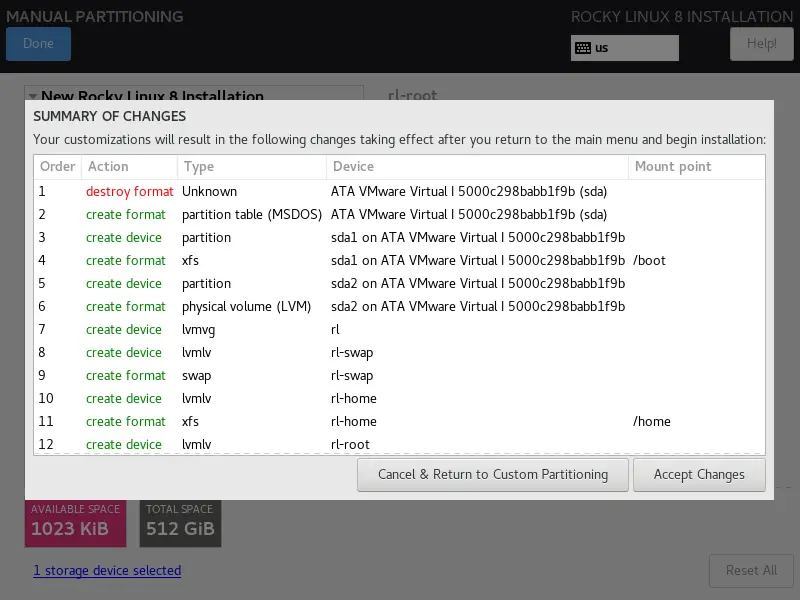
Click Accept Changes to create required partitions.
KDUMP
Keep the KDUMP enabled.
Network & Host Name
Click on the Network and Host Name to configure IP Address and set the hostname for your system.
Type the hostname in the Host Name field and then click Apply.
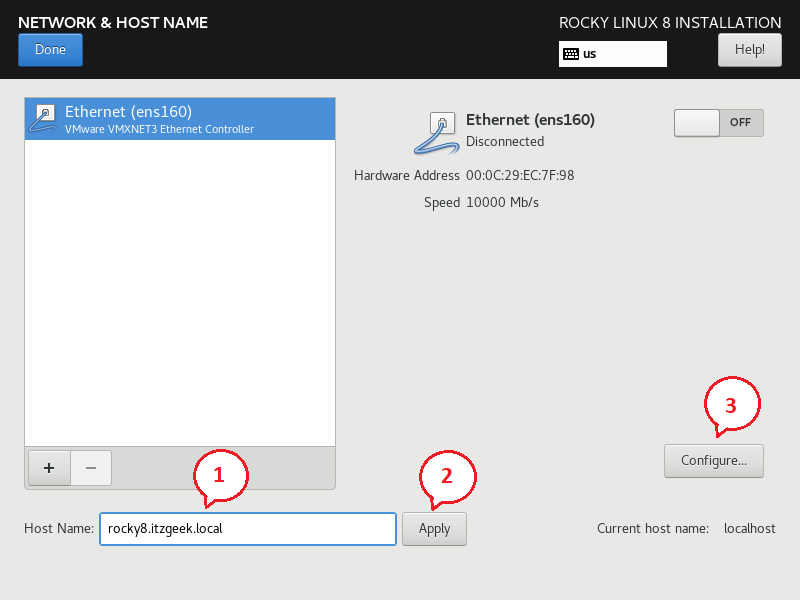
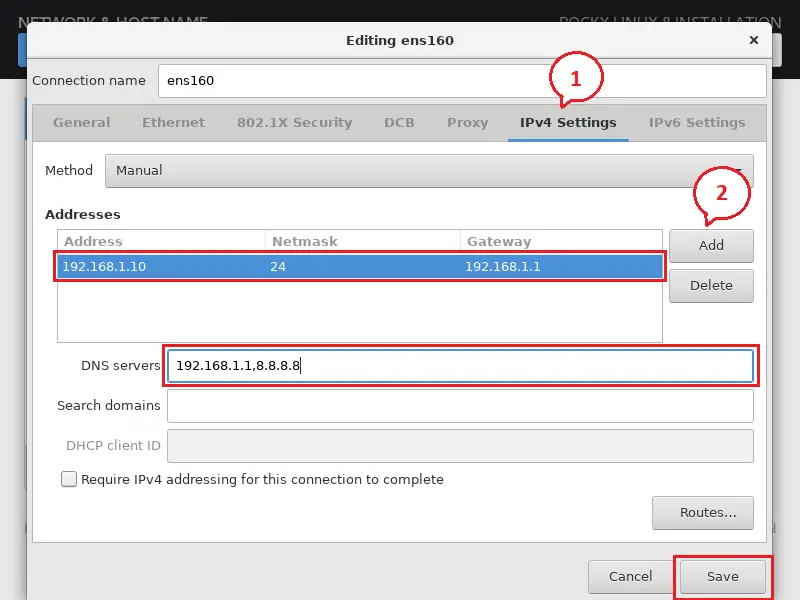
Then, click Configure to set up an IP Address for your system.
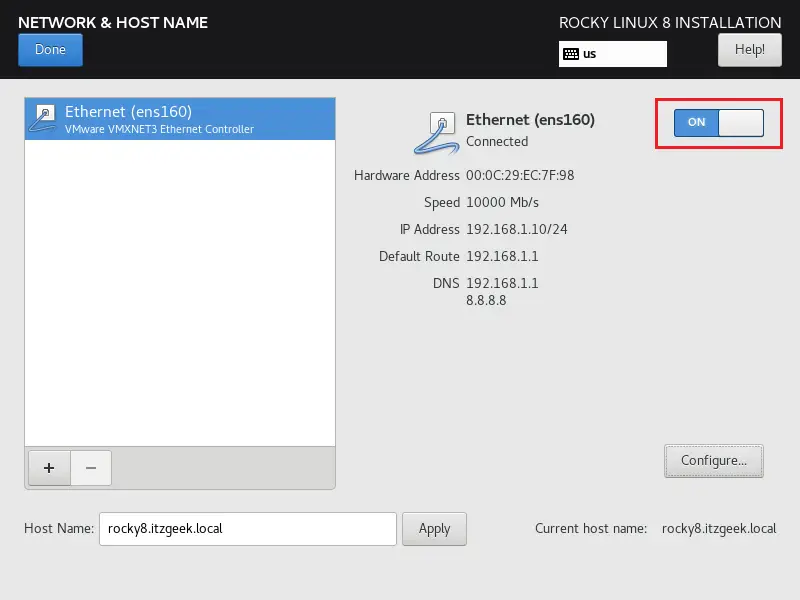
Enable the network connection by turning it on.
User Settings
- Root Password (Optional)
- User Creation
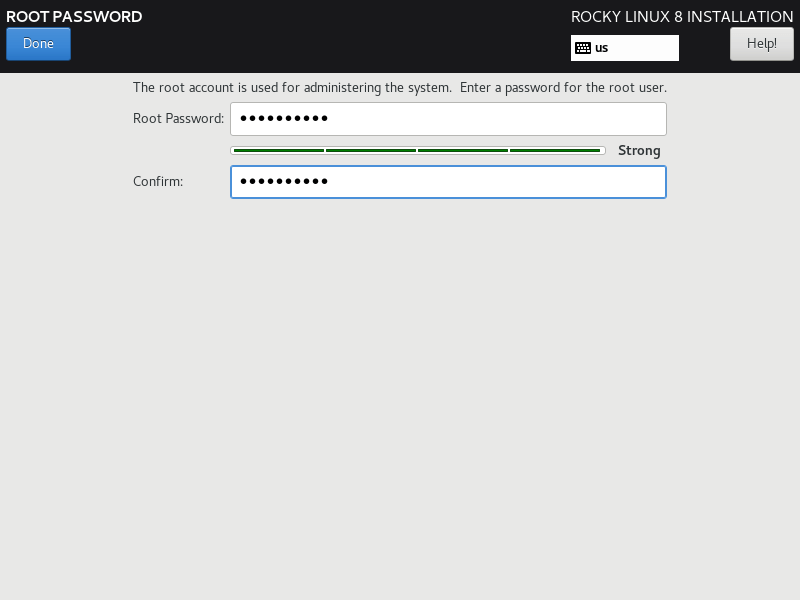
Root Password (Optional)
Set the root password. This user is the most privileged account on the system. So, set a solid password.
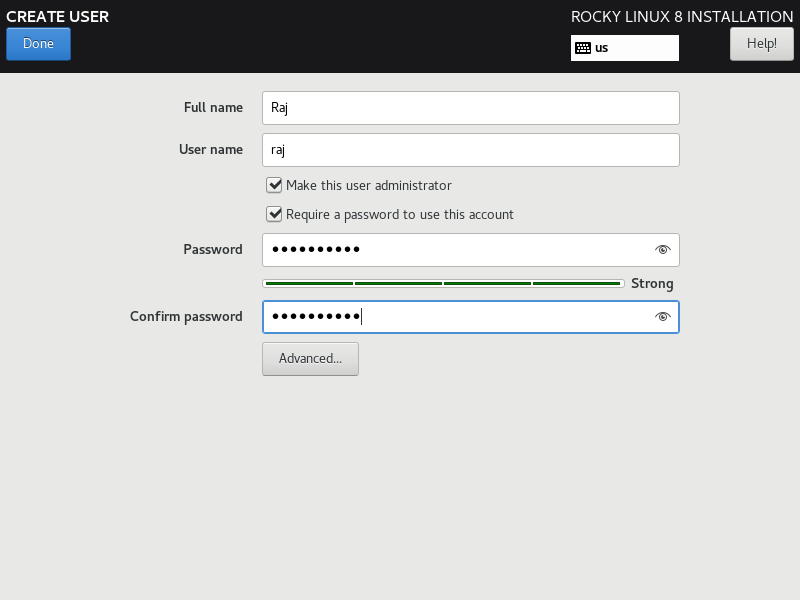
User Creation
Create a user. Ensure you have checked to Make this user administrator.
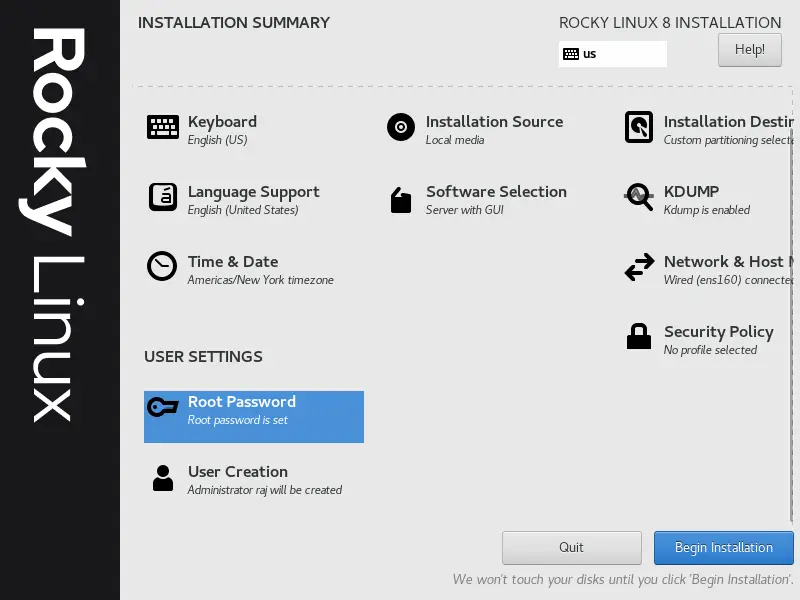
By now, you should not see any warnings in the Installation summary.
Click Begin Installation to start the installation of Rocky Linux 8.
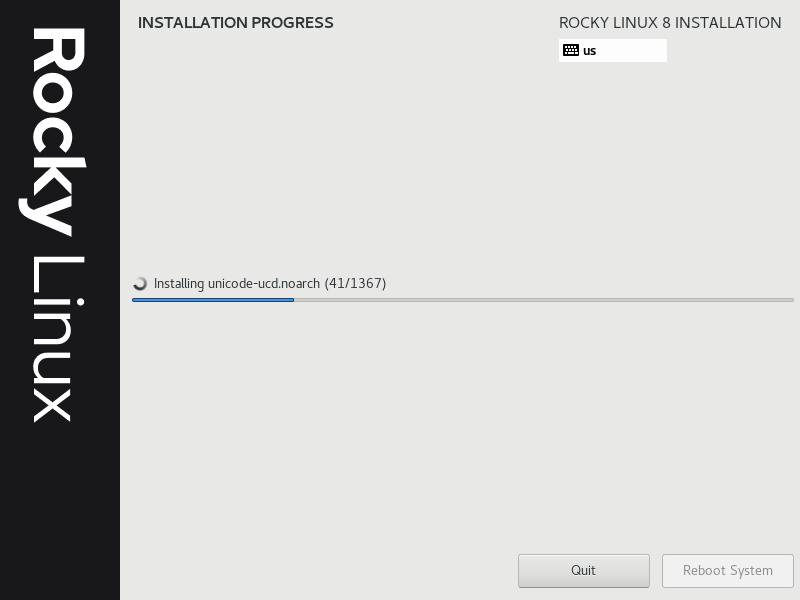
Wait for the installation to finish.
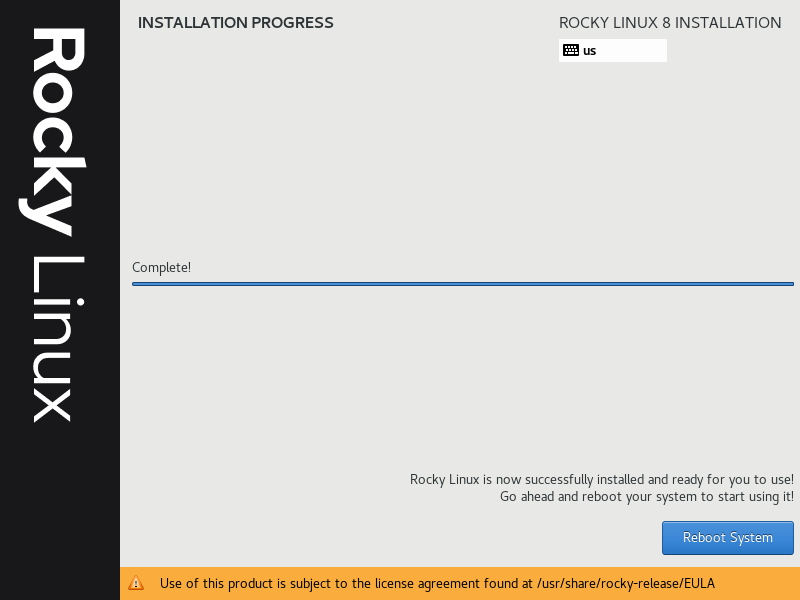
Once Rocky Linux 8 installation is completed, go ahead and reboot the system.
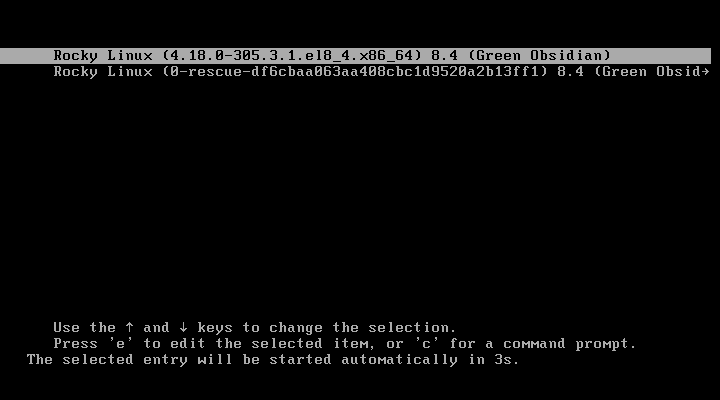
Rocky Linux 8.5 boot menu will be something like below.
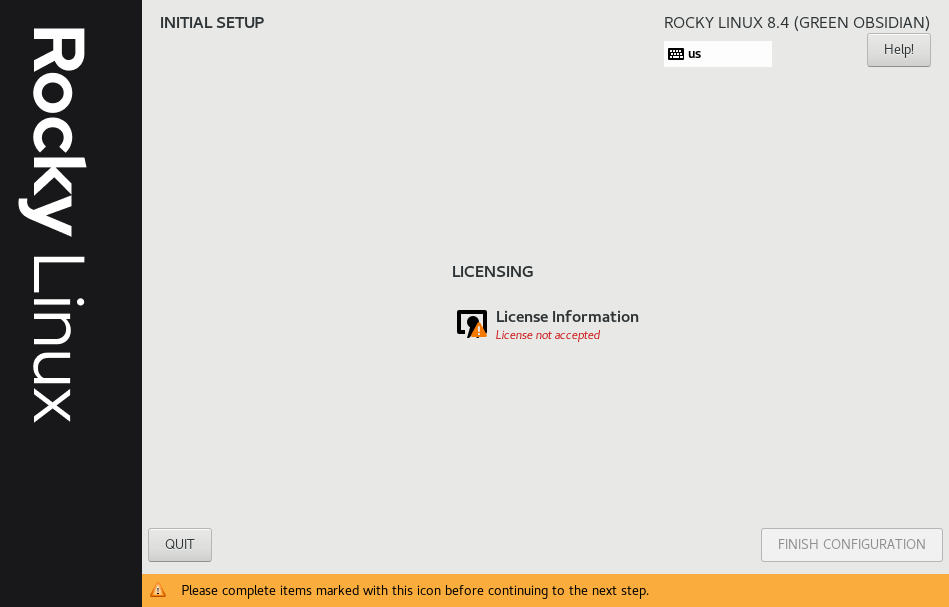
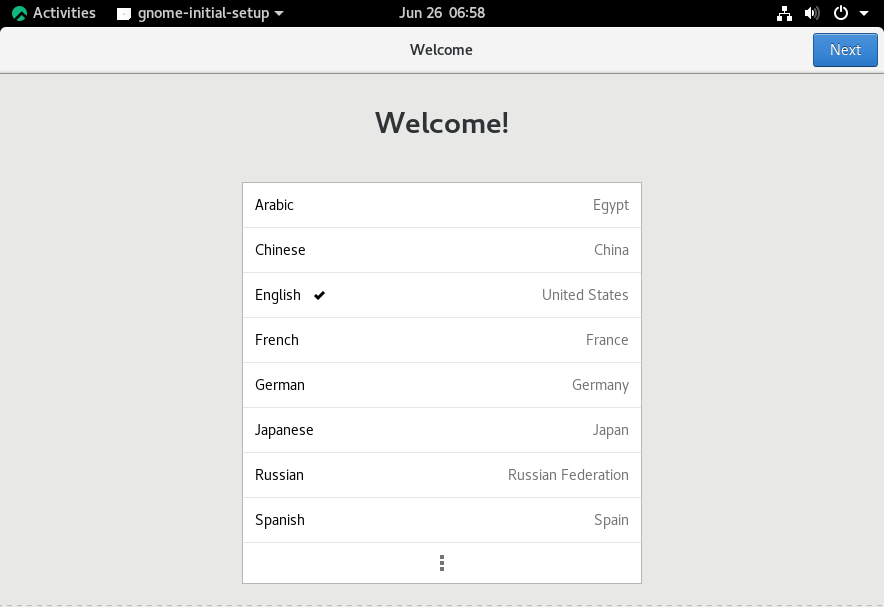
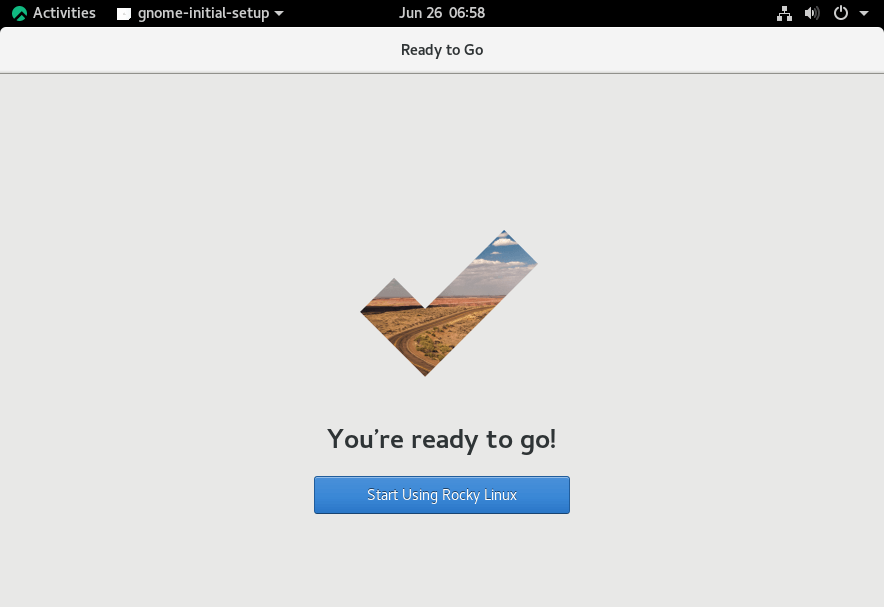
On a successful reboot, you will get a post-installation setup screen.
Post Installation
Click on License Information.
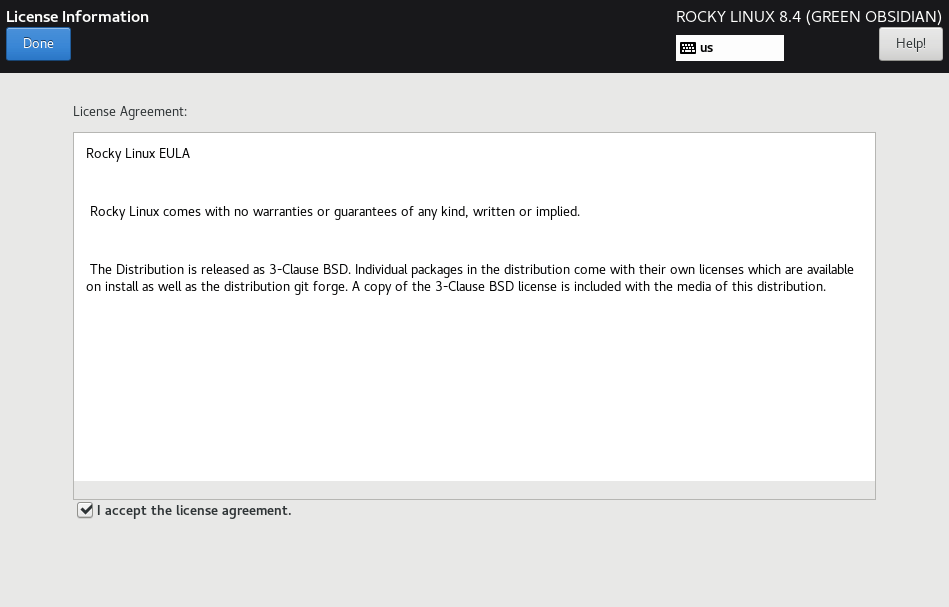
Select I accept the license agreement on the license agreement screen and click Done.
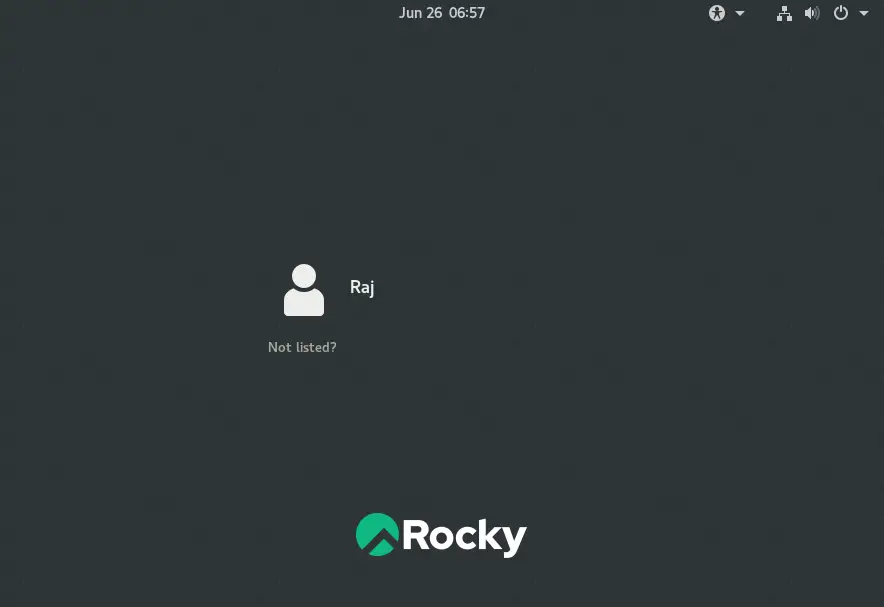
Choose the user and log in with the password.

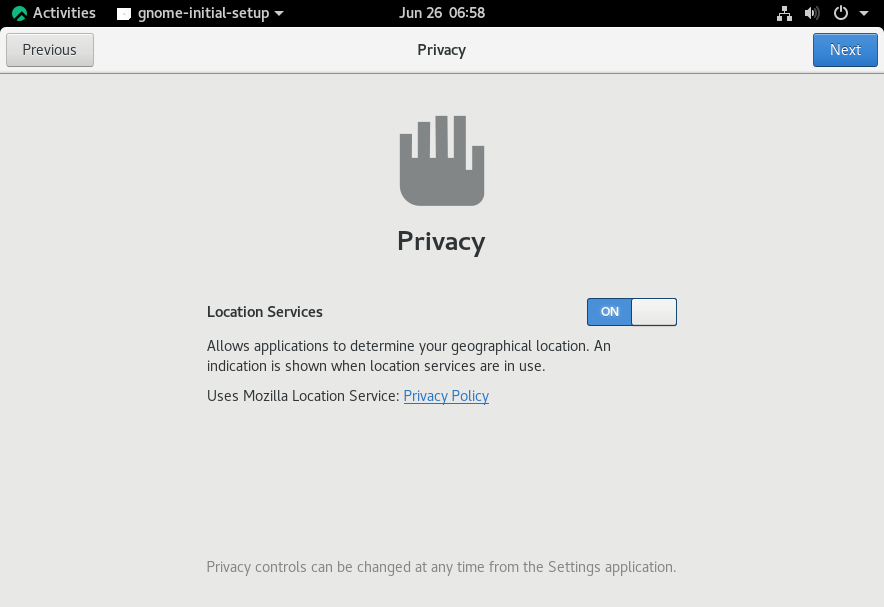
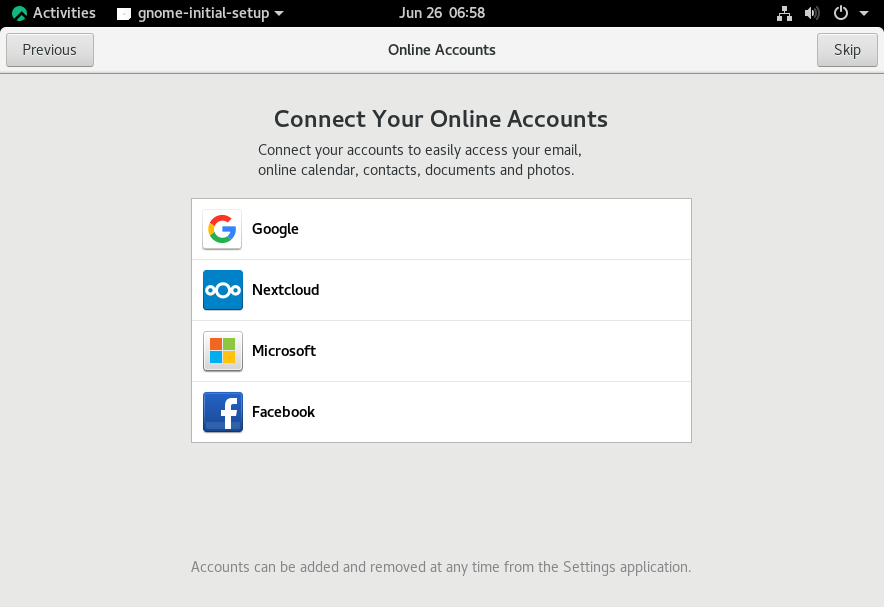
Perform the remaining steps as per your requirement.
Finally, you will get Getting Started with Rocky Linux 8.
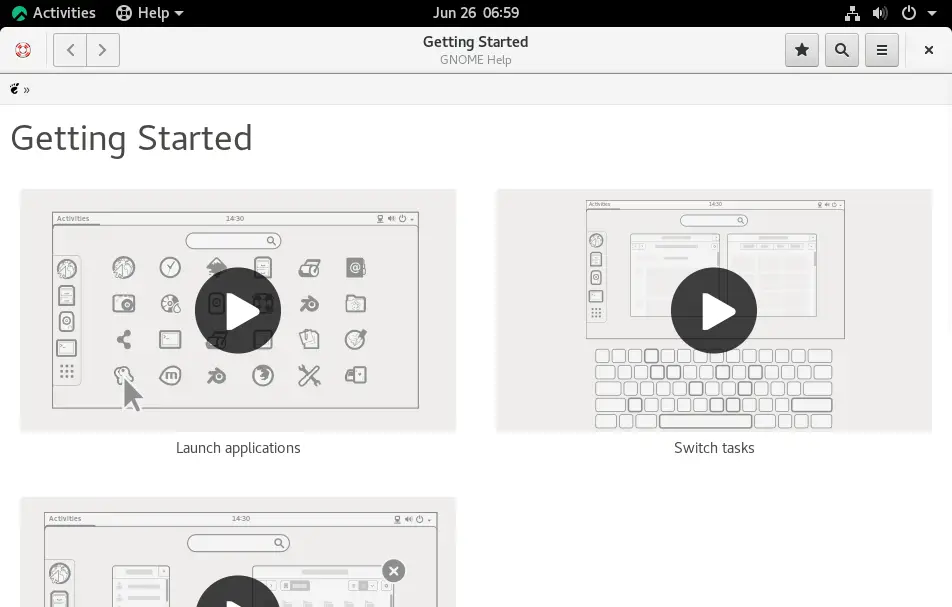
Conclusion
That’s All. I hope you learned how to install Rocky Linux 8.