Graylog (formerly known as Graylog2) is an open source log management platform, helps you to collect, index and analyze any machine logs on a centralized location. This guide helps you to install Graylog2 on Ubuntu 15.04, also focus on installation of four other components that makes Graylog2 a power full log management tool.
Components:
1. MongoDB – Stores the configurations and meta information.
2. Elasticsearch – Stores the log messages and offers a searching facility, nodes should have high memory as all the I/O operations are happens here.
3. GrayLog – Log parser, it collect the logs from various inputs.
4. GrayLog Web interface = provides you the web-based portal for managing the logs.
Prerequisites:
Since the Elasticsearch is based on java, we would require to install either openJDK or Oracle JDK. It is recommended to install Oracle JDK, verify the java version by using the following command.
$ java -version

java version "1.8.0_60"
Java(TM) SE Runtime Environment (build 1.8.0_60-b27)
Java HotSpot(TM) 64-Bit Server VM (build 25.60-b23, mixed mode)
Install Elasticsearch:
Elasticsearch is an open source search server, it offers a realtime distributed search and analytics with RESTful web interface. Elasticsearch stores all the logs sent by the Graylog server and displays the messages when the graylog web interface requests for full filling user request over the web interface. This topic covers configuration settings that is required for Graylog, you can also take a look on Install Elasticsearch on CentOS 7 / Ubuntu 14.10 / Linux Mint 17.1 for detailed instruction.
Let’s install the Elasticsearch, it can be downloaded from official website.
Download and install GPG signing key.
$ sudo wget -qO - https://packages.elastic.co/GPG-KEY-elasticsearch | sudo apt-key add -
Save the repository definition to /etc/apt/sources.list.d/elasticsearch.list
$ echo "deb https://packages.elastic.co/elasticsearch/1.7/debian stable main" | sudo tee -a /etc/apt/sources.list.d/elasticsearch.list
Update repository cache.
$ sudo apt-get update
Install Elasticsearch.
$ sudo apt-get install elasticsearch
Configure Elasticsearch to start during system startup.
$ sudo systemctl start elasticsearch
$ sudo systemctl enable elasticsearch
The only important thing is to set a cluster name as “graylog2“, that is being used by graylog. Now edit the configuration file of Elasticsearch.
$ sudo nano /etc/elasticsearch/elasticsearch.yml

cluster.name: graylog2
Disable dynamic scripts to avoid remote execution, that can be done by adding the following line at the end of above file.
script.disable_dynamic: true
Once it is done, we are good to go. Before that, restart the Elasticsearch services to load the modified configuration.
$ sudo systemctl restart elasticsearch
Wait at least a minute to let the Elasticsearch get fully restarted, otherwise testing will fail. Elastisearch should be now listen on 9200 for processing HTTP request, we can use CURL to get the response. Ensure that it returns with cluster name as “graylog2”
$ curl -X GET https://localhost:9200

{
  "status" : 200,
  "name" : "Pistol",
  "cluster_name" : "graylog2",
  "version" : {
    "number" : "1.7.1",
    "build_hash" : "b88f43fc40b0bcd7f173a1f9ee2e97816de80b19",
    "build_timestamp" : "2015-07-29T09:54:16Z",
    "build_snapshot" : false,
    "lucene_version" : "4.10.4"
  },
  "tagline" : "You Know, for Search"
}
Optional: Use the following command to check the Elasticsearch cluster health, you must get a cluster status as “green” for graylog to work.
$ curl -XGET 'https://localhost:9200/_cluster/health?pretty=true'

{
  "cluster_name" : "graylog2",
  "status" : "green",
  "timed_out" : false,
  "number_of_nodes" : 1,
  "number_of_data_nodes" : 1,
  "active_primary_shards" : 0,
  "active_shards" : 0,
  "relocating_shards" : 0,
  "initializing_shards" : 0,
  "unassigned_shards" : 0,
  "delayed_unassigned_shards" : 0,
  "number_of_pending_tasks" : 0,
  "number_of_in_flight_fetch" : 0
}
Install MongoDB:
MongoDB is available in dep format and same can be downloaded from the official website. Add the following repository information on the system to install MongoDB. Before that we must import public key.
$ sudo apt-key adv --keyserver hkp://keyserver.ubuntu.com:80 --recv 7F0CEB10
Add repository by creating the /etc/apt/sources.list.d/mongodb-org-3.0.list list file using the command.
### Ubuntu 15.04 / 14.10 ###

$ echo "deb https://repo.mongodb.org/apt/debian wheezy/mongodb-org/3.0 main" | sudo tee /etc/apt/sources.list.d/mongodb-org-3.0.list
Update repository cache.
$ sudo apt-get update
Install MongoDB using the following command.
$ sudo apt-get install mongodb-org
Start the MongoDB service and enable it to start automatically during the system start-up.
$ sudo systemctl start mongod
$ sudo systemctl enable mongod
Install Graylog2:
Graylog-server accepts and process the log messages, also spawns the RESTAPI for the requests that comes from graylog-web-interface. Download the latest version of graylog from graylog.org, use the following command to download using terminal.
$ wget https://packages.graylog2.org/releases/graylog2-server/graylog-1.1.6.tgz
Extract and move it to /opt.
$ sudo tar -zxvf graylog-1.1.6.tgz

$ sudo mv graylog-1.1.6/ /opt/graylog
Copy the sample configuration file to /etc/graylog/server, create the directory if it does not exists.
$ sudo mkdir -p /etc/graylog/server

$ sudo cp /opt/graylog/graylog.conf.example /etc/graylog/server/server.conf
Edit the server.conf file.
$ sudo nano /etc/graylog/server/server.conf
Configure the following variables in the above file.
Set a secret to secure the user passwords, use the following command to generate a secret, use at least 64 character’s.
$ pwgen -N 1 -s 96

OH9wXpsNZVBA8R5vJQSnkhTB1qDOjCxAh3aE3LvXddtfDlZlKYEyGS24BJAiIxI0sbSTSPovTTnhLkkrUvhSSxodTlzDi5gP
If you get a “pwgen: command not found“, use the following command to install pwgen.
$ sudo apt-get install pwgen
Place the secret.
password_secret = OH9wXpsNZVBA8R5vJQSnkhTB1qDOjCxAh3aE3LvXddtfDlZlKYEyGS24BJAiIxI0sbSTSPovTTnhLkkrUvhSSxodTlzDi5gP
Next is to set a hash password for the root user (not to be confused with system user, root user of graylog is admin). You will use this password for login into the web interface, admin’s password can not be changed using web interface, must edit this variable to set.
Replace “yourpassword” with the choice of your’s.
# echo -n yourpassword | sha256sum

e3c652f0ba0b4801205814f8b6bc49672c4c74e25b497770bb89b22cdeb4e951
Place the hash password.
root_password_sha2 = e3c652f0ba0b4801205814f8b6bc49672c4c74e25b497770bb89b22cdeb4e951
Graylog will try to find the Elasticsearch nodes automatically, it uses multicast mode for the same. But when it comes to larger network, it is recommended to use unicast mode which is best suited one for production setups. So add the following two entries to graylog server.conf file, replace ipaddress with live hostname or ipaddress. Multiple hosts can be added with comma separated.
elasticsearch_http_enabled = false
elasticsearch_discovery_zen_ping_unicast_hosts = ipaddress:9300
Set only one master node by defining the below variable, default setting is true, you must set it as a false to make the particular node as a slave. Master node performs some periodic tasks that slave won’t perform.
is_master = true
The following variable sets the number of log messages to keep per index, it is recommended to have several smaller indices instead of larger ones.
elasticsearch_max_docs_per_index = 20000000
The following parameter defines to have total number of indices, if the this number is reached old index will be deleted.
elasticsearch_max_number_of_indices = 20
Shards setting is really depends on the number of nodes in the Elasticsearch cluster, if you have only one node, set it as 1.
elasticsearch_shards = 1
The number of replicas for your indices, if you have only one node in Elasticsearch cluster; set it as 0.
elasticsearch_replicas = 0
Start the graylog server using the following command.
$ sudo cp /opt/graylog/bin/graylogctl /etc/init.d/graylog2
Update the startup script to put the Graylog2 logs in /var/log and to look for the Graylog2 server JAR file in /opt/graylog by running the two following sed commands:
$ sudo sed -i -e 's/\=graylog.jar/\=\/opt\/graylog\/graylog.jar/g' /etc/init.d/graylog2

$ sudo sed -i -e 's/\=log/\=\/var\/log/g' /etc/init.d/graylog2
Install the startup script.
$ sudo update-rc.d graylog2 defaults
Start Graylog service.
$ sudo service graylog2 start
On successful start of graylog-server, you should get the following message in the log file (/var/log/graylog-server.log).
2015-09-07 17:41:21,407 INFO : org.graylog2.shared.initializers.RestApiService - Started REST API at <https://127.0.0.1:12900/>
Install Graylog web interface:
To configure graylog-web-interface, you must have at least one graylog-server node; download the same version number to make sure that it is compatible
$ wget https://packages.graylog2.org/releases/graylog2-web-interface/graylog-web-interface-1.1.6.tgz
Extract the archive and move it to /opt.
$ sudo tar -zxvf graylog-web-interface-1.1.6.tgz
$ sudo mv graylog-web-interface-1.1.6 /opt/graylog-web-interface
Edit the configuration file and set the following parameters.
$ sudo nano /opt/graylog-web-interface/conf/graylog-web-interface.conf
This is the list of graylog-server nodes, you can add multiple nodes, separate by commas.
graylog2-server.uris="https://127.0.0.1:12900/"
Set the application scret and can be generated using pwgen -N 1 -s 96.
application.secret="sNXyFf6B4Au3GqSlZwq7En86xp10JimdxxYiLtpptOejX6tIUpUE4DGRJOrcMj07wcK0wugPaapvzEzCYinEWj7BOtHXVl5Z"
Download graylog-web-interface init script from GitHub.
$ wget https://gist.githubusercontent.com/stojg/d1cbb8536e5a447e1f3a/raw/32b95a7909fa8fa42991600dbbb4d871bd86486b/graylog2-web-interface
Move file to init directory and change the file permissions.
$ sudo mv graylog2-web-interface /etc/init.d/graylog2-web
$ sudo chown root:root /etc/init.d/graylog2-web
$ sudo chmod 755 /etc/init.d/graylog2-web
Edit the init script to change web interface directory.
$ sudo sed -i -e 's/graylog2-web-interface/graylog-web-interface/g' /etc/init.d/graylog2-web
Install the startup script.
$ sudo update-rc.d graylog2-web defaults
Start Graylog service.
$ sudo service graylog2-web start
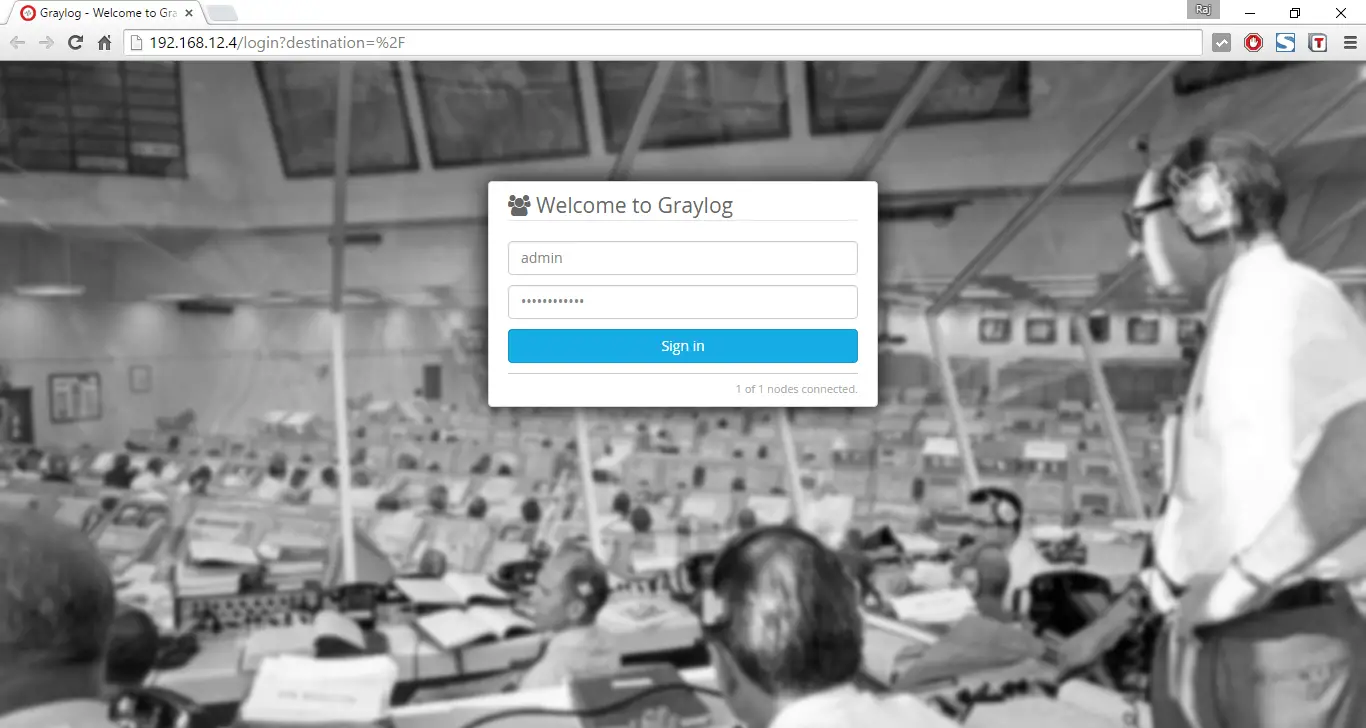
The web interface will listen on port 80. Point your browser to it. Log in with username admin and the password you configured at root_password_sha2 on server.conf.
Once you logged in, you will get the following search page.
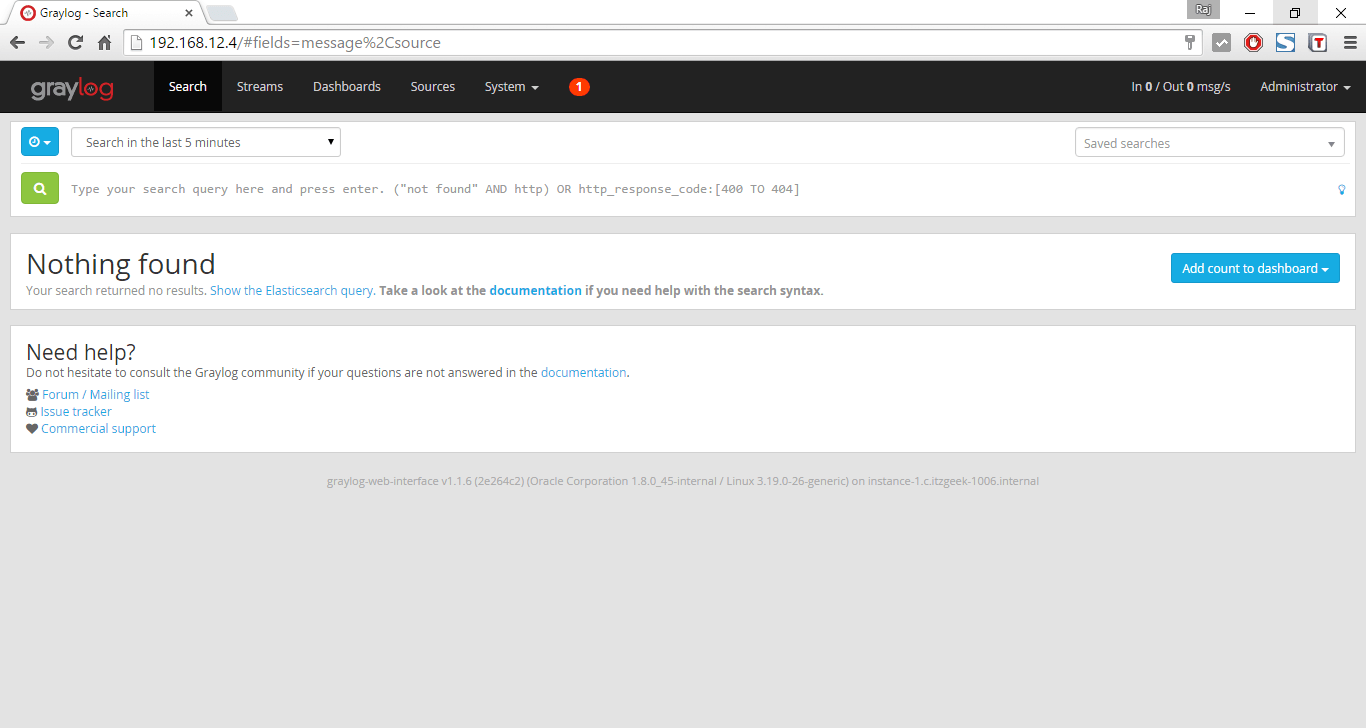
That’s All!, you have successfully installed Graylog2 on Ubuntu 15.04.