Graylog is a free, open-source log management tool that helps you to collect and analyze any machine logs centrally.
This guide focuses on installing Graylog (v3.2) on Debian 10 / Debian 9.
Components
- Elasticsearch – It stores the machine logs and provides the searching facility.
- MongoDB – acts as a database to store configurations and meta information.
- Graylog server – t collects the logs from various inputs and provides built-in Web Interface for managing the logs.
Prerequisites
Install the few required packages for the Graylog setup.
sudo apt update

sudo apt install -y apt-transport-https uuid-runtime pwgen curl dirmngr wget
Install either Oracle JDK or OpenJDK on your machine for Elasticsearch.
sudo apt install -y default-jre
Verify the Java version.
java -version
Output:
openjdk version "11.0.6" 2020-01-14
OpenJDK Runtime Environment (build 11.0.6+10-post-Debian-1deb10u1)
OpenJDK 64-Bit Server VM (build 11.0.6+10-post-Debian-1deb10u1, mixed mode, sharing)
Install Elasticsearch
Elasticsearch is one of the main components in the Graylog set up. It acts as a search server, offers a real-time distributed search and analytics with the RESTful web interface.
Elasticsearch stores the logs sent by the Graylog server and displays the messages whenever user request over the built-in web interface.
Let’s add the Elasticsearch GPG signing key.
wget -qO - https://artifacts.elastic.co/GPG-KEY-elasticsearch | sudo apt-key add -
Configure the Eleasticsearch repository by running the below command.
echo "deb https://artifacts.elastic.co/packages/oss-6.x/apt stable main" | sudo tee -a /etc/apt/sources.list.d/elastic-6.x.list
Update the repository cache and install Elasticsearch.
sudo apt update

sudo apt install -y elasticsearch-oss
Edit configuration file of Elasticsearch.
sudo nano /etc/elasticsearch/elasticsearch.yml
Set the cluster name as graylog.
cluster.name: graylog

action.auto_create_index: false
Restart the Elasticsearch service.
sudo systemctl restart elasticsearch
Set Elasticsearch to start automatically on the system startup.
sudo systemctl enable elasticsearch
Wait for a minute to let the Elasticsearch get fully started.
Elastisearch should be now listening on port 9200 for serving HTTP requests. Use a CURL to check the response.
curl -X GET https://localhost:9200
Ensure that the cluster name shows as graylog.
{
  "name" : "EHpBH-y",
  "cluster_name" : "graylog",
  "cluster_uuid" : "cGXE-wgsT56sBKsDC_TYBw",
  "version" : {
    "number" : "6.8.7",
    "build_flavor" : "oss",
    "build_type" : "deb",
    "build_hash" : "c63e621",
    "build_date" : "2020-02-26T14:38:01.193138Z",
    "build_snapshot" : false,
    "lucene_version" : "7.7.2",
    "minimum_wire_compatibility_version" : "5.6.0",
    "minimum_index_compatibility_version" : "5.0.0"
  },
  "tagline" : "You Know, for Search"
}
Check the health of the Elasticsearch cluster.
curl -XGET 'https://localhost:9200/_cluster/health?pretty=true'
Make sure the cluster status is green.
{
  "cluster_name" : "graylog",
  "status" : "green",
  "timed_out" : false,
  "number_of_nodes" : 1,
  "number_of_data_nodes" : 1,
  "active_primary_shards" : 0,
  "active_shards" : 0,
  "relocating_shards" : 0,
  "initializing_shards" : 0,
  "unassigned_shards" : 0,
  "delayed_unassigned_shards" : 0,
  "number_of_pending_tasks" : 0,
  "number_of_in_flight_fetch" : 0,
  "task_max_waiting_in_queue_millis" : 0,
  "active_shards_percent_as_number" : 100.0
}
Install MongoDB
Graylog 3 works only with MongoDB 4.0. So, follow the instruction on the below links to install MongoDB 4.0, depending upon the Debian version.
READ: How To Install MongoDB 4.0 On Debian 10
READ: How To Install MongoDB 4.0 On Debian 9
Install Graylog
Graylog server accepts and processes the machine logs and displays them for requests that come from the graylog web interface.
Download and Install the Graylog repository package.
wget https://packages.graylog2.org/repo/packages/graylog-3.2-repository_latest.deb

sudo dpkg -i graylog-3.2-repository_latest.deb
Update the repository cache.
sudo apt update
Install the Graylog server using the apt command.
sudo apt install -y graylog-server
Set a secret to secure user passwords. Use the pwgen command to the same.
pwgen -N 1 -s 96
Output:
AE9RxeSA6BC6OCYh0zciUV7WMucNfodMhsmjYKOaBpWfQCBTzroa9ld7iOjespZjVwh47BIZFYTkeUD9h04uie2bghqrfShX
Edit the server.conf file to begin the graylog configuration.
sudo nano /etc/graylog/server/server.conf
Place the secret like below.
password_secret = OH9wXpsNZVBA8R5vJQSnkhTB1qDOjCxAh3aE3LvXddtfDlZlKYEyGS24BJAiIxI0sbSTSPovTTnhLkkrUvhSSxodTlzDi5gP
Set a hash (sha256) password for Graylog’s root user (Root user of graylog is admin).
Replace yourpassword with the choice of yours. You will want this password to login to the Graylog web interface.
echo -n yourpassword | sha256sum
Output:
e3c652f0ba0b4801205814f8b6bc49672c4c74e25b497770bb89b22cdeb4e951
Edit the server.conf again.
sudo nano /etc/graylog/server/server.conf
Place the hash password.
root_password_sha2 = e3c652f0ba0b4801205814f8b6bc49672c4c74e25b497770bb89b22cdeb4e951
Install Graylog web interface
Edit the server.conf file.
sudo nano /etc/graylog/server/server.conf
Modify the below entries to enable Graylog Web Interface. Replace 192.168.0.10 with your system IP address.
http_bind_address = 192.168.0.10:9000
http_external_uri = https://public_ip:9000/
Restart Graylog service.
sudo systemctl start graylog-server
Enable Graylog server to start automatically on system boot.
sudo systemctl enable graylog-server
Check out the server startup logs to troubleshoot the Graylog in case of an issue.
sudo tail -f /var/log/graylog-server/server.log
Upon the successful start of the Graylog server, you should get the following message in the log file.
2020-03-29T23:27:14.057-05:00 INFO [ServerBootstrap] Graylog server up and running.
Access Graylog web interface
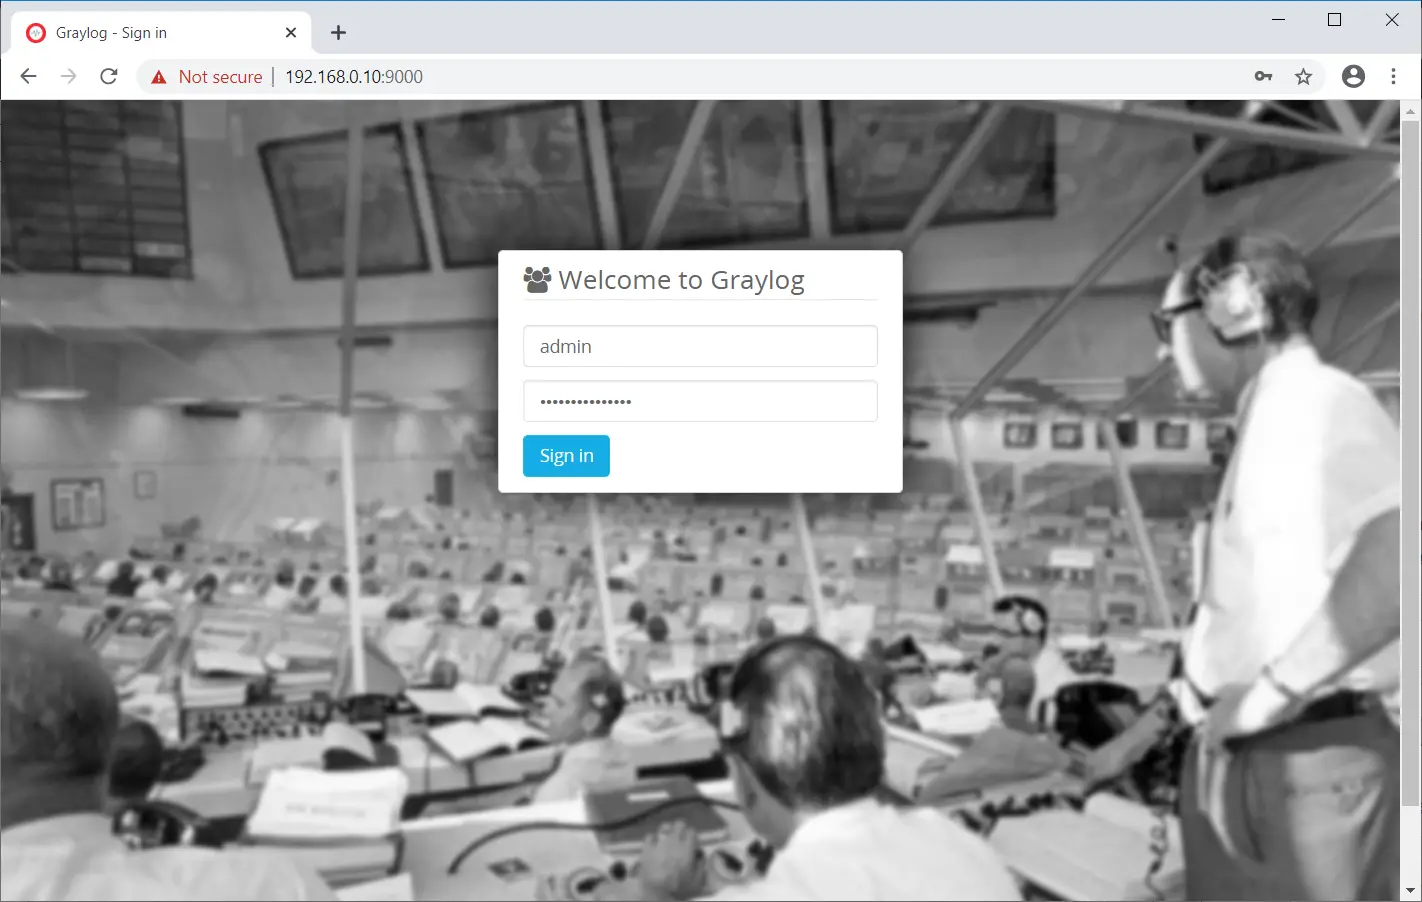
The Graylog web interface will now be available on port 9000. So, point your browser to.
Login with username admin and the password you configured on server.conf.
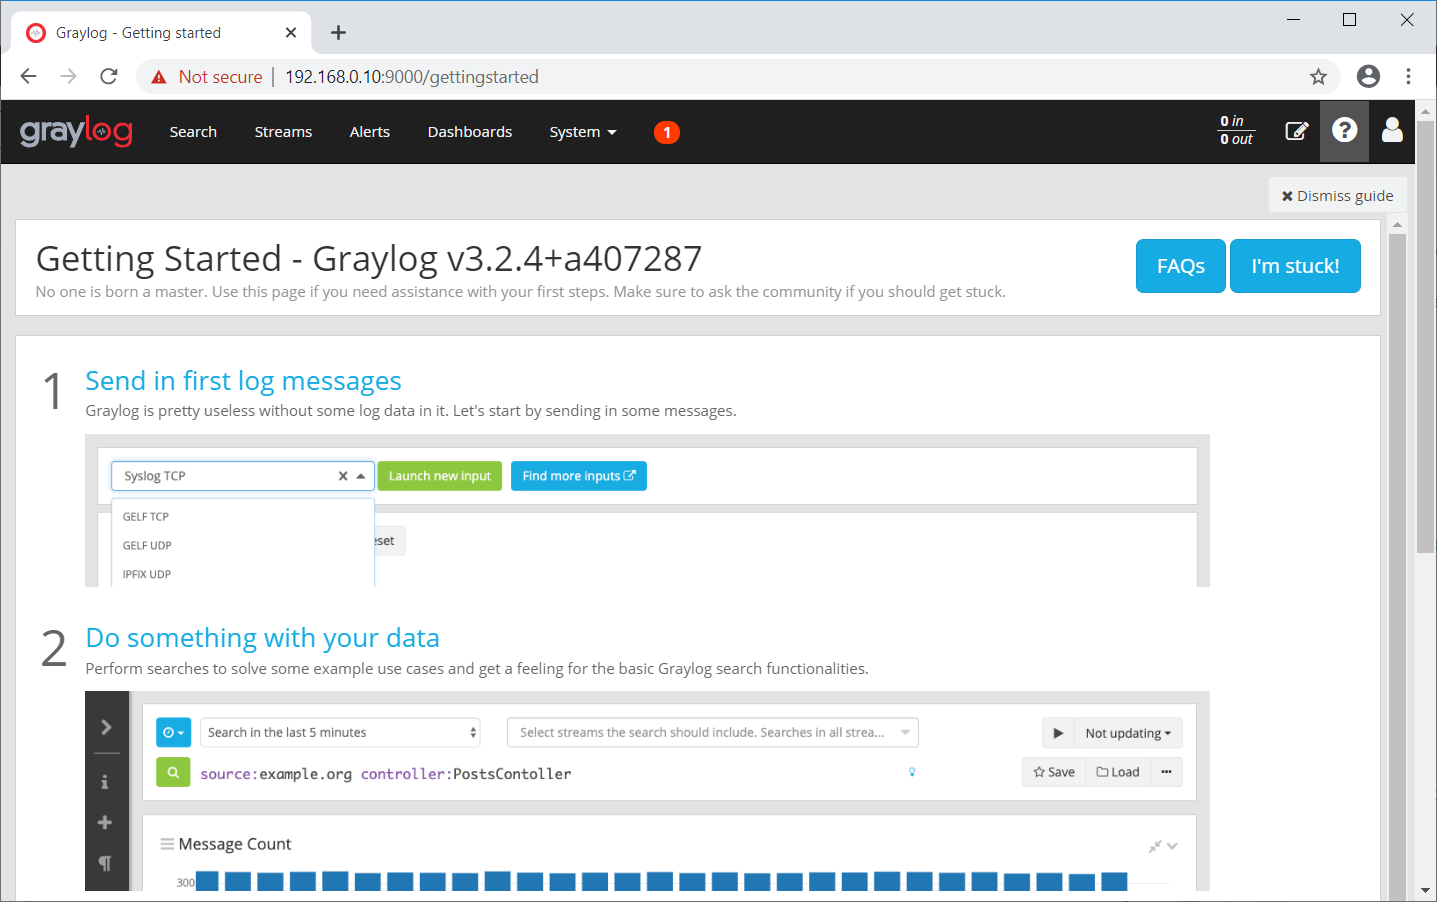
Once you logged in, you should see the Graylog’s getting started page.
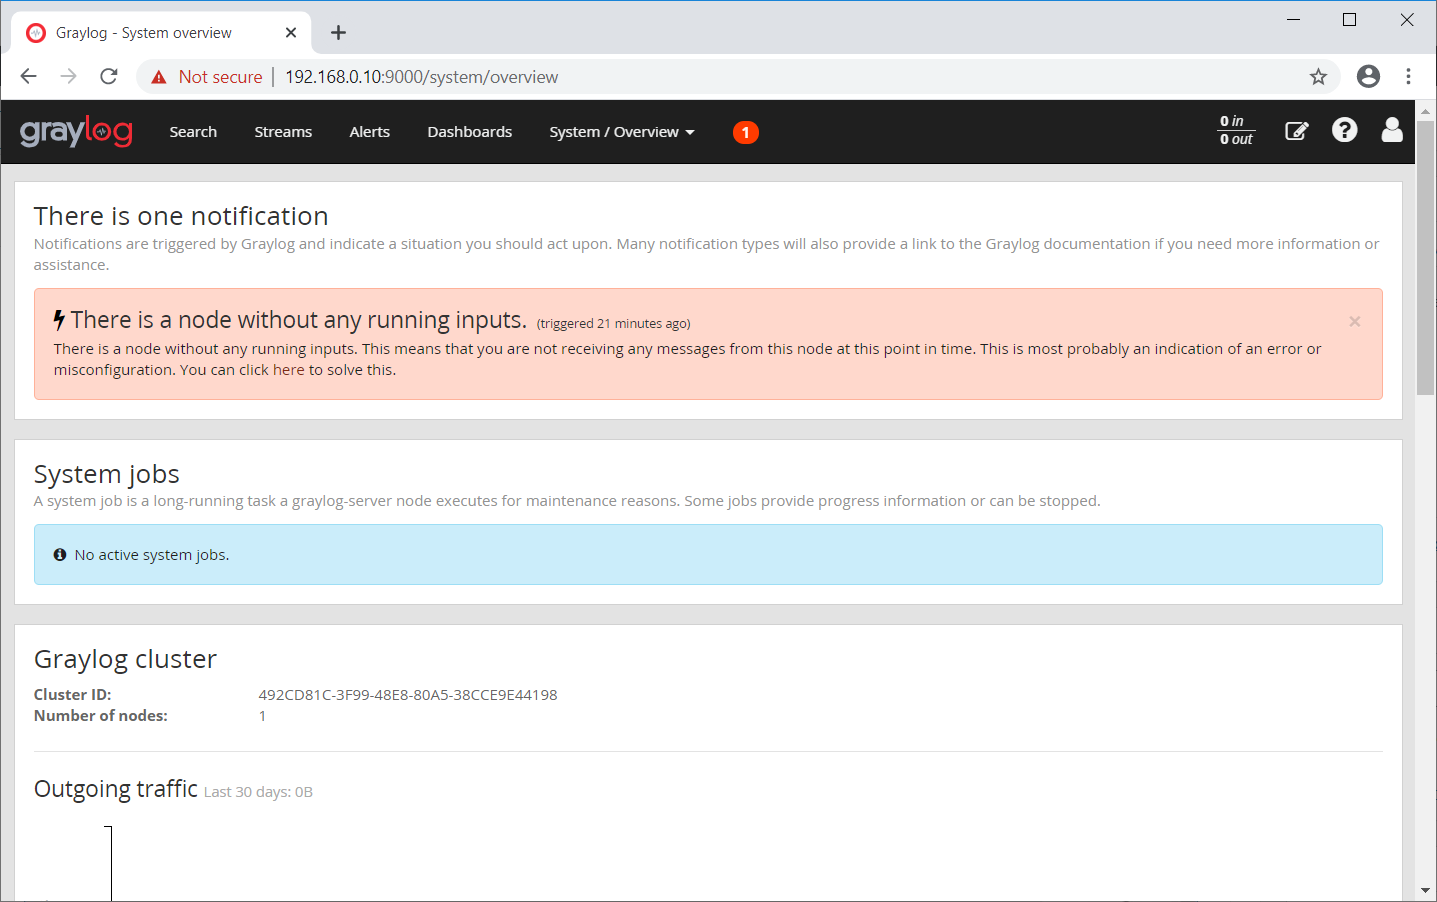
Click on System >> Overview to check the status of the Graylog server.
Conclusion
That’s All. I hope you have learned how to install Graylog on Debian 10 / Debian 9. To receive logs from other machines, you would need to configure Graylog inputs and have to configure Linux machine to send logs to Graylog.