ownCloud is an open-source (commercial version also available) web suite that provides cloud storage over the network. The data can be uploaded/downloaded via browser or through the software clients available free for download.
ownCloud is based on PHP, and you can run this on all platforms that meet requirements. It offers almost all possibility of functions that are available in commercial suites; released under the AGPLv3 license, so you can setup owncloud storage server without any additional cost.
Here is the small guide to set up ownCloud 10 on Ubuntu 16.04 / Debian 9 / 8.
Prerequisites
As I said earlier, it is based on PHP and database combination. The database can be any of from SQLite, MySQL, Oracle or PostgreSQL.
First, install the required PHP extensions.
sudo apt-get update
sudo apt-get install apt-transport-https
sudo apt-get -y install libapache2-mod-php php-gd php-json php-mysql php-curl php-intl php-mcrypt php-imagick php-zip php-xml php-mbstring
For a demo, we will use MariaDB as a database for ownCloud installation. We will discuss the reason for using MariaDB, later.
sudo apt-get -y install wget mariadb-server apache2
Setup ownCloud Repository
ownCloud provides you the official deb packages for the installation of ownCloud.
Setup ownCloud repository using the following steps. Replace the 16.04 / 9.0 with your system version like 14.04, 15.10 (Ubuntu) / 8.0 (Debian).
### Ubuntu ###

wget -nv https://download.owncloud.org/download/repositories/stable/Ubuntu_16.04/Release.key -O Release.key
sudo apt-key add - < Release.key
sudo sh -c "echo 'deb https://download.owncloud.org/download/repositories/stable/Ubuntu_16.04/ /' > /etc/apt/sources.list.d/owncloud.list"

### Debian ##

wget -nv https://download.owncloud.org/download/repositories/stable/Debian_9.0/Release.key -O Release.key
sudo apt-key add - < Release.key
sudo sh -c "echo 'deb https://download.owncloud.org/download/repositories/stable/Debian_9.0/ /' > /etc/apt/sources.list.d/owncloud.list"
Install ownCloud using the following command.
sudo apt-get update
sudo apt-get install owncloud-files
Create MySQL Database
If you are bringing up a MariaDB for the first time, here is the tutorial on Securing MariaDB. Ensure MariaDB server is running.
Log into MariaDB server to create a database.
sudo mysql -u root -p
Create database called “ownclouddb”
create database ownclouddb;
Allow “ownclouduser” to access the “ownclouddb” database on localhost with a predefined password.
grant all on ownclouddb.* to 'ownclouduser'@'localhost' identified by 'password';
Run the below command in the MariaDB shell.
FLUSH PRIVILEGES;
Exit from MariaDB Shell.
exit
Configure Apache
Create a virtual host file for ownCloud.
sudo vi /etc/apache2/sites-available/owncloud.conf
Add the below content to the above file.
Alias /owncloud "/var/www/owncloud/"

<Directory /var/www/owncloud/>
Options +FollowSymlinks
AllowOverride All

<IfModule mod_dav.c>
Dav off
</IfModule>

SetEnv HOME /var/www/owncloud
SetEnv HTTP_HOME /var/www/owncloud

</Directory>
Enable the virtual host.
sudo a2ensite owncloud
Enable the following modules for ownCloud.
sudo a2enmod rewrite
sudo a2enmod headers
Restart the Apache service.
### Ubuntu 16.04 / Debian 9 ###

sudo systemctl restart apache2

### Ubuntu 14.04 / Debian 8 ###

service apache2 restart
Setup ownCloud
Open up a web browser and navigate it to below URL. You will need to setup ownCloud before it is getting live.
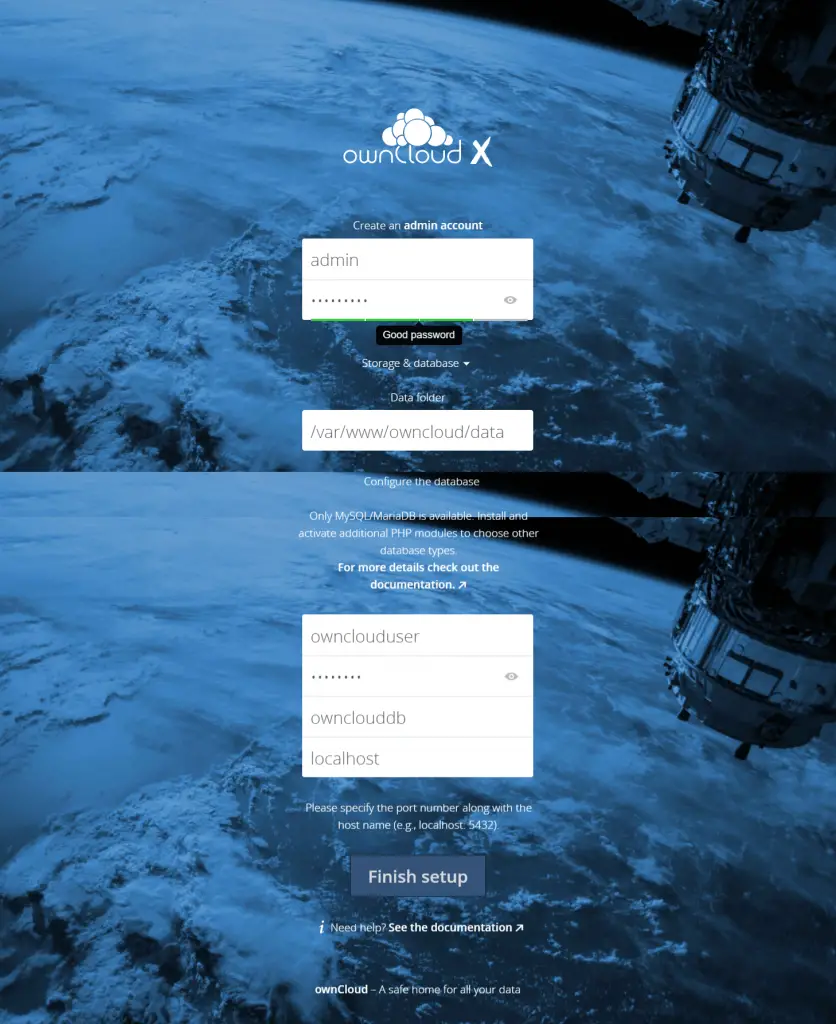
Fill up the setup page with admin user details and then the location of the data folder.
You can choose any one of the databases from SQLite or MySQL. If you want to use SQLite database, you do not have to enter database details; but using SQLite in a larger (production) environment is not recommended.
Considering the above recommendation, we will use MariaDB here. Enter the MariaDB database details in the below page.

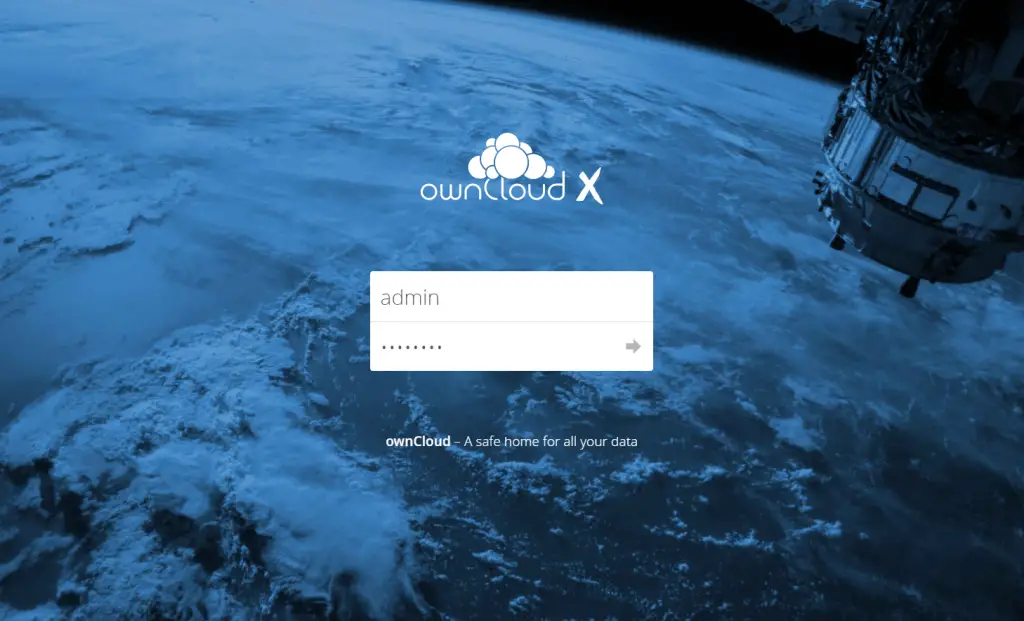
Once the setup is complete, the installer will take you to the ownCloud login page. Log in with your username and password you just created in the previous step.

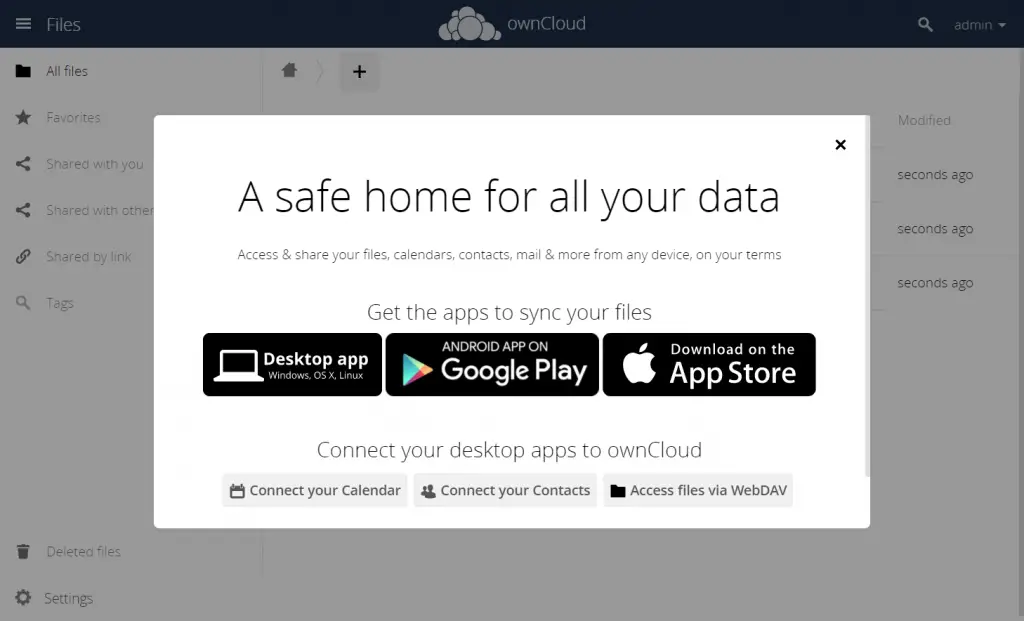
Alternately you can also download the ownCloud clients to sync the documents across your devices.

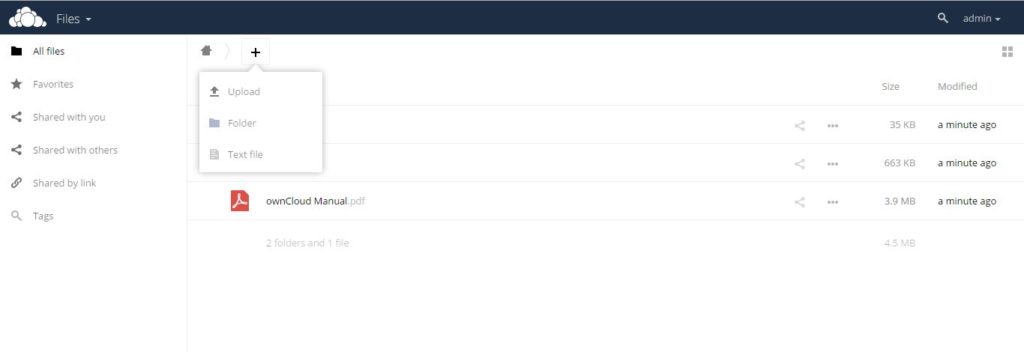
The home page of ownCloud will look like below. You can upload your documents and files using “+ sign” button.

Extras
Yoy may get the below error, If you have changed an IP address of ownCloud server or the domain name you use to access the ownCloud.
You are accessing the server from an untrusted domain.
Please contact your administrator. If you are an administrator of this instance, configure the "trusted_domains" setting in config/config.php. An example configuration is provided in config/config.sample.php.
To resolve the issue, modify the config/config.php file.
sudo vi /var/www/owncloud/config/config.php
Add the trusted domains shown like below.
'trusted_domains' =>
  array (
    0 => '35.184.120.107',
    1 => 'owncloud.itzgeek.local',
    2 => 'your.fq.dn',
  ),
That’s All.
