How to Install Cherokee Web Server With PHP5 And MySQL On Ubuntu 11.04
 Cherokee is a high-performance web server. It is very fast, flexible and easy to configure. It offers support for the widespread technologies nowadays: FastCGI, SCGI, PHP, CGI, SSI, TLS and SSL encrypted connections, Virtual hosts, Authentication, on the fly encoding, Load Balancing, Apache compatible log files, Data Base Balancer, downtime-free updates and upgrades, Reverse HTTP Proxy, and much more.
In this tutorial I used the hostname server1.example.com with the IP address 192.168.0.10. These settings might differ for you, so you have to replace them where appropriate.
The first thing you need to do is to login as root. You can login as root in Ubuntu Linux by typing in the terminal:
[raj@ubuntu$ ~]# sudo su
Installing MySQL 5:
First we will install the MySQL by issuing the following command.
root@ubuntu:/# apt-get install mysql-server mysql-client
You will be asked to provide a password for MySQL user “root“. The same password will be valid for the user root@localhost as well as [email protected] .
New password for the MySQL “root” user: <– yourrootsqlpassword
Repeat password for the MySQL “root” user: <– yourrootsqlpassword
Installing Cherokee:
Cherokee is available in the Ubuntu Package. So just install by issuing the following command.
root@ubuntu:/# apt-get install cherokee
Start Cherokee by issuing following command.
root@ubuntu:/# /etc/init.d/cherokee start
Navigate your web page to your IP Address (https://192.168.0.10), and you will see the Test page of Cherokee.
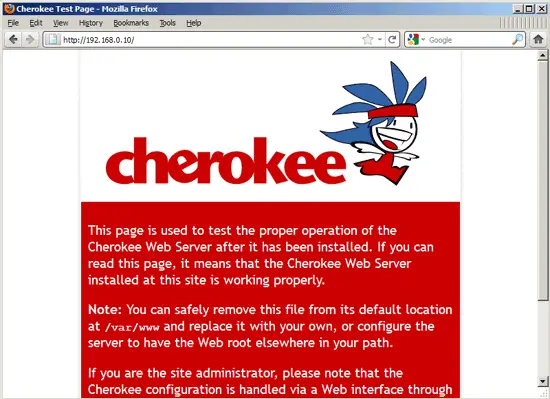
Cherokee web server has the in-built web GUI for configuring the server. Before accessing GUI, you need to generate the admin password by issuing the following command. By default Cherokee admin binds to localhost only i.e. You can connect admin from the same system. With -b options in command you can specify the network address to listen to. In my case i want that Cherokee-Admin should listen to 192.168.0.10 address, so i am issuing the following command.
PS: The password is for one time use only. If you need to login again, you should use the same command for generating it.
root@ubuntu:/# cherokee-admin -b 192.168.0.10
Login:
User: admin
One-time Password: gunCkIxdT125Q6JqW
Web Interface:
URL: https://192.168.0.10:9090/
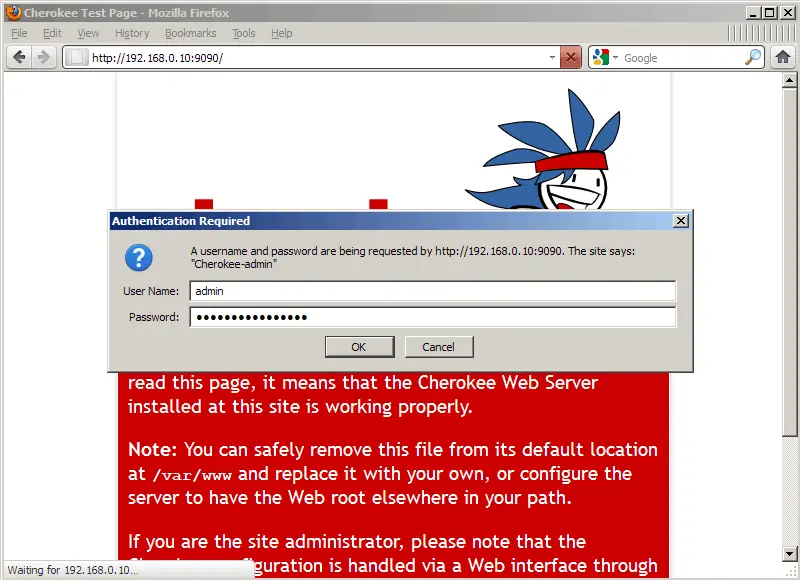
Now access Cherokee-Admin by navigating your browser to https://192.168.0.10:9090. Type user name and password for accessing it.
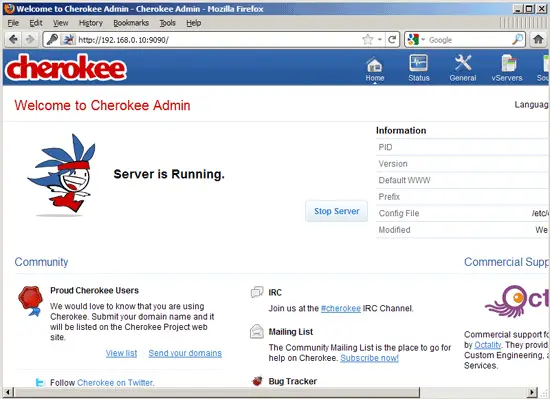
The next screen shot shows the main admin page after the login.
Installing PHP5:
Next is to install PHP5 work in Cherokee through FastCGI. Fortunately, Ubuntu provides a FastCGI-enabled PHP5 package. Issue the following command to install PHP5.
root@ubuntu:/# apt-get install php5-cgi
Configuring PHP5:
We need to modify to /etc/php5/cgi/php.ini. and comment the line cgi.fix_pathinfo=1:
root@ubuntu:/# vi /etc/php5/cgi/php.ini
[…]
; cgi.fix_pathinfo provides *real* PATH_INFO/PATH_TRANSLATED support for CGI. PHP's
; previous behaviour was to set PATH_TRANSLATED to SCRIPT_FILENAME, and to not grok
; what PATH_INFO is. For more information on PATH_INFO, see the cgi specs. Setting
; this to 1 will cause PHP CGI to fix its paths to conform to the spec. A setting
; of zero causes PHP to behave as before. Default is 1. You should fix your scripts
; to use SCRIPT_FILENAME rather than PATH_TRANSLATED.
; https://php.net/cgi.fix-pathinfo
cgi.fix_pathinfo=1
[...]
Restart the Cherokee.
root@ubuntu:/# /etc/init.d/cherokee reload
Enabling PHP5 In Cherokee:
PHP is not enabled in Cherokee by default. We need to enable it in Cherokee-Admin Panel. Generate the admin login password again by using following command.
root@ubuntu:/# cherokee-admin -b
Navigate your browser to https://192.168.0.10:9090.
Now Go to vServers —–> Select default vhost —–> Behavior ——> Click on Rule Management Button.
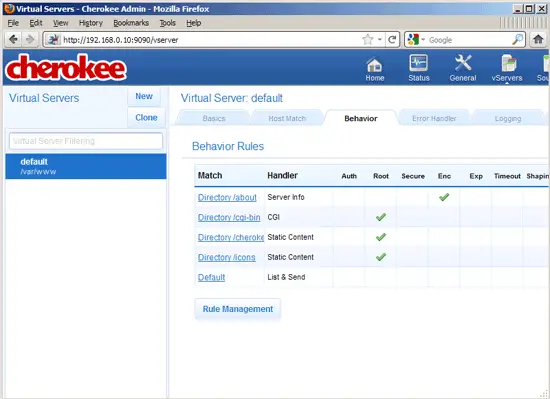
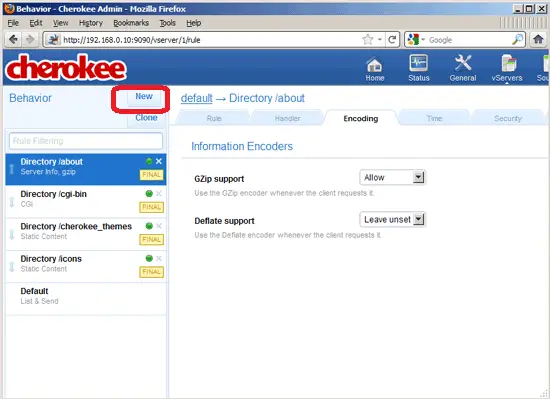
In the left column you will find the existing rules are placed. Click on the New button next to Behavior ( Above the Existing rule panel column)
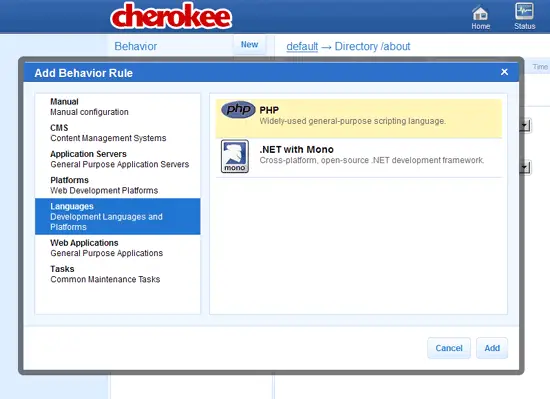
 An overlay window will pop up, select Languages from the left column, then choose PHP and click the Add button
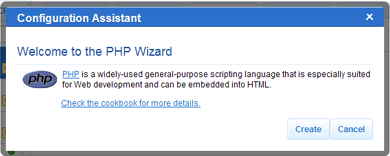
Click the Create button in the Configuration Assistant window.
Now you will see a new rule for PHP in the left column with the status of “NON FINAL“. You can change the default PHP settings if you like (this is not necessary, the default settings will be fine in most cases).
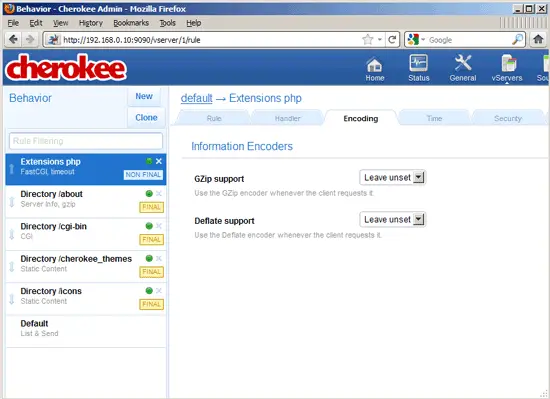
To enable PHP Support Click on the “NON FINAL” to Make it “FINAL”
![]()
After that, In the upper right corner you will find the Save link – click it to save the new configuration.
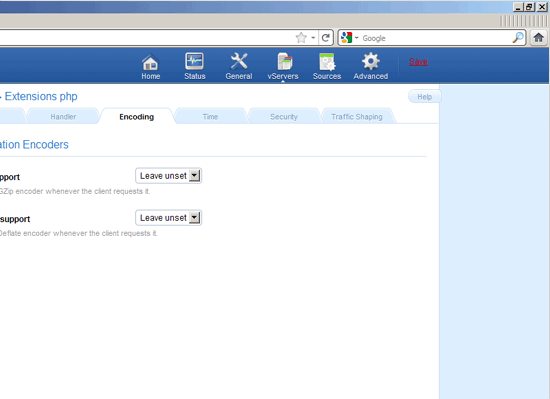
Once clicked on Save link, it will prompt you to restart the Cherokee Server. Click on Graceful Restart.

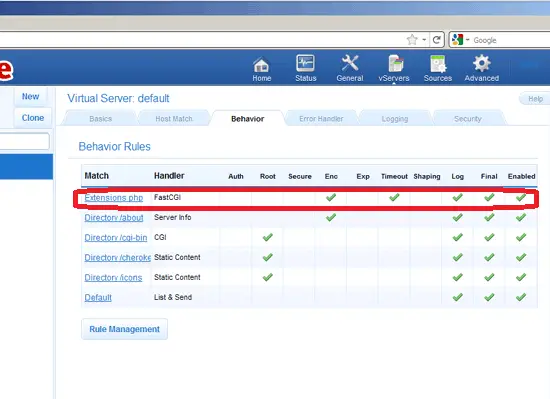
Now PHP should be listed on the Behavior tab with the Check on Enabled Column.
Testing PHP:
For testing the PHP, Place one PHP file on to the default directory of the Apache.
In the terminal copy/paste the following line:
root@ubuntu:/# vi /var/www/info.php
This will open up a file called phpinfo.php.
Copy/Paste this line into the phpinfo file:
<?php phpinfo(); ?>
Save and close the file. use Esc + ;wq for saving the file.
Now open you’re web browser and type the following into the web address:
https://192.168.0.10/info.php
The page look like below:
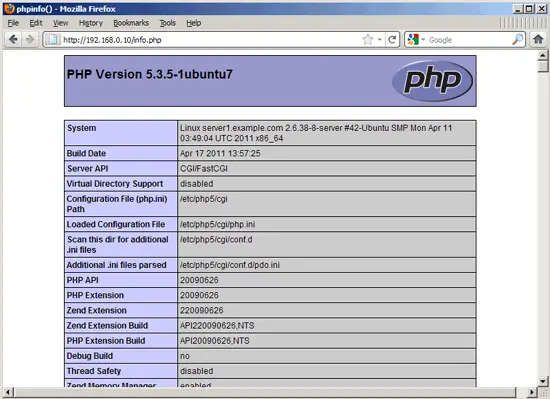
From the above screen shot , PHP5 is working, and it’s working through FPM/FastCGI, as shown in the Server API line. If you scroll further down, you will see all modules that are already enabled in PHP5. You will find that MySQL is not listed there which means we don’t have MySQL support in PHP5 yet. we need to install the MySQL support in PHP 5.
MySQL Support In PHP5:
To get the MySQL support in PHP5 we can install the php5-mysql package.
root@ubuntu:/# apt-get install php5-mysql
Once installed, restart the Cherokee.
root@ubuntu:/# /etc/init.d/cherokee restart
Now refresh the Web browser that already you have opened for testing PHP. Scroll down to Module Section again.
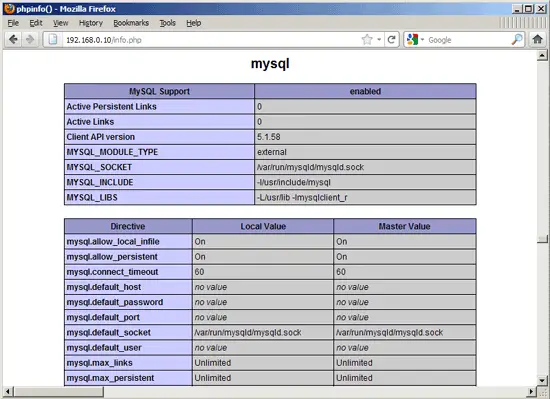
You will find the MySQL modules list that are not listed before the installation of support package.
