![]()
WordPress is the most widely used open source web blogging and content management software written in php and MySQL, even ITzGeek uses WordPress. Here is the small tutorial on setting up WordPress installation on Fedora 20, this is very simple as like having a bear; wont take more than 5 min.
Prerequisites:
WordPress requires Apache, PHP and MySQL, Lets first install Apache.
yum -y install httpd
Start the apache and enable it on system startup
systemctl start httpd.service
systemctl enable httpd.service
Install PHP and their required extensions which are required by the WordPress.
yum -y install php php-zlib php-iconv php-gd php-mbstring php-fileinfo php-curl php-xmlreader php-xmlwriter php-spl php-openssl php-pspell php-mysql
Install MariaDB server as the database.
yum -y install mariadb mariadb-server
Start the MariaDB and enable it on system startup
systemctl start mariadb.service
systemctl enable mariadb.service
Use the following utility to secure the MariaDB installation.
mysql_secure_installation
Create Database:
Login into MariaDB.
mysql -u root -p
Create the desired database for WordPress.
CREATE DATABASE wordpress;
Create a user.
CREATE USER 'wpuser'@'localhost' IDENTIFIED BY 'wppassword';
Grant the permission to the created user to access database.
GRANT ALL PRIVILEGES ON wordpress.* TO 'wpuser'@'localhost';
Configure WordPress:
Download the latest WordPress.
wget https://wordpress.org/latest.tar.gz
Extract it to /var/www/html/ directory.
tar -zxvf latest.tar.gz -C /var/www/html/
Make the apache user as the owner to WordPress directory.
chown -R apache:apache /var/www/html/wordpress/
Copy the wp-sample-config.php file and make it as wp-config.php file.
cp /var/www/html/wordpress/wp-config-sample.php /var/www/html/wordpress/wp-config.php
Edit the config file and mention the database information.
vi /var/www/html/wordpress/wp-config.php
Default will look like below.
/** The name of the database for WordPress */
define(‘DB_NAME’, ‘database_name_here‘);
/** MySQL database username */
define(‘DB_USER’, ‘username_here‘);
/** MySQL database password */
define(‘DB_PASSWORD’, ‘password_here‘);
/** MySQL hostname */
define(‘DB_HOST’, ‘localhost‘);
Modified entries according to the created database user and database will look like.
/** The name of the database for WordPress */
define(‘DB_NAME’, ‘wordpress‘);
/** MySQL database username */
define(‘DB_USER’, ‘wpuser‘);
/** MySQL database password */
define(‘DB_PASSWORD’, ‘wppassword‘);
/** MySQL hostname */
define(‘DB_HOST’, ‘localhost‘);
Install WordPress:
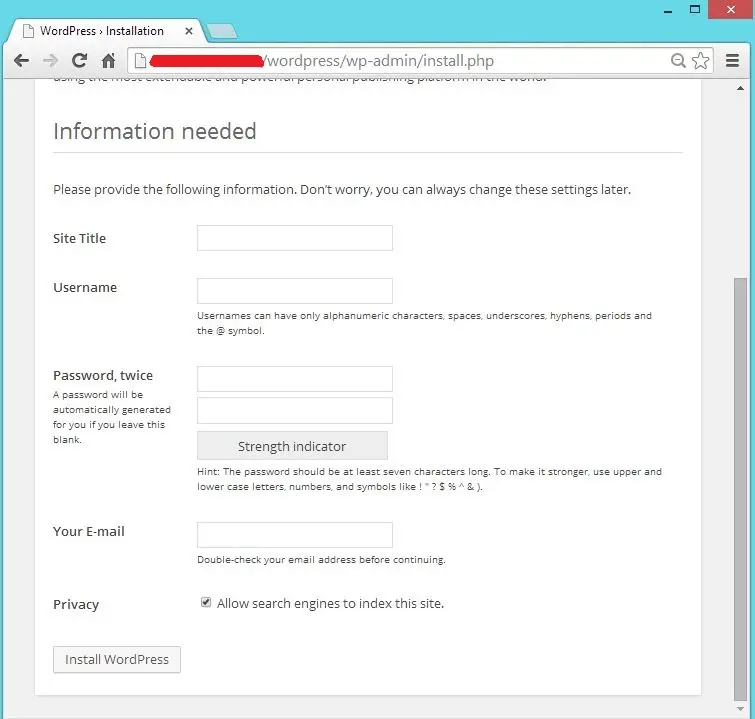
Open your browser and visit https://your-ip-address/wordpress, enter the site information and click on Install WordPress.
You will see the next page like below.
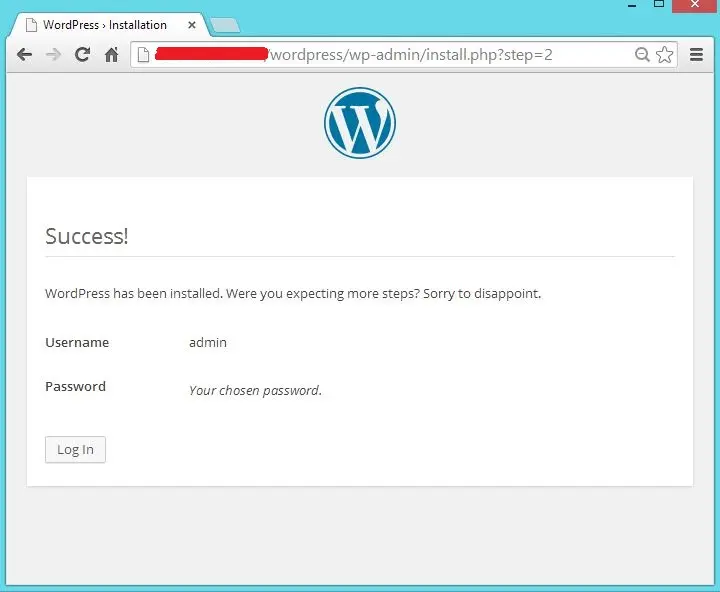
If you click on continue, you will be asked to enter the password to access the WordPress admin section.
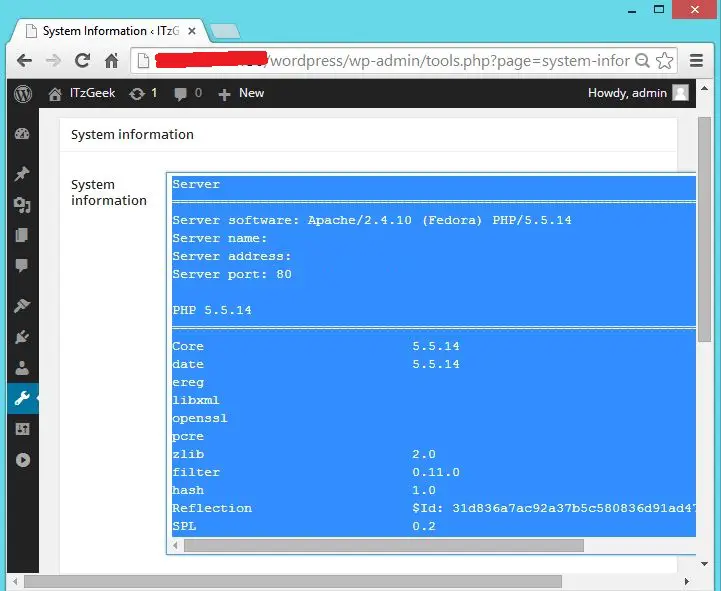
The following page shows you the WordPress server information using System Information plugin.
That’s All!.