
HHVM (HipHop Virtual Machine) is an open-source virtual machine designed for executing programs written in Hack and PHP. HHVM is developed by Facebook, and it’s source codes are hosted on Github; released under the terms of PHP and Zend license.
HHVM uses the principle of JIT (just-in-time) compilation which helps to achieve superior performance without compromising the development flexibility that PHP provides. HHVM executes PHP or Hack code into intermediate HipHop bytecode (HHBC) and then dynamically translated into the x86_64 machine code.
HHVM can be installed on most major Linux platforms; also an experimental support on Mac OS X 10.10 and work is in progress to support Windows operating system.
HHVM offers the prebuilt packages for Debian and Ubuntu operating systems.
Ubuntu 16.04 (Xenial)
Ubuntu 15.10 (Wily Werewolf)
Ubuntu 15.04 (Vivid)
Ubuntu 14.04 (Trusty)
Debian 8 (Jessie)
Debian 7 (Wheezy)
You can also build from source for other flavors of Linux distributions.
Release:
HHVM is actively developed by Facebook, and you can get a full version (stable release) every eight weeks. Every third major point release of HHVM is considered to be a Long-term support (LTS) release. LTS is supported for nearly one year and is backported with critical bug fixes and security patches.
If you still have queries, visit a blog post on LTS releases.
This guide helps you set up HHVM on Ubuntu 16.04 and Debian 8. This guide should work on Previous versions of Ubuntu such as Ubuntu 15.10, Ubuntu 14.04 LTS, Ubuntu 15.04, and Debian 7.
Add HHVM Repository:
Now, add an HHVM repository on your machine before proceeding to the installation.
Debian:
sudo apt-key adv --recv-keys --keyserver hkp://keyserver.ubuntu.com:80 0x5a16e7281be7a449
echo deb http://dl.hhvm.com/debian $(lsb_release -sc) main | sudo tee /etc/apt/sources.list.d/hhvm.list
Ubuntu:
sudo apt-get install software-properties-common
sudo apt-key adv --recv-keys --keyserver hkp://keyserver.ubuntu.com:80 0x5a16e7281be7a449
sudo add-apt-repository "deb http://dl.hhvm.com/ubuntu $(lsb_release -sc) main"
Install HHVM on Ubuntu 16.04 / Debian 8:
Update the repository cache and move on to the installation of HHVM, this will install the latest version of HHVM on your machine.
sudo apt-get update
sudo apt-get install -y hhvm
Verify the HHVM version.
$ php -v

HipHop VM 3.15.0 (rel)
Compiler: tags/HHVM-3.15.0-0-g92a682ebaa3c85b84857852d8621f528607fe27d
Repo schema: 225d4323575bbc8a498dc809a1c41354f6bca830
Test HHVM:
You can simply invoke a command to start HHVM. You can control the HHVM server using extra arguments with “hhvm” command.
Let’s create a PHP file to serve the request through a web browser on your current working directory.
vi test.php
Put the below contents to above file.

Execute the below command.
hhvm -m server -p 8080
-m represents the mode and here indicates that HHVM is running as HTTP server mode
-p configures the TCP port that HHVM uses to listen to HTTP requests.
Know more about the HHVM modes.
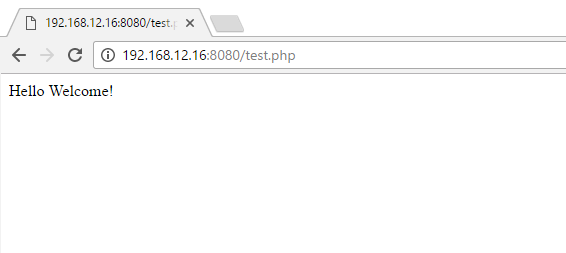
Navigate your web browser to below URL.
You should see below page which confirms that HHVM is working fine.
Server Types:
Server type is classified based on how the HHVM serves the page for users request; it has built-in support for server types: Proxygen and FastCGI.
HHVM ProxyGen:
Proxygen mode is a full web server, built directly into HHVM. It is very easy to set up and get running and serves web requests fast. Porxygen mode provides a high-performance web server equivalent to FastCGI and Nginx.
As I said already, configuration parameters are very simple and easy to setup. HHVM’s main configuration file is /etc/hhvm/server.ini.
Edit the configuration file like below.
sudo vi /etc/hhvm/server.ini
Modify the HHVM configurations according to your requirements.
; configures the TCP port that HHVM uses to listen to HTTP requests.
hhvm.server.port = 80
; Configures HHVM server type
hhvm.server.type = proxygen
; Configures default document for the directory
hhvm.server.default_document = index.php
; Enabling Logs
hhvm.log.use_log_file = true
hhvm.log.file = /var/log/hhvm/error.log
; Configures Error document for the directory
hhvm.server.error_document404 = index.php
; Sets the default directory for HHVM webserver when it is started
hhvm.server.source_root=/var/www/public
You can run these commands to set HHVM to start up at boot, and to start it as a service now:
sudo update-rc.d hhvm defaults
sudo service hhvm restart
Create a /var/www/public directory that will hold the documents of your website.
sudo mkdir -p /var/www/public
Create a test file to verify HHVM is serving the web requests.
sudo vi /var/www/public/index.php
Paste below contents to above file.

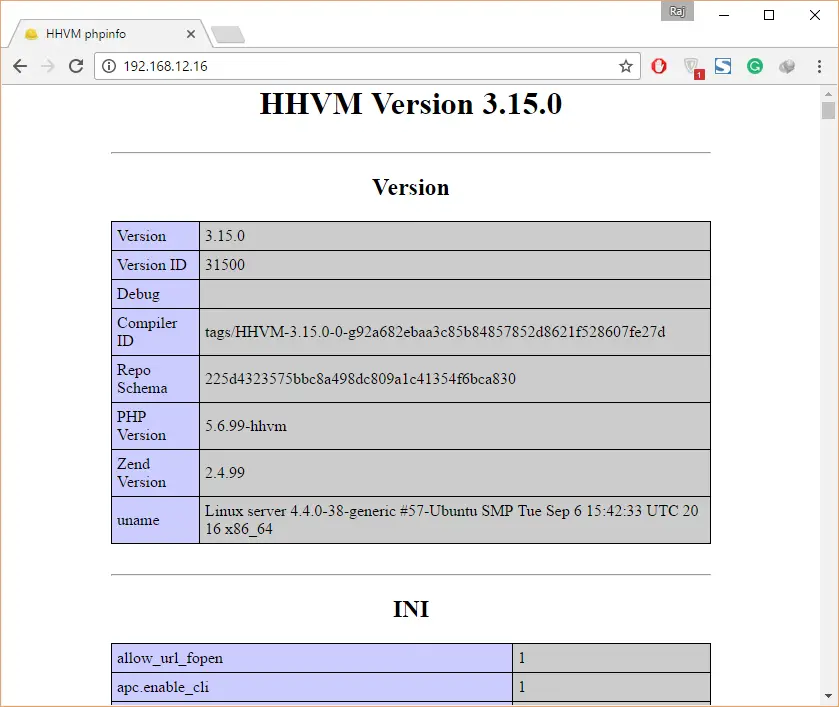
Access the HHVM web server through the browser of your choice.
You would get the PHPInfo page where you can find all the information about PHP.
HHVM FastCGI:
In this mode, HHVM sits between your web document (.php) and web server (Apache or Nginx). FastCGI provides a high-performance in serving web page fast, it is very similar to PHP-FPM. HHVM listens on either a TCP socket (localhost:9000) or a UNIX socket. Web server (Nginx or Apache) will listen on port 80 or 443 for web requests.
When a new request comes in, the web server either makes a connection to HHVM or reuses one of the previously open connections, using HHVM FastCGI. Once the connection is established, the web server supplies HHVM with information like request headers, body, and path of the file to be executed. Now, HHVM computes the received information and sends it back to the webserver using FastCGI again. At last, the web server will send a response to the client with requested data.
Apache:
Install the Apache server on your machine using the following command.
sudo apt-get install -y apache2
Running below commands will setup Apache to work with HHVM to serve web request.
sudo /usr/share/hhvm/install_fastcgi.sh
By default, apache will look for the web pages in /var/www/html directory to serve the requests, but it may not know how to handle .php files. So you would need to tell apache to take any file that ends in .hh or .php and sent it to HHVM via fastCGI.
Edit the below configuration file.
sudo vi /etc/apache2/mods-enabled/hhvm_proxy_fcgi.conf
Set it like below.
ProxyPassMatch ^/(.+\.(hh|php)(/.*)?)$ fcgi://127.0.0.1:9000/var/www/html/$1
Restart the apache and HHVM services.
sudo /etc/init.d/apache2 restart
sudo /etc/init.d/hhvm restart
Nginx:
Install the Nginx on your machine using the following command.
sudo apt-get install -y nginx
Running below commands will setup Nginx to work with HHVM to serve web request.
sudo /usr/share/hhvm/install_fastcgi.sh
By default, Nginx will look for the web pages in /usr/share/nginx/html (depends on OS) directory to serve the requests, but it may not know how to handle .php files. So you would direct Nginx to take any file that ends in .hh or .php and sent it to HHVM via fastCGI.
Edit the below configuration file.
sudo vi /etc/nginx/sites-available/default
Modify below the line, add index.php to your index line.
From:
index index.html index.htm;
To:
index index.php index.html index.htm;
Restart the apache and HHVM services.
sudo /etc/init.d/nginx restart
sudo /etc/init.d/hhvm restart
To test the FastCGI type, create/place the .php file on to default directories.
Apache and Nginx Ubuntu 16.04, 15.04 / Debian 8:
$ sudo vi /var/www/html/index.php
Paste below contents to above file.
phpinfo();

?>
Nginx Ubuntu 14.04:
$ sudo vi /usr/share/nginx/html/index.php
Paste below contents to above file.
<?php

phpinfo();

?>
If you found index.html on your default root directory, please move/remove it.
Apache Ubuntu 16.04 / Debian 8:
sudo rm -rf /var/www/html/index.html
Nginx Debian / Ubuntu 15.04 / Ubuntu 16.04:
sudo rm -rf /var/www/html/index.nginx-debian.html
Nginx Ubuntu 14.04:
sudo rm -rf /usr/share/nginx/html/index.html
Now, open up your web browser and visit the following URL.
You should see the PHP information, and this will confirm that the web server processes your requests through HHVM FastCGI.
That’s All.
