
IntelliJ IDEA is an integrated development environment for Java development. Notably, Google uses IntelliJ IDEA as the base for its Android Studio, an open-source Android development IDE for developing Android applications. It is developed by JetBrains and is available in two editions, Community and Ultimate.
IntelliJ IDEA supports major build automation tools such as Maven, Ant and Gradle, version controls systems such as Git and SVN. It has a built-in terminal, database tools, code completion, inline debugger. Also, it supports detecting duplicates, connecting Docker containers and application servers such as Tomcat, JBoss, etc.
IntelliJ IDEA core package supports Java, Groovy, Kotlin, and XML/XSL programming languages. The support for other languages such as Python, Perl, Go, Erlang, etc. can be enabled by installing JetBrains plugins.
There are few languages and technologies only supported in Ultimate Edition. Before you install IntelliJ IDEA, compare the Community and Ultimate Editions and decide which one suits your needs.
This post guides you on how to install IntelliJ IDEA on Ubuntu 18.04 / 19.10 & Ubuntu 16.04.
System Requirements
- 2 GB RAM minimum, 4 GB RAM recommended
- 2.5 GB disk space. SSD recommended
- 1024×768 minimum screen resolution
Install IntelliJ IDEA
We can install IntelliJ IDEA on Ubuntu using snap (the easiest way) or download and install the IntelliJ IDEA manually.
Using snap
Install the snap package manager using the following command in case your system doesn’t have it.
sudo apt update && sudo apt install -y snapd
Run the following command to install the IntelliJ IDEA snap package.
sudo snap install intellij-idea-community --classic
The IntelliJ IDEA installation would take some time, depending upon the internet connection speed.
Upon successful installation, you will see the following message.
intellij-idea-community 2020.1 from jetbrains* installed
You can start IntelliJ IDEA by going to
Ubuntu 18.04: Activities >> Search for IntelliJ IDEA.

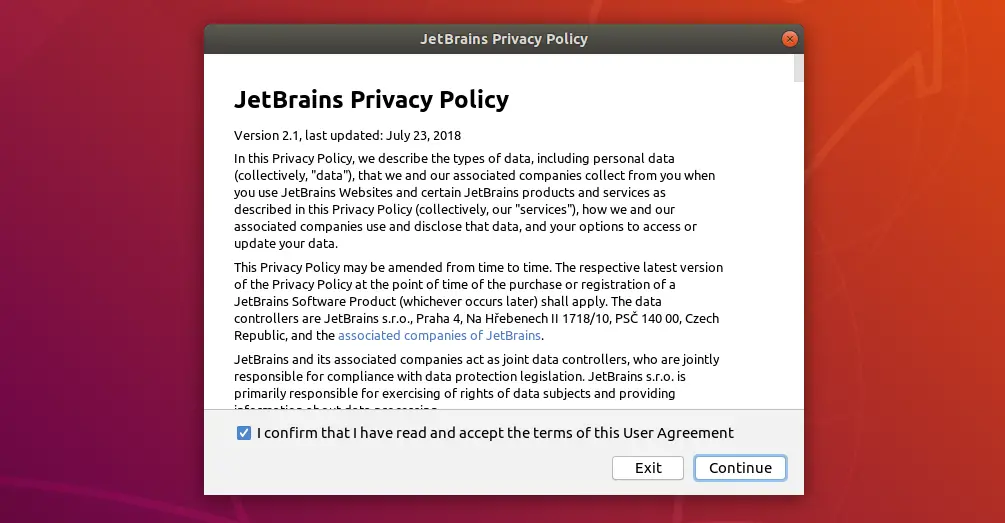
Select the confirmation checkbox to accept the privacy and then click on the Continue button.
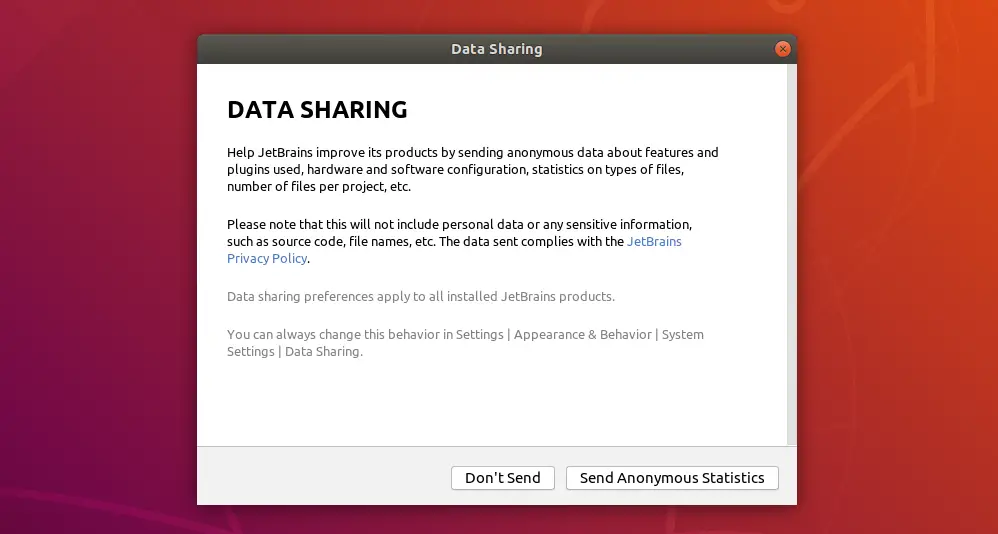
Decide whether to share anonymous statistics to JetBrains to improve its products.
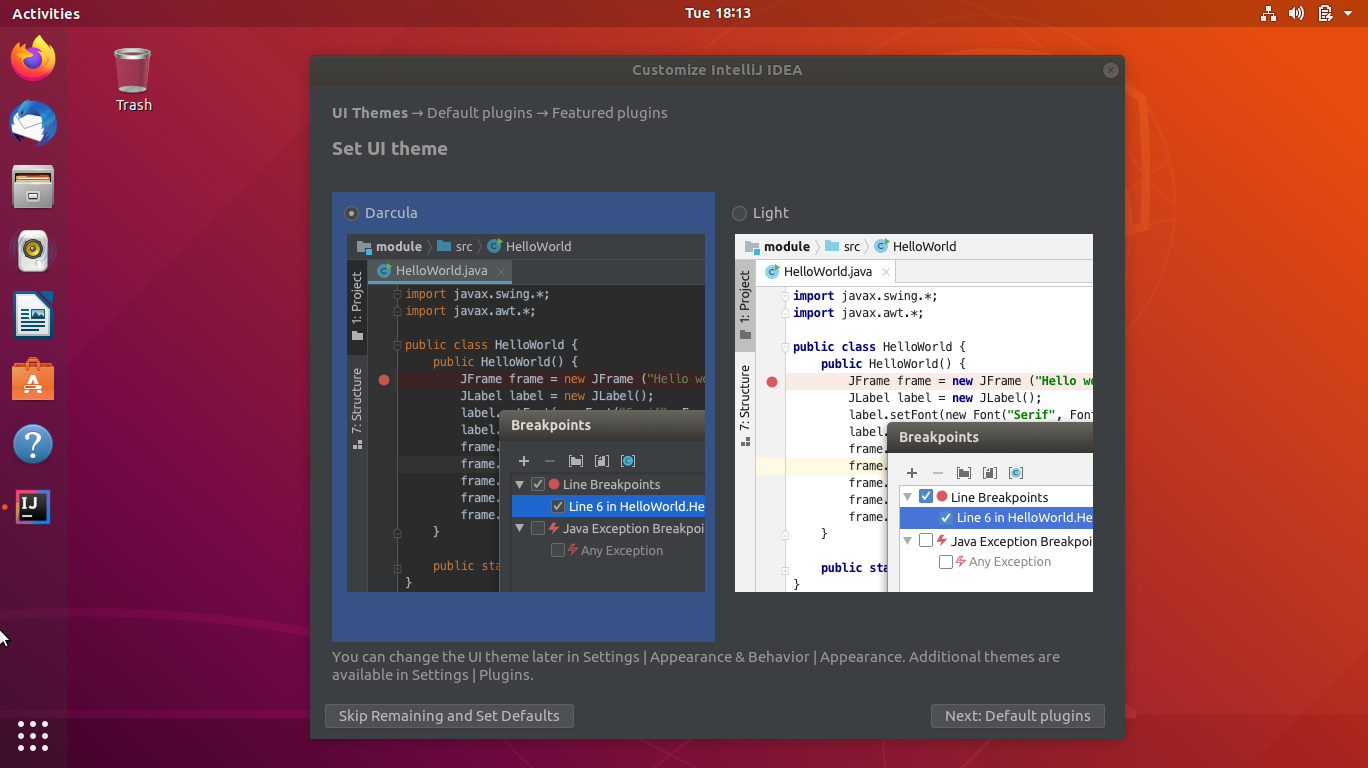
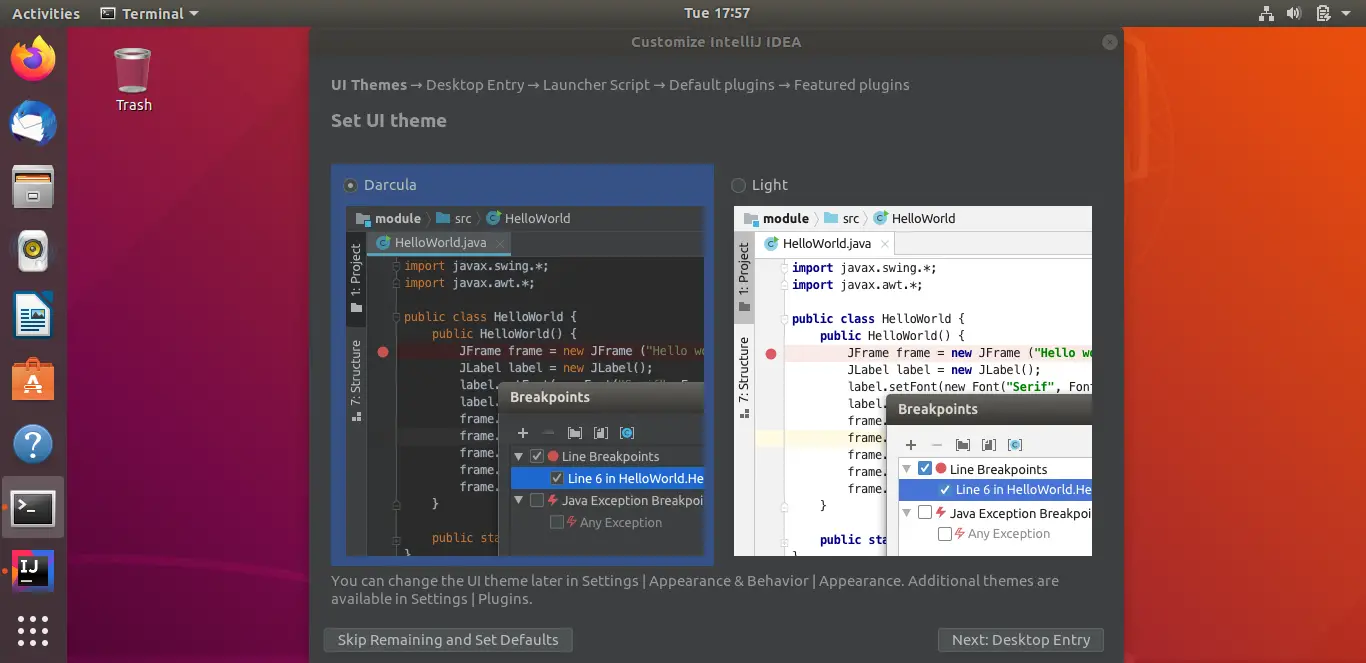
On the next screen, you can customize the IntelliJ IDEA installation. Choose the theme for the IntelliJ IDEA interface.
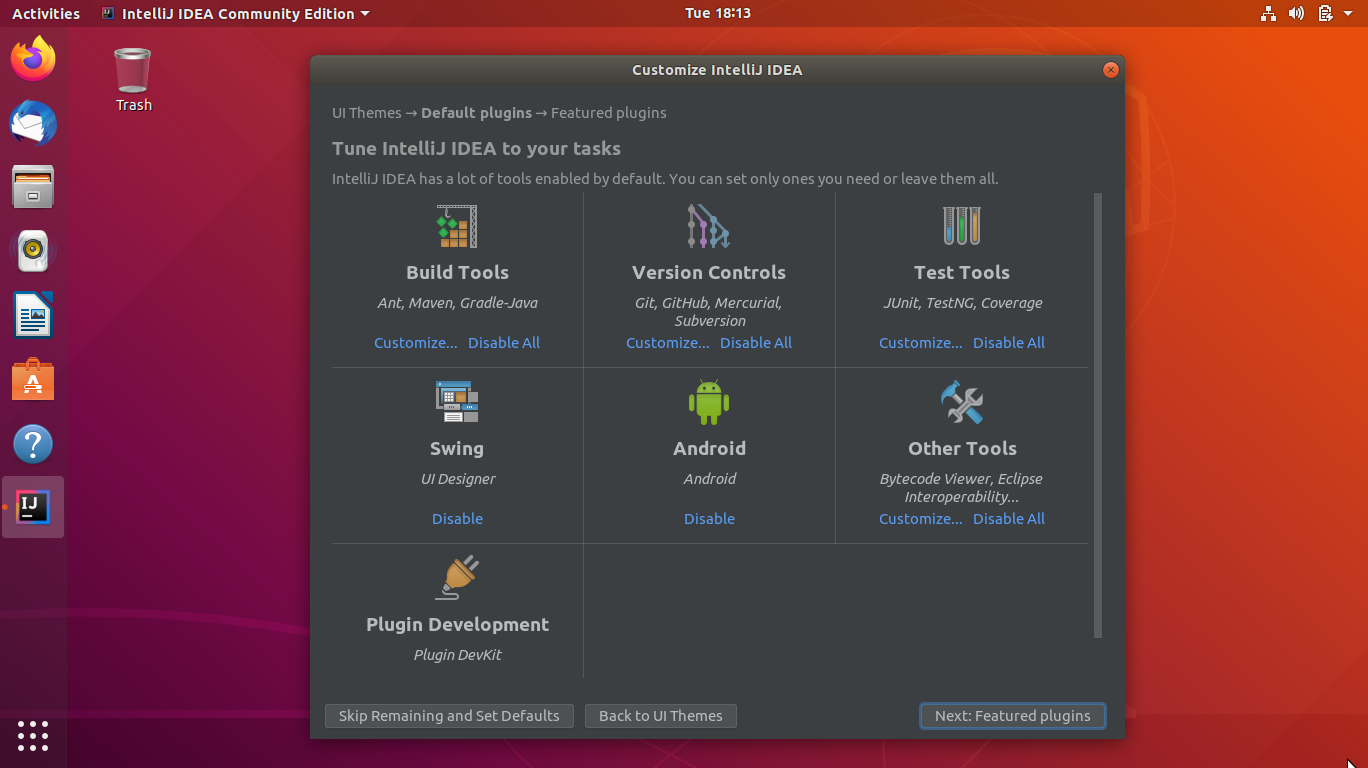
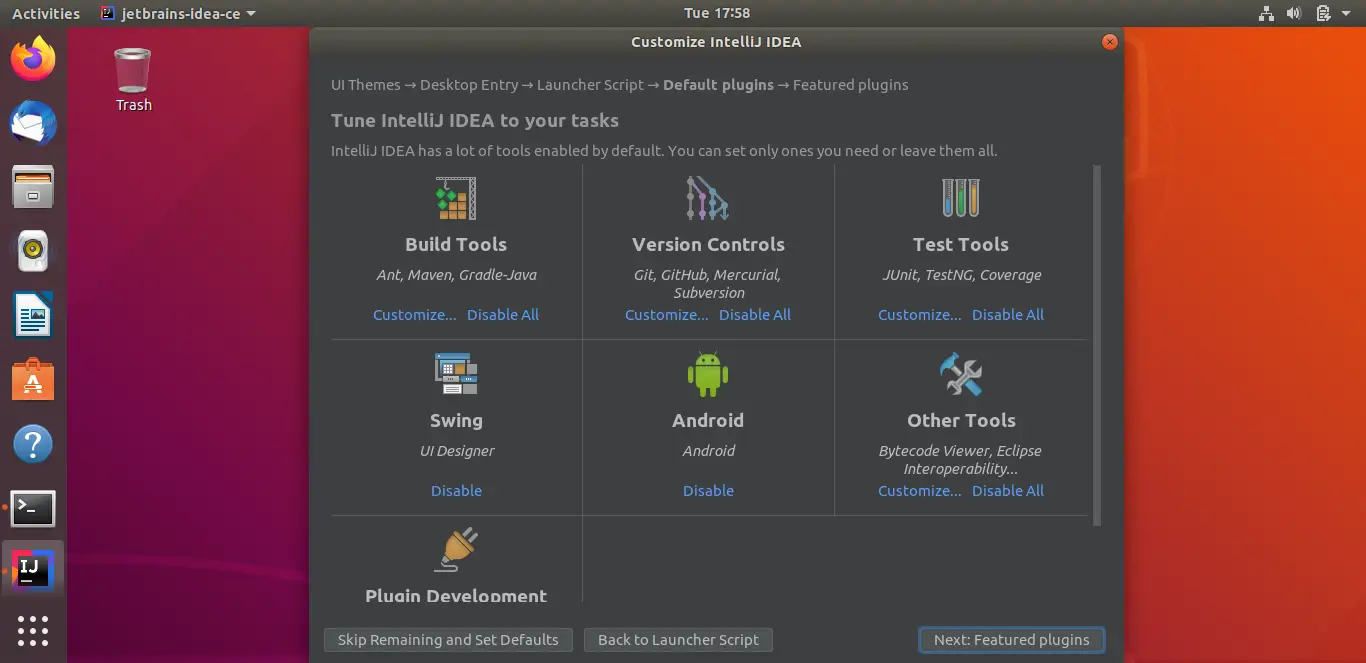
Enable or Disable the default plugins depending on your requirement.
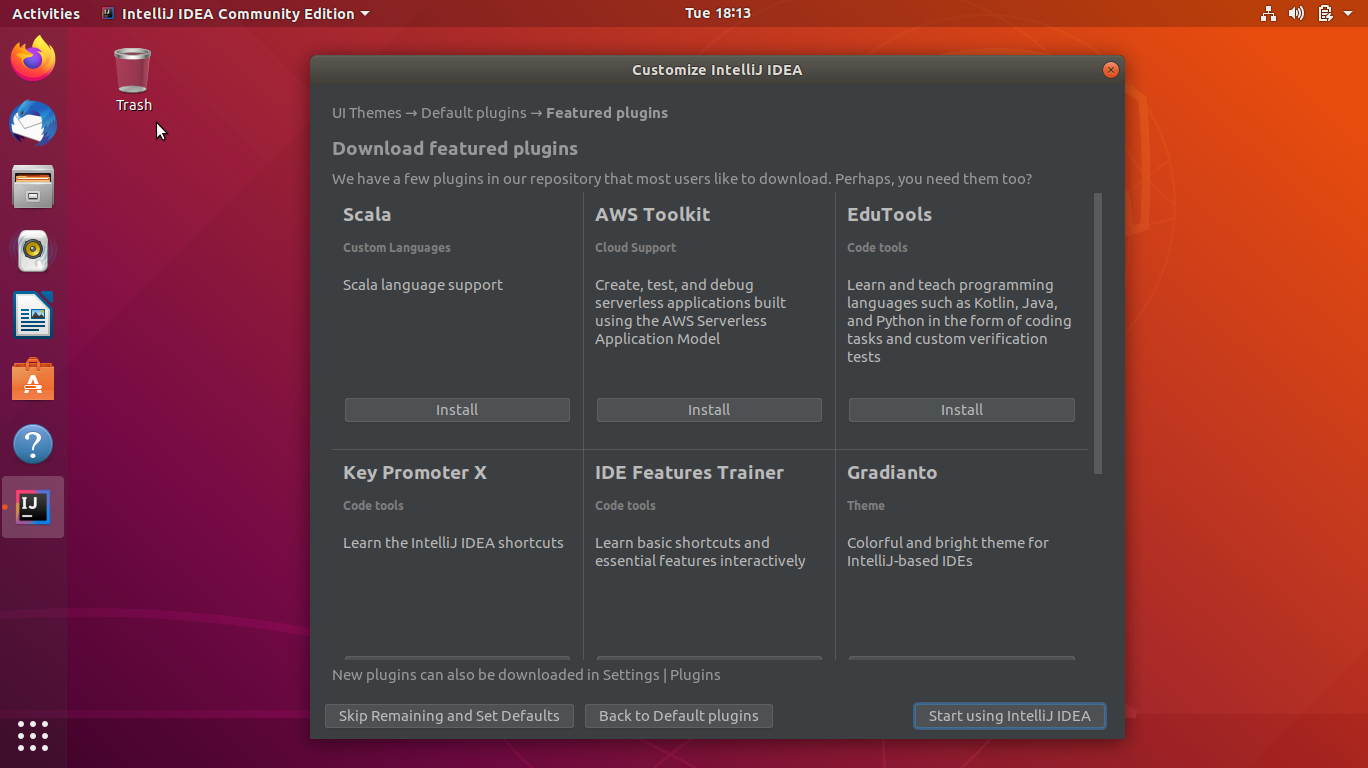
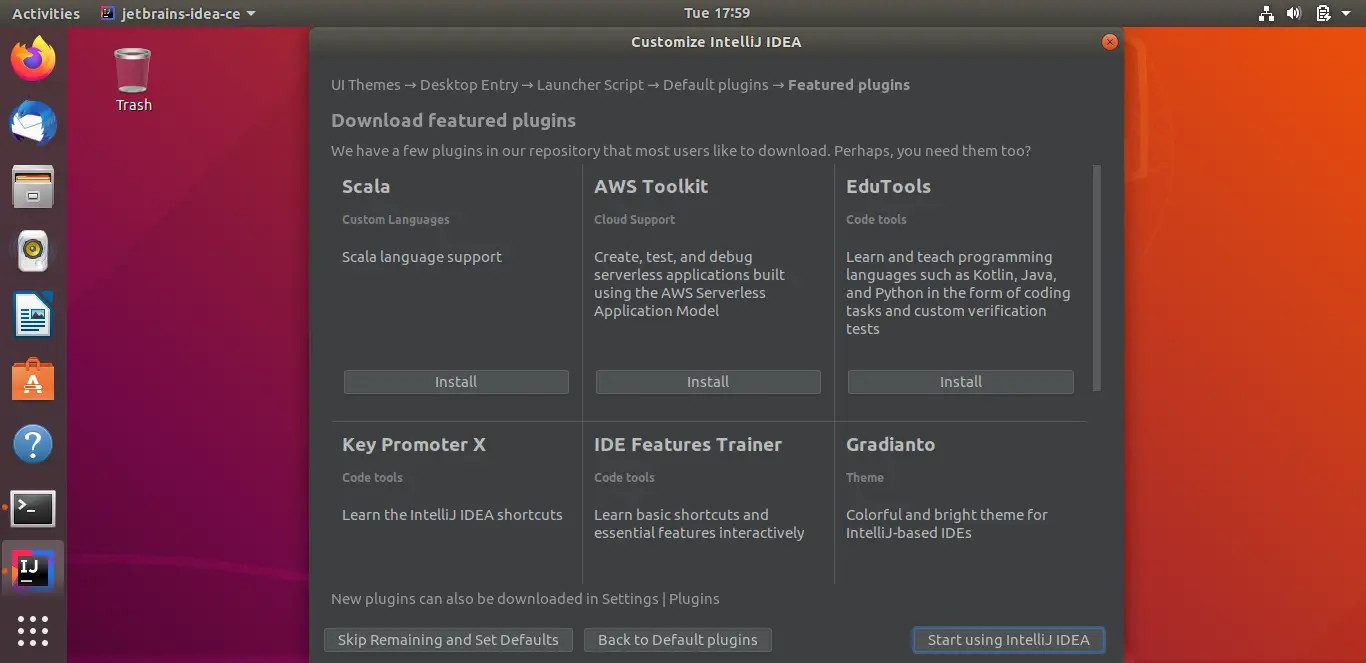
Consider installing IntelliJ IDEA featured plugins if it is useful for you. Otherwise, you can skip if you do not want to install them.
Click on Start Using IntelliJ IDEA.
Skip to Create New Project.
Using official package
Download the latest version of IntelliJ IDEA (v2020.1) from the official website.
OR
In the command line, run the below command to download IntelliJ IDEA v2020.1.
wget https://download-cf.jetbrains.com/idea/ideaIC-2020.1.tar.gz
Extract the downloaded package using the tar command.
tar -zxvf ideaIC-*.tar.gz

sudo mkdir /opt/idea/

sudo chmod 777 /opt/idea/

mv idea-*/* /opt/idea/
Then, run the idea.sh.
cd /opt/idea/bin/

sh idea.sh
Select the confirmation checkbox to accept the privacy and then click on the Continue button.
Also, choose whether you want to send usage statistics to JetBrains.
On the next screen, you can customize the IntelliJ IDEA installation. Choose the theme for the IntelliJ IDEA interface.
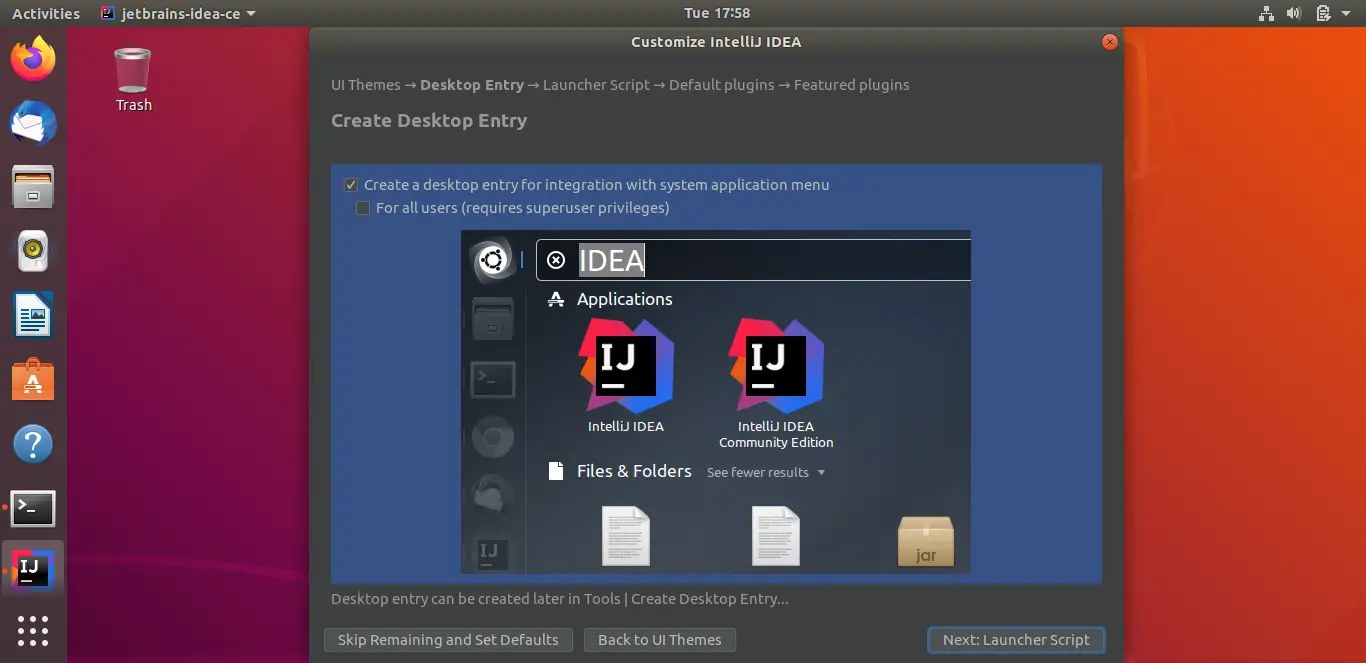
Create a desktop entry to start the application from the system application menu.
Optional: Select For all users in case your system has multiple users. This option requires root or superuser privileges.
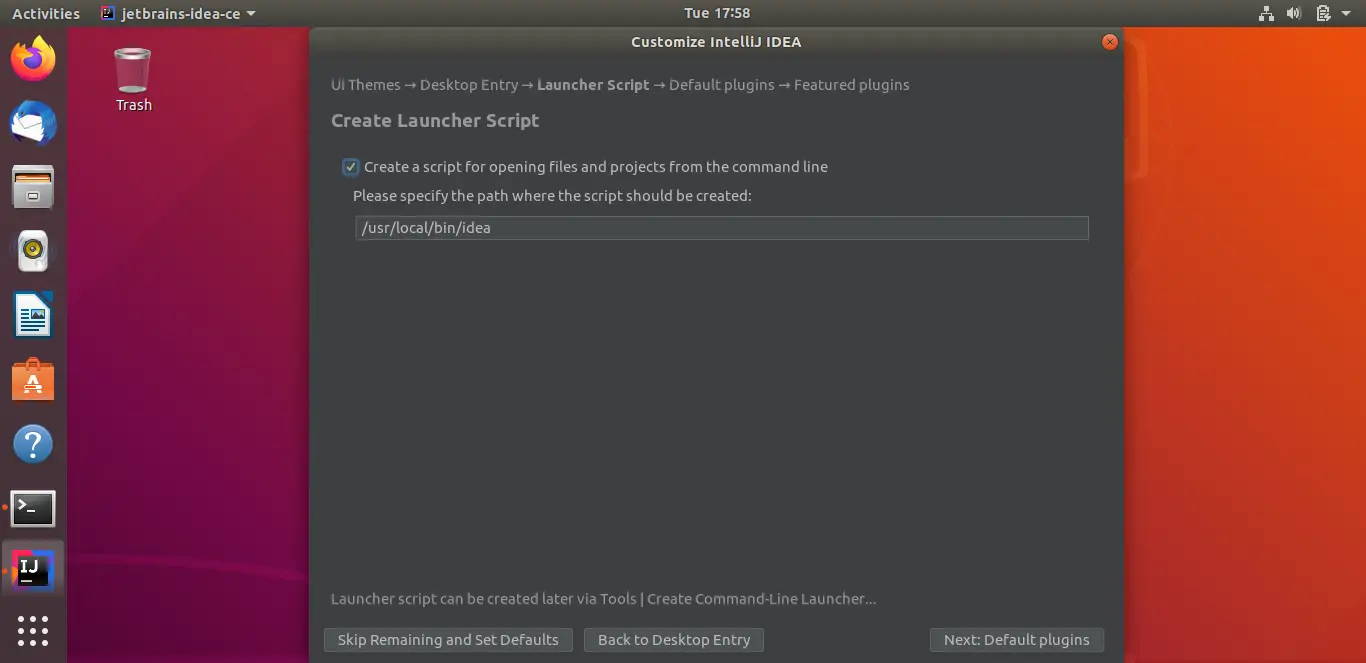
Also, create a Launcher script so that you can start IntelliJ IDEA with the command idea from a terminal.
Enable or Disable the default plugins depending on your requirement.
Consider installing IntelliJ IDEA featured plugins if it is useful for you. Otherwise, you can skip if you do not want to install them.
Click on Start Using IntelliJ IDEA.
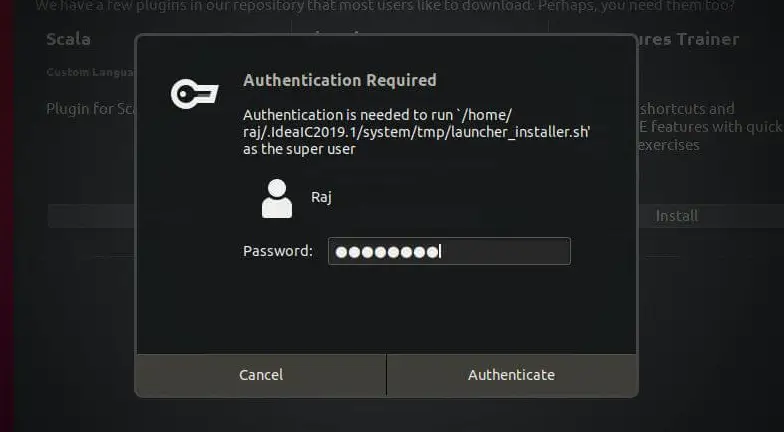
Enter your password if IntelliJ IDEA wizard asks to complete the installation.
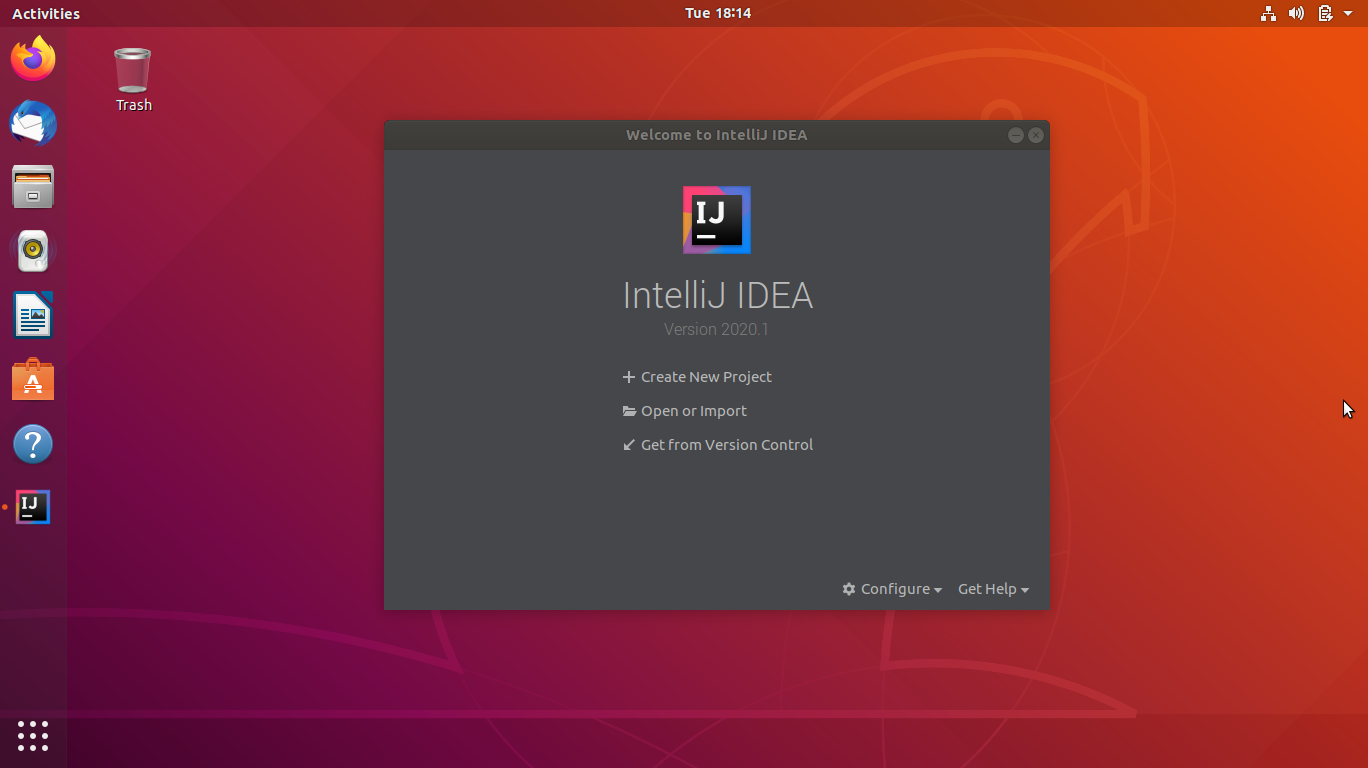
Create New Project
Once you finish customizing IntelliJ IDEA, the wizard will open up a project window where you can create a new project or import a project.
Follow the JetBrains quick video tutorial on how to create your first Java application.
To develop Java applications in IntelliJ IDEA, you need the Java SDK. Java SDK can be found in the below paths based on the installation method.
/opt/idea/jbr (Official release)
/snap/intellij-idea-community/current/jbr/ (Snap)
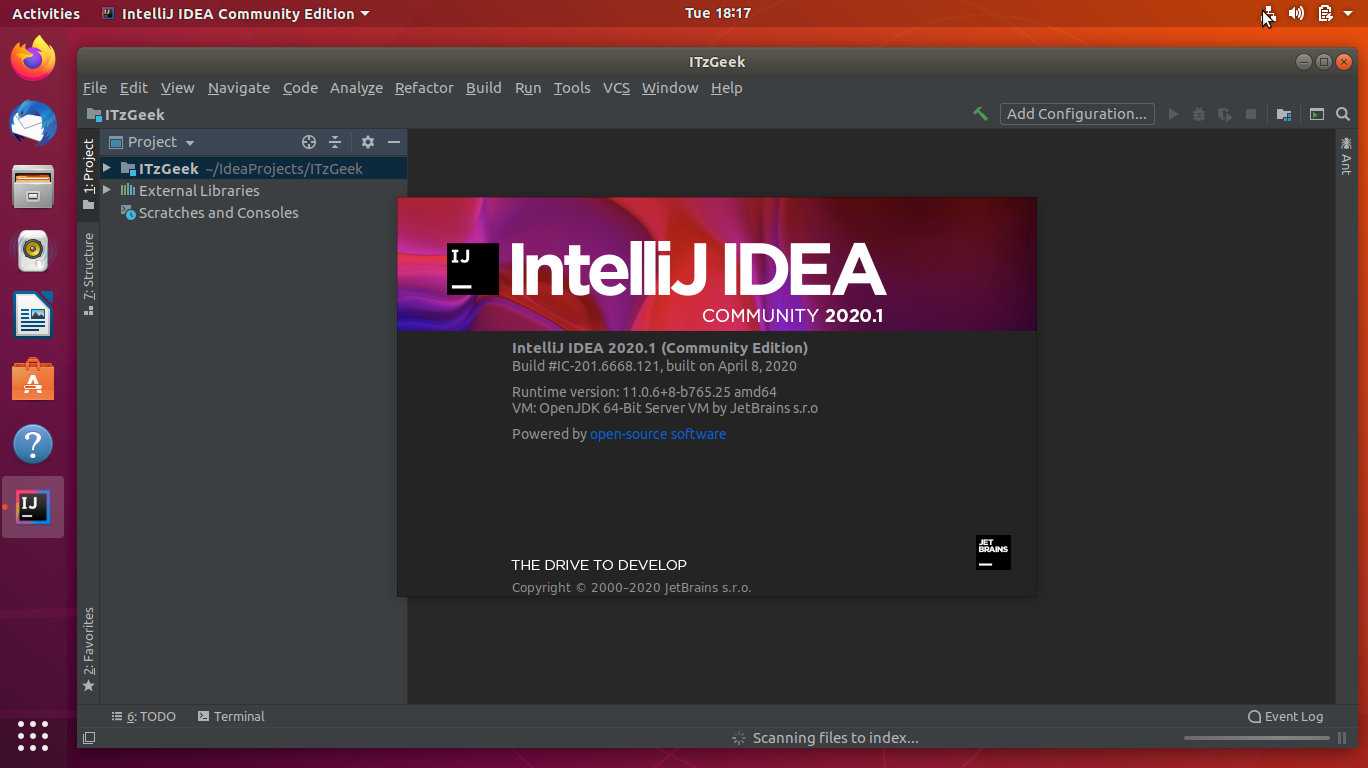
The following screenshot shows the version of IntelliJ IDEA.
Conclusion
That’s All. You have seen how to install IntelliJ IDEA on Ubuntu 18.04 / 19.10 & Ubuntu 16.04. To find more information on how to get started with IntelliJ IDEA, visit the IntelliJ IDEA documentation page.