
HHVM is just-in-time compiler designed to run applications that are written in PHP and Hack language. Facebook use HHVM to serve billions of web requests per day and is faster than traditional PHP engine.
This article describes the steps to install WordPress with Apache, MariaDB, and HHVM on Ubuntu 16.04 Server.
Below are the topics we’ll cover in this article.
- Install Apache Web Server
- Install and Configure MariaDB
- Install and Configure HHVM
- Setup WordPress
- Configure WordPress
Install Apache:
Apache package is available from Ubuntu repository, so you can easily install it with apt command.
sudo apt-get update
sudo apt-get install -y apache2 unzip
Once the installation is complete, start the Apache service.
sudo systemctl start apache2
Verify whether Apache service is running.
sudo systemctl status apache2

● apache2.service - LSB: Apache2 web server
   Loaded: loaded (/etc/init.d/apache2; bad; vendor preset: enabled)
  Drop-In: /lib/systemd/system/apache2.service.d
           └─apache2-systemd.conf
   Active: active (running) since Sun 2016-10-09 23:14:39 IST; 34s ago
     Docs: man:systemd-sysv-generator(8)
   CGroup: /system.slice/apache2.service
           ├─2429 /usr/sbin/apache2 -k start
           ├─2432 /usr/sbin/apache2 -k start
           └─2433 /usr/sbin/apache2 -k start

Oct 09 23:14:37 server systemd[1]: Starting LSB: Apache2 web server...
Oct 09 23:14:37 server apache2[2405]:  * Starting Apache httpd web server apache2
Oct 09 23:14:39 server apache2[2405]:  *
Oct 09 23:14:39 server systemd[1]: Started LSB: Apache2 web server.
Oct 09 23:15:12 server systemd[1]: Started LSB: Apache2 web server.
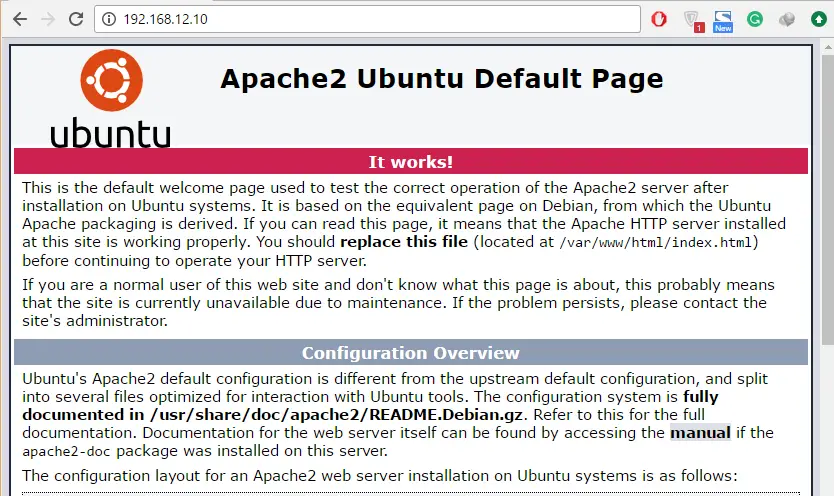
Now test the Apache with your web browser.
You should get the following “Apache2 Ubuntu Default Page” page confirms the Apache is up and ready to serve web pages.
Install and Configure MariaDB:
In this tutorial, we will use MariaDB instead of MySQL database. MariaDB is a fork of MySQL developed by MariaDB Foundation, led by Michael “Monty” Widenius.
MariaDB is available in Ubuntu base repository. You can install it with apt.
sudo apt-get install -y mariadb-client mariadb-server
Start MariaDB service.
sudo systemctl start mysql
Verify MariaDB is running as expected.
sudo systemctl status mysql

● mysql.service - LSB: Start and stop the mysql database server daemon
   Loaded: loaded (/etc/init.d/mysql; bad; vendor preset: enabled)
   Active: active (running) since Sun 2016-10-09 23:22:23 IST; 43s ago
     Docs: man:systemd-sysv-generator(8)
   CGroup: /system.slice/mysql.service
           ├─4428 /bin/bash /usr/bin/mysqld_safe
           ├─4429 logger -p daemon err -t /etc/init.d/mysql -i
           ├─4573 /usr/sbin/mysqld --basedir=/usr --datadir=/var/lib/mysql --plugin-dir=/usr/lib/mysql/plugin --user=mysql --skip-log-error --pid-file=/var/run/mysqld/m
           └─4574 logger -t mysqld -p daemon error

Oct 09 23:22:24 server /etc/mysql/debian-start[4625]: Phase 1/6: Checking and upgrading mysql database
Oct 09 23:22:24 server /etc/mysql/debian-start[4625]: Processing databases
Oct 09 23:22:24 server /etc/mysql/debian-start[4625]: mysql
Oct 09 23:22:24 server /etc/mysql/debian-start[4625]: mysql.column_stats                                 OK
Oct 09 23:22:24 server /etc/mysql/debian-start[4625]: mysql.columns_priv                                 OK
Oct 09 23:22:24 server /etc/mysql/debian-start[4625]: mysql.db                                           OK
Oct 09 23:22:24 server /etc/mysql/debian-start[4625]: mysql.event                                        OK
Oct 09 23:22:24 server /etc/mysql/debian-start[4625]: mysql.func                                         OK
Oct 09 23:22:24 server /etc/mysql/debian-start[4625]: mysql.gtid_slave_pos                               OK
Oct 09 23:22:24 server /etc/mysql/debian-start[4664]: Triggering myisam-recover for all MyISAM tables and aria-recover for all Aria tables
Login with the root.
sudo mysql -u root -p
create a database for our WordPress installation.
create database wpdb;
grant all privileges on wpdb.* to wpdbuser@localhost identified by 'wp@123';
flush privileges;
quit
Where,
Database Name: wpdb
User: wpdbuser
Password: wp@123
Install and Configure HHVM:
Let’s add HHVM repository to your system.
sudo apt-get install -y software-properties-common
sudo apt-key adv --recv-keys --keyserver hkp://keyserver.ubuntu.com:80 0x5a16e7281be7a449
sudo add-apt-repository "deb http://dl.hhvm.com/ubuntu $(lsb_release -sc) main"
Update the Ubuntu repositories.
sudo apt-get update
Install HHVM.
sudo apt-get install -y hhvm
Once the installation is complete, configure Apache web server to use HHVM.
sudo /usr/share/hhvm/install_fastcgi.sh
Run below command to start HHVM automatically on system boot up.
sudo update-rc.d hhvm defaults
Here, We’ll use HHVM as a PHP alternative.
sudo /usr/bin/update-alternatives --install /usr/bin/php php /usr/bin/hhvm 60
Now start HHVM service.
sudo systemctl start hhvm
Verify the php version. You should get the similar output like below.
$ php -v

HipHop VM 3.15.1 (rel)
Compiler: tags/HHVM-3.15.1-0-g87901df9ba74204dda149af0cfbbb016d85df67e
Repo schema: 426da75d3ec1fb57c98ed95ba8f0ca26a3605b82
Setup WordPress:
Download WordPress archive and extract it.
cd /tmp
wget https://wordpress.org/latest.zip
unzip latest.zip
WordPress is now extracted into the “wordpress” directory; you will have to move all the files and directories to main directory “/var/www/html“.
sudo mv wordpress/* /var/www/html/
Set the user and group permissions.
sudo chown -R www-data:www-data /var/www/html/
Configure Apache to take any file that ends in .hh or .php and sent it to HHVM via FasrCGI
Edit the following file to enable the said feature.
sudo vi /etc/apache2/mods-enabled/hhvm_proxy_fcgi.conf
You must set it like below.
ProxyPassMatch ^/(.+\.(hh|php)(/.*)?)$ fcgi://127.0.0.1:9000/var/www/html/$1
Restart the Apache and HHVM services.
sudo systemctl restart apache2
sudo systemctl restart hhvm
Remove the default index.html under /var/www/html.
sudo rm -rf /var/www/html/index.html
Configure WordPress:
Now try to access the WordPress installation through a web browser.
You should now see the WordPress installation wizard.
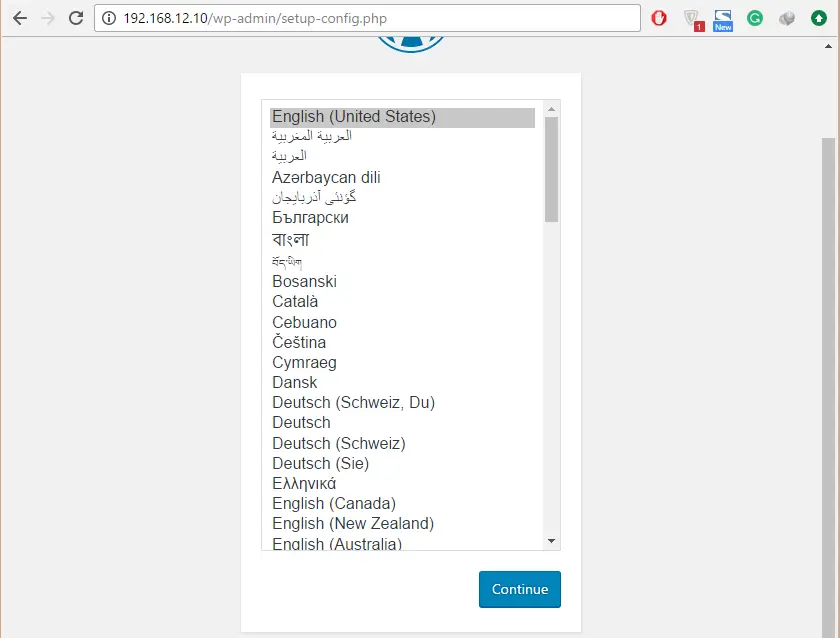
Follow the wizard and set up the WordPress.
- Enter the database connection details.
- Enter the blog information including admin user and password.
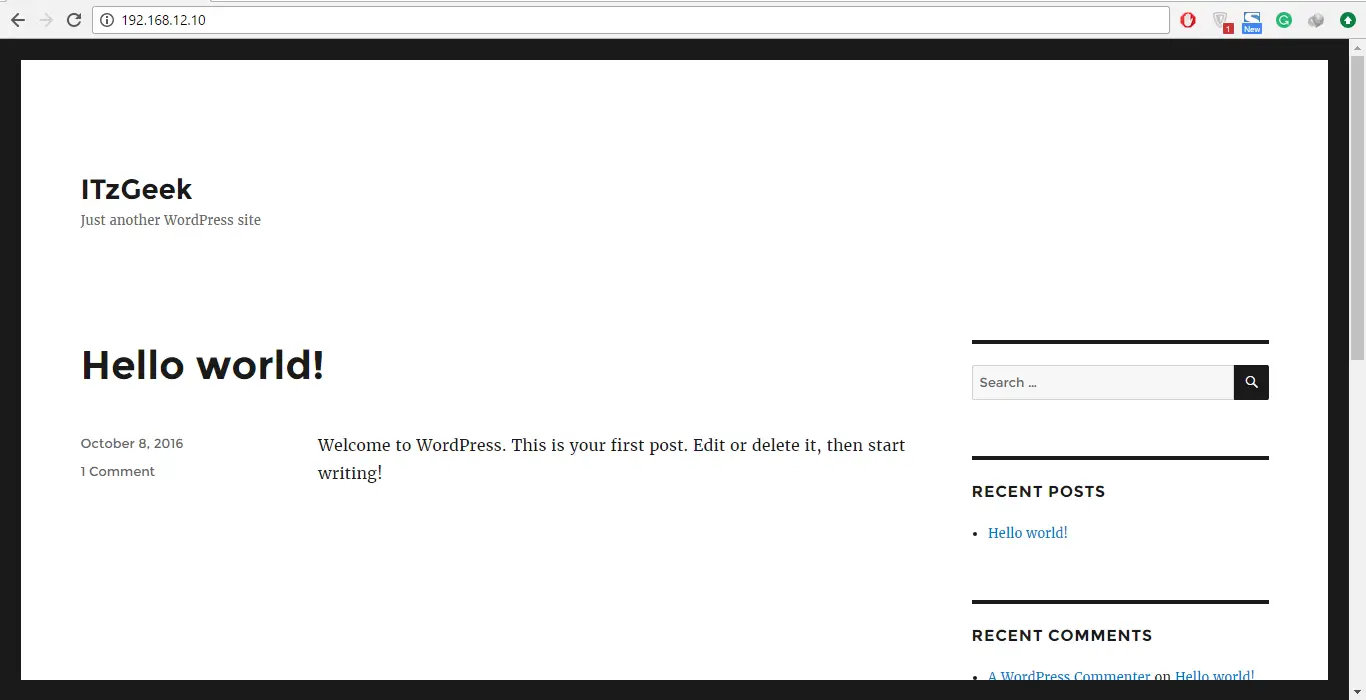
After the successful completion of setting up, you could be able to access the WordPress blog home page.
That’s All.