vCSA | How to install vCenter Server Appliance (vCSA)
 What is vCenter Server Appliance?
As you know How to install vCenter, you need a dedicated infrastructure which includes VM, patching stuff, anti-virus and other management tasks for smoothly running of vCenter that involves costs and time overheads.
With the help of vCenter Server Appliance (vCSA), it is Linux based virtual machine, optimized for running vCenter Server.you doesn’t needs any dedicated Server for installing and configuring vCenter.
Doesn’t required any knowledge about Linux for managing, no installation has to be performed, it is a fastest way to get the vCenter Server up and running.
Advantage:
- It Supports all traditional vCenter features like DRS,SDRS,host profiles,dvSwitch, etc.
- No need of Windows Operating System.
- No need to install vCenter Server manually.
- Deployment is very simple & Fast
DisAdvantages:
- vCenter Server linked mode doesn’t work
- vCenter Server heartbeat doesn’t work.
- No single sign on using AD
- Doesn’t support SQL as an external database
- Doesn’t Supports IPv6.
Deploying the vCenter Server 5 Appliance.
Requirements:
- Need an already installed ESXi 5 as a host.
- vSphere client must be installed.
- Download the following files from the VWware.
- .OVF files
- Appliance data disk.
- Appliance system disk – About 4 GB.
Download vCenter Server Appliance:
Get the vCSA by doing the steps:
- Go to VMware.com
- Select Support & Downloads ———> VMware vSphere
- Click on Download vSphere free Trial.
- Login with your credentials.
- Expand the Download the management server and select below products for download.
Install vCSA on ESXi:
Follow the below mentioned steps to install vCSA on ESXi, Connect your vSphere Client to the ESXi server where you want vCSA to run
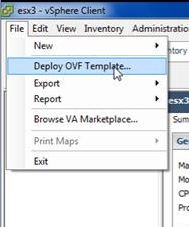
Step 1: Click File and select Deploy OVF Template…
Step 2: In the Source page, click Browse and enter the location of .OVF file. Click Next.
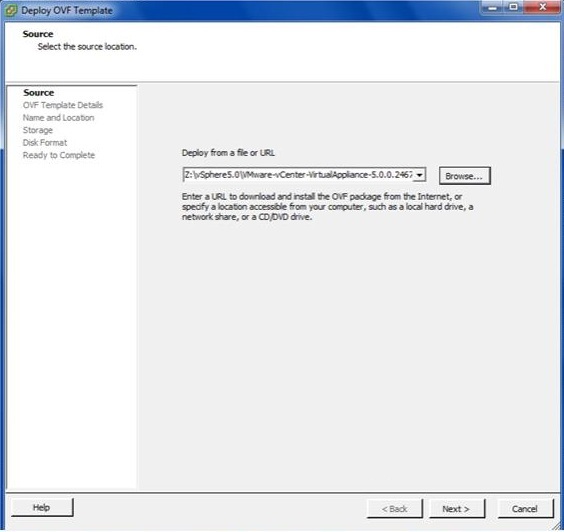
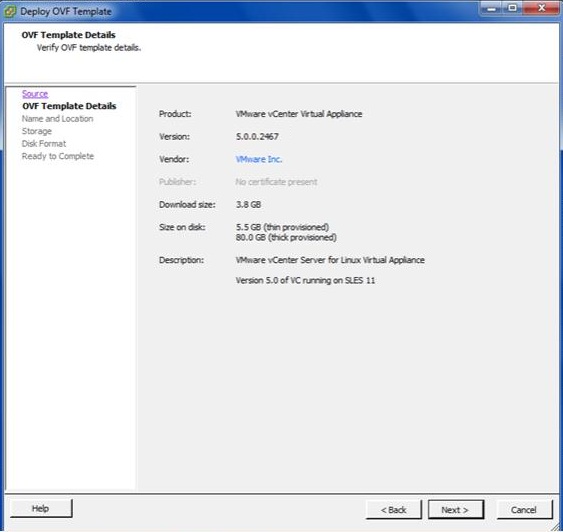
Step 3: Verify your OVF templates details, it will show the details of the OVF like Product, Vendor,Size,etc.Click Next.
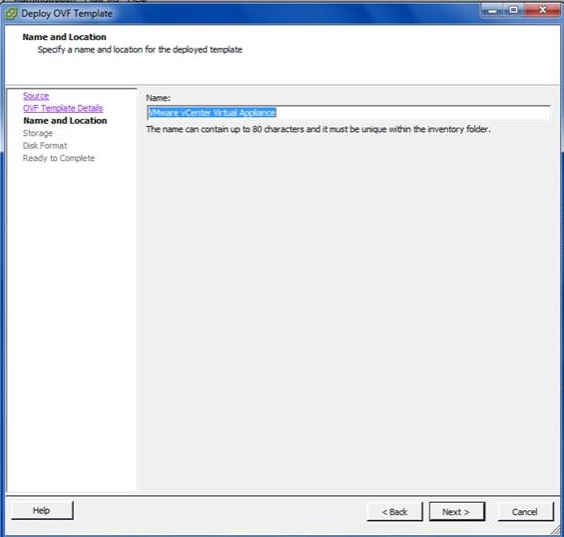
Step 3: In the Name and Location wizard, enter name for identification and click Next.
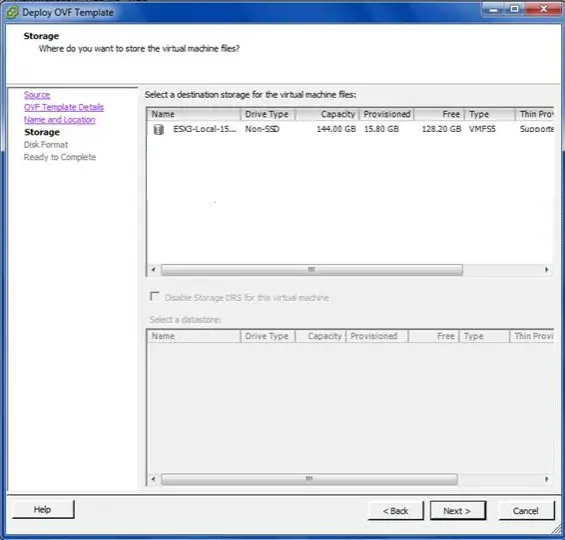
Step 4: In the Storage window, select the datastore that would be used for storing this VM. You can select local disk as well, but NAS/SAN is recommended. Click Next.
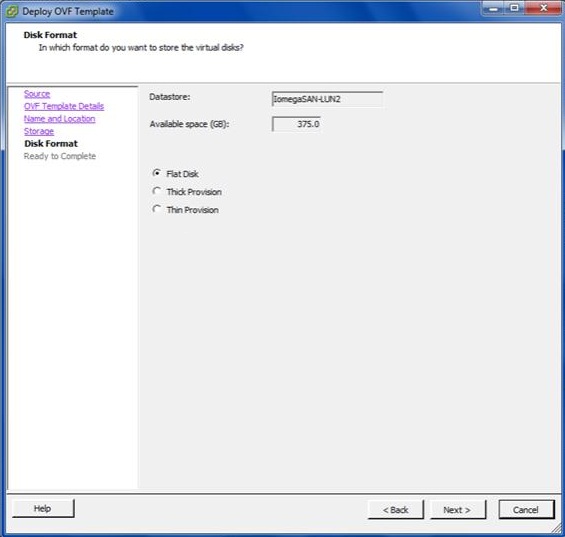
Step 5: Select VM disk format, Flat, thick or thin provision. Flat is recommended for the best performance, and thick is typically selected when you are using VMWare Fault Tolerance. Click Next.
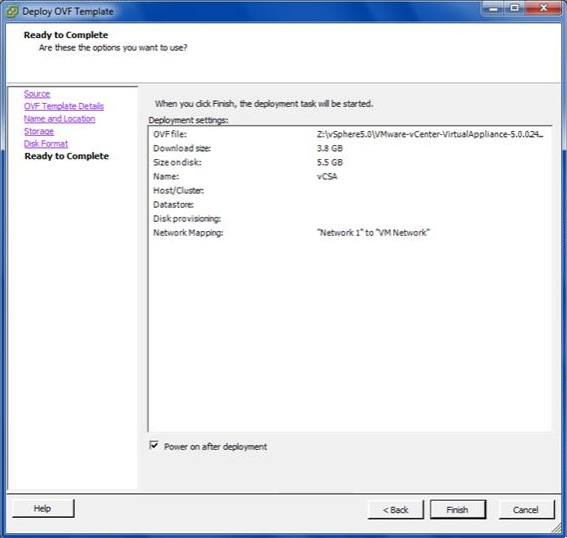
Step 6: Select Power on after Deployment and click Finish to start the installation process.
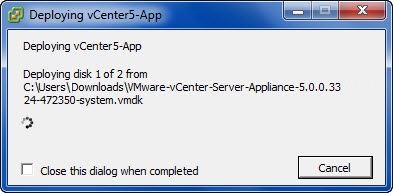
The Next window shows the deploying vCenter.
Once deployment is successful, you will see the new vCenter appliance as new virtual machine on your ESXi server.
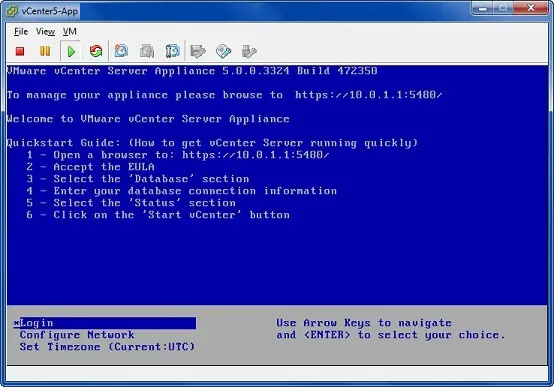
As seen the above vCSA console, you will ll have the IP address and port number to manage the vCSA, and the steps you will need to perform initial configuration of the vCSA .
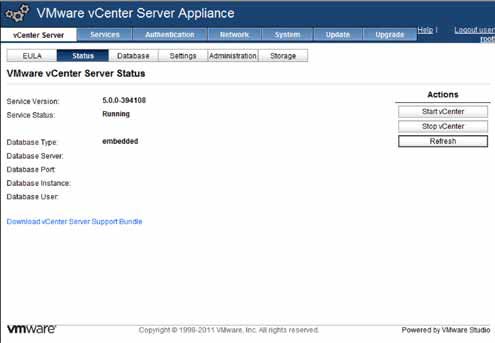
Open your web browser, type the https://ipaddress:portname to access vCSA, in my case it will look like https://10.0.1.1:5480.
You can use this text-based console to perform the initial network configuration and set the time zone OR you can do those things in the GUI console. The vCSA does have a Linux-based CLI console, as well, if you go into “Login”, that can be used for management and troubleshooting of the appliance (if required).

